“You’ve got to try soaking the chicken in pickle brine first,” my friend whispered over the phone as I grumbled about my latest attempt at crispy chicken sandwiches. Honestly, I was skeptical — pickles? Really? But the next evening, with a busy week behind me and a craving for something crunchy yet juicy, I gave it a shot in the Ninja Foodi. The moment I bit into that sandwich, the tangy brine had worked its magic, making the chicken tender and bursting with flavor while the crust crackled perfectly. Honestly, it felt like a little secret weapon in my kitchen arsenal.
That phone call came after a hectic day where I’d barely had time to breathe let alone cook, and this recipe became my unexpected rescue. The Ninja Foodi’s quick air crisp setting meant dinner was ready before my patience wore thin, and the pickle brine soak added a zing I hadn’t expected. Now, I find myself making this sandwich multiple times a week — it’s that addictive. It’s comfort food with a twist, a little tang that wakes up your taste buds while still feeling familiar and satisfying.
What’s funny is, the recipe stuck around not because it was fancy or complicated, but because it was honest food that fits into my chaotic routine. Plus, it’s done in the Ninja Foodi, which I swear by for quick meals — kind of like how I rely on my ultimate one-pot freezer meal for those other crazy days. There’s something about that crispy crust combined with the juicy, tangy meat that makes you pause and just enjoy the moment. This chicken sandwich isn’t just a meal; it’s a little pause button when things get hectic.
Why You’ll Love This Recipe
This Crispy Ninja Foodi Chicken Sandwich with Tangy Pickle Brine Soak quickly became a go-to in my kitchen, and here’s why it might just do the same for you:
- Quick & Easy: Comes together in under 30 minutes, perfect when you want something satisfying without the wait.
- Simple Ingredients: No complicated shopping — just basics you likely have in your pantry and fridge, plus that tangy pickle brine twist.
- Perfect for Casual Dinners: Great for busy weeknights or weekend gatherings when you want to impress without stress.
- Crowd-Pleaser: Kids and adults alike rave about the crispy texture and flavorful bite — it’s just that good.
- Unbelievably Delicious: The pickle brine soak tenderizes the chicken and imparts a subtle tang that cuts through the richness, creating a balanced flavor profile.
- Unique Technique: This isn’t just your average fried chicken sandwich. The Ninja Foodi air crisps to golden perfection without the mess of deep frying, and the pickle brine soak makes a noticeable difference — trust me, I didn’t believe it until I tried.
Honestly, this recipe has that kind of comforting crunch that makes you close your eyes and savor each bite. It’s like comfort food but with a little zing that keeps things interesting. I’ve even found it pairs beautifully with simple sides, similar to how I enjoy the ease of my comforting pot pie when I want something cozy but fuss-free.
What Ingredients You Will Need
This recipe uses straightforward ingredients that work together to create a crispy, juicy chicken sandwich with a tangy twist. Most are pantry staples, and the pickle brine soak adds that special touch without extra effort.
- Chicken: 2 boneless, skinless chicken breasts, pounded to even thickness (for even cooking and that perfect crunch)
- Pickle Brine: 1 cup pickle juice (from a jar of dill pickles — the secret tangy soak!)
- Buttermilk: 1/2 cup buttermilk (helps tenderize the chicken and aids in crispy coating adhesion; can swap with plain yogurt if needed)
- Flour: 1 cup all-purpose flour (for dredging; you can substitute with gluten-free flour blend for dietary needs)
- Cornstarch: 1/4 cup cornstarch (adds extra crispness to the coating)
- Seasonings: 1 tsp paprika, 1 tsp garlic powder, 1/2 tsp onion powder, 1/2 tsp cayenne pepper (adjust to your heat preference), 1 tsp salt, 1/2 tsp black pepper
- Eggs: 2 large eggs, beaten (binds the coating to the chicken)
- Oil Spray: Cooking spray or a light brush of oil for air crisping (helps achieve that golden crust)
- Buns: 2 soft sandwich buns or brioche buns (toasted for best texture)
- Toppings (Optional): Lettuce leaves, tomato slices, mayo, or your favorite sandwich sauce
For the brine, I always use the juice from my favorite dill pickles — this time I went with Mt. Olive since it’s reliably tangy without overpowering. If you want to try a twist, adding a splash of pickle juice to your buttermilk soak amps up the flavor even more.
Seasoning the flour mixture is key here — balancing the smoky paprika with a touch of cayenne gives it a little kick that complements the brine’s tang. And if you’re looking for a gluten-free version, swapping the all-purpose flour with almond flour or a 1-to-1 gluten-free blend works surprisingly well, though the texture will be a bit different.
Equipment Needed
- Ninja Foodi or Air Fryer: The star of the show! The Ninja Foodi’s air crisp function cooks the chicken to that coveted golden crunch without deep frying. If you don’t have a Ninja Foodi, a countertop air fryer or convection oven can also work.
- Mixing Bowls: At least two — one for the wet ingredients (brine and buttermilk mix), one for the dry seasoning flour.
- Meat Mallet or Rolling Pin: For pounding the chicken breasts evenly. This step helps the chicken cook uniformly and stay juicy.
- Tongs: Handy for flipping and handling the chicken without messing up the coating.
- Baking Sheet with Wire Rack: Optional but useful if you want to rest the chicken on a rack after cooking to keep it crispy.
Personally, I like using a silicone baking mat on the tray for easy cleanup after air crisping. The Ninja Foodi is my favorite because it combines pressure cooking and air frying, but for this recipe, just the air crisp function is what makes the magic happen.
For those on a budget, even a simple air fryer basket or a toaster oven with a convection setting can produce great results. Just be sure to spray the chicken lightly with oil to get that crunch.
Preparation Method
- Prepare the Chicken: Slice the chicken breasts horizontally to create two thinner fillets each (about 1/2 inch thick). Use a meat mallet or rolling pin to gently pound them to uniform thickness. This helps with even cooking and juicy texture. (Time: 5 minutes)
- Soak in Pickle Brine: In a bowl, combine the pickle juice and buttermilk. Submerge the chicken pieces in this tangy bath and cover. Refrigerate for at least 30 minutes, or up to 2 hours if you have time. This soak tenderizes the chicken and infuses it with subtle tang. (Time: 30–120 minutes)
- Mix the Dry Coating: In a large bowl, whisk together the flour, cornstarch, paprika, garlic powder, onion powder, cayenne, salt, and black pepper. This seasoned mixture is what creates the crispy crust.
- Prepare the Egg Wash: Beat the eggs in a separate shallow bowl.
- Coat the Chicken: Remove the chicken from the pickle brine, letting excess drip off. Dip each piece first into the egg wash, then dredge thoroughly in the flour mixture, pressing lightly to adhere. For extra crunch, double dredge by repeating the egg and flour steps once more. (Tip: If the coating feels too thick, gently shake off the excess flour.)
- Preheat Ninja Foodi: Set the Ninja Foodi to air crisp mode at 400°F (200°C) and let it preheat for about 5 minutes.
- Cook the Chicken: Place the coated chicken pieces in the air fryer basket or crisper plate, leaving space between pieces. Lightly spray with cooking oil. Air crisp for 10 minutes, then flip, spray again, and cook for another 6–8 minutes until golden brown and cooked through (internal temp 165°F / 74°C). The crust should be crispy and the chicken juicy inside.
- Toast the Buns: While the chicken cooks, toast the sandwich buns lightly in a skillet or toaster until golden and warm.
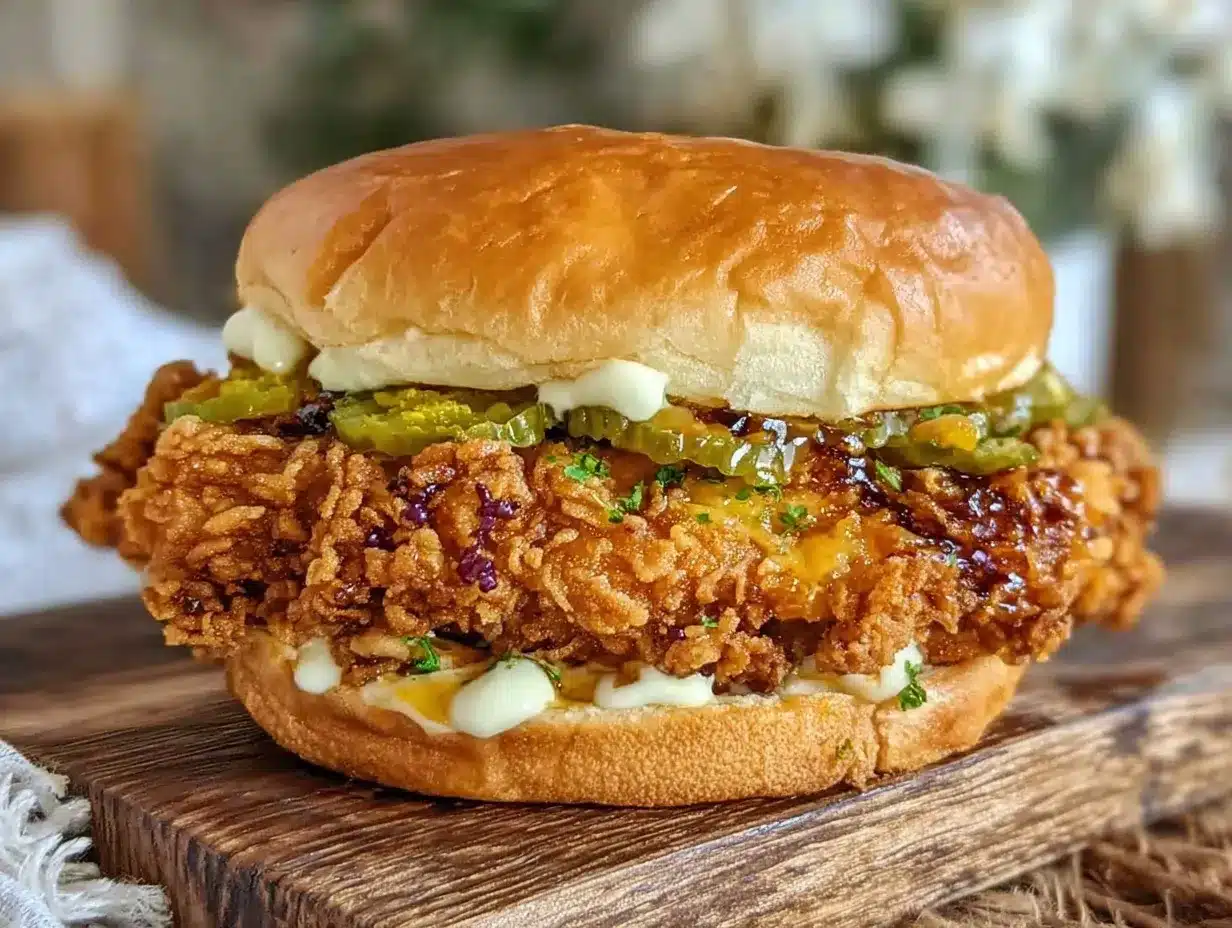
- Assemble the Sandwich: Spread mayo or your favorite sauce on the buns, layer the crispy chicken, add pickles or fresh lettuce and tomato slices if you like, then top with the bun lid.
Pro tip: If your chicken edges get too brown before the center cooks, lower the temperature to 375°F (190°C) and extend cooking time slightly. Also, resting the chicken on a wire rack for a couple of minutes after cooking helps keep that crust from getting soggy.
Cooking Tips & Techniques
Getting that perfect crispy chicken sandwich in the Ninja Foodi is all about a few key details. First, the pickle brine soak is non-negotiable — it tenderizes and seasons the chicken deeply, and honestly, it shocked me how much of a difference it made. I learned this the hard way after a few dry attempts without it.
Double dredging the chicken might feel like extra work but trust me — it’s worth it. Pressing the flour mixture firmly into the chicken before air frying creates that irresistible crunch. I also spray the chicken lightly with oil before cooking; it’s a small step that mimics frying and gives you that golden crust without the grease.
Don’t overcrowd the basket or crisper plate — air needs to circulate around each piece. I’ve made that mistake before, and the chicken came out soggy instead of crispy. Cooking in batches is better than one soggy giant batch.
Timing is key — the Ninja Foodi’s air crisp setting gets the job done fast, so keep an eye on the chicken after 8 minutes on the second side. The internal temperature should hit 165°F (74°C) for safe eating. Use a thermometer if you’re unsure; no one wants dry chicken from overcooking.
And if you’re curious about other crispy chicken twists, you might enjoy my crispy sweet tea brined fried chicken recipe — a different kind of magic with southern charm.
Variations & Adaptations
- Gluten-Free Option: Swap all-purpose flour with a gluten-free blend or almond flour. The texture will be slightly different but still deliciously crispy.
- Spicy Kick: Add extra cayenne or a dash of hot sauce into the pickle brine soak for a fiery version. You can also top the sandwich with spicy mayo or pickled jalapeños.
- Dairy-Free: Replace buttermilk with unsweetened almond or coconut milk mixed with a tablespoon of vinegar to mimic acidity. Use dairy-free mayo for the sandwich spread.
- Different Brines: Instead of pickle juice, experiment with a mixture of lemon juice and salt or a classic buttermilk soak with added garlic powder for a milder tang.
- Cooking Method Swap: If you don’t have a Ninja Foodi or air fryer, pan-fry the coated chicken in a shallow skillet with oil over medium heat until golden and cooked through, about 4-5 minutes per side.
One personal favorite variation is adding a smoky chipotle powder to the flour mix for a southwestern twist — it adds a deep, smoky heat that pairs beautifully with the pickle tang.
Serving & Storage Suggestions
This sandwich is best served hot and fresh out of the Ninja Foodi, with the crust still crackling under your teeth. I like to serve it with crisp, fresh sides like coleslaw or crunchy pickles to complement the tangy chicken.
If you want to prep ahead, you can soak and coat the chicken, then store it in the fridge for up to 12 hours before cooking. The sandwich components can be assembled right before serving for maximum crispness.
Leftover chicken sandwiches can be wrapped tightly and refrigerated for up to 2 days. To reheat, pop them back into the Ninja Foodi or an air fryer at 350°F (175°C) for 5-7 minutes to revive the crisp crust. Avoid microwaving as it tends to make the bread soggy and the crust limp.
The flavors meld nicely if you let the cooked chicken sit wrapped for a few hours — the tang from the brine softens just a touch, making the sandwich even more flavorful the next day. Just toast the buns fresh before serving.
Nutritional Information & Benefits
This chicken sandwich balances indulgence with sensible ingredients. Each serving (one sandwich) contains approximately:
| Nutrient | Amount |
|---|---|
| Calories | 450–500 kcal |
| Protein | 35 g |
| Carbohydrates | 40 g |
| Fat | 15 g |
| Fiber | 2 g |
Key ingredients like lean chicken breast provide a solid protein boost, while the air-fried coating keeps fat content lower than traditional deep frying. The pickle brine contains vinegar, which some studies link to digestion benefits, and the spices add antioxidants.
If you’re watching carbs, swapping the bun for a lettuce wrap or low-carb bread works well. Also, this recipe is naturally gluten-sensitive adaptable by using gluten-free flour blends.
Conclusion
This Crispy Ninja Foodi Chicken Sandwich with Tangy Pickle Brine Soak is one of those recipes that feels like a small discovery every time you make it. It’s approachable, packed with flavor, and fits effortlessly into busy lives without compromising on taste or texture. Whether you’re craving something quick after work or want to impress friends with minimal effort, this sandwich hits the spot.
I love how the pickle brine adds just enough tang to keep things interesting without overpowering the classic crispy chicken vibe. It’s a recipe I keep coming back to, especially when I want something reliable yet exciting. Feel free to tweak the heat level or toppings to make it your own — that’s part of the fun!
When you make it, I’d really love to hear how you customize your sandwich or any tips you discover along the way. Sharing food stories is part of what makes cooking so much more enjoyable. So grab your Ninja Foodi and give this a try — I think you’ll be pleasantly surprised.
FAQs About Crispy Ninja Foodi Chicken Sandwich with Tangy Pickle Brine Soak
How long should I soak the chicken in pickle brine?
At least 30 minutes is necessary to tenderize and flavor the chicken, but up to 2 hours in the fridge works well for deeper flavor without making the meat mushy.
Can I use frozen chicken breasts for this recipe?
It’s best to use thawed chicken for even cooking and proper coating adhesion. If using frozen, thaw completely and pat dry before soaking and dredging.
What if I don’t have a Ninja Foodi or air fryer?
You can pan-fry the coated chicken in a skillet with oil or bake it in a preheated oven at 400°F (200°C) for about 20-25 minutes, flipping halfway through.
Can I make the sandwich ahead of time?
You can prep the chicken up to the cooking step and refrigerate for up to 12 hours. Cook and assemble just before serving for best texture and flavor.
What can I serve alongside the chicken sandwich?
Classic sides like coleslaw, crispy fries, or a simple green salad work great. For something sweet and crunchy, try pairing with ants on a log snack as an easy, fun side.
Pin This Recipe!
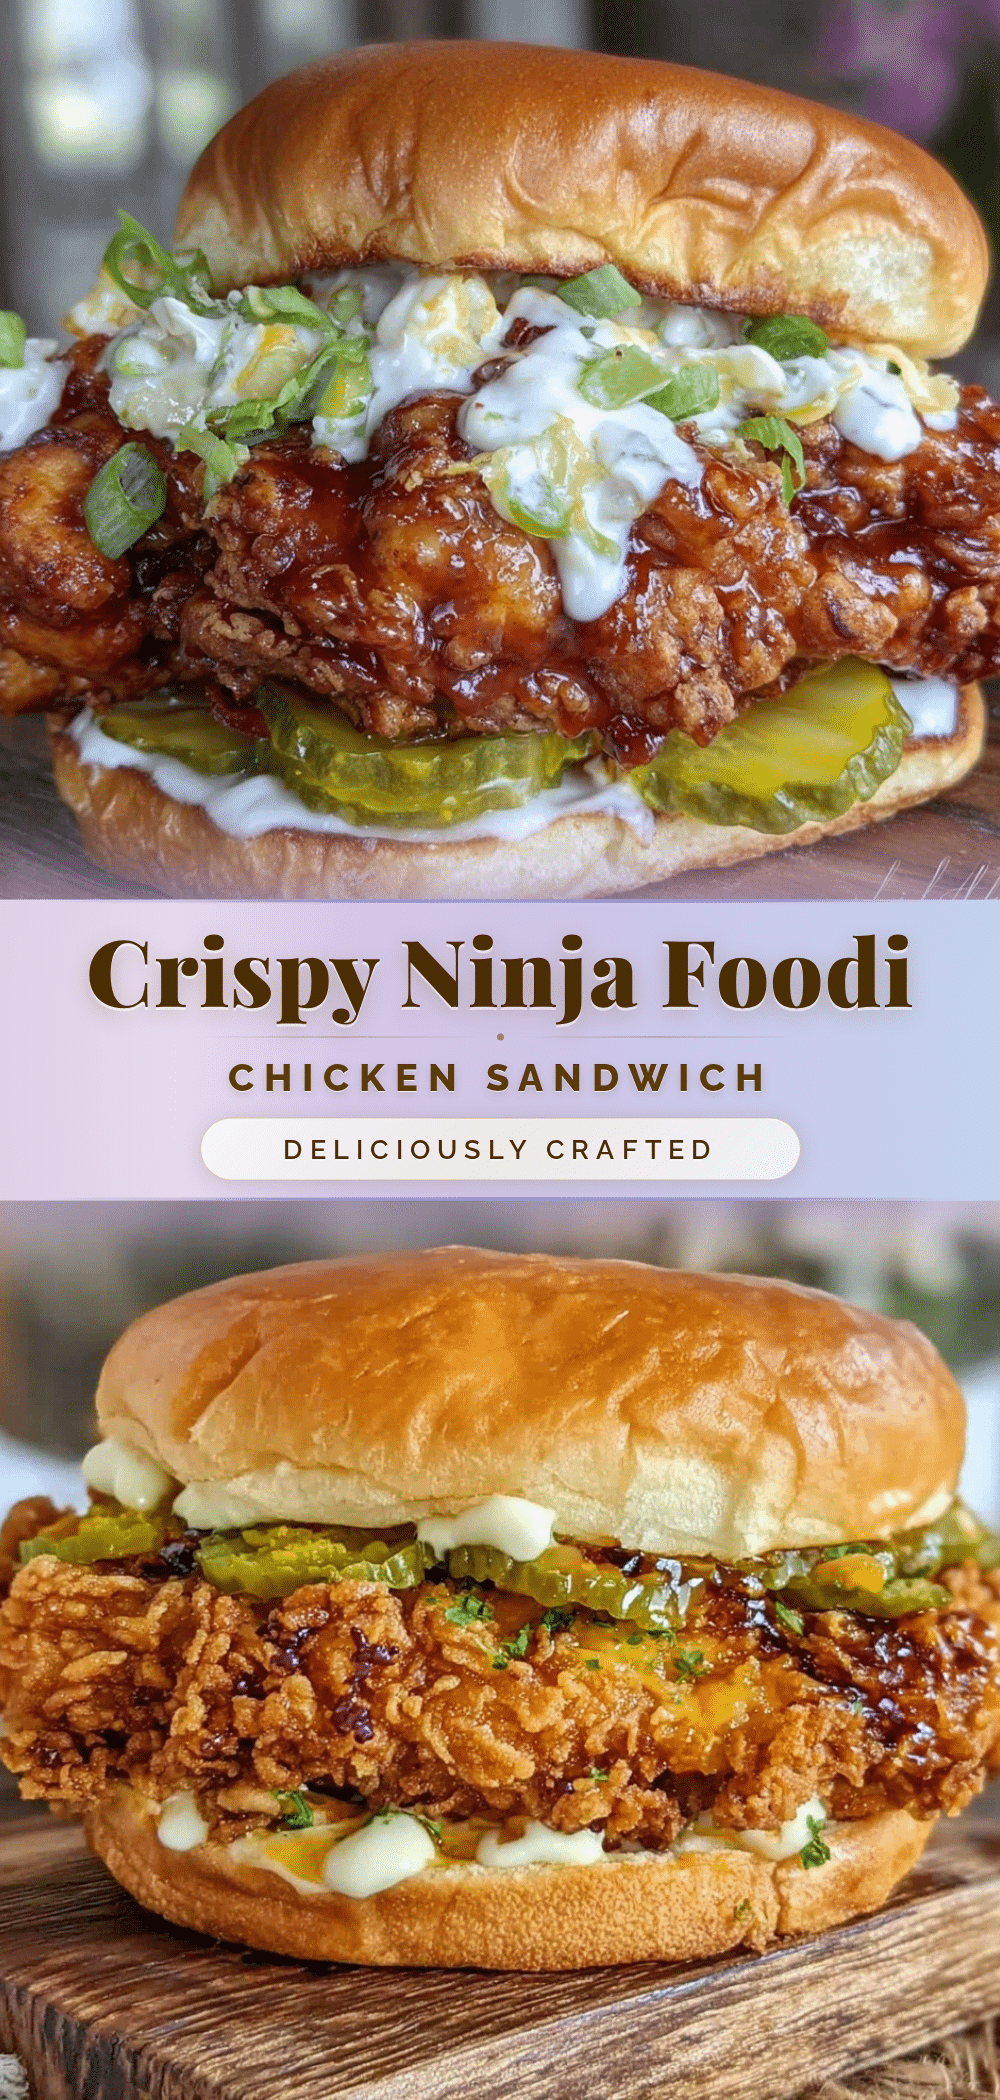
Crispy Ninja Foodi Chicken Sandwich Recipe Perfect for Easy Tangy Pickle Brine Soak

This crispy chicken sandwich features chicken soaked in tangy pickle brine and air crisped in the Ninja Foodi for a juicy, flavorful, and crunchy bite. Perfect for quick, satisfying meals with a unique twist.
- Prep Time: 10 minutes
- Cook Time: 18 minutes
- Total Time: 40 minutes
- Yield: 2 servings 1x
- Category: Main Course
- Cuisine: American
Ingredients
- 2 boneless, skinless chicken breasts, pounded to even thickness
- 1 cup pickle juice (from a jar of dill pickles)
- 1/2 cup buttermilk (can substitute with plain yogurt)
- 1 cup all-purpose flour (or gluten-free flour blend)
- 1/4 cup cornstarch
- 1 tsp paprika
- 1 tsp garlic powder
- 1/2 tsp onion powder
- 1/2 tsp cayenne pepper (adjust to heat preference)
- 1 tsp salt
- 1/2 tsp black pepper
- 2 large eggs, beaten
- Cooking spray or light brush of oil
- 2 soft sandwich buns or brioche buns, toasted
- Optional toppings: lettuce leaves, tomato slices, mayo, or favorite sandwich sauce
Instructions
- Slice the chicken breasts horizontally to create two thinner fillets each (about 1/2 inch thick). Pound them to uniform thickness using a meat mallet or rolling pin.
- In a bowl, combine the pickle juice and buttermilk. Submerge the chicken pieces in this mixture, cover, and refrigerate for at least 30 minutes or up to 2 hours.
- In a large bowl, whisk together the flour, cornstarch, paprika, garlic powder, onion powder, cayenne pepper, salt, and black pepper.
- Beat the eggs in a separate shallow bowl.
- Remove chicken from the brine, letting excess drip off. Dip each piece into the egg wash, then dredge thoroughly in the flour mixture. For extra crunch, double dredge by repeating the egg and flour steps once more.
- Preheat the Ninja Foodi to air crisp mode at 400°F (200°C) for about 5 minutes.
- Place the coated chicken pieces in the air fryer basket or crisper plate, leaving space between pieces. Lightly spray with cooking oil.
- Air crisp for 10 minutes, then flip, spray again, and cook for another 6–8 minutes until golden brown and cooked through (internal temperature 165°F / 74°C).
- While the chicken cooks, toast the sandwich buns lightly in a skillet or toaster until golden and warm.
- Assemble the sandwich by spreading mayo or favorite sauce on the buns, layering the crispy chicken, and adding pickles or fresh lettuce and tomato slices if desired. Top with the bun lid.
Notes
If chicken edges brown too quickly, lower temperature to 375°F and extend cooking time. Rest chicken on wire rack after cooking to keep crust crispy. Double dredging and light oil spray help achieve extra crunch. Do not overcrowd air fryer basket for best results. Use a thermometer to ensure internal temperature reaches 165°F.
Nutrition
- Serving Size: 1 sandwich
- Calories: 475
- Fat: 15
- Carbohydrates: 40
- Fiber: 2
- Protein: 35
Keywords: crispy chicken sandwich, Ninja Foodi chicken, pickle brine chicken, air fryer chicken sandwich, quick chicken sandwich, tangy chicken sandwich