Introduction
Let me tell you, the scent of rich cocoa and velvety cream wafting from the pot is enough to make anyone’s mouth water. The first time I made this creamy chocolate pudding from scratch, I was instantly hooked—the kind of moment where you pause, take a deep breath, and just smile because you know you’re onto something truly special. It wasn’t just any dessert; it felt like pure, nostalgic comfort wrapped in a chocolatey hug.
Years ago, when I was knee-high to a grasshopper, my grandma would whip up a batch of chocolate pudding that tasted like magic. I spent many a rainy afternoon trying to recreate that perfect texture and flavor, and honestly, this recipe finally nails it every single time. My family couldn’t stop sneaking spoonfuls off the cooling bowls (and I can’t really blame them!).
This creamy chocolate pudding from scratch is dangerously easy to make and perfect for brightening up your Pinterest cookie board or impressing guests at potlucks. Whether you’re craving a sweet treat for your kids or need a dessert that feels like a warm hug after a long day, this recipe is going to become your go-to. Tested multiple times in the name of research, of course, it’s become a staple for family gatherings and gifting alike. You’re going to want to bookmark this one.
Why You’ll Love This Recipe
Honestly, this creamy chocolate pudding from scratch isn’t just good—it’s the kind of dessert that makes you close your eyes after the first bite. I’ve tried many pudding recipes over the years, and this one stands out because it’s both simple and incredibly satisfying. Here’s why you’ll fall for it too:
- Quick & Easy: Comes together in under 30 minutes, perfect for busy weeknights or last-minute cravings.
- Simple Ingredients: No fancy grocery trips needed; you likely already have everything in your kitchen.
- Perfect for Any Occasion: Great for cozy dinners, holiday mornings, or a sweet finish to casual get-togethers.
- Crowd-Pleaser: Always gets rave reviews from kids and adults alike—trust me on this one.
- Unbelievably Delicious: The texture is silky smooth with just the right balance of chocolate intensity—comfort food with soul.
What makes this recipe different? It’s all about the method—slowly whisking the pudding to avoid lumps and using high-quality cocoa powder for that deep chocolate flavor. Plus, a little touch of vanilla extract adds a subtle warmth that takes it over the top. This recipe feels like comfort food reimagined—healthier, faster, but with the same soul-soothing satisfaction. Whether you’re impressing guests without stress or just treating yourself, this pudding is a winner every time.
What Ingredients You Will Need
This creamy chocolate pudding from scratch uses simple, wholesome ingredients to deliver bold flavor and a satisfying, silky texture without the fuss. Most of these are pantry staples, so you can whip this up anytime the chocolate craving hits.
- Granulated sugar (1 cup / 200 g): Sweetens the pudding without overpowering.
- Cocoa powder, unsweetened (¾ cup / 75 g): I recommend Dutch-processed cocoa for a smoother, less acidic flavor.
- Cornstarch (⅓ cup / 40 g): Acts as the thickening agent for that perfect creamy consistency.
- Salt (¼ tsp): Balances sweetness and amplifies chocolate flavor.
- Milk, whole (4 cups / 950 ml): Provides richness; you can substitute with almond or oat milk for a dairy-free option.
- Unsalted butter (2 tbsp / 28 g), softened: Adds silkiness and depth.
- Vanilla extract (2 tsp): A splash to enhance the chocolate’s warmth.
Optional toppings:
- Whipped cream (homemade or store-bought)
- Chocolate shavings or sprinkles
- Fresh berries for a pop of color and tartness
Pro tip: Look for good-quality cocoa powder like Valrhona or Ghirardelli if you want to kick it up a notch. For a richer pudding, you can swap ½ cup of milk with heavy cream. And if you’re feeling adventurous, add a pinch of espresso powder to deepen the chocolate notes.
Equipment Needed
Making this creamy chocolate pudding from scratch is straightforward, but having the right tools helps. Here’s what you’ll need:
- A medium saucepan (3-quart / 3-liter size recommended): even heat distribution is key to prevent scorching.
- A whisk: essential for smooth blending and to keep lumps at bay.
- Measuring cups and spoons: for exact ingredient amounts (precision matters here!).
- A heatproof mixing bowl: to transfer the pudding for cooling.
- Plastic wrap or airtight containers: to cover the pudding directly and avoid a skin forming on top.
- Spoons or spatulas: for stirring and scraping the pot clean.
If you don’t have a whisk, a fork can work in a pinch, but whisking continuously is easier with the right tool. For budget-friendly options, a basic stainless steel saucepan and a balloon whisk from any kitchen store will do the trick perfectly. I’ve tried non-stick pans too, but a heavy-bottomed saucepan really helps prevent burning and sticking.
Preparation Method
- Mix dry ingredients: In your medium saucepan, whisk together 1 cup (200 g) granulated sugar, ¾ cup (75 g) unsweetened cocoa powder, ⅓ cup (40 g) cornstarch, and ¼ tsp salt. Take a moment to appreciate how rich and chocolatey that powder looks.
- Add milk slowly: Gradually stir in 4 cups (950 ml) whole milk, whisking constantly to combine into a smooth mixture without lumps. This step is crucial to avoid clumps in your pudding.
- Cook on medium heat: Place the saucepan over medium heat. Keep whisking continuously. After about 5-7 minutes, the mixture will start to thicken and bubble—this is your cue to slow down and whisk even more vigorously to prevent scorching.
- Boil gently: Once it thickens to a pudding-like consistency (about the thickness of custard), continue to cook and whisk for another 1-2 minutes. This cooks out the starchy taste from the cornstarch and ensures your pudding sets perfectly.
- Remove from heat: Take the saucepan off the stove and stir in 2 tablespoons (28 g) softened unsalted butter and 2 teaspoons vanilla extract until fully melted and combined. The butter adds that silky richness you want.
- Cool properly: Pour the pudding into individual serving bowls or one large dish. Press plastic wrap directly onto the surface to prevent a skin from forming. Let it cool to room temperature before refrigerating for at least 2 hours (overnight is best for max creaminess).
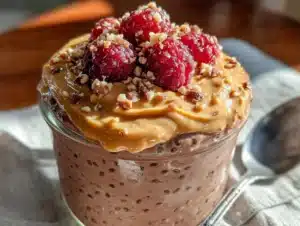
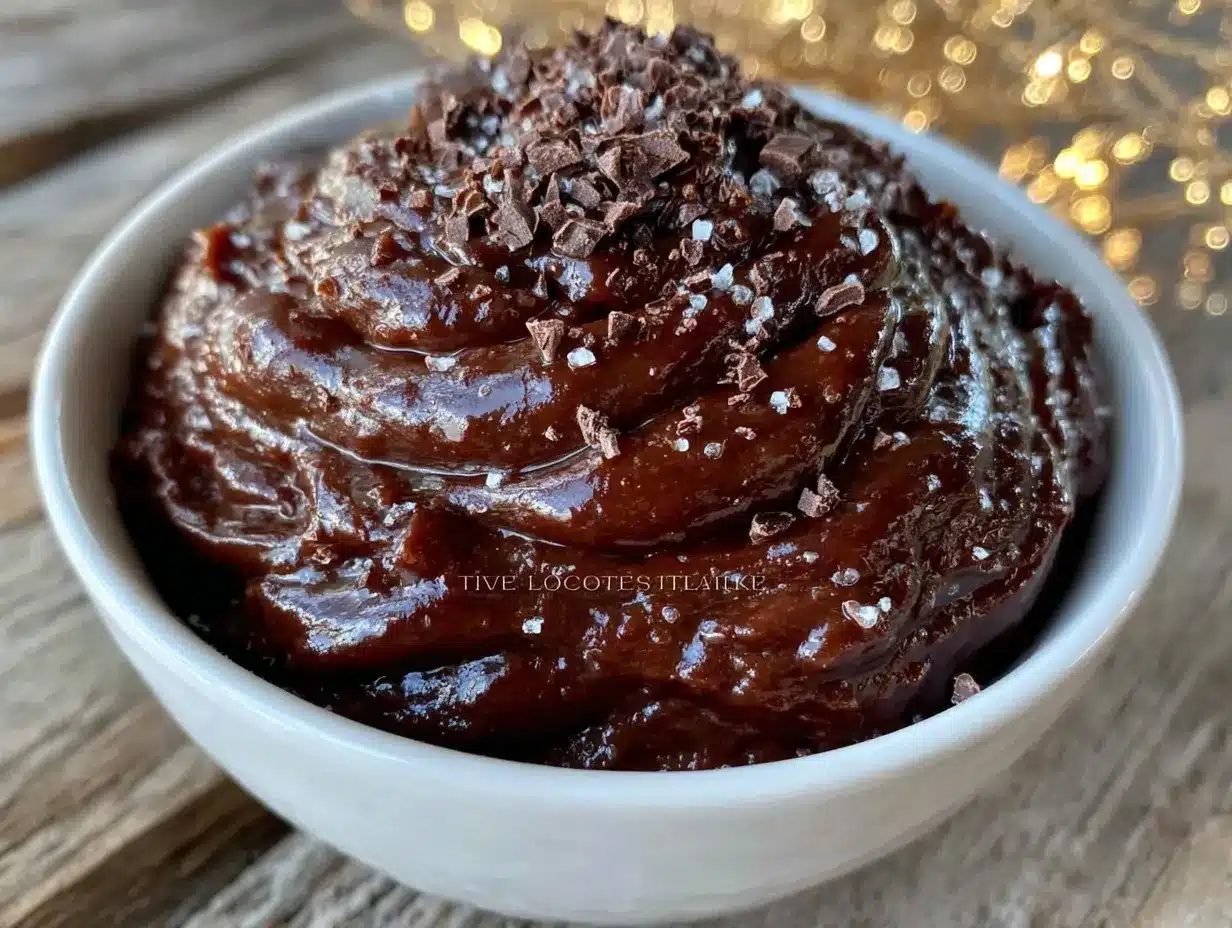
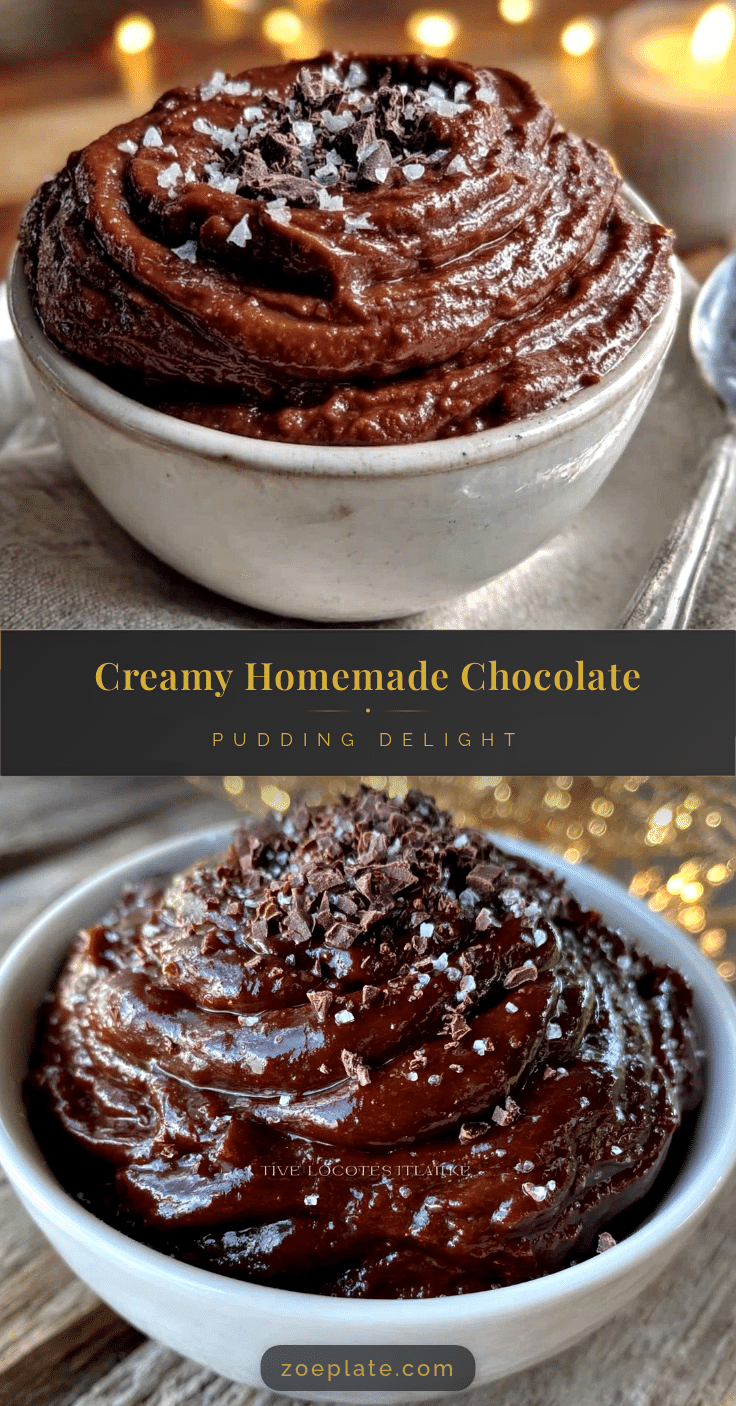
- Serve and garnish: Top with whipped cream, chocolate shavings, or fresh berries if you like. Then dig in and enjoy!
Pro tips: If lumps form, a quick blitz with an immersion blender smooths it out perfectly. Also, don’t rush the cooling—patience rewards you with the creamiest texture. I like to whisk the pudding by hand instead of a mixer to keep control and avoid overworking it.
Cooking Tips & Techniques
Making creamy chocolate pudding from scratch is straightforward but there are a few tricks I’ve learned through trial and error that make all the difference:
- Whisk constantly: This prevents lumps and keeps the pudding silky smooth. Honestly, skipping this step is the fastest way to end up with a grainy mess.
- Medium heat is your friend: Too hot and the pudding scorches; too low and it won’t thicken well. Patience here pays off big time.
- Use room temperature milk: This helps the dry ingredients incorporate evenly and speeds up thickening.
- Don’t forget to cook the pudding a minute or two after it thickens: If you skip this, the cornstarch taste will linger, and it won’t set properly.
- Cover with plastic wrap directly on the pudding’s surface: This little step avoids that annoying pudding skin that nobody likes.
I once tried rushing the cooling process by popping the pudding straight into the fridge uncovered—big mistake! It formed a tough skin and lost that luscious texture. Also, I’ve found using Dutch-processed cocoa powder instead of natural cocoa dramatically improves flavor and color. Lastly, multitasking by prepping toppings while the pudding cooks saves time and keeps things smooth in the kitchen.
Variations & Adaptations
This creamy chocolate pudding from scratch is a great base to play around with. Here are some ways I’ve tweaked it for different moods or dietary needs:
- Dairy-Free Version: Swap whole milk with almond, coconut, or oat milk. Use coconut oil instead of butter for a similar creamy finish.
- Extra Chocolatey: Stir in ½ cup (90 g) of mini chocolate chips right after cooking for melty pockets of chocolate.
- Mocha Twist: Add 1 tsp instant espresso powder into the dry mix to deepen the chocolate flavor with a coffee kick.
- Low-Sugar: Reduce sugar by ¼ cup (50 g) and add a splash of vanilla almond milk for sweetness without the extra sugar.
- Spiced Chocolate: Sprinkle in a pinch of cinnamon and cayenne pepper for a subtle warmth and slight heat.
One favorite variation I tried was folding in a dollop of peanut butter after cooking—dangerously delicious! Feel free to experiment with your favorite flavors, but keep an eye on liquid ratios to maintain that perfect creamy texture. Also, you can cook this pudding on the stovetop as directed or try a double boiler method for extra gentle heat control.
Serving & Storage Suggestions
This creamy chocolate pudding from scratch is best served chilled, straight from the fridge. The cool temperature really lets the silky texture shine and the flavors meld beautifully. For presentation, a swirl of whipped cream and a sprinkle of chocolate shavings or fresh berries add a nice contrast and a pop of color.
It pairs wonderfully with crunchy biscotti, shortbread cookies, or a simple vanilla wafer on the side. For beverages, a cup of rich coffee or a glass of cold milk complements the chocolate perfectly.
Store leftovers covered with plastic wrap pressed directly on the pudding surface or in airtight containers in the fridge. It keeps well for up to 4 days—though honestly, it rarely lasts that long in my house. You can freeze it, but the texture changes a bit; I recommend freezing only if you plan to use it in a baked dessert later.
To reheat, gently warm the pudding in a saucepan over low heat with a splash of milk, whisking constantly until smooth. Or enjoy it cold as a refreshing treat—the flavors deepen over a day or two in the fridge.
Nutritional Information & Benefits
This creamy chocolate pudding from scratch is a treat that can fit into a balanced diet when enjoyed in moderation. Each serving (about ½ cup / 125 ml) contains approximately:
| Calories | 220 |
|---|---|
| Fat | 8 g |
| Carbohydrates | 34 g |
| Protein | 5 g |
| Sugar | 28 g |
Using whole milk provides calcium and vitamin D, while cocoa powder is rich in antioxidants and can boost heart health. If you opt for dairy-free milks, the nutritional profile will vary slightly. Keep in mind the sugar content; you can reduce it for a lower-sugar version. This pudding is gluten-free as written, making it friendly for those with gluten sensitivities.
From a wellness perspective, it’s a dessert that feels indulgent but stays simple and homemade—no artificial ingredients or preservatives. It’s a sweet way to satisfy cravings without overcomplicating your kitchen routine.
Conclusion
If you’re looking for a creamy chocolate pudding from scratch that’s easy, delicious, and utterly comforting, this recipe is the one you want. It’s perfect for customizing to your taste, impressing friends, or just indulging yourself after a long day. Honestly, I love how this pudding brings a little joy and nostalgia to the table with every spoonful.
Don’t be shy to tweak it based on what you have or what you love—whether it’s adding a dash of spice or swapping dairy out. I’d love to hear how you make it your own! Drop a comment below, share your variations, or let me know if you gifted this dessert to someone special. Happy pudding making—here’s to many cozy bites ahead!
FAQs About Creamy Chocolate Pudding from Scratch
How long does homemade chocolate pudding last in the fridge?
Stored properly in an airtight container or covered with plastic wrap pressed directly on the surface, homemade pudding lasts about 4 days refrigerated.
Can I make this pudding vegan or dairy-free?
Yes! Use plant-based milk like almond or oat milk and substitute butter with coconut oil or a vegan butter alternative.
Why did my pudding turn out lumpy?
Usually, lumps happen if the dry ingredients aren’t whisked well with the milk before heating or if you don’t whisk continuously while cooking. Slow, steady whisking is key.
Can I use regular cocoa powder instead of Dutch-processed?
You can, but the flavor and color might be a bit more acidic and less smooth. Dutch-processed cocoa gives a richer, mellower chocolate taste.
Is there a way to make this pudding thicker or thinner?
To thicken, add a little more cornstarch (up to ½ tablespoon extra). To thin, whisk in additional milk gradually until you get your desired consistency.
Pin This Recipe!
Creamy Chocolate Pudding from Scratch

A rich and velvety homemade chocolate pudding recipe that is quick, easy, and perfect for any occasion. Made with simple ingredients and a smooth texture, this pudding is a nostalgic comfort dessert.
- Prep Time: 10 minutes
- Cook Time: 15 minutes
- Total Time: 25 minutes plus chilling time
- Yield: 6 servings 1x
- Category: Dessert
- Cuisine: American
Ingredients
- 1 cup (200 g) granulated sugar
- 3/4 cup (75 g) unsweetened cocoa powder (preferably Dutch-processed)
- 1/3 cup (40 g) cornstarch
- 1/4 tsp salt
- 4 cups (950 ml) whole milk (can substitute almond or oat milk for dairy-free)
- 2 tbsp (28 g) unsalted butter, softened
- 2 tsp vanilla extract
- Optional toppings: whipped cream, chocolate shavings or sprinkles, fresh berries
Instructions
- In a medium saucepan, whisk together sugar, cocoa powder, cornstarch, and salt.
- Gradually stir in milk, whisking constantly to combine into a smooth mixture without lumps.
- Place the saucepan over medium heat and whisk continuously. After 5-7 minutes, the mixture will thicken and bubble.
- Continue cooking and whisking for another 1-2 minutes once thickened to cook out the starchy taste.
- Remove from heat and stir in softened butter and vanilla extract until fully melted and combined.
- Pour pudding into serving bowls or a large dish. Press plastic wrap directly onto the surface to prevent skin formation.
- Let cool to room temperature, then refrigerate for at least 2 hours or overnight for best creaminess.
- Serve chilled, topped with optional whipped cream, chocolate shavings, or fresh berries.
Notes
Whisk constantly to avoid lumps and scorching. Use room temperature milk for better incorporation. Press plastic wrap directly on pudding surface to prevent skin. For dairy-free, substitute milk and butter accordingly. Optional espresso powder or chocolate chips can enhance flavor.
Nutrition
- Serving Size: About 1/2 cup (125 m
- Calories: 220
- Sugar: 28
- Fat: 8
- Carbohydrates: 34
- Protein: 5
Keywords: chocolate pudding, homemade pudding, creamy dessert, easy chocolate dessert, scratch pudding, Dutch-processed cocoa, comfort food