“You sure you don’t want to order pizza?” my roommate asked, eyeing the mountain of boxes we’d just lugged up three flights of stairs. Honestly, I was exhausted, the kind of tired where you just want something easy, comforting, and familiar. Yet, the thought of waiting for delivery felt like one more thing to organize during the chaos of moving day.
So, I rolled up my sleeves and grabbed flour, yeast, and a few basics. What came out of that hectic afternoon was this perfect homemade moving day pizza dough. It’s funny — I wasn’t expecting much, just something to fill our hungry bellies fast. But as the dough came together with its warm, yeasty aroma, I realized it was exactly the kind of comfort food that calms the storm of any busy day.
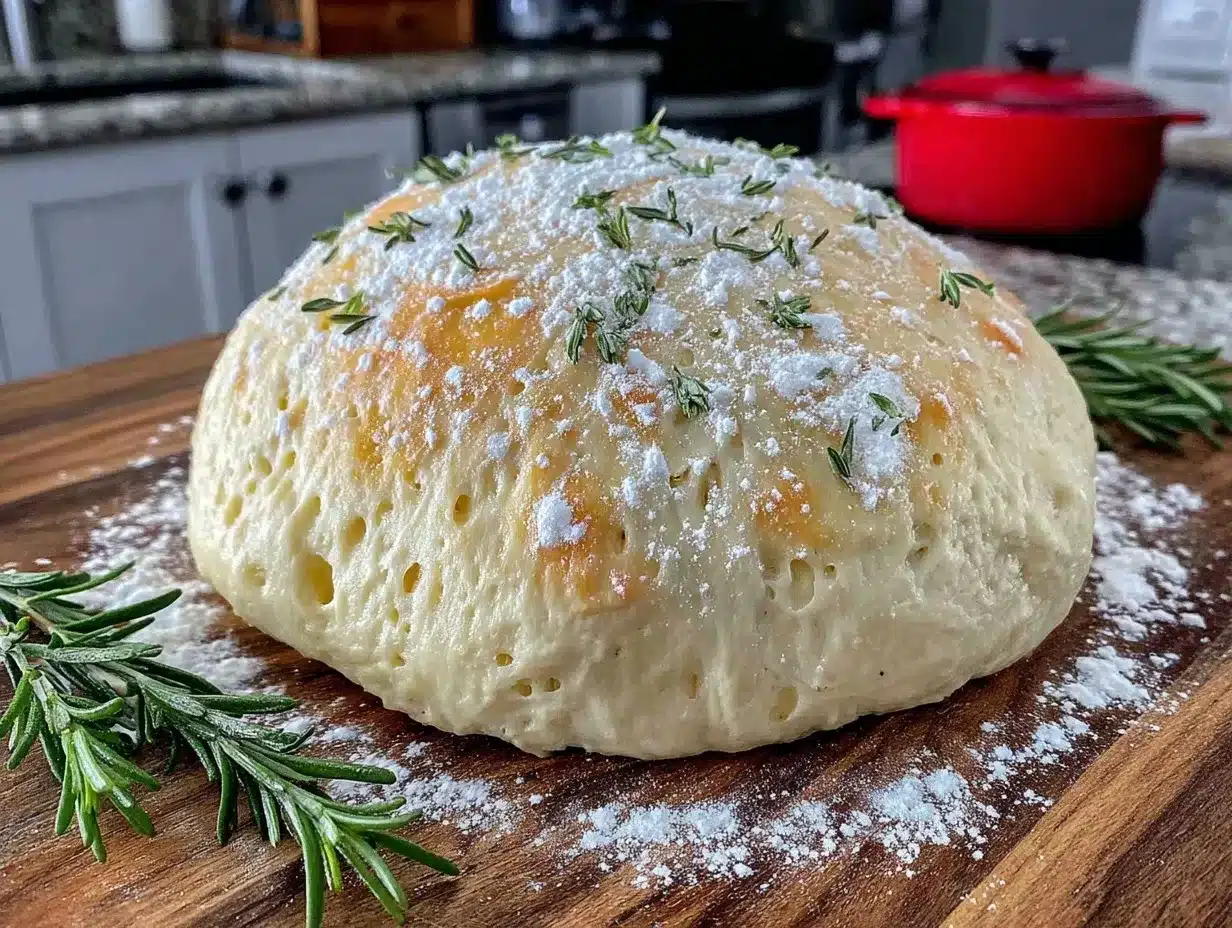
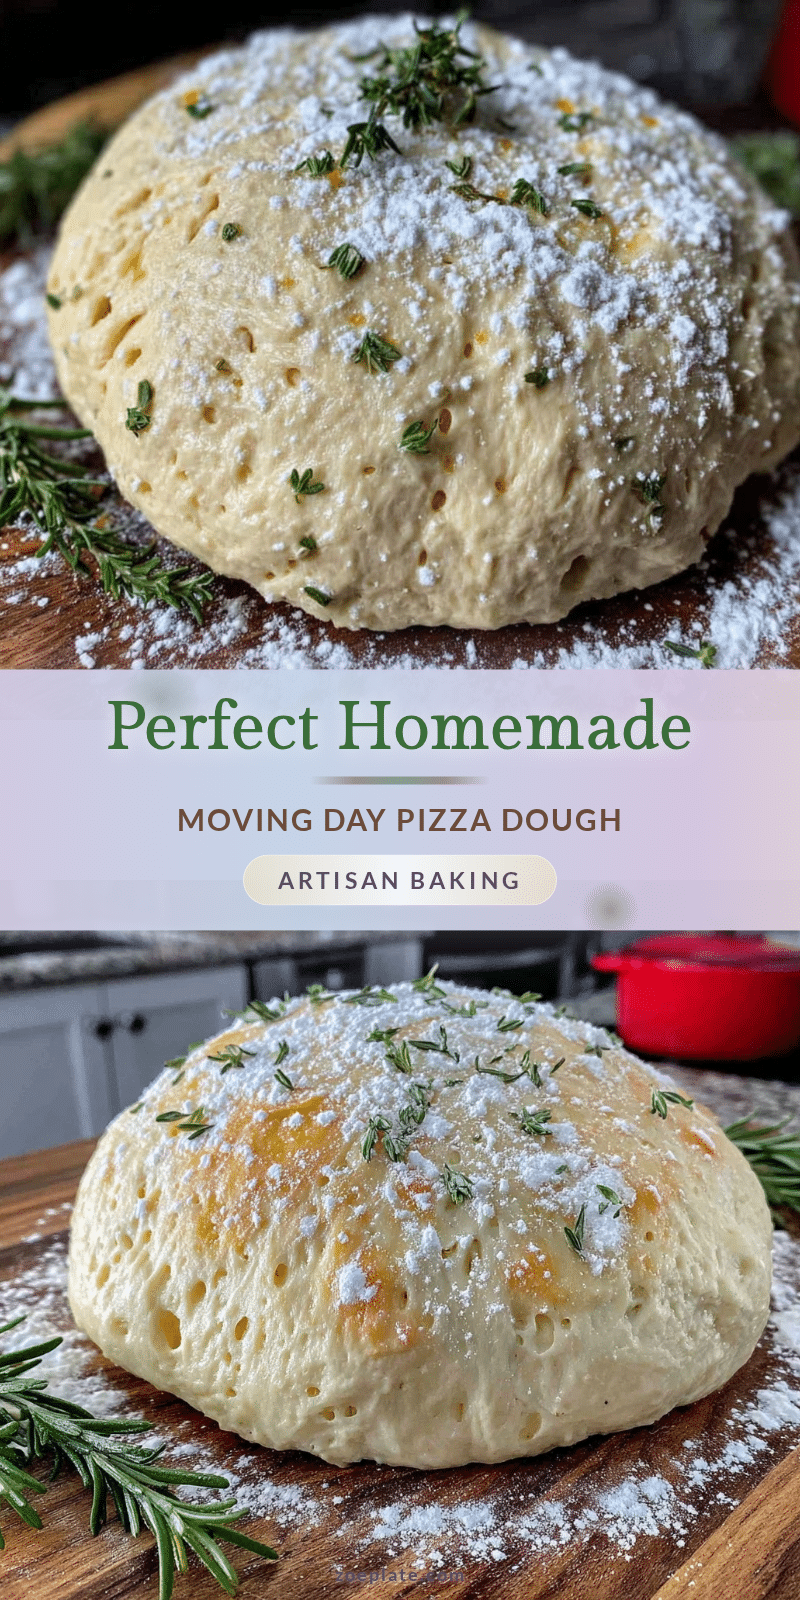
This dough became my go-to not just for moving day, but for every time I needed a no-fuss, reliable base for pizza night. It’s not fancy, but it’s a dough you can trust — soft, chewy, with just enough crispiness on the edges to make you close your eyes after the first bite. It’s the kind of recipe that sticks with you, the one you turn to when you want simple goodness that feels homemade and honest.
What really hooked me was how this dough demands so little attention but rewards you with that perfect crust texture — no fancy equipment, no complicated steps. Just real ingredients and a little patience. And though moving day was chaotic, making this dough was a quiet moment of calm that somehow made the whole day feel a little bit easier.
That’s why I’m sharing this recipe today — because sometimes the best dishes come from unexpected moments, and this perfect homemade moving day pizza dough is just that. It’s a reminder that good food doesn’t have to be complicated, especially when you need it most.
Why You’ll Love This Recipe
This perfect homemade moving day pizza dough quickly became a favorite for so many reasons — I’ve tested it over and over (and yes, made plenty of mistakes along the way) to get it just right. It’s a recipe that feels both familiar and special, and here’s why you’ll want to keep it handy:
- Quick & Easy: You can whip up this dough in under 15 minutes, making it ideal for hectic days or last-minute cravings.
- Simple Ingredients: No need for exotic or hard-to-find items — just pantry staples like flour, yeast, water, olive oil, and salt.
- Perfect for Moving Day (or Any Busy Day): It’s forgiving and flexible, great when your kitchen is in flux or you’re short on time.
- Crowd-Pleaser: Whether you’re feeding friends, family, or just yourself, this dough bakes into a crust that everyone loves.
- Unbelievably Delicious: The balance of chewy and crisp, with a subtle tang from the yeast, makes it comfort food at its best.
This recipe isn’t just another pizza dough — it’s the one I trust when I want that perfect crust without fuss. I’ve found that letting the dough rest a bit longer brings out a deeper flavor, and using a splash of olive oil adds a tender crumb that’s hard to beat. Plus, it’s versatile enough for any toppings you crave, whether classic margherita or a spicy harissa-roasted chicken like the one I recently enjoyed in this recipe. Honestly, every time I make it, it feels like a small victory in the kitchen.
What Ingredients You Will Need
This recipe uses simple, wholesome ingredients to deliver bold flavor and satisfying texture without the fuss. You’ll find most of these are likely already in your pantry or fridge, perfect for a busy day or spontaneous pizza craving.
- All-purpose flour (3 ½ cups / 440g) – the base for your dough; I prefer King Arthur for consistent results.
- Active dry yeast (1 packet / 2 ¼ teaspoons) – the magic that makes the dough rise and get that airy texture.
- Warm water (1 ¼ cups / 300 ml, about 110°F / 43°C) – activates the yeast and hydrates the flour.
- Olive oil (2 tablespoons) – adds tenderness and flavor; extra virgin is best but regular works fine.
- Sugar (1 teaspoon) – feeds the yeast and helps with browning.
- Salt (1 ½ teaspoons) – balances flavor and strengthens the dough.
Optional:
- Semolina flour (for dusting) – gives the crust a nice texture and prevents sticking.
- Herbs or garlic powder – if you want to add an extra flavor twist.
Ingredient tips: For a gluten-free version, swap all-purpose flour with a gluten-free blend designed for bread baking, but note the texture will differ. If you don’t have active dry yeast, instant yeast works too—just mix it directly with the flour. On hot days, use cooler water to avoid killing the yeast. In colder months, I sometimes use warm Greek yogurt in place of water for a slightly tangier dough.
Equipment Needed
- Large mixing bowl: For combining and kneading dough; a sturdy glass or stainless steel bowl works well.
- Measuring cups and spoons: Precise measurements matter here, especially for yeast and salt.
- Wooden spoon or dough whisk: Helpful for mixing ingredients without making a mess.
- Kitchen scale (optional but recommended): For weighing flour to ensure accuracy, especially if you’re serious about perfect crust.
- Plastic wrap or damp kitchen towel: To cover dough while it rises and keep it from drying out.
- Baking sheet or pizza stone: A pizza stone, if you have one, preheated in the oven gives the best crust texture. A heavy baking sheet works fine too.
- Rolling pin or hands: You can roll out the dough or stretch it by hand if you prefer.
For budget-friendly options, a silicone baking mat can prevent sticking on your sheet, and a basic digital thermometer helps keep your water temp just right. I once tried making this dough with a stand mixer, but honestly, I enjoy the hands-on kneading — it’s oddly meditative and gives great dough feel feedback.
Preparation Method
- Activate the yeast (5 minutes): In your large bowl, combine warm water (110°F / 43°C), sugar, and yeast. Stir gently and let it sit until foamy and bubbly on top — that means the yeast is alive and kicking. If it doesn’t foam, your yeast might be old or water too hot/cold.
- Add olive oil and salt (1 minute): Stir in olive oil and salt into the yeast mixture. Salt is crucial here, but don’t add it directly to the yeast before activation as it can kill it.
- Mix in flour (3-5 minutes): Gradually add the flour, about ½ cup (60g) at a time, mixing with a wooden spoon or dough whisk until the dough starts coming together and pulls away from the sides. It should be soft and slightly sticky — don’t worry if it feels a little tacky.
- Knead the dough (8-10 minutes): Turn the dough onto a floured surface and knead until smooth and elastic. You’ll know it’s ready when you can stretch a small piece thin without it tearing — this is called the “windowpane” test. If it’s too sticky, sprinkle a little flour, but don’t overdo it or the dough will be stiff.
- First rise (1-1.5 hours): Shape the dough into a ball and place it in a lightly oiled bowl. Cover with plastic wrap or a damp towel. Put it in a warm, draft-free spot to rise until doubled in size. This is where the magic happens — be patient!
- Shape the dough (5 minutes): Punch down the dough gently to release air. Divide it into two equal portions if you want two pizzas. On a floured surface, roll or stretch the dough out to your desired thickness and shape.
- Add toppings and bake (10-15 minutes): Transfer the dough to a baking sheet or preheated pizza stone. Add your favorite sauce, cheese, and toppings. Bake in a preheated oven at 475°F (245°C) for 10-15 minutes, until the crust is golden and crisp.
Pro tip: If your oven struggles to get hot enough, preheat your baking sheet or stone for at least 30 minutes. Also, if you’re short on time, you can refrigerate the dough after the first rise and bake within 24 hours — it develops even better flavor that way.
Cooking Tips & Techniques
Getting the perfect homemade moving day pizza dough isn’t rocket science, but I’ve learned a few things from trial, error, and… well, some chewy failures.
- Water temperature matters: Yeast is sensitive. Too hot and it dies; too cold and it won’t activate. Aim for about 110°F (43°C). If you don’t have a thermometer, lukewarm to the touch is a good guide.
- Don’t rush the rise: Let the dough double in size naturally. If your kitchen is cold, find a warm spot like near a radiator or inside an oven with just the light on.
- Knead just right: Kneading develops gluten for chewiness. If you skip or skimp, the dough can be crumbly. For a hands-off method, use a stand mixer with a dough hook on low speed for 5-6 minutes.
- Flour type affects texture: Bread flour gives a chewier crust thanks to higher protein but all-purpose flour works perfectly well and is more accessible.
- Stretch dough by hand: For a rustic feel, stretch the dough gently rather than rolling it out. It helps keep air bubbles intact for a lighter crust.
I once forgot to add sugar and ended up with a flat, dense crust — lesson learned! Also, topping too heavily can weigh the dough down and make it soggy, so balance toppings wisely. When in doubt, less is more.
Variations & Adaptations
This dough is a great starting point that adapts well to different needs and flavors. Here are some ideas I’ve tried or thought up for customizing it:
- Whole wheat twist: Swap half the all-purpose flour with whole wheat for nuttier flavor and added fiber. Expect a slightly denser dough but still delicious.
- Gluten-free option: Use a gluten-free flour blend designed for bread baking. Add a teaspoon of xanthan gum if your blend doesn’t include it for better elasticity.
- Herb-infused dough: Mix in dried oregano, basil, or garlic powder into the flour before kneading for an aromatic crust that pairs well with Mediterranean toppings.
- Overnight cold rise: Let the dough rise slowly in the fridge overnight. This develops deeper flavor and makes the dough easier to digest.
- Cauliflower crust base: For a low-carb alternative, try pairing this dough recipe with a cauliflower crust for a hybrid pizza experience (great for a gluten-sensitive friend or two!).
One of my favorite tweaks was adding nutritional yeast to the dough for a subtle cheesy umami boost — if you love recipes like the creamy vegan mac and cheese from that post, you might enjoy this twist too.
Serving & Storage Suggestions
This pizza dough shines best fresh out of the oven, warm and inviting. Serve your pizza immediately for that perfect balance of crispy crust and melty toppings.
Pair it with a simple green salad or a zesty nutritional yeast Caesar dressing for that extra punch of flavor. A cold sparkling water or your favorite iced tea rounds out the meal nicely.
For storage, you can refrigerate the dough, tightly wrapped, for up to 2 days. When ready to use, let it come to room temperature and gently reshape before baking. The dough also freezes well — wrap it tightly in plastic wrap and place in a freezer bag for up to 3 months. Thaw overnight in the fridge before baking.
Reheating leftover pizza works best in a hot skillet or oven to bring back crisp edges rather than the microwave, which tends to make it soggy. Over time, the dough’s flavor deepens, making leftovers even tastier the next day.
Nutritional Information & Benefits
Per serving (based on 1/8 of the dough without toppings): approximately 180 calories, 1.5g fat, 36g carbohydrates, 5g protein, and 2g fiber.
The key ingredients—flour, yeast, olive oil—offer simple nutrition. Yeast provides B vitamins and helps with digestion, while olive oil contributes heart-healthy fats. This recipe is naturally vegan and can be made gluten-free with substitutions.
Because it’s homemade, you control sodium and avoid preservatives common in store-bought dough. It’s a wholesome base for adding nutrient-rich toppings like veggies, lean proteins, or healthy fats.
Conclusion
This perfect homemade moving day pizza dough is more than just a recipe — it’s a little anchor when life feels chaotic. It’s simple enough to pull together in a pinch, but satisfying enough to make pizza night feel special. I love how it has become my trusted fallback, whether I’m unpacking boxes or just craving that perfect slice.
Feel free to tweak it to your liking, play with different flours or herbs, and pair with your favorite toppings. And if you’re curious about making other comforting, fuss-free dishes, you might enjoy my harissa chickpea stew or these easy collagen protein balls for a nourishing snack.
I’d love to hear how your dough turns out or any creative spins you try — sharing kitchen wins always feels good. So, roll up your sleeves, get that dough going, and enjoy the simple, soul-soothing joy of homemade pizza.
Frequently Asked Questions
Can I use instant yeast instead of active dry yeast?
Yes! Instant yeast can be mixed directly with the flour without proofing. Use the same amount and skip the activation step.
How long can I store the dough in the fridge?
You can keep the dough refrigerated for up to 2 days. Just bring it to room temperature before shaping and baking.
Can I freeze the pizza dough?
Absolutely. Wrap the dough tightly in plastic and freeze for up to 3 months. Thaw in the fridge overnight before using.
What if my dough is too sticky to handle?
Lightly flour your hands and work surface, but add flour sparingly to avoid a tough crust. Sticky dough is okay — it usually bakes up softer.
How do I get a crispier crust?
Preheat a pizza stone or baking sheet in the oven for at least 30 minutes before baking. Also, avoid overloading toppings which can weigh down the dough.
Pin This Recipe!
Perfect Homemade Moving Day Pizza Dough

A quick and easy homemade pizza dough recipe that yields a soft, chewy crust with just enough crispiness, perfect for busy days or last-minute cravings.
- Prep Time: 15 minutes
- Cook Time: 10-15 minutes
- Total Time: 1 hour 30 minutes to 1 hour 50 minutes
- Yield: 2 pizzas (8 servings) 1x
- Category: Main Course
- Cuisine: Italian
Ingredients
- 3 ½ cups (440g) all-purpose flour
- 1 packet (2 ¼ teaspoons) active dry yeast
- 1 ¼ cups (300 ml) warm water (about 110°F / 43°C)
- 2 tablespoons olive oil
- 1 teaspoon sugar
- 1 ½ teaspoons salt
- Optional: semolina flour for dusting
- Optional: herbs or garlic powder for extra flavor
Instructions
- Activate the yeast: In a large bowl, combine warm water (110°F / 43°C), sugar, and yeast. Stir gently and let sit until foamy and bubbly, about 5 minutes.
- Add olive oil and salt to the yeast mixture and stir (about 1 minute).
- Gradually add flour, about ½ cup (60g) at a time, mixing with a wooden spoon or dough whisk until dough starts coming together and pulls away from the sides (3-5 minutes).
- Turn dough onto a floured surface and knead until smooth and elastic, about 8-10 minutes, performing the windowpane test.
- Shape dough into a ball and place in a lightly oiled bowl. Cover with plastic wrap or damp towel and let rise in a warm, draft-free spot until doubled in size, about 1 to 1.5 hours.
- Punch down dough gently to release air. Divide into two equal portions if desired. Roll or stretch dough on a floured surface to desired thickness and shape (about 5 minutes).
- Add toppings and bake on a baking sheet or preheated pizza stone at 475°F (245°C) for 10-15 minutes until crust is golden and crisp.
Notes
Use water at about 110°F to activate yeast properly. Do not add salt directly to yeast before activation. Let dough rise fully for best texture. Preheat pizza stone or baking sheet for at least 30 minutes for crispier crust. Dough can be refrigerated up to 2 days or frozen up to 3 months. For gluten-free, substitute flour with gluten-free bread blend and add xanthan gum if needed.
Nutrition
- Serving Size: 1/8 of the dough (wi
- Calories: 180
- Fat: 1.5
- Carbohydrates: 36
- Fiber: 2
- Protein: 5
Keywords: pizza dough, homemade pizza, easy pizza dough, moving day recipe, quick pizza crust, simple pizza dough