That sharp little snap of a cheddar cube breaking between your teeth, paired with the salty whisper of ham and the buttery crumble of a club cracker— it’s a texture combination that still stops me mid-afternoon. I was standing in my kitchen last Tuesday, staring into the fridge, and the memory hit me out of nowhere. It wasn’t a fancy meal or a holiday feast. It was a lunchbox, the kind with little compartments, opened on a fluorescent-lit school cafeteria table.
I remember the precise weight of those store-bought kits— the plastic tray, the cold meat, the way the crackers sometimes got a little soft if you didn’t eat them first. And honestly? As a kid, I loved them. But as an adult who actually reads ingredient labels now, I couldn’t bring myself to buy them for my own family. So I started messing around in my kitchen one Sunday, trying to recreate that same satisfying, grab-and-go feeling with real food. No preservatives, no plastic-wrapped mystery cheese, just honest ingredients that taste like something.
These Easy DIY Lunchable Boxes with Ham, Cheddar & Crackers became a weekly staple faster than I expected. They are not complicated—that is the whole point. It’s about assembling something that feels like a treat but takes less time than deciding what to order for delivery. There is a quiet kind of satisfaction in opening your own box, knowing exactly what went into it, and finding that the simple things still hit the spot. Sometimes the best lunch is the one you build yourself.
Why You’ll Love This Recipe
Look, I have tested a lot of lunch ideas over the years. Some are too fussy, some fall apart in a bag, and some just don’t satisfy that mid-day hunger. This one hits a different note. It is the kind of meal that feels like a small celebration of practicality and taste, all at once.
- Ready in Under 10 Minutes : No cooking, no heating, no complicated steps. Just slice, arrange, and go. Perfect for those mornings when you are running behind but still want something real to eat.
- Simple, Real Ingredients : You control what goes in. High-quality ham, sharp cheddar, and your favorite crackers. No artificial colors, no preservatives, no weird additives. Just food you recognize.
- Perfect for Lunchboxes, Picnics & Busy Days : Whether you are packing for school, work, a road trip, or a lazy afternoon at the park, these boxes travel beautifully. They don’t need reheating and they hold up well in a cooler bag.
- Kid-Approved and Adult-Friendly : There is something about the DIY aspect that makes everyone happy. Kids love building their own bites, and adults appreciate the nostalgia with a grown-up upgrade.
- Unbelievably Satisfying : The combination of salty ham, creamy cheddar, and crunchy crackers is a classic for a reason. It is comfort food in its most portable, no-fuss form.
What makes these different from the store-bought version is the quality and the freedom. You are not limited to a tiny portion of pre-sliced meat or a single cheese option. You get to choose the ham you actually like—maybe a honey-glazed version or a smoked black forest ham. You pick the cheddar that melts on your tongue just right. And you can switch up the crackers based on your mood. It is your lunch, your way, and that makes every bite taste better.
This is the kind of meal that reminds you that eating well does not have to be elaborate. It is simple, honest, and deeply satisfying. The first time I packed one for my niece, she looked at me and said, “This is way better than the ones from the store.” And honestly, that is all the confirmation I needed.
What Ingredients You Will Need
This recipe uses a short list of simple, high-quality ingredients. The magic is in the combination, not the complexity. Here is everything you need to build your perfect DIY Lunchable box.
- Ham : 8 ounces (225g) of your favorite deli-sliced ham. I prefer a thick-cut honey ham or a smoked black forest ham for deeper flavor. You can also use turkey or roast beef if you want to switch it up. Look for ham that is sliced about 1/8-inch thick so it holds up well when cut into cubes or strips.
- Cheddar Cheese : 8 ounces (225g) of sharp or extra-sharp cheddar cheese. I recommend buying a block and cutting it yourself rather than using pre-shredded or pre-sliced cheese. The texture is firmer and the flavor is more pronounced. A good aged cheddar from a local creamery or a trusted brand like Tillamook or Cabot works beautifully.
- Crackers : 4 to 6 ounces (about 115 to 170g) of your favorite crackers. Classic butter crackers like Ritz, club crackers, or whole-wheat crackers all work. For a gluten-free option, use your favorite GF crackers or even rice cakes cut into smaller pieces.
- Fresh Fruit (Optional but Recommended) : A small apple, a handful of red grapes, or a few strawberries. The sweetness and acidity balance the saltiness of the ham and cheese beautifully. Plus, it adds a pop of color to your box.
- Crunchy Vegetable (Optional) : A few baby carrots, cucumber slices, or celery sticks. Adds a fresh, hydrating crunch that complements the richer components.
- Dipping Sauce or Spread (Optional) : A tablespoon of honey mustard, whole-grain mustard, or even a little fig jam. This is not necessary, but it adds a lovely layer of flavor if you have it on hand.
- Nuts or Seeds (Optional) : A small handful of almonds, walnuts, or pumpkin seeds for extra protein and crunch.
Ingredient Selection Tips: When choosing your ham, look for options that are low in sodium and free from added nitrates if that matters to you. Many deli counters now offer “clean label” options with minimal ingredients. For the cheddar, a block of aged cheddar will give you the best texture and flavor. Avoid pre-shredded cheese as it often contains anti-caking agents that can affect the texture. And for crackers, feel free to mix and match—sometimes a variety pack is the most fun.
Equipment Needed
You do not need a lot of fancy gear for this recipe. It is about as simple as it gets. But having the right tools makes the process smoother and more enjoyable.
- Cutting Board : A sturdy wooden or plastic cutting board for slicing the ham and cheese. A large board gives you plenty of room to work.
- Sharp Knife : A good chef’s knife or a serrated knife for clean cuts through the ham and cheese. A dull knife will tear the ham and crush the cheese, so keep it sharp.
- Lunchbox or Meal Prep Containers : Bento-style lunchboxes with compartments are ideal. I love the stainless steel options from brands like PlanetBox or the reusable plastic ones from Bentgo. You can also use a simple glass meal prep container with a tight-fitting lid.
- Small Ramekins or Silicone Cups (Optional) : For holding dips, sauces, or small fruits like grapes and berries. They keep everything separate and prevent sogginess.
- Parchment Paper or Silicone Baking Mat (Optional) : If you are cutting cheese on a surface you want to protect, a sheet of parchment paper makes cleanup a breeze.
- Measuring Cups and Spoons : For portioning out nuts, seeds, or dip. A small set is handy but not strictly necessary if you are just eyeballing it.
Personal Note: I have gone through a few lunchbox systems over the years. My current favorite is a three-compartment stainless steel box. It keeps the crackers from getting crushed by the heavier items and the cheese stays at the perfect temperature. If you are on a budget, a simple set of small glass containers from a dollar store works just as well. The key is having separate compartments so the crackers stay crunchy.
Preparation Method

This is where the fun begins. The process is quick, but taking a little care with each step makes the final result feel polished and satisfying. Follow these steps and you will have a beautiful lunchbox ready in no time.
- Prepare the Ham : Lay your 8 ounces (225g) of deli ham flat on the cutting board. If the slices are large, stack two or three slices on top of each other and cut them into 1-inch (2.5 cm) squares or strips. You can also roll each slice into a tight log and then slice it into pinwheels for a more decorative look. Place the ham pieces in one compartment of your lunchbox.
- Cut the Cheddar : Take your 8 ounces (225g) block of sharp cheddar and cut it into 1/2-inch (1.25 cm) cubes. Aim for uniform pieces so they look neat and are easy to eat. If you prefer, you can also cut the cheese into thin rectangles or use a crinkle cutter for a fun, kid-friendly shape. Place the cheese cubes in a separate compartment.
- Portion the Crackers : Count out about 10 to 12 crackers per serving, depending on the size of your crackers and your appetite. Place them in their own compartment to keep them from getting crushed. If you are using a bento box with a removable divider, you can also place a small piece of parchment paper between the crackers and the cheese to absorb any moisture.
- Add Fresh Fruit : Wash and dry your fruit. If using an apple, core it and slice it into thin wedges. Toss the apple slices in a little lemon juice to prevent browning if you are packing ahead. For grapes, simply rinse and pat dry. Place the fruit in a remaining compartment or in a small silicone cup.
- Add Crunchy Vegetables : If including vegetables, wash and cut them into easy-to-eat sticks or rounds. Baby carrots can be left whole. Celery sticks should be cut into 3-inch (7.5 cm) lengths. Place them in their own compartment.
- Prepare the Dip (Optional) : If you are including a dipping sauce, spoon about 2 tablespoons (30 ml) of honey mustard or your chosen spread into a small ramekin or silicone cup. Place it securely in the lunchbox, making sure it won’t tip over during transport.
- Add Nuts or Seeds (Optional) : Measure out a small handful of almonds or pumpkin seeds and place them in a small compartment or cup. This adds a nice textural contrast and extra protein.
- Assemble and Pack : Arrange all the components in your lunchbox, placing heavier items like cheese cubes and ham on the bottom and lighter items like crackers and nuts on top or in separate compartments. Close the lid securely. If you are packing for later, refrigerate the box until you are ready to eat. The crackers can be added just before serving to keep them at their crispiest.
Sensory Cues: When you cut into the cheddar, you should feel a slight resistance and then a clean break. The cheese should have a firm, waxy texture. The ham should be moist but not wet, with a pleasant salty aroma. The crackers should feel dry and crisp to the touch. When you open the finished box, you should see a beautiful array of colors—the deep orange of the cheddar, the pink of the ham, the golden brown of the crackers, and the bright red or green of the fruit.
Cooking Tips & Techniques
Over the years, I have made plenty of mistakes with lunch packing. Crackers that went soft, cheese that got sweaty, ham that dried out. Here is what I have learned so you don’t have to make the same errors.
Keep the Crackers Separate: This is the single most important tip. Moisture is the enemy of a crunchy cracker. Always store crackers in a separate compartment or wrap them in a small piece of parchment paper before placing them in the box. If you are packing the night before, consider adding the crackers right before you walk out the door.
Dry the Ham: After you cut the ham, pat it gently with a paper towel to remove any excess moisture. This helps the ham stay fresh and prevents it from making the cheese or crackers soggy. It is a small step that makes a big difference.
Let the Cheese Breathe: If you are packing the box the night before, let the cheese cubes sit out at room temperature for about 10 minutes before sealing the container. This allows any condensation to evaporate, preventing the cheese from becoming slimy. Then seal it and refrigerate.
Use a Cold Pack: If you are packing these for a lunch that won’t be eaten for a few hours, include a small ice pack or a frozen water bottle in your lunch bag. This keeps the ham and cheese at a safe temperature and helps the crackers stay crisp longer.
Cut Uniform Pieces: Taking a few extra seconds to cut the ham and cheese into similar-sized pieces makes the box look more appealing and ensures each bite has a balanced ratio of ingredients. It is a small detail that elevates the whole experience.
Variations & Adaptations
One of the best things about this recipe is how easy it is to change up. Here are some of my favorite variations that keep things interesting week after week.
- Italian-Inspired : Swap the ham for salami or prosciutto, use fresh mozzarella pearls instead of cheddar, and add a few pepperoncini and cherry tomatoes. Pair with grissini breadsticks or rosemary crackers. It is like a mini antipasto platter in a box.
- Turkey & Swiss : Use oven-roasted turkey breast and Swiss cheese. Add a few slices of Granny Smith apple and a smear of whole-grain mustard on the side. The combination of sweet apple and tangy mustard is fantastic.
- Vegetarian Delight : Skip the meat entirely and use a combination of sharp cheddar, smoked gouda, and fresh mozzarella. Add roasted red pepper strips, cucumber rounds, and a handful of olives. Serve with whole-wheat crackers or pita chips.
- Gluten-Free : Use gluten-free crackers or rice cakes broken into bite-sized pieces. Ensure your ham and cheese are certified gluten-free (most are, but always check the label). Everything else is naturally gluten-free.
- Low-Carb/Keto : Replace the crackers with cucumber slices, bell pepper strips, or celery sticks. You can also add cheese crisps or pork rinds for crunch. The ham and cheese remain the stars, and you get all the satisfaction without the carbs.
- Sweet & Savory : Add a few dried figs or apricots alongside the ham and cheddar. A drizzle of honey or a small dollop of fig jam takes this combination to a whole new level. It is a grown-up twist that feels decadent.
Personal Variation: My absolute favorite version is what I call the “Farmers Market Box.” I use a thick-cut honey ham from a local deli, a block of aged white cheddar from a nearby creamery, and a handful of toasted pecans. I add a few slices of a crisp honeycrisp apple and a small container of honey mustard. The combination of sweet, salty, tangy, and crunchy is unbeatable. I have packed this for road trips, hiking excursions, and lazy Sunday picnics, and it never disappoints.
Serving & Storage Suggestions
These DIY Lunchable boxes are designed to be eaten cold or at room temperature. The texture and flavor profile are best when the ham and cheese are not ice-cold straight from the fridge. Let the box sit out for about 10 to 15 minutes before eating to allow the flavors to open up.
Serving Temperature: I prefer to eat the ham and cheese at a cool room temperature. The crackers should stay crunchy, so if you have added them early, try to keep the box in a cool place until serving. If you are serving these at a party or picnic, arrange the components on a small wooden board for a beautiful presentation.
Complementary Dishes: These boxes pair beautifully with a simple soup, like a creamy one-pot tomato tortellini soup or a creamy slow cooker white chicken chili. They also work well alongside a fresh creamy cucumber dill Greek yogurt salad for a lighter meal. For a beverage, a crisp sparkling water with lemon or a cold glass of iced tea is perfect.
Storage Instructions: Assemble the boxes without the crackers and store them in the refrigerator for up to 3 days. Keep the crackers in a separate airtight container at room temperature. When you are ready to eat, simply add the crackers to the box. This method ensures the crackers stay perfectly crunchy. If you have already assembled the box with crackers, eat it within 24 hours for the best texture.
Freezer Instructions: I do not recommend freezing these boxes. The ham and cheese will lose their texture and the crackers will become stale. These are best enjoyed fresh.
Flavor Development: The flavors actually meld together nicely after a few hours in the fridge. The ham and cheese absorb a bit of each other’s essence, creating a more cohesive bite. This is why I often make these the night before for a lunch the next day—they taste even better.
Nutritional Information & Benefits
This is a well-balanced meal that provides a good mix of protein, healthy fats, and carbohydrates. Here is a rough estimate for one serving (based on 4 ounces of ham, 4 ounces of cheddar, 12 crackers, and a small apple).
- Calories : Approximately 550-650 calories
- Protein : 35-40 grams
- Fat : 30-35 grams
- Carbohydrates : 35-45 grams
- Fiber : 4-6 grams
- Sugar : 15-20 grams (mostly from the fruit)
Health Benefits: Ham is a good source of high-quality protein and essential B vitamins, particularly B12 and niacin. Cheddar cheese provides calcium for strong bones and teeth, as well as vitamin K2 which is important for heart health. The crackers offer quick energy from carbohydrates, and the fruit adds fiber, vitamins, and antioxidants. This meal is naturally low in added sugars (depending on your ham choice) and provides sustained energy throughout the afternoon.
Dietary Considerations: This recipe can be easily adapted for gluten-free, low-carb, or vegetarian diets. It is naturally nut-free (unless you add nuts) and can be made dairy-free by using a plant-based cheese alternative. Always check the labels on your ham and crackers for any hidden allergens or additives.
Conclusion
There is something genuinely satisfying about opening a box you built yourself. It is not just about the food—though the combination of salty ham, creamy cheddar, and crunchy crackers is undeniably delicious. It is about the act of taking care of yourself, even in the simplest way. These Easy DIY Lunchable Boxes with Ham, Cheddar & Crackers are proof that a great meal does not need to be complicated. It just needs to be made with intention.
I love that this recipe gives you total freedom. You can make it exactly the way you like it, every single time. Add a little extra cheese. Swap the ham for turkey. Throw in some pickles or a handful of olives. The possibilities are endless, and that is the beauty of it. It is your lunch, your rules.
So go ahead—grab your favorite ham, a block of sharp cheddar, and a box of crackers. Build yourself a lunch that feels like a treat. And when you open that box at noon, take a moment to enjoy the simple pleasure of a meal made just for you. I would love to hear how you customize yours. Drop a comment below and share your favorite combination. Happy packing!
Frequently Asked Questions
Can I use pre-sliced cheese instead of a block?
Yes, you can use pre-sliced cheese, but the texture will be slightly different. Pre-sliced cheese is often thinner and may not hold up as well when cut into cubes. If you use pre-sliced, just cut it into squares or strips. The flavor will still be great.
How long can I keep these lunchables in the fridge before eating?
You can assemble the boxes (without the crackers) and store them in the refrigerator for up to 3 days. Keep the crackers separate in an airtight container at room temperature. Add the crackers just before serving for the best crunch.
Are these lunchables healthy for kids?
Absolutely. These are much healthier than store-bought versions because you control the ingredients. You can choose low-sodium ham, high-quality cheese, and whole-grain crackers. Adding fresh fruit and vegetables makes them a balanced, nutritious meal that kids will actually enjoy.
Can I make these ahead of time for a week of lunches?
Yes, meal prepping these boxes is a great idea. Cut the ham and cheese, wash and cut the fruit and vegetables, and portion everything into containers on Sunday. Store the crackers separately. Each morning, just grab a container and add the crackers. It takes less than a minute.
What kind of crackers work best for this recipe?
Butter crackers like Ritz or club crackers are classic choices. Whole-wheat crackers, cheese crackers, or even pita chips work well too. The key is choosing a cracker that is sturdy enough to hold up to the ham and cheese without breaking. Avoid very thin or fragile crackers that might crumble easily.
Pin This Recipe!
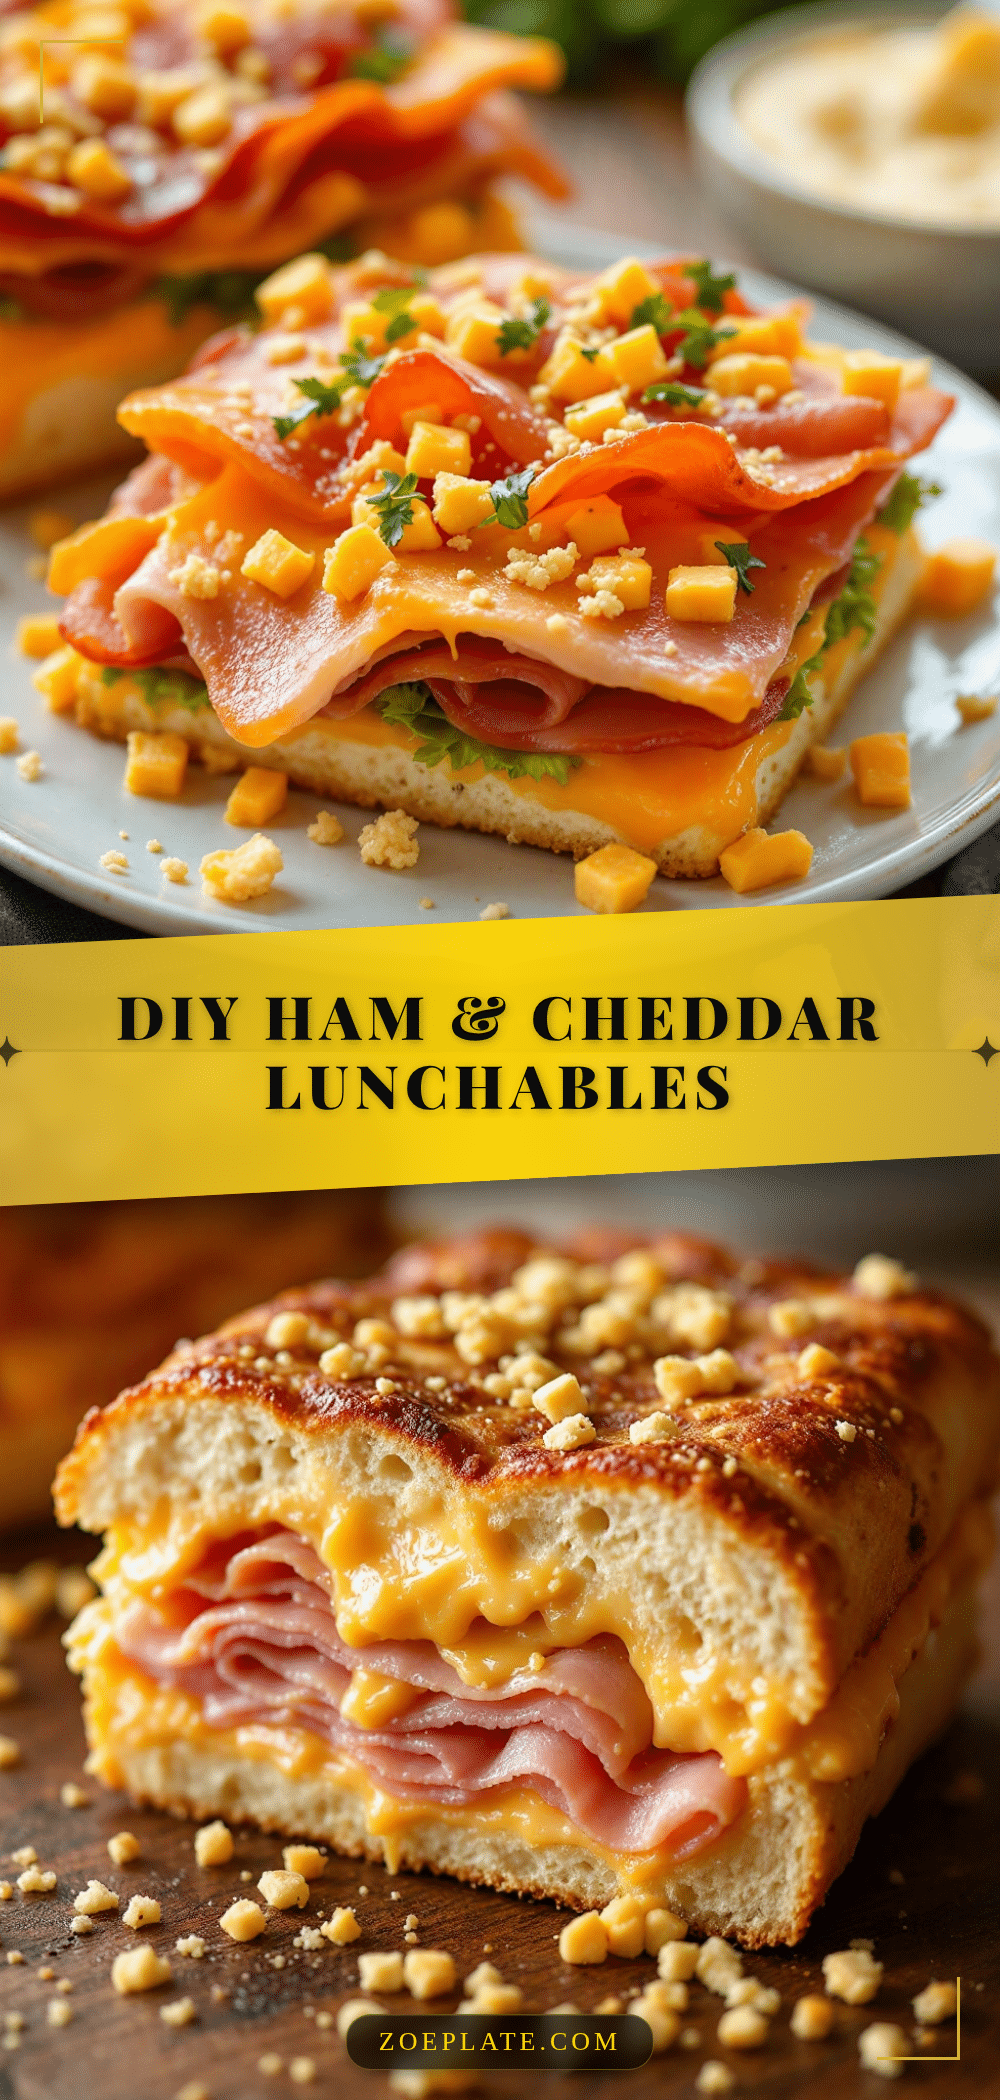
Easy DIY Lunchable Boxes with Ham & Cheddar

These Easy DIY Lunchable Boxes with Ham, Cheddar & Crackers are a quick, healthy, and customizable lunch option made with real ingredients. Ready in under 10 minutes, they are perfect for lunchboxes, picnics, and busy days.
- Prep Time: 10 minutes
- Cook Time: 0 minutes
- Total Time: 10 minutes
- Yield: 4 servings 1x
- Category: Lunch
- Cuisine: American
Ingredients
- 8 ounces (225g) deli-sliced ham (e.g., honey ham or smoked black forest ham)
- 8 ounces (225g) sharp cheddar cheese, cut into 1/2-inch cubes
- 4 to 6 ounces (115 to 170g) crackers (e.g., Ritz, club crackers, or whole-wheat crackers)
- 1 small apple, sliced (optional)
- 1 handful red grapes (optional)
- 1 handful strawberries (optional)
- 1 handful baby carrots (optional)
- 1 cucumber, sliced (optional)
- 2 celery sticks, cut into 3-inch lengths (optional)
- 2 tablespoons honey mustard or whole-grain mustard (optional)
- 1 small handful almonds or walnuts (optional)
Instructions
- Prepare the ham: Lay 8 ounces of deli ham flat on a cutting board. Stack 2-3 slices and cut into 1-inch squares or strips. Alternatively, roll each slice into a log and slice into pinwheels. Place in one compartment of your lunchbox.
- Cut the cheddar: Cut 8 ounces of sharp cheddar into 1/2-inch cubes. Place in a separate compartment.
- Portion the crackers: Count out 10-12 crackers per serving and place them in their own compartment to keep them crunchy.
- Add fresh fruit: Wash and dry fruit. Core and slice apple into thin wedges (toss with lemon juice to prevent browning). Place fruit in a remaining compartment or small silicone cup.
- Add crunchy vegetables: Wash and cut vegetables into sticks or rounds. Place in their own compartment.
- Prepare the dip (optional): Spoon 2 tablespoons of honey mustard or chosen spread into a small ramekin or silicone cup. Place securely in the lunchbox.
- Add nuts or seeds (optional): Measure out a small handful of almonds or pumpkin seeds and place in a small compartment or cup.
- Assemble and pack: Arrange all components in the lunchbox, placing heavier items on the bottom. Close the lid securely. Refrigerate until ready to eat. Add crackers just before serving for maximum crunch.
Notes
Keep crackers separate from moist ingredients to maintain crunch. Pat ham dry with a paper towel to prevent sogginess. Let cheese cubes sit at room temperature for 10 minutes before sealing to prevent condensation. Use a cold pack if packing for later. Cut ham and cheese into uniform pieces for a polished look.
Nutrition
- Serving Size: 1 box (4 oz ham, 4 o
- Calories: 600
- Sugar: 18
- Sodium: 1200
- Fat: 32
- Saturated Fat: 16
- Carbohydrates: 40
- Fiber: 5
- Protein: 38
Keywords: DIY lunchable, ham and cheddar, lunchbox, no-cook lunch, kid-friendly lunch, picnic lunch, meal prep


