My husband didn’t say a word for a solid thirty seconds after the first bite. He just stood there in the kitchen, chewing slowly, with this look on his face like he was trying to figure out if he should be mad that I hadn’t made this sooner. That’s how I knew the loaded football cheese ball with pretzel crust was a winner — not from my own opinion, but from his complete, uncharacteristic silence. He finally looked at me and said, “This is dangerous.” And honestly, he wasn’t wrong.
I came up with this recipe for Super Bowl Sunday last year. I wanted something that felt festive and fun — you know, something that screamed game day without requiring me to stand over a hot stove while everyone else was yelling at the TV. A cheese ball felt right, but I wanted to kick it up a notch. I mean, a plain cheese ball is fine, but a loaded football cheese ball with pretzel crust? That’s a whole different ball game. The first time I made it, I shaped it into a football, rolled it in crushed pretzels, and set it on a platter with crackers and veggies. It disappeared before halftime. People were eating it with their fingers, on celery sticks, on everything.
There is something about that salty, crunchy pretzel crust giving way to a creamy, cheesy, bacon-studded center that just works. It’s the kind of appetizer that makes people hover around the coffee table. This recipe has become my go-to for every game day gathering, and I think it’s about to become yours too.
Why You’ll Love This Recipe
Let me be honest with you — I have tested a lot of cheese ball recipes over the years. Some were too dry. Some were too soft to hold their shape. Some just tasted like a block of cream cheese with stuff mixed in. This one is different. I’ve spent time getting the texture just right so it holds that football shape without cracking, and the flavor is balanced so every bite hits that sweet spot between creamy, savory, and salty.
- Game Day Perfect: This cheese ball is literally shaped like a football. It’s the ultimate conversation starter on your snack table. Everyone will want a picture before they even take a bite.
- Simple Ingredients: You probably already have most of these in your fridge and pantry. No fancy cheese shops required. Just good, honest ingredients that come together beautifully.
- Make-Ahead Friendly: You can assemble this beauty a day or two before your party. Just wrap it tight and let the flavors meld in the fridge. It actually gets better with time.
- Crowd-Pleaser: I have served this to kids, adults, picky eaters, and cheese snobs. Every single person goes back for seconds. The bacon and cheddar combo is basically irresistible.
- No Baking Required: This is a no-cook recipe (aside from the bacon). You mix, shape, roll, and serve. Perfect for when you want to impress without breaking a sweat.
What really sets this loaded football cheese ball with pretzel crust apart is the texture. The crushed pretzels create a crunchy shell that contrasts with the ultra-creamy, spreadable center. It’s not just another cheese ball — it’s a textural experience. And the flavor? Smoked cheddar, crispy bacon, fresh chives, and a hint of garlic come together in a way that feels both familiar and exciting. This is the cheese ball that people will ask you for the recipe. Trust me on that.
What Ingredients You Will Need
This recipe uses simple, everyday ingredients that come together to create something truly special. Each ingredient plays a specific role in building flavor and texture, so here is what you need and why it matters.
- Cream Cheese (16 oz), softened to room temperature — This is the base of your cheese ball. Make sure it’s really soft, otherwise you’ll end up with lumps. I always use full-fat cream cheese for the best texture and flavor. Let it sit on the counter for at least an hour before you start.
- Sharp Cheddar Cheese (1 ½ cups), shredded — Use sharp or extra-sharp cheddar for the most flavor. Pre-shredded cheese is fine in a pinch, but freshly shredded melts and mixes better. I like to shred it myself because it has a creamier texture.
- Smoked Gouda (½ cup), shredded — This is my secret ingredient. The smokiness adds depth that you just can’t get from regular cheddar. It makes the cheese ball taste like it’s been sitting next to a campfire. So good.
- Bacon (6 slices), cooked until crispy and crumbled — Use thick-cut bacon if you can find it. It holds up better and gives you those nice, meaty chunks throughout the cheese ball. I like to cook mine in the oven at 400°F for about 15 minutes — it gets perfectly crispy without the mess.
- Green Onions (3-4), thinly sliced — These add a fresh, mild onion flavor that cuts through all the richness. Use both the white and green parts for maximum flavor and a pop of color.
- Fresh Chives (2 tablespoons), chopped — Chives bring a gentle oniony freshness that brightens the whole dish. If you don’t have chives, you can use extra green onion tops.
- Garlic Powder (½ teaspoon) — Just enough to add savory depth without overpowering the cheese. Don’t use fresh garlic here — it can be too sharp and won’t distribute evenly.
- Onion Powder (½ teaspoon) — This rounds out the savory notes and adds a subtle sweetness. It’s a team player that makes everything taste more balanced.
- Worcestershire Sauce (1 teaspoon) — A little splash adds umami and complexity. You won’t taste it directly, but you’ll notice if it’s missing. It’s the secret to that “what is that amazing flavor?” effect.
- Salt (¼ teaspoon) and Black Pepper (¼ teaspoon) — Go easy on the salt since the cheese and bacon are already salty. Freshly cracked black pepper adds a nice little kick.
- Pretzels (1 ½ cups), crushed into small pieces — This is your crust. Use salted pretzels for that perfect salty crunch. I like to put them in a zip-top bag and crush them with a rolling pin — it’s oddly satisfying and gives you control over the texture. You want small pieces, not powder.
For Serving:
- Crackers of your choice — Buttery crackers, wheat thins, or even pretzel crisps work great.
- Fresh veggies — Celery sticks, carrot sticks, and bell pepper strips add color and crunch.
- Apple slices — The sweetness of apples with the salty cheese ball is honestly incredible. Try it.
Equipment Needed
You don’t need any fancy equipment for this recipe, which is part of why I love it. Here is what you’ll need:
- Large mixing bowl — For combining all the ingredients. A glass or stainless steel bowl works best.
- Hand mixer or stand mixer — A hand mixer makes getting the cream cheese smooth and fluffy much easier. You can do it by hand with a wooden spoon, but it takes some elbow grease. I recommend a hand mixer for the smoothest results.
- Rubber spatula — For scraping down the sides of the bowl and folding in the mix-ins. A good spatula is worth its weight in gold.
- Plastic wrap or parchment paper — To wrap the cheese ball while it chills. Plastic wrap is easier to shape with, but parchment works too.
- Baking sheet or large plate — To hold the cheese ball while it sets in the fridge. Make sure it’s flat.
- Rolling pin or heavy-bottomed pan — For crushing the pretzels. A rolling pin is ideal, but a wine bottle works in a pinch! I’ve done it.
- Zip-top bag — For crushing the pretzels without making a mess. This is my preferred method — put the pretzels in the bag, seal it, and go to town with your rolling pin.
- Sharp knife and cutting board — For chopping the green onions and chives.
Budget-friendly tip: If you don’t have a hand mixer, you can soften the cream cheese really well (leave it out for 2 hours) and mix everything with a sturdy fork or spatula. It takes a little more effort, but it works just fine. I’ve done it both ways.
Preparation Method
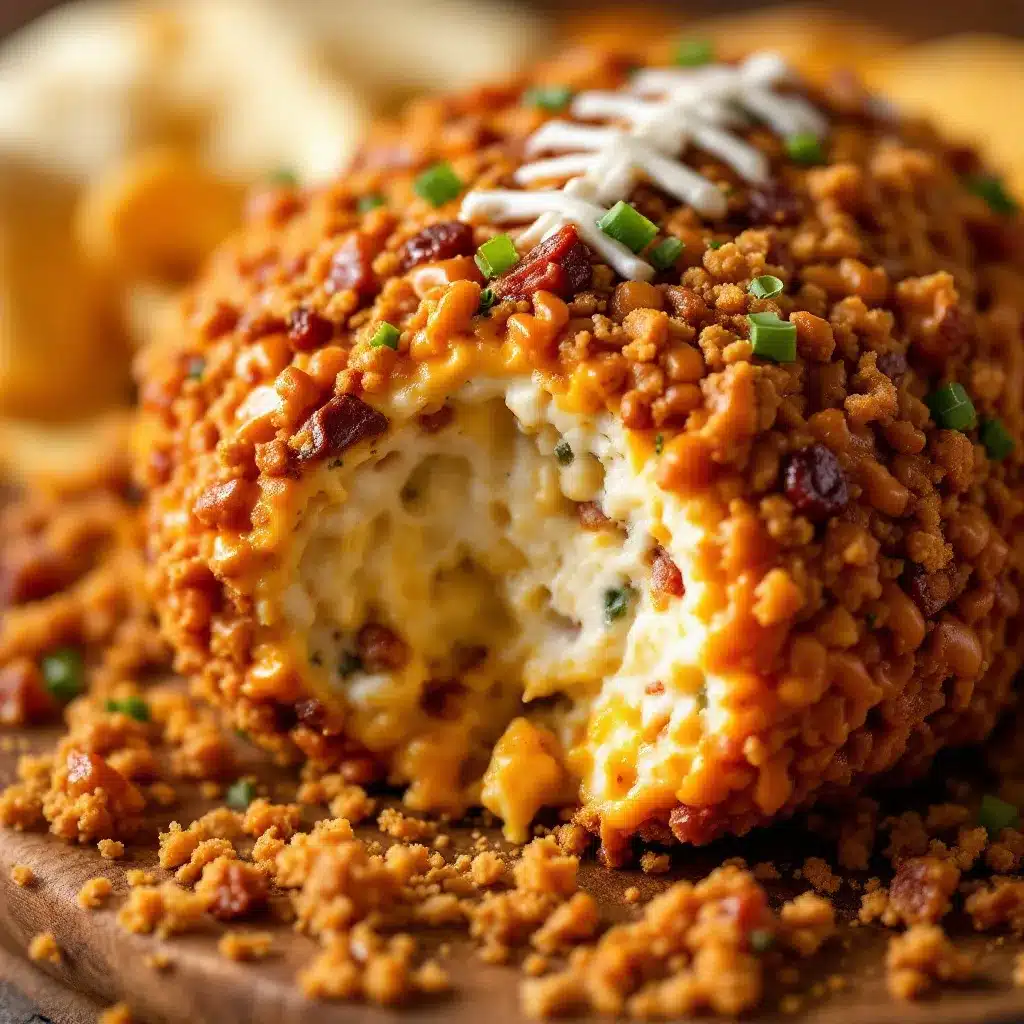
Alright, let’s make this loaded football cheese ball with pretzel crust. Trust me, it’s easier than you think. Here is the step-by-step method that has never let me down.
- Cook the bacon. Preheat your oven to 400°F (200°C). Line a baking sheet with foil and lay the bacon slices in a single layer. Bake for 12-15 minutes until crispy. Transfer to a paper towel-lined plate to drain and cool. Once cool, crumble into small pieces. (Pro tip: Do this first so the bacon has time to cool completely. Warm bacon will melt the cheese mixture.)
- Soften the cream cheese. Take your cream cheese out of the fridge at least 1 hour before you start. It needs to be at room temperature — soft enough that you can easily press your finger into it. If you’re in a hurry, you can cut it into cubes and microwave it in 10-second bursts, but be careful not to melt it. Room temperature is really the best way to go.
- Mix the base. In a large mixing bowl, beat the softened cream cheese with a hand mixer on medium speed until it’s smooth and fluffy — about 2 minutes. Scrape down the sides of the bowl with your rubber spatula. Add the garlic powder, onion powder, Worcestershire sauce, salt, and black pepper. Beat again until everything is well combined.
- Add the cheeses. Add the shredded sharp cheddar and smoked gouda to the cream cheese mixture. Mix on low speed just until combined. You don’t want to overmix or the cheese will break down too much. You want little bits of cheese throughout for texture.
- Fold in the mix-ins. Using your rubber spatula, fold in the crumbled bacon, sliced green onions, and chopped chives. Stir gently until everything is evenly distributed. Take a moment to taste it — dip a cracker in there. Adjust the salt and pepper if needed. This is your cheese ball, so make it taste right to you.
- Shape into a football. Lay a large piece of plastic wrap on your work surface. Scrape the cheese mixture onto the center of the plastic wrap. Using the plastic wrap to help you, shape the mixture into a football shape — think of an oval with slightly pointed ends. Wrap it tightly and twist the ends to secure. Place it on a baking sheet or plate.
- Chill the cheese ball. Refrigerate the wrapped cheese ball for at least 2 hours, or up to 24 hours. This step is crucial — it needs to firm up so it holds its shape when you roll it in the pretzels. I usually make it the night before and let it chill overnight. The flavors meld together beautifully.
- Crush the pretzels. While the cheese ball is chilling, prepare your pretzel crust. Place the pretzels in a zip-top bag and seal it, removing as much air as possible. Use a rolling pin to crush them into small pieces — you want a mix of fine crumbs and tiny chunks for texture. Don’t crush them into powder; you want some crunch. Set aside in a shallow dish or on a plate.
- Roll in the crust. When the cheese ball is firm, unwrap it and gently roll it in the crushed pretzels. Use your hands to press the pretzel pieces onto the surface, making sure it’s evenly coated. Don’t forget the ends! The crust should cover the entire football.
- Add the final touches. For an extra festive look, you can use a few pretzel sticks to create laces on top of the football. Just press two or three pretzel sticks gently into the top of the cheese ball in a parallel line. It’s totally optional, but it looks amazing and makes it undeniably a football.
- Serve and enjoy. Place the cheese ball on a serving platter surrounded by crackers, fresh veggies, and apple slices. Let it sit at room temperature for about 15-20 minutes before serving — this softens it slightly so it’s easier to spread. Watch it disappear!
Cooking Tips & Techniques
Over the years, I have learned a few things the hard way so you don’t have to. Here are my best tips for making this loaded football cheese ball with pretzel crust absolutely perfect every time.
Don’t skip the chilling time. I know it’s tempting to rush this step, especially if you’re hungry or guests are on their way. But trust me — if you try to shape or roll a warm cheese ball, it will be a sticky, messy disaster. The mixture needs to be cold and firm to hold that football shape. Two hours is the minimum, but overnight is better. Your patience will be rewarded.
Room temperature cream cheese is non-negotiable. Cold cream cheese will leave you with lumpy, uneven mixture no matter how long you beat it. Let it sit on the counter for at least an hour. If you forgot to take it out, cut it into small cubes and let them sit for 30 minutes. It’s not as good as full room temperature, but it’s better than cold.
Use freshly shredded cheese. Pre-shredded cheese is coated with anti-caking agents that prevent it from melting and blending smoothly. For a cheese ball, you want everything to come together into a cohesive, creamy mixture. Shredding your own cheese takes an extra 5 minutes, but the texture difference is noticeable. I promise.
Crush the pretzels right before rolling. If you crush them too early, they can absorb moisture from the air and lose their crunch. Crush them just before you’re ready to coat the cheese ball for the crispiest crust. And don’t over-crush — you want some texture, not pretzel dust.
Make it ahead for better flavor. This is one of those recipes that genuinely tastes better the next day. The flavors have time to meld and deepen. I always make mine at least 24 hours before serving. Just wrap it tightly and keep it in the fridge. Roll it in the pretzels right before serving so the crust stays crunchy.
Variations & Adaptations
One of the best things about this recipe is how flexible it is. Here are some ways to make it your own:
- Spicy Kick Version: Add 1-2 tablespoons of chopped pickled jalapeños or a teaspoon of cayenne pepper to the cheese mixture. The heat pairs beautifully with the cool, creamy cheese and salty pretzels. I made this version for a group of friends who love spicy food, and it was gone in 10 minutes flat.
- Vegetarian Option: Skip the bacon and add ½ cup of finely chopped roasted red peppers and ¼ cup of chopped sun-dried tomatoes. The sweetness and umami from the roasted peppers make up for the missing bacon. You could also add some smoked paprika for that smoky flavor without the meat.
- Different Cheese Combinations: Swap the smoked gouda for pepper jack for a spicy twist, or use gruyere for a nuttier, more sophisticated flavor. I have even made it with blue cheese crumbles mixed in — it’s bold and delicious, but definitely not for everyone. Start with a small amount if you’re unsure.
- Herb Garden Version: Add 2 tablespoons each of fresh chopped parsley, dill, and basil along with the chives. This makes the cheese ball taste fresh and bright — perfect for spring gatherings or bridal showers. It’s a completely different vibe from the game day version, but just as delicious.
- Nut Crust Alternative: If you want a gluten-free option, swap the crushed pretzels for chopped pecans or almonds. Toast them lightly in a dry pan for extra flavor. The nut crust is equally crunchy and adds a wonderful richness that pairs well with the cheese.
Serving & Storage Suggestions
This loaded football cheese ball with pretzel crust is best served at room temperature. Take it out of the fridge about 20-30 minutes before you plan to serve it. This softens the cheese just enough to make it spreadable without losing its shape. If you serve it straight from the fridge, it will be too firm to spread easily on crackers.
For the ultimate game day spread, I love serving this cheese ball alongside a perfect seasonal grazing board — it fits right in with artisan cheeses, honeycomb, and fresh fruit. The salty-sweet combo is incredible. You could also pair it with a fresh cowboy caviar for a colorful, crowd-pleasing appetizer spread that covers all the bases.
Storage: Leftover cheese ball (if there is any!) can be wrapped tightly in plastic wrap and stored in the refrigerator for up to 5 days. The pretzel crust will soften over time, so if you’re storing leftovers, it’s best to scrape off the crust and re-roll in fresh crushed pretzels before serving again. You can also freeze the uncoated cheese ball for up to 1 month. Wrap it well in plastic wrap and then foil. Thaw in the refrigerator overnight, then roll in fresh pretzels before serving.
Reheating: You don’t need to reheat this cheese ball — it’s meant to be served cold or at room temperature. But if you want to get creative, you can scoop out the center and microwave it for 15-20 seconds to make a warm cheese dip. It’s fantastic with soft pretzel bites.
Nutritional Information & Benefits
Let’s be real — this is a decadent appetizer, not a health food. But that doesn’t mean it can’t fit into a balanced lifestyle. Here is the estimated nutritional breakdown per serving (based on 12 servings):
| Nutrient | Amount per Serving |
|---|---|
| Calories | 280 |
| Total Fat | 22g |
| Saturated Fat | 12g |
| Cholesterol | 65mg |
| Sodium | 480mg |
| Carbohydrates | 8g |
| Fiber | 1g |
| Sugar | 2g |
| Protein | 12g |
The good news? Cheese is a great source of calcium and protein. The cream cheese provides some vitamin A, and the bacon adds a little B12. I like to serve this with lots of fresh veggies like celery and bell peppers to add some fiber and nutrients. It’s all about balance, right? Enjoy a few generous scoops and fill the rest of your plate with crunchy vegetables. That’s my approach, and it works.
Conclusion
This loaded football cheese ball with pretzel crust has become my signature game day recipe for a reason. It’s fun, it’s delicious, and it always gets people talking. The first time I made it, I wasn’t sure if the football shape would hold or if the pretzel crust would stick. But it worked perfectly, and now I can’t imagine a Super Bowl party without it. It’s one of those recipes that looks impressive but is secretly super easy — my favorite kind.
I love how customizable this recipe is. You can make it spicy, herbaceous, or keep it classic. You can serve it with crackers, veggies, or even soft pretzel bites. It’s the kind of appetizer that brings people together around the snack table, dipping and chatting and laughing. That’s what game day is all about, isn’t it?
I would love to hear how yours turns out! Did you add any fun twists? Did your family love it as much as mine does? Drop a comment below and let me know. And if you’re looking for more game day inspiration, be sure to check out my fresh cowboy caviar and crispy air fryer churro bites for a sweet finish. Happy game day, and happy eating!
Frequently Asked Questions
Can I make this cheese ball without a hand mixer?
Absolutely! If you don’t have a hand mixer, just make sure your cream cheese is very soft — leave it out for 2 hours instead of 1. Then use a sturdy spatula or wooden spoon to mix everything together. It takes a little more elbow grease, but it works perfectly fine. Just be patient and keep mixing until it’s smooth.
How far in advance can I make this loaded football cheese ball?
You can make the cheese mixture up to 3 days in advance. Just shape it into a football, wrap it tightly, and keep it in the fridge. I recommend rolling it in the crushed pretzels no more than a few hours before serving so the crust stays crunchy. If you’re making it a day ahead, wait to add the pretzel crust until just before your guests arrive.
Can I use low-fat cream cheese?
You can, but I don’t recommend it. Low-fat cream cheese has a higher water content, which can make your cheese ball softer and harder to shape. It also won’t have the same rich, creamy texture. If you’re looking to lighten things up, I suggest using full-fat cream cheese but serving it with lots of fresh vegetables instead of crackers. That way you still get the full flavor experience with fewer calories from the dippers.
How do I get the cheese ball to hold its football shape?
The key is chilling time. After you shape the cheese ball in plastic wrap, refrigerate it for at least 2 hours — overnight is even better. The cold firms up the cream cheese and helps it hold its shape. If you’re having trouble getting the football shape right, try using your hands to gently mold it while it’s still wrapped in plastic. The plastic helps you shape it without making a mess.
What can I use instead of pretzels for the crust?
If you want a gluten-free option, crushed nuts like pecans, almonds, or walnuts work beautifully. Toast them lightly in a dry pan for extra flavor. You could also use crushed pork rinds for a low-carb, keto-friendly version, or even everything bagel seasoning for a totally different flavor profile. The possibilities are endless!
Pin This Recipe!
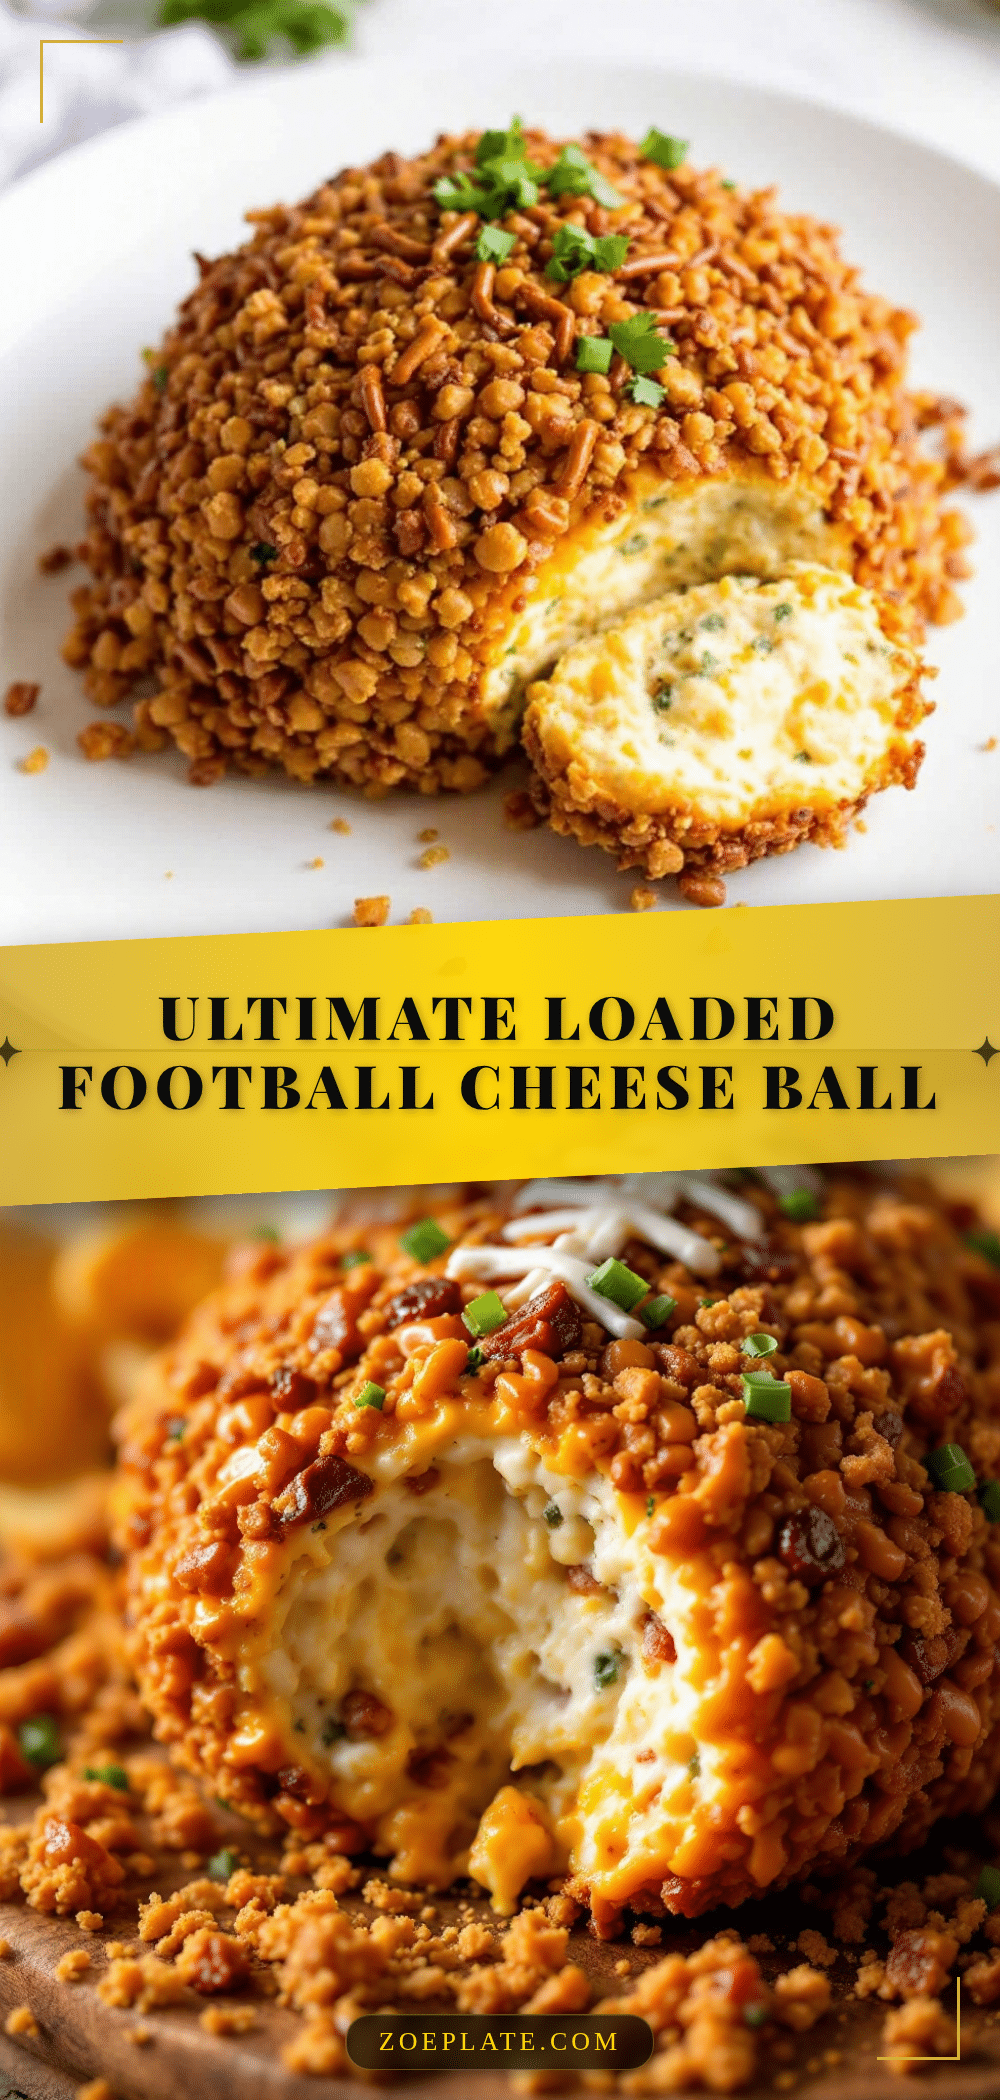
Best Loaded Football Cheese Ball with Easy Pretzel Crust

A creamy, savory cheese ball shaped like a football and coated in a crunchy pretzel crust, loaded with sharp cheddar, smoked gouda, crispy bacon, and fresh chives. Perfect for game day gatherings and sure to be a crowd-pleaser.
- Prep Time: 20 minutes
- Cook Time: 15 minutes
- Total Time: 2 hours 35 minutes (including chilling)
- Yield: 12 servings 1x
- Category: Appetizer
- Cuisine: American
Ingredients
- 16 oz cream cheese, softened to room temperature
- 1 ½ cups sharp cheddar cheese, shredded
- ½ cup smoked gouda, shredded
- 6 slices bacon, cooked until crispy and crumbled
- 3–4 green onions, thinly sliced
- 2 tablespoons fresh chives, chopped
- ½ teaspoon garlic powder
- ½ teaspoon onion powder
- 1 teaspoon Worcestershire sauce
- ¼ teaspoon salt
- ¼ teaspoon black pepper
- 1 ½ cups pretzels, crushed into small pieces
- Crackers of your choice, for serving
- Fresh veggies (celery sticks, carrot sticks, bell pepper strips), for serving
- Apple slices, for serving
Instructions
- Cook the bacon. Preheat your oven to 400°F (200°C). Line a baking sheet with foil and lay the bacon slices in a single layer. Bake for 12-15 minutes until crispy. Transfer to a paper towel-lined plate to drain and cool. Once cool, crumble into small pieces.
- Soften the cream cheese. Take your cream cheese out of the fridge at least 1 hour before you start. It needs to be at room temperature — soft enough that you can easily press your finger into it.
- Mix the base. In a large mixing bowl, beat the softened cream cheese with a hand mixer on medium speed until it’s smooth and fluffy — about 2 minutes. Scrape down the sides of the bowl with your rubber spatula. Add the garlic powder, onion powder, Worcestershire sauce, salt, and black pepper. Beat again until everything is well combined.
- Add the cheeses. Add the shredded sharp cheddar and smoked gouda to the cream cheese mixture. Mix on low speed just until combined.
- Fold in the mix-ins. Using your rubber spatula, fold in the crumbled bacon, sliced green onions, and chopped chives. Stir gently until everything is evenly distributed. Taste and adjust salt and pepper if needed.
- Shape into a football. Lay a large piece of plastic wrap on your work surface. Scrape the cheese mixture onto the center of the plastic wrap. Using the plastic wrap to help you, shape the mixture into a football shape — think of an oval with slightly pointed ends. Wrap it tightly and twist the ends to secure. Place it on a baking sheet or plate.
- Chill the cheese ball. Refrigerate the wrapped cheese ball for at least 2 hours, or up to 24 hours.
- Crush the pretzels. While the cheese ball is chilling, prepare your pretzel crust. Place the pretzels in a zip-top bag and seal it, removing as much air as possible. Use a rolling pin to crush them into small pieces — you want a mix of fine crumbs and tiny chunks for texture. Set aside in a shallow dish or on a plate.
- Roll in the crust. When the cheese ball is firm, unwrap it and gently roll it in the crushed pretzels. Use your hands to press the pretzel pieces onto the surface, making sure it’s evenly coated.
- Add the final touches. For an extra festive look, you can use a few pretzel sticks to create laces on top of the football. Just press two or three pretzel sticks gently into the top of the cheese ball in a parallel line.
- Serve and enjoy. Place the cheese ball on a serving platter surrounded by crackers, fresh veggies, and apple slices. Let it sit at room temperature for about 15-20 minutes before serving.
Notes
Don’t skip the chilling time — the cheese ball needs to be firm to hold its shape. Use room temperature cream cheese for a smooth mixture. Shred your own cheese for best texture. Crush pretzels right before rolling to keep them crunchy. Make ahead for better flavor; roll in pretzels just before serving.
Nutrition
- Serving Size: 1 serving (based on
- Calories: 280
- Sugar: 2
- Sodium: 480
- Fat: 22
- Saturated Fat: 12
- Carbohydrates: 8
- Fiber: 1
- Protein: 12
Keywords: football cheese ball, pretzel crust cheese ball, game day appetizer, loaded cheese ball, bacon cheddar cheese ball, Super Bowl snack


