I need a game day snack that doesn’t turn me into a kitchen prisoner while everyone else is watching the pre-game show. That’s the real challenge, right? Not the dip, not the toppings—it’s the timing. I want something that feels like a production without actually being one. And honestly, I want everyone to be able to build their own plate without me playing short-order cook from the kitchen.
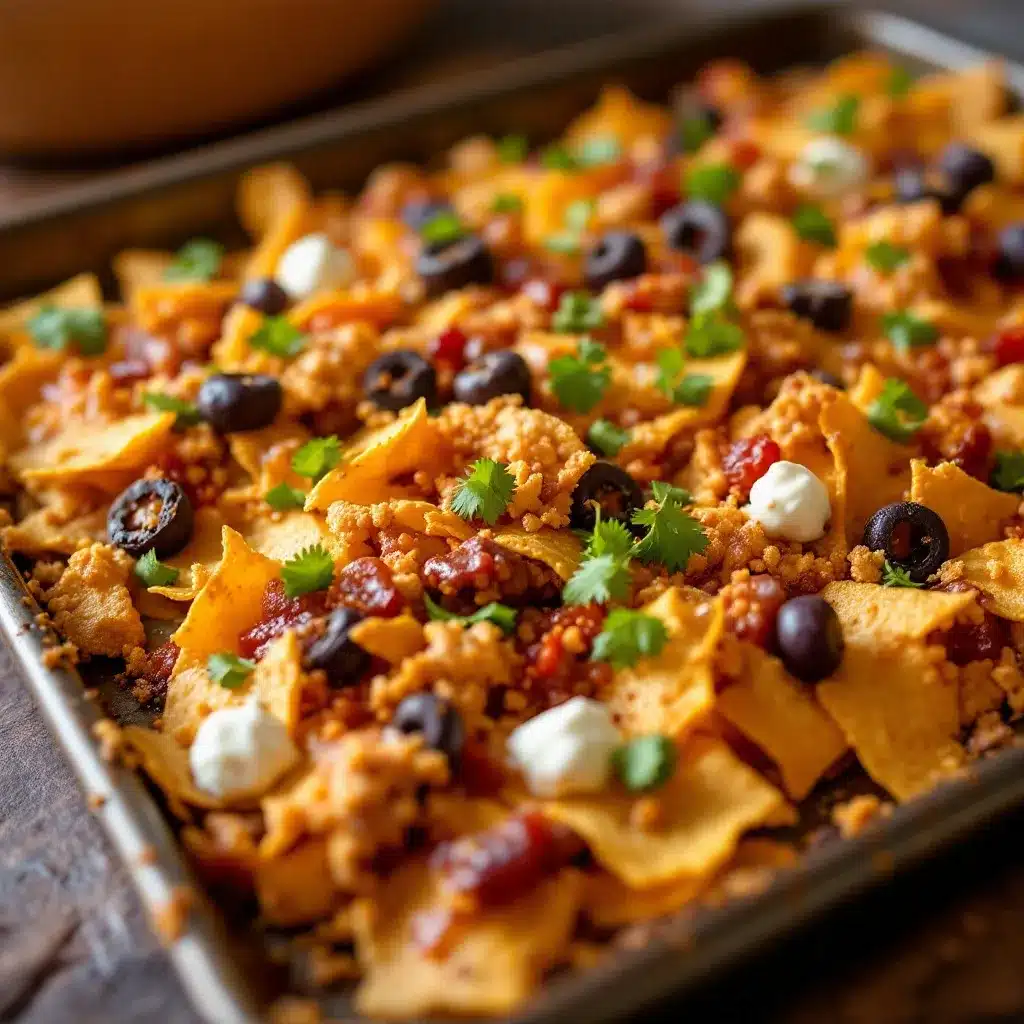
That’s when the sheet pan nacho bar idea hit me. Hard. Like a linebacker. Because here’s the thing—sheet pan nachos solve every single problem I have with game day food. They’re fast. They’re customizable. They feed a crowd without needing fifteen different serving dishes. And when I say thirty minutes, I mean thirty minutes from pulling ingredients out of the fridge to setting the pan down on the coffee table. No fuss, no stress, just a mountain of crispy, melty, loaded nachos that everyone can personalize exactly how they want.
I’ve tested this setup through three different game days now, tweaking the layering order and the cheese-to-topping ratio until it felt right. What I landed on is this: a base of sturdy chips, a generous blanket of melted cheese, and then a toppings bar where people go wild. It’s the kind of recipe that makes you look like you planned everything perfectly—when really, you just knew where to cut corners. And honestly? That’s my favorite kind of cooking.
Why You’ll Love This Recipe
Let me tell you why this sheet pan nacho bar has become my go-to for every game day gathering. First off, it’s genuinely thirty minutes from start to finish. I’m not one of those bloggers who says “thirty minutes” and means forty-five. I mean it. By the time the pre-game show ends, these nachos are on the table.
- Quick & Easy : From oven to table in under 30 minutes, making it perfect for last-minute gatherings or halftime hunger.
- Simple Ingredients : Everything comes from the regular grocery store. No specialty items, no complicated prep.
- Perfect for Game Day : This setup feeds a crowd without needing multiple serving dishes or constant kitchen attention.
- Crowd-Pleaser : The build-your-own bar means picky eaters and adventurous eaters both get exactly what they want.
- Unbelievably Delicious : The combination of crispy chips, melted cheese, and fresh toppings hits every single craving.
What makes this recipe different from every other nacho recipe out there is the layering technique. Most people dump everything on a pan and hope for the best. I’ve figured out the exact order that keeps chips crispy on the bottom while still getting that perfect cheese melt on top. Plus, the toppings bar setup means nobody gets stuck with ingredients they don’t like. It’s nacho democracy, and it works beautifully.
This is the kind of recipe that makes you close your eyes after the first bite. It’s comfort food at its finest—crispy, cheesy, and completely customizable. Perfect for impressing guests without breaking a sweat, or turning a simple game day into something memorable.
What Ingredients You Will Need
This recipe uses simple, straightforward ingredients that come together to create something truly satisfying. Most of these are pantry staples or easy to find at any grocery store. Here’s what you’ll need:
For the Nacho Base
- 1 large bag (13-16 oz) restaurant-style tortilla chips (I prefer Tostitos Scoops or a sturdy thick-cut chip—they hold up better to toppings)
- 2 cups shredded Mexican blend cheese (or a mix of Monterey Jack and sharp cheddar)
- 1 cup shredded pepper jack cheese (adds a nice kick without being overwhelming)
- 1 lb ground beef or ground turkey (80/20 works best for flavor, but lean works too)
- 1 packet taco seasoning (or 2 tablespoons homemade blend)
- 1/2 cup water (for the taco meat)
- 1 can (15 oz) black beans, drained and rinsed
- 1 can (15 oz) pinto beans, drained and rinsed
- 1 cup canned or frozen corn kernels
For the Toppings Bar
- 1 cup sour cream
- 1 cup fresh pico de gallo or salsa
- 1 large avocado, diced (or prepared guacamole)
- 1/2 cup pickled jalapeños
- 1/2 cup sliced black olives
- 1/4 cup fresh cilantro, chopped
- 2 green onions, sliced
- 1 lime, cut into wedges
- Hot sauce (optional, for those who want extra heat)
For the ground meat, I usually go with 80/20 beef because the extra fat means more flavor. If you’re using ground turkey, add a tablespoon of oil to the pan first so it doesn’t dry out. I’ve tried both, and honestly, the beef version wins every time for game day. But the turkey version works great if you’re watching calories.
For the beans, don’t skip rinsing them. That canned liquid can make the nachos soggy if you’re not careful. And for the corn—if you can find fresh corn and char it on the stove first, do it. It adds a smoky sweetness that takes these nachos to another level. But frozen corn, thawed and patted dry, works perfectly fine too.
Equipment Needed
You don’t need anything fancy for this recipe. Here’s what you’ll need:
- Large sheet pan (half-sheet size, about 13×18 inches—the bigger the better for feeding a crowd)
- Large skillet (for cooking the meat)
- Small bowls (for setting up the toppings bar—I use ramekins or small dipping bowls)
- Parchment paper or aluminum foil (for easy cleanup—trust me on this one)
- Spatula (for spreading the chips and toppings evenly)
- Chef’s knife and cutting board (for prepping fresh toppings)
- Measuring cups and spoons
If you don’t have a large sheet pan, you can use two smaller baking sheets. Just divide the ingredients between them and rotate the pans halfway through baking. I learned this the hard way when I tried to fit everything on one small pan and ended up with cheese all over the oven floor. Not my finest moment.
For the toppings bowls, I use whatever I have on hand—small cereal bowls, ramekins, even clean yogurt containers in a pinch. The presentation doesn’t have to be perfect. It’s game day, not a dinner party.
Preparation Method
Let me walk you through this step by step. I’ve tested this method multiple times, so trust the process.
- Preheat your oven to 400°F (200°C). Line your sheet pan with parchment paper or aluminum foil. This step is non-negotiable if you value your sanity during cleanup.
- Cook the meat. Heat your large skillet over medium-high heat. Add the ground beef and cook, breaking it apart with a spatula, until browned—about 5-7 minutes. Drain any excess fat (leave about a tablespoon for flavor). Add the taco seasoning and 1/2 cup water. Stir and let it simmer until the liquid reduces and the meat is coated, about 3-4 minutes. Set aside.
- Warm the beans and corn. In a small bowl, combine the drained black beans, pinto beans, and corn. Microwave for 1-2 minutes until warm. This step ensures everything heats through evenly when the nachos go in the oven.
- Layer the chips. Spread the tortilla chips evenly across the prepared sheet pan. Don’t pile them too high—you want a single layer with some overlap, but not a mountain. If you overcrowd the pan, the chips in the middle will steam instead of staying crispy.
- Add the first cheese layer. Sprinkle half of the Mexican blend cheese and half of the pepper jack cheese evenly over the chips.
- Distribute the toppings. Spoon the seasoned meat evenly over the cheese layer. Then add the warmed beans and corn, spreading everything out so every chip gets some love.
- Add the second cheese layer. Top everything with the remaining cheese. This double-cheese method is the secret to getting that perfect gooey melt without burning the chips.
- Bake. Place the sheet pan in the preheated oven and bake for 8-10 minutes, or until the cheese is fully melted and bubbly. Keep an eye on it—you want melted cheese, not burnt edges. If the edges start browning too fast, rotate the pan halfway through.
- Set up the toppings bar. While the nachos bake, arrange your toppings in small bowls. I usually set out sour cream, pico de gallo, diced avocado, pickled jalapeños, black olives, cilantro, green onions, lime wedges, and hot sauce.
- Finish and serve. Remove the sheet pan from the oven. Let it cool for 2-3 minutes (this prevents burnt tongues and lets the cheese set slightly). Place the pan in the center of the table, surrounded by the toppings bowls. Let everyone build their own plate.
A few things I’ve learned the hard way: Don’t skip the cooling time. I once served these straight from the oven and watched three people burn their mouths on molten cheese. Also, if you’re making a double batch, cook each sheet pan separately. Two pans in the oven at once can lead to uneven melting and sad, soggy chips.
Cooking Tips & Techniques
After making these nachos more times than I care to count, here are the tips that actually matter:
Layer strategically. The biggest mistake people make is putting all the cheese on top. You want cheese both under and over the toppings. The bottom layer acts as a barrier, protecting the chips from the moisture in the meat and beans. The top layer gives you that Instagram-worthy cheese pull.
Don’t overload the pan. I know it’s tempting to pile everything on, but less is more here. If the chips are buried under toppings, they’ll steam instead of staying crispy. Aim for a single layer of chips with toppings distributed evenly.
Watch the oven like a hawk. Every oven runs differently. At 400°F, your nachos might be perfect at 8 minutes or need the full 10. Start checking at 7 minutes. You’re looking for melted, bubbly cheese, not brown edges.
Prep everything before you start cooking. This is one of those recipes where mise en place actually matters. Have your beans drained, your toppings chopped, and your bowls ready before you turn on the oven. Once that meat hits the pan, everything moves fast.
I once forgot to drain the beans and ended up with watery nachos that tasted fine but looked like a disaster. Learn from my mistakes. Pat everything dry—the beans, the corn, even the meat after you drain it. Moisture is the enemy of crispy nachos.
Variations & Adaptations
This recipe is incredibly flexible. Here are some variations I’ve tried and loved:
Vegetarian Version: Skip the meat and double up on the beans. Add sautéed bell peppers and onions, and throw in some roasted sweet potatoes for extra heartiness. I’ve served this version to meat-eaters who didn’t even notice the difference.
Chicken Nachos: Swap the ground beef for shredded rotisserie chicken. Just toss the chicken with taco seasoning and a splash of lime juice before adding it to the nachos. It’s a great way to use up leftover chicken from earlier in the week.
Spicy Version: Add diced fresh jalapeños to the toppings bar, use hot salsa instead of mild, and sprinkle some cayenne pepper into the meat seasoning. For extra heat, drizzle with chipotle crema before serving.
Breakfast Nachos: This is my personal favorite variation. Swap the taco meat for crispy bacon and breakfast sausage. Add scrambled eggs and top with a drizzle of queso. It’s ridiculous and perfect for game day brunch.
Low-Carb Option: Use pork rinds or low-carb tortilla chips instead of regular chips. The rest of the recipe stays the same, and honestly, pork rinds with melted cheese and taco meat is surprisingly good.
Serving & Storage Suggestions
These nachos are best served immediately, straight from the oven. The whole point is that crispy-meets-melty texture, and that window only lasts about 10-15 minutes. Set the sheet pan on a trivet in the middle of the table and let everyone dig in with small plates.
For presentation, I like to arrange the toppings bowls around the sheet pan like a crown. It looks impressive and makes it easy for people to customize their plates. If you’re serving a big crowd, set up multiple small plates and let people build their own nacho piles.
For drinks, cold beer is the obvious choice—Mexican lagers or light ales work perfectly. Margaritas are also a great call, and a big pitcher of agua fresca is perfect for non-drinkers. If you’re keeping it simple, soda and iced tea work just fine.
Storage: Leftover nachos are tricky. The chips lose their crunch pretty quickly. If you have leftovers, store them in an airtight container in the fridge for up to 2 days. To reheat, spread them on a sheet pan and bake at 350°F for 5-7 minutes. The microwave will turn them into a sad, soggy mess.
Pro tip: Store the toppings separately from the baked nachos. If you have leftover meat, beans, and cheese, you can easily assemble fresh nachos the next day. The toppings bar components (sour cream, salsa, avocado) should always be stored separately anyway.
Nutritional Information & Benefits
Let’s be real—these are game day nachos, not health food. But here’s the breakdown if you’re curious. Per serving (about 1/6 of the sheet pan):
- Calories: Approximately 450-550
- Protein: 22-28g (thanks to the beef and beans)
- Carbohydrates: 35-45g
- Fat: 25-30g
- Fiber: 6-8g (the beans and corn add a surprising amount)
The black beans and pinto beans are actually the nutritional stars here. They’re packed with fiber and plant-based protein, which helps balance out the more indulgent parts of this dish. The avocado adds healthy monounsaturated fats, and the fresh toppings like cilantro and lime provide a little vitamin C.
If you’re watching your sodium, use low-sodium beans and make your own taco seasoning blend. Most store-bought packets are loaded with salt. And if you’re gluten-free, this recipe is naturally gluten-free as long as you check your taco seasoning and chip labels.
Conclusion
This easy sheet pan nacho bar has become my secret weapon for game day entertaining. It’s fast enough to throw together during a commercial break, impressive enough to make guests think you planned ahead, and customizable enough that everyone leaves happy. The combination of crispy chips, melty cheese, seasoned meat, and fresh toppings hits every single craving without keeping you stuck in the kitchen.
I love how this recipe takes something familiar and makes it feel special. The build-your-own bar setup turns a simple snack into an interactive experience—and honestly, that’s what game day is all about. Good food, good company, and zero stress.
Try this recipe for your next game day gathering, and don’t be afraid to make it your own. Swap in your favorite proteins, load up on extra toppings, or dial up the heat if that’s your thing. When you make it, drop a comment below and let me know how it turned out. And if you come up with a killer variation, I want to hear about that too. Happy game day, and happy eating!
Frequently Asked Questions
Can I make these nachos ahead of time?
You can prep all the components ahead of time—cook the meat, drain the beans, chop the toppings—but don’t assemble and bake until right before serving. The chips will get soggy if they sit with the toppings for too long. I usually do all my prep work during the first quarter and bake during the second quarter. Perfect timing.
What if I don’t have a sheet pan?
No problem! Use a large cast-iron skillet, a baking dish, or even two smaller baking sheets. Just divide the ingredients evenly and keep an eye on the cooking time—smaller pans might cook a minute or two faster.
Can I use different types of cheese?
Absolutely. A mix of Monterey Jack and sharp cheddar is my go-to, but you can use any melting cheese. Queso fresco crumbled on top after baking adds a nice salty finish. Avoid pre-shredded cheese if you can—it has anti-caking agents that prevent smooth melting. Shred your own if you have time.
How do I keep the chips from getting soggy?
Three things: use sturdy chips (not thin ones), layer cheese underneath the toppings to create a barrier, and don’t overbake. Also, make sure your meat and beans are drained well. Excess moisture is the number one cause of soggy nachos.
Can I make this in an air fryer?
You can, but you’ll need to work in batches. Layer the nachos in an air fryer basket and cook at 350°F for 3-5 minutes. It works best for single servings rather than a full sheet pan. If you’re cooking for a crowd, stick with the oven method.
Pin This Recipe!
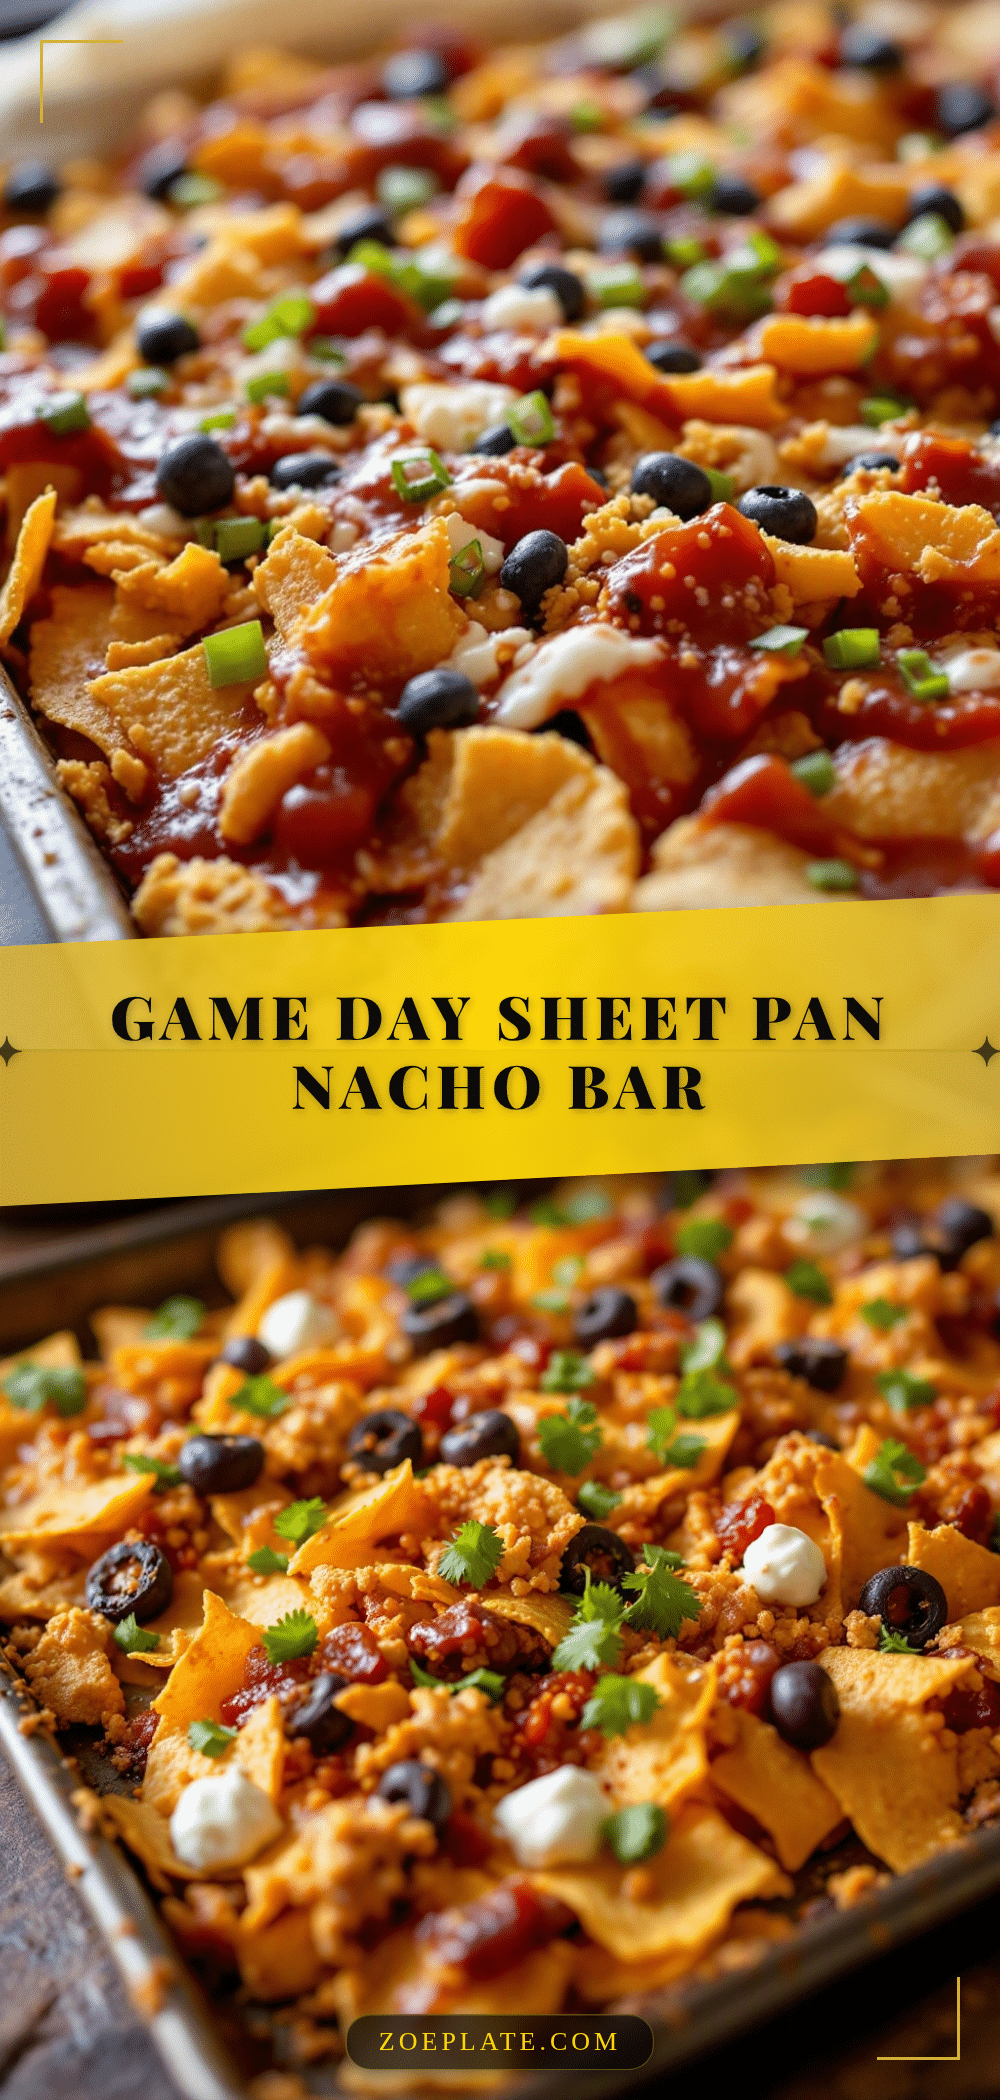
Easy 30-Minute Sheet Pan Nacho Bar for Game Day
A quick and customizable sheet pan nacho bar that’s perfect for game day. Ready in 30 minutes, this recipe features crispy chips, melted cheese, seasoned meat, and a toppings bar for everyone to build their own plate.
- Prep Time: 15 minutes
- Cook Time: 15 minutes
- Total Time: 30 minutes
- Yield: 6 servings 1x
- Category: Appetizer
- Cuisine: Mexican-American
Ingredients
- 1 large bag (13–16 oz) restaurant-style tortilla chips
- 2 cups shredded Mexican blend cheese
- 1 cup shredded pepper jack cheese
- 1 lb ground beef or ground turkey (80/20 preferred)
- 1 packet taco seasoning (or 2 tablespoons homemade blend)
- 1/2 cup water
- 1 can (15 oz) black beans, drained and rinsed
- 1 can (15 oz) pinto beans, drained and rinsed
- 1 cup canned or frozen corn kernels
- 1 cup sour cream
- 1 cup fresh pico de gallo or salsa
- 1 large avocado, diced (or prepared guacamole)
- 1/2 cup pickled jalapeños
- 1/2 cup sliced black olives
- 1/4 cup fresh cilantro, chopped
- 2 green onions, sliced
- 1 lime, cut into wedges
- Hot sauce (optional)
Instructions
- Preheat your oven to 400°F (200°C). Line your sheet pan with parchment paper or aluminum foil.
- Cook the meat: Heat a large skillet over medium-high heat. Add the ground beef and cook, breaking it apart, until browned (5-7 minutes). Drain excess fat, leaving about 1 tablespoon. Add taco seasoning and 1/2 cup water. Stir and simmer until liquid reduces and meat is coated (3-4 minutes). Set aside.
- Warm the beans and corn: In a small bowl, combine drained black beans, pinto beans, and corn. Microwave for 1-2 minutes until warm.
- Layer the chips: Spread tortilla chips evenly across the prepared sheet pan in a single layer with some overlap.
- Add the first cheese layer: Sprinkle half of the Mexican blend cheese and half of the pepper jack cheese evenly over the chips.
- Distribute the toppings: Spoon the seasoned meat evenly over the cheese layer. Add the warmed beans and corn, spreading everything out.
- Add the second cheese layer: Top everything with the remaining cheese.
- Bake: Place the sheet pan in the preheated oven and bake for 8-10 minutes, or until cheese is fully melted and bubbly. Rotate pan halfway through if edges brown too fast.
- Set up the toppings bar: While nachos bake, arrange sour cream, pico de gallo, diced avocado, pickled jalapeños, black olives, cilantro, green onions, lime wedges, and hot sauce in small bowls.
- Finish and serve: Remove sheet pan from oven. Let cool for 2-3 minutes. Place pan in center of table surrounded by toppings bowls. Let everyone build their own plate.
Notes
Layer cheese both under and over toppings to keep chips crispy. Don’t overload the pan; aim for a single layer of chips. Watch the oven closely to avoid burning. Prep all ingredients before starting. Drain beans and corn well to prevent sogginess. For best results, serve immediately. Store leftovers separately and reheat in oven at 350°F for 5-7 minutes.
Nutrition
- Serving Size: 1/6 of sheet pan
- Calories: 450550
- Sugar: 35
- Sodium: 8001000
- Fat: 2530
- Saturated Fat: 1012
- Carbohydrates: 3545
- Fiber: 68
- Protein: 2228
Keywords: sheet pan nachos, game day snack, easy nachos, nacho bar, 30-minute recipe, crowd-pleaser, customizable nachos


