My air fryer was sitting on the counter like it always does, and I had a pack of chicken thighs thawing in the fridge with absolutely no plan. You know that moment when you’re staring at raw chicken at 5:45 PM and dinner feels like a distant, impossible dream? That was me. I wanted something crispy, something garlicky, something with that salty, cheesy hit that makes you forget you’re eating a weeknight meal and not something from a fancy restaurant.
I had Parmesan in the fridge—the good kind, a block I’d been grating into everything—and a head of garlic that was starting to sprout just a little (honestly, that’s when garlic is at its most forgiving). The air fryer was already preheated from a batch of crispy air fryer honey sriracha Brussels sprouts with bacon I’d made for lunch, so it felt like a sign. I threw together a quick mix of melted butter, minced garlic, grated Parmesan, and some pantry spices, slathered it all over those thighs, and let the air fryer do its thing.
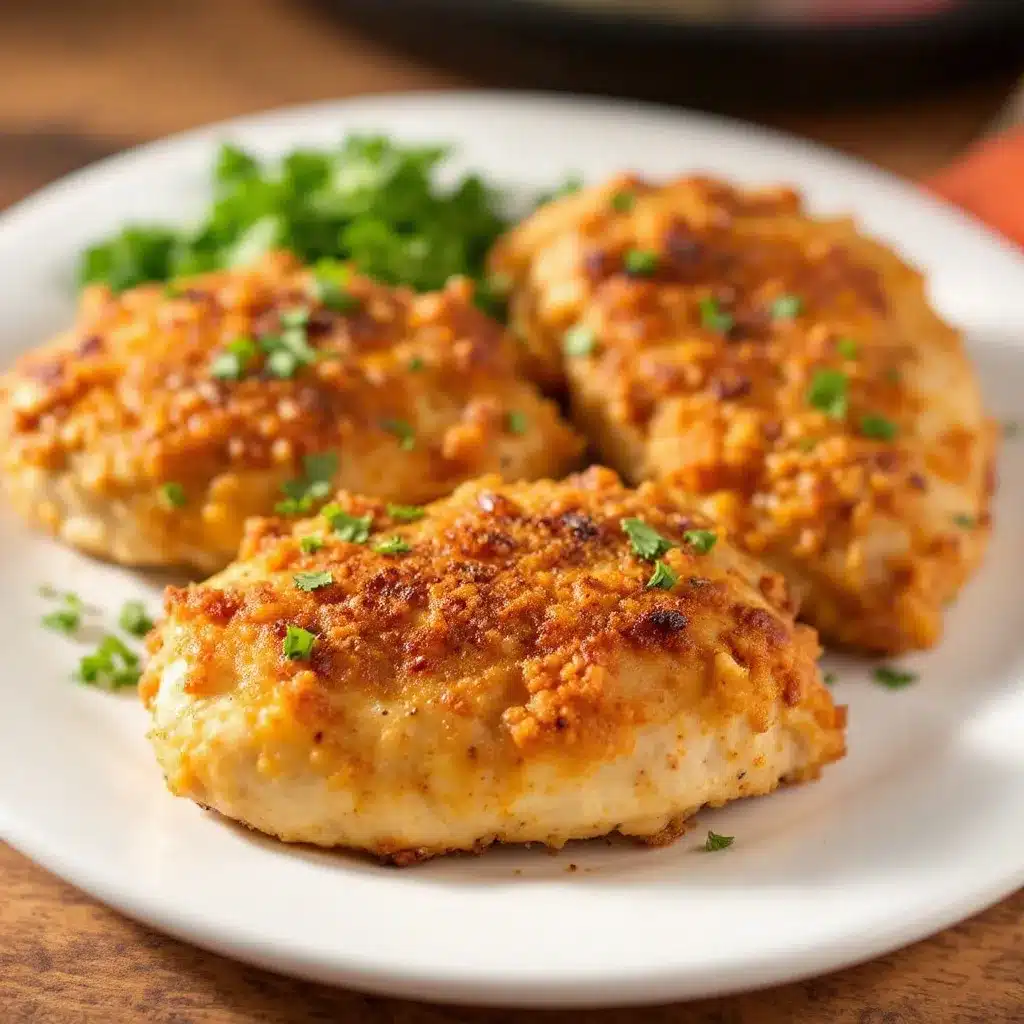
What came out was honestly ridiculous. The skin turned shatteringly crisp, the garlic mellowed into something sweet and nutty, and the Parmesan formed this golden, almost lace-like crust that stuck to every bite. My husband walked in and asked if I’d ordered takeout. I didn’t even answer—I just handed him a fork. That’s the thing about this recipe: it feels like a cheat code. Minimal effort, maximum crunch, and the kind of flavor that makes you close your eyes after the first bite. I’ve made it four times since then, and I’m still not tired of it.
Why You’ll Love This Recipe
Let me tell you why this crispy garlic Parmesan chicken thighs recipe has become my most-requested dinner. It’s not just because it’s easy—though it is, painfully so. It’s because it delivers on every single promise a good chicken recipe should make.
- Quick & Easy : From fridge to plate in under 30 minutes. No marinating, no complicated steps, no standing over a hot stove. The air fryer does all the heavy lifting.
- Simple Ingredients : You probably have everything in your kitchen right now. Chicken thighs, garlic, Parmesan, butter, and basic spices. No trips to specialty stores or weird ingredients you’ll never use again.
- Perfect for Busy Weeknights : This is the recipe you make when you’re tired, hungry, and need something that tastes like you tried way harder than you actually did. It’s weeknight hero material.
- Crowd-Pleaser : I’ve served this to picky kids, skeptical in-laws, and actual chef friends. Every single person has asked for the recipe. The crispy Parmesan crust is just universally appealing.
- Unbelievably Delicious : The texture contrast is what gets me every time. That shatteringly crisp exterior gives way to juicy, tender meat that’s been perfectly cooked by the air fryer’s circulating heat. It’s comfort food that feels just a little bit fancy.
What makes this recipe different from every other air fryer chicken recipe out there? It’s the technique. Instead of just seasoning the chicken and hoping for the best, we’re creating a garlic-Parmesan paste that adheres to the skin and forms a crust. The butter helps the cheese brown beautifully without burning, and the garlic infuses every bite without turning bitter. I’ve tested this with different fat ratios, different cheese grates, and different cooking times. This version? It’s the one. The one that makes you wonder why you ever bothered with oven-baked chicken.
This isn’t just another chicken recipe. It’s the kind that makes you look forward to Tuesday dinner. The kind that makes leftovers a lunch you actually get excited about. The kind that proves you don’t need a complicated ingredient list to create something truly memorable.
What Ingredients You Will Need
This recipe uses simple, wholesome ingredients that come together to create something way more than the sum of their parts. Here’s what you’ll need and why each one matters.
- Chicken Thighs (4-6 pieces, bone-in and skin-on): This is non-negotiable for the crispiest results. The skin acts as a protective barrier that keeps the meat juicy while getting incredibly crispy. Bone-in thighs have more flavor and stay tender during the higher heat of air frying. If you only have boneless, skinless thighs, you’ll need to adjust the cooking time significantly.
- Parmesan Cheese (1/2 cup, freshly grated): Please, I’m begging you, do not use the green can. Freshly grated Parmesan from a block melts differently, browns better, and has way more flavor. The pre-shredded stuff has anti-caking agents that prevent it from forming that beautiful crust. I like using a microplane for the finest grate, which helps it stick to the chicken better.
- Garlic (4-5 cloves, minced): Fresh garlic is key here. The high heat of the air fryer mellows raw garlic into something sweet and almost nutty. Don’t use jarred minced garlic—it has a different moisture content and can burn. I mince mine by hand because I find it meditative, but a garlic press works great too.
- Unsalted Butter (3 tablespoons, melted): Butter adds richness and helps the garlic and Parmesan adhere to the chicken. It also promotes browning thanks to the milk solids. If you use salted butter, just reduce the added salt slightly.
- Olive Oil (1 tablespoon): A little oil mixed with the butter raises the smoke point and helps everything crisp up without burning. It also adds a subtle fruitiness that complements the garlic.
- Salt (1 teaspoon, or to taste): I use fine sea salt for even seasoning. Don’t skip salting the chicken directly—it draws out moisture from the skin, which helps it crisp better.
- Black Pepper (1/2 teaspoon, freshly ground): Freshly ground pepper has more punch than pre-ground. It adds a subtle heat that balances the richness of the cheese and butter.
- Garlic Powder (1 teaspoon): This is my secret weapon. While fresh garlic gives you that punchy flavor, garlic powder adds a deeper, more rounded garlic note that permeates the meat. Don’t skip it.
- Paprika (1 teaspoon): I use sweet paprika for color and a mild sweetness. It also helps with browning. Smoked paprika would work too if you want a deeper, smokier flavor.
- Dried Italian Herbs (1 teaspoon): A blend of oregano, basil, and thyme adds an aromatic layer that makes the chicken taste more complex. You can use dried oregano alone if that’s what you have.
- Red Pepper Flakes (1/4 teaspoon, optional): I add these for a tiny kick of heat. They’re optional, but I love the way they play off the garlic and Parmesan. If you’re cooking for kids or spice-averse folks, leave them out.
- Fresh Parsley (for garnish, optional): A sprinkle of fresh parsley right before serving adds a pop of color and freshness that cuts through the richness. It’s purely aesthetic, but it makes the dish look restaurant-ready.
Equipment Needed
You don’t need a ton of fancy equipment for this recipe, which is part of its charm. Here’s what you’ll need:
- Air Fryer: Obviously. I use a 5.8-quart basket-style air fryer, but any size works as long as the chicken thighs fit in a single layer without overcrowding. If your air fryer is smaller, cook in batches. I’ve had great results with Cosori and Ninja brands. If you’re using an oven-style air fryer, the cooking time might be slightly different, so keep an eye on it.
- Mixing Bowl: A small to medium bowl for combining the garlic-Parmesan mixture. Nothing fancy needed.
- Cheese Grater: A microplane or box grater for fresh Parmesan. I prefer a microplane because it gives you the finest grate, which means better adhesion and crispier crust.
- Garlic Press or Knife: For mincing garlic. I usually just smash and chop with a chef’s knife, but a garlic press is faster if you’re in a hurry.
- Pastry Brush or Spoon: For spreading the butter mixture over the chicken. A silicone pastry brush works great, but you can also just use the back of a spoon.
- Tongs: For flipping the chicken halfway through cooking. Silicone-tipped tongs won’t scratch your air fryer basket.
- Instant-Read Thermometer: This is optional but highly recommended. Chicken thighs are done at 165°F, but I actually prefer taking them to 175-180°F for the most tender, fall-apart texture. A thermometer takes the guesswork out.
- Paper Towels: For patting the chicken dry before seasoning. This step is crucial for crispy skin, so don’t skip it.
Preparation Method
- Pat the chicken thighs completely dry with paper towels. This is the most important step for crispy skin. Moisture is the enemy of crispiness. Take your time here—really get every surface dry. If you have time, let the chicken sit uncovered in the fridge for 15-20 minutes to dry out the skin even more.
- Season the chicken directly with salt and pepper on both sides. Don’t be shy with the salt—it needs to penetrate the meat. I use about 1/2 teaspoon of salt per side for 4-6 thighs. Let the seasoned chicken sit while you prepare the garlic mixture.
- In a small bowl, combine the melted butter, olive oil, minced garlic, grated Parmesan, garlic powder, paprika, dried Italian herbs, and red pepper flakes (if using). Mix until everything is well combined. It should look like a thick, slightly chunky paste. If your butter starts to solidify because the garlic is cold, microwave it for 5-10 seconds to loosen it up.
- Preheat your air fryer to 380°F (193°C) for 3-5 minutes. Preheating ensures even cooking and helps the crust start forming immediately. If your air fryer doesn’t have a preheat function, just run it empty for 3 minutes at the cooking temperature.
- Using a pastry brush or the back of a spoon, spread the garlic-Parmesan mixture evenly over the top of each chicken thigh, focusing on the skin side. Don’t forget to get some under the skin if you can—it adds flavor directly to the meat. Reserve any leftover mixture for basting later.
- Place the chicken thighs skin-side up in the air fryer basket in a single layer. Make sure they’re not touching each other. If they’re crowded, the steam can’t escape and you’ll end up with soggy skin. Cook in batches if needed.
- Air fry at 380°F for 18-22 minutes, depending on the size of your thighs. At the 10-minute mark, carefully flip each thigh using tongs. The skin should be starting to brown. If there’s any leftover garlic mixture, brush it onto the skin side now.
- Flip the chicken back to skin-side up and continue cooking for another 8-12 minutes. The skin should be deep golden brown and crispy to the touch. If you have an instant-read thermometer, the internal temperature should read at least 165°F, though I prefer 175-180°F for the most tender texture.
- Let the chicken rest in the air fryer basket (turned off) for 5 minutes. This allows the juices to redistribute and the crust to set. If you cut into it immediately, you’ll lose all those delicious juices.
- Garnish with fresh parsley if desired, and serve immediately. The crust is at its crispiest right out of the air fryer, so don’t let it sit around too long.
Cooking Tips & Techniques
I’ve made this recipe more times than I can count, and I’ve learned a few things the hard way. Here are my best tips for perfect results every time.
Don’t overcrowd the basket. I know it’s tempting to cram everything in and get dinner on the table faster, but overcrowding is the number one reason for soggy air fryer chicken. The hot air needs to circulate around each piece to crisp the skin properly. If your thighs are touching, they’ll steam instead of crisp. Cook in batches if you have to—it’s worth the extra few minutes.
Patience with the patting dry. I cannot stress this enough. Even a little bit of moisture on the skin will prevent that shatteringly crisp texture. I pat mine dry, then let them sit on a paper towel-lined plate for 10 minutes while I prep everything else. If I’m really organized, I’ll do this step the night before and leave the chicken uncovered in the fridge overnight. The difference is remarkable.
Watch the garlic. Fresh garlic can burn quickly at high temperatures. That’s why we’re using 380°F instead of 400°F. The lower temperature gives the garlic time to mellow and sweeten without turning bitter. If you notice the garlic starting to look dark brown or black, lower the temperature by 10-15 degrees and extend the cooking time slightly.
Use a thermometer. Chicken thighs are more forgiving than breasts, but they still need to be cooked properly. I’ve pulled thighs out at 165°F and found them perfectly cooked, but I’ve also let them go to 180°F and found the texture even more tender. The thermometer takes the guesswork out and ensures you never serve undercooked or overcooked chicken.
Resting is non-negotiable. I learned this the hard way when I cut into a thigh immediately after cooking and watched all the juices run out onto the cutting board. Five minutes of rest allows the juices to redistribute throughout the meat. The crust also sets during this time, so it stays crispy instead of sliding off when you cut into it.
One mistake I made early on was using too much butter in the mixture. I thought more fat would mean more crispiness, but it actually made the skin greasy and soft. The ratio of 3 tablespoons butter to 1 tablespoon oil is perfect—enough to promote browning without making things soggy.
Variations & Adaptations
This recipe is incredibly versatile. Here are some ways to make it your own:
Spicy Buffalo Version: Add 2 tablespoons of hot sauce (Frank’s RedHot is my go-to) to the butter mixture and reduce the olive oil by half. The hot sauce adds tang and heat without making the chicken soggy. Serve with blue cheese dip and celery sticks for the full buffalo experience.
Lemon Herb Twist: Add the zest of one lemon and 2 tablespoons of fresh lemon juice to the butter mixture. Swap the dried Italian herbs for fresh thyme and rosemary. The acidity cuts through the richness beautifully and makes the chicken feel lighter. This version is amazing with a side of roasted vegetables or a fresh green salad.
Keto-Friendly Version: This recipe is already low-carb friendly, but if you want to reduce the carbs even further, skip the garlic powder (which has a tiny amount of carbs) and double down on fresh garlic. Serve with cauliflower mash or roasted broccoli for a complete keto meal. I’ve made this for friends on keto diets and they couldn’t believe it was diet-friendly.
Dairy-Free Adaptation: Use vegan butter or coconut oil in place of regular butter, and swap the Parmesan for nutritional yeast or a dairy-free Parmesan alternative. The texture won’t be exactly the same, but the flavor is still fantastic. I’ve tested this with Miyoko’s vegan butter and it worked beautifully.
Herb-Crusted Version: Add 2 tablespoons of finely chopped fresh herbs (parsley, thyme, rosemary, or a combination) to the Parmesan mixture. The fresh herbs add brightness and make the chicken look gorgeous. This is my go-to version when I’m serving company.
Air Fryer vs. Oven: If you don’t have an air fryer, you can bake these at 400°F on a wire rack set over a baking sheet for 30-35 minutes. The wire rack is crucial—it allows air to circulate underneath the chicken so the bottom stays crispy too. Flip halfway through and broil for the last 2-3 minutes for extra crispiness.
Serving & Storage Suggestions
These crispy garlic Parmesan chicken thighs are best served immediately while the crust is at its peak crispiness. But let’s be real—if you have leftovers, they’re still incredible.
Serving Temperature: Serve hot, straight from the air fryer. The crust starts to soften as it cools, so don’t let them sit around too long. If you’re making a big batch, keep the cooked thighs warm in a 200°F oven on a wire rack while you finish cooking the rest.
What to Serve With: These thighs go with just about everything. I love them with a simple arugula salad dressed with lemon vinaigrette—the peppery greens cut through the richness. Mashed potatoes or roasted vegetables are also perfect. For a complete meal, try serving them alongside crispy garlic Parmesan smashed potatoes for a double dose of crispy, cheesy goodness. Or, for something lighter, a fresh Mediterranean chickpea salad provides a bright, tangy contrast.
Storage: Store leftover chicken thighs in an airtight container in the refrigerator for up to 4 days. The crust will soften, but the flavor will still be fantastic. I actually love cold leftovers sliced over a salad the next day.
Reheating: The air fryer is your best friend for reheating. Reheat at 350°F for 3-5 minutes, or until the skin crisps back up. Avoid the microwave at all costs—it will turn that beautiful crust into a sad, soggy mess. If you don’t have an air fryer, reheat in a 375°F oven on a wire rack for 8-10 minutes.
Freezing: These freeze surprisingly well. Cool the cooked thighs completely, then wrap each one individually in plastic wrap and place in a freezer bag. Freeze for up to 3 months. To reheat, thaw in the refrigerator overnight, then reheat in the air fryer at 350°F for 5-7 minutes. The crust won’t be quite as crispy as fresh, but it’s still delicious.
How Flavors Develop: The garlic and Parmesan flavors actually deepen and meld together after a day in the fridge. I sometimes make a double batch specifically for leftovers because the cold chicken sliced over a salad is honestly addictive. The garlic becomes sweeter and more mellow, and the Parmesan flavor permeates the meat.
Nutritional Information & Benefits
Here’s the approximate nutritional breakdown for one serving (one chicken thigh, based on 4 servings):
- Calories: 380-420
- Protein: 32-35g
- Fat: 26-30g
- Carbohydrates: 2-3g
- Fiber: 0g
- Sugar: 0g
Chicken thighs are an excellent source of protein, which is essential for muscle repair and keeping you feeling full and satisfied. They’re also rich in B vitamins, particularly B6 and B12, which support energy metabolism and brain function. The skin contains healthy fats that help your body absorb fat-soluble vitamins.
Garlic is more than just flavor—it’s packed with allicin, a compound known for its anti-inflammatory and immune-boosting properties. Regular garlic consumption has been linked to lower blood pressure and improved heart health. Parmesan cheese provides calcium and phosphorus for bone health, plus a good amount of protein.
This recipe is naturally low-carb and keto-friendly, making it a great option for those watching their carbohydrate intake. It’s also gluten-free and sugar-free. If you’re looking for a healthy diabetes-friendly sheet pan chicken recipe, this air fryer version is an excellent alternative that’s just as easy and even faster.
One note: the sodium content can be significant due to the Parmesan and added salt, so if you’re watching your sodium intake, use a low-sodium Parmesan and reduce the added salt. The garlic and herbs provide plenty of flavor even with less salt.
Conclusion
This crispy garlic Parmesan chicken thighs recipe has genuinely changed the way I think about weeknight dinners. It’s proof that you don’t need complicated techniques or fancy ingredients to create something that feels special. Just good chicken, real cheese, fresh garlic, and a little patience with your air fryer.
What I love most about this recipe is how adaptable it is. Make it spicy, make it lemony, make it herbaceous—it works every time. It’s the kind of recipe you’ll memorize after making it twice because it’s so simple, yet it delivers results that make you look like a kitchen pro.
I’d love to hear how this turns out for you. Did you add your own twist? Did you serve it with something unexpected? Drop a comment below and let me know—I read every single one and I’m always looking for new variations to try. And if you loved it, share it with a friend who needs a new weeknight hero recipe. Trust me, they’ll thank you.
Now go preheat that air fryer. Dinner’s about to get seriously good.
Frequently Asked Questions
Can I use boneless, skinless chicken thighs for this recipe?
You can, but the results won’t be as crispy. Boneless, skinless thighs cook faster (about 12-15 minutes at 375°F) and won’t develop that shatteringly crisp crust. If you use them, reduce the cooking time and check for doneness earlier. The garlic Parmesan mixture will still add great flavor, but the texture will be different.
How do I prevent the Parmesan from burning in the air fryer?
The key is temperature control. Cooking at 380°F instead of 400°F gives the cheese time to brown slowly without burning. Also, make sure your Parmesan is freshly grated—pre-shredded cheese has additives that can cause it to burn faster. If you notice the cheese browning too quickly, lower the temperature by 10-15 degrees and extend the cooking time.
Can I make this recipe without an air fryer?
Absolutely. Bake the chicken thighs on a wire rack set over a baking sheet at 400°F for 30-35 minutes, flipping halfway through. The wire rack is essential for air circulation so the bottom gets crispy too. For extra browning, broil for the last 2-3 minutes. The texture won’t be quite as crispy as the air fryer version, but it’s still delicious.
How do I store and reheat leftovers?
Store leftovers in an airtight container in the refrigerator for up to 4 days. For the best results, reheat in the air fryer at 350°F for 3-5 minutes until the skin crisps back up. Avoid the microwave, which will make the crust soggy. Leftovers are also fantastic cold, sliced over a salad or tucked into a sandwich.
Can I freeze the cooked chicken thighs?
Yes, they freeze well for up to 3 months. Cool the cooked thighs completely, wrap each one individually in plastic wrap, and place them in a freezer bag. To reheat, thaw in the refrigerator overnight, then reheat in the air fryer at 350°F for 5-7 minutes. The crust won’t be quite as crispy as fresh, but the flavor will still be fantastic.
Pin This Recipe!
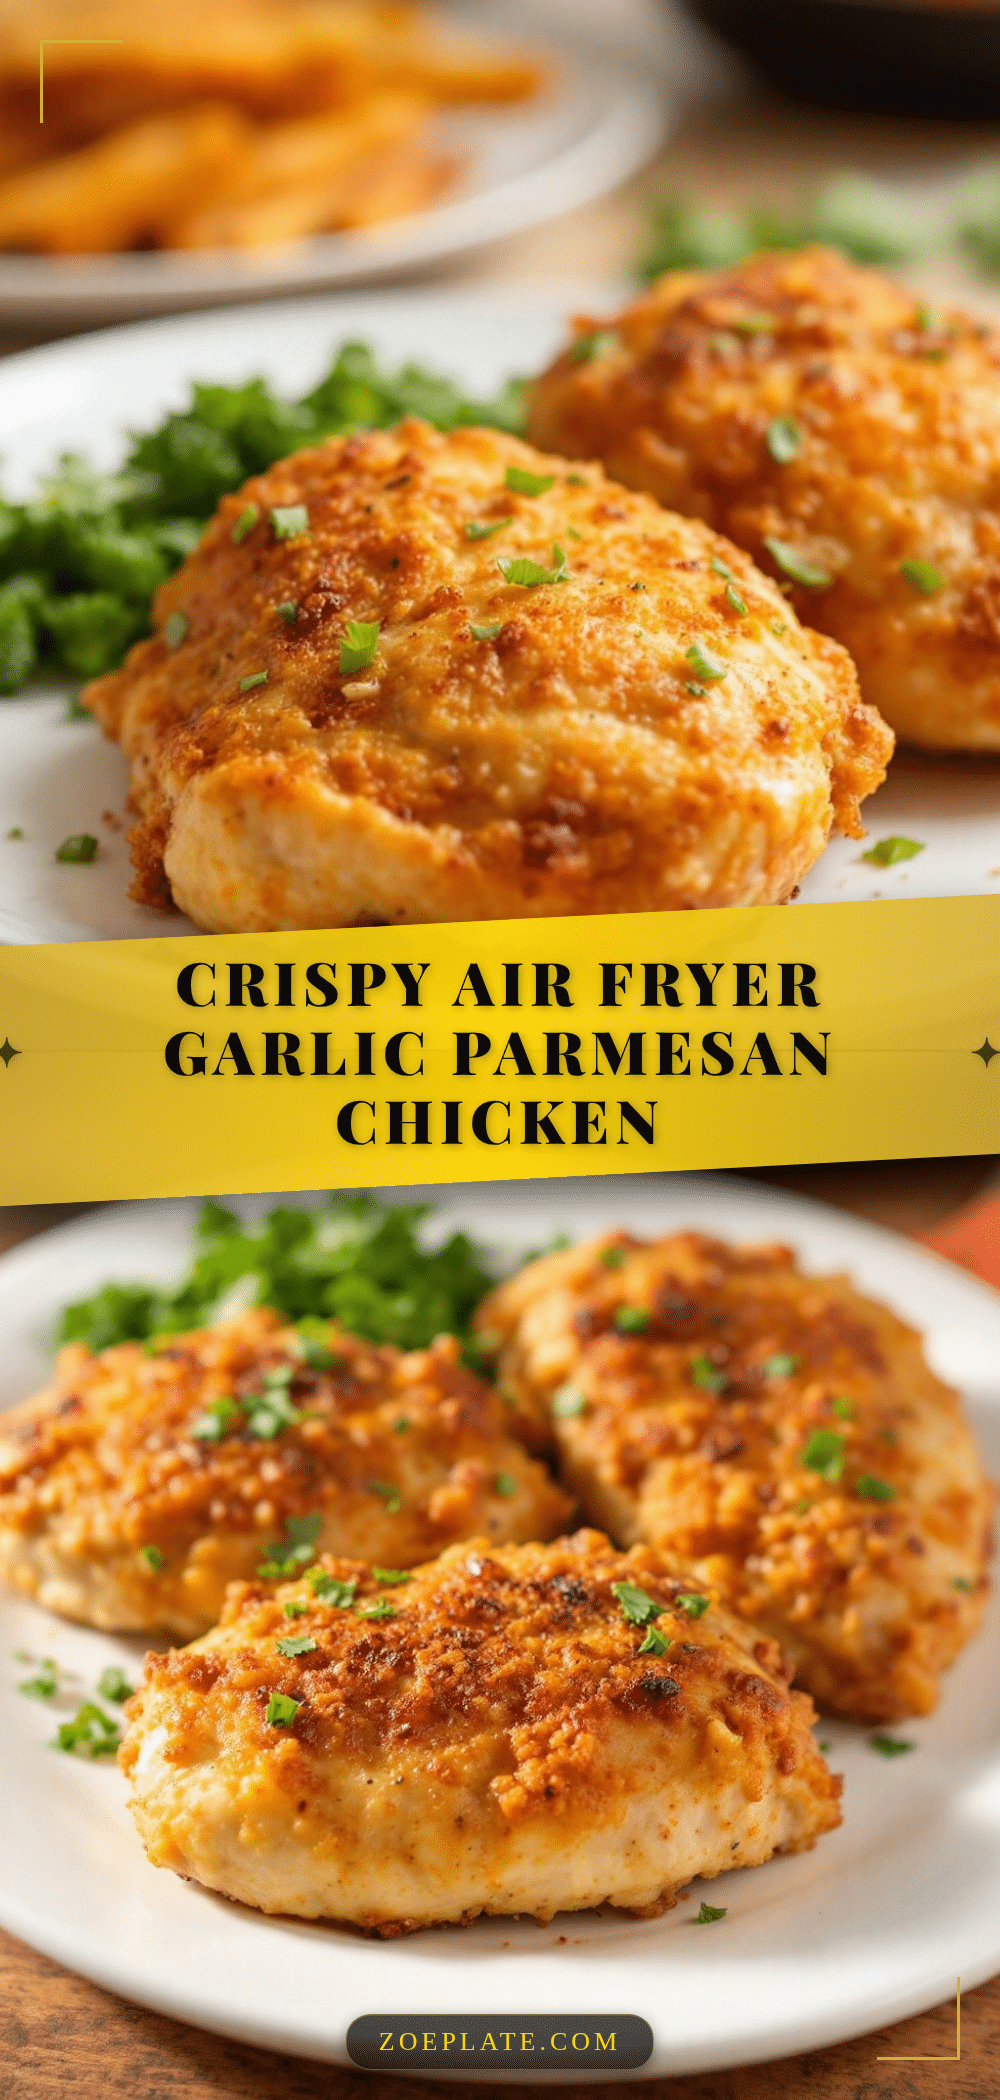
Crispy Garlic Parmesan Chicken Thighs in Air Fryer

These air fryer chicken thighs are incredibly crispy, garlicky, and coated in a golden Parmesan crust. Ready in under 30 minutes, they’re the perfect easy weeknight dinner that tastes like a restaurant-quality meal.
- Prep Time: 10 minutes
- Cook Time: 20 minutes
- Total Time: 30 minutes
- Yield: 4 servings 1x
- Category: Main Course
- Cuisine: American
Ingredients
- 4–6 bone-in, skin-on chicken thighs
- 1/2 cup freshly grated Parmesan cheese
- 4–5 cloves garlic, minced
- 3 tablespoons unsalted butter, melted
- 1 tablespoon olive oil
- 1 teaspoon fine sea salt
- 1/2 teaspoon freshly ground black pepper
- 1 teaspoon garlic powder
- 1 teaspoon sweet paprika
- 1 teaspoon dried Italian herbs (oregano, basil, thyme)
- 1/4 teaspoon red pepper flakes (optional)
- Fresh parsley for garnish (optional)
Instructions
- Pat the chicken thighs completely dry with paper towels. This is crucial for crispy skin.
- Season the chicken directly with salt and pepper on both sides. Let sit while preparing the garlic mixture.
- In a small bowl, combine melted butter, olive oil, minced garlic, grated Parmesan, garlic powder, paprika, dried Italian herbs, and red pepper flakes (if using). Mix until it forms a thick paste.
- Preheat your air fryer to 380°F (193°C) for 3-5 minutes.
- Using a pastry brush or the back of a spoon, spread the garlic-Parmesan mixture evenly over the top (skin side) of each chicken thigh. Reserve any leftover mixture for basting.
- Place the chicken thighs skin-side up in the air fryer basket in a single layer, ensuring they are not touching. Cook in batches if needed.
- Air fry at 380°F for 18-22 minutes. At the 10-minute mark, carefully flip each thigh using tongs. If there’s leftover garlic mixture, brush it onto the skin side now.
- Flip the chicken back to skin-side up and continue cooking for another 8-12 minutes, until the skin is deep golden brown and crispy. Internal temperature should reach at least 165°F (preferably 175-180°F for tender texture).
- Let the chicken rest in the air fryer basket (turned off) for 5 minutes to allow juices to redistribute and the crust to set.
- Garnish with fresh parsley if desired, and serve immediately.
Notes
For the crispiest skin, pat the chicken very dry and let it sit uncovered in the fridge for 15-20 minutes before seasoning. Use freshly grated Parmesan, not pre-shredded, for the best crust. If the garlic starts to burn, lower the temperature by 10-15 degrees. Resting the chicken for 5 minutes after cooking is essential to keep the crust intact and the meat juicy.
Nutrition
- Serving Size: 1 chicken thigh
- Calories: 400
- Sodium: 650
- Fat: 28
- Saturated Fat: 10
- Carbohydrates: 2
- Protein: 34
Keywords: air fryer chicken thighs, crispy garlic parmesan chicken, easy weeknight dinner, keto chicken, low carb chicken recipe


