I want dinner on the table in twenty minutes and I have ground beef, a box of rice, and a block of cheddar staring back at me from the fridge. No thawing. No fancy prep. Just the kind of weeknight math that every home cook knows by heart—what can I make with what I already have? The answer, tonight, is this quick cheesy ground beef and rice skillet.
Honestly, some of the best meals come from that exact moment of pantry desperation. You know the one. You’re tired, the kids are circling, and the idea of chopping a single extra vegetable feels like a personal insult. That’s where this recipe lives. It’s not trying to be fancy. It’s trying to be done, delicious, and devoured before anyone asks “what’s for dinner?” a third time.
I’ve made versions of this for years, tweaking the cheese ratio, playing with the seasoning, and figuring out which rice cooks up fastest without turning into mush. This version is the one that stuck. It’s the one I make when I need a guaranteed win and zero stress. The ground beef gets browned, the rice gets tender, and the cheese melts into everything like it was always meant to be there.
It’s the kind of meal that feels like a hug in a skillet, even on the most chaotic nights. And honestly, that’s exactly what I needed tonight.
Why You’ll Love This Recipe
This isn’t just another weeknight skillet—it’s the one you’ll actually want to make again. I’ve tested this recipe more times than I can count, tweaking the liquid ratio and the cheese blend until everything comes together in perfect harmony. Here’s why it works:
- Ready in 20 Minutes: From first sizzle to last bite, this whole thing comes together fast. No marinating, no long simmer—just dinner, done.
- Pantry-Friendly Ingredients: Ground beef, rice, cheese, broth, and a few spices. That’s it. You probably have everything right now.
- One Skillet, Zero Fuss: Everything cooks in one pan. Less cleanup, more couch time. That’s a win in my book.
- Crowd-Pleaser Status: Kids love the cheesy factor. Adults love how satisfying it is. Everyone goes back for seconds.
- Endlessly Adaptable: Swap the protein, change the cheese, add veggies—this recipe bends to whatever you have on hand.
This is the kind of recipe that makes you feel like a rockstar with minimal effort. It’s comfort food that actually works with your schedule, not against it. And that first bite, where the melted cheese stretches from the spoon? Totally worth it.
What Ingredients You Will Need
This recipe uses simple, everyday ingredients to deliver big flavor without any fuss. Most of these are pantry and fridge staples, so you can pull this together on a whim.
- Ground Beef (1 lb / 450g): I use 80/20 ground beef for the best flavor, but leaner works too. If you use leaner, add a splash of oil to the pan first.
- Long-Grain White Rice (1 cup / 200g): This cooks up fluffy and separate, not sticky. Basmati or jasmine work great here too.
- Beef Broth (2 cups / 480ml): Adds deep savory flavor. Chicken broth works in a pinch, or use water with an extra pinch of salt.
- Shredded Cheddar Cheese (1 ½ cups / 170g): Sharp cheddar gives the most flavor, but mild cheddar or a Mexican blend also melts beautifully.
- Yellow Onion (1 medium, diced): Adds sweetness and depth. Shallots or a leek can substitute if needed.
- Garlic (3 cloves, minced): Fresh garlic is best here—it makes a difference. Jarred minced garlic works in a pinch, but use a heaping teaspoon.
- Tomato Paste (2 tablespoons): Adds richness and a touch of acidity. Tomato sauce can work, but you’ll need to reduce the broth slightly.
- Paprika (1 teaspoon): Smoked paprika adds a lovely warmth, but sweet paprika works too.
- Onion Powder (½ teaspoon): Rounds out the savory notes. Garlic powder can substitute if you’re out.
- Salt and Black Pepper (to taste): Start with ½ teaspoon salt and ¼ teaspoon pepper, then adjust at the end.
- Butter (1 tablespoon): Adds richness and helps the rice cook up tender. Olive oil works as a substitute.
- Fresh Parsley (for garnish, optional): Adds a pop of color and freshness. Chives or green onions work too.
Equipment Needed
You don’t need a fancy kitchen to pull this off. Here’s what you’ll need:
- Large Skillet (12-inch / 30cm): A deep skillet with a lid is ideal. A Dutch oven works perfectly too. If you don’t have a lid, use foil tightly crimped around the edges.
- Wooden Spoon or Spatula: For breaking up the ground beef and stirring the rice. A silicone spatula works too.
- Sharp Knife and Cutting Board: For dicing the onion and mincing the garlic. A good chef’s knife makes this go fast.
- Measuring Cups and Spoons: Accurate measurements matter here for the rice-to-liquid ratio. I use my trusty set for everything.
- Box Grater or Pre-Shredded Cheese: Grating your own cheese melts smoother, but pre-shredded saves time. No judgment here.
That’s it. No special gadgets required. Just your favorite skillet and twenty minutes.
Preparation Method
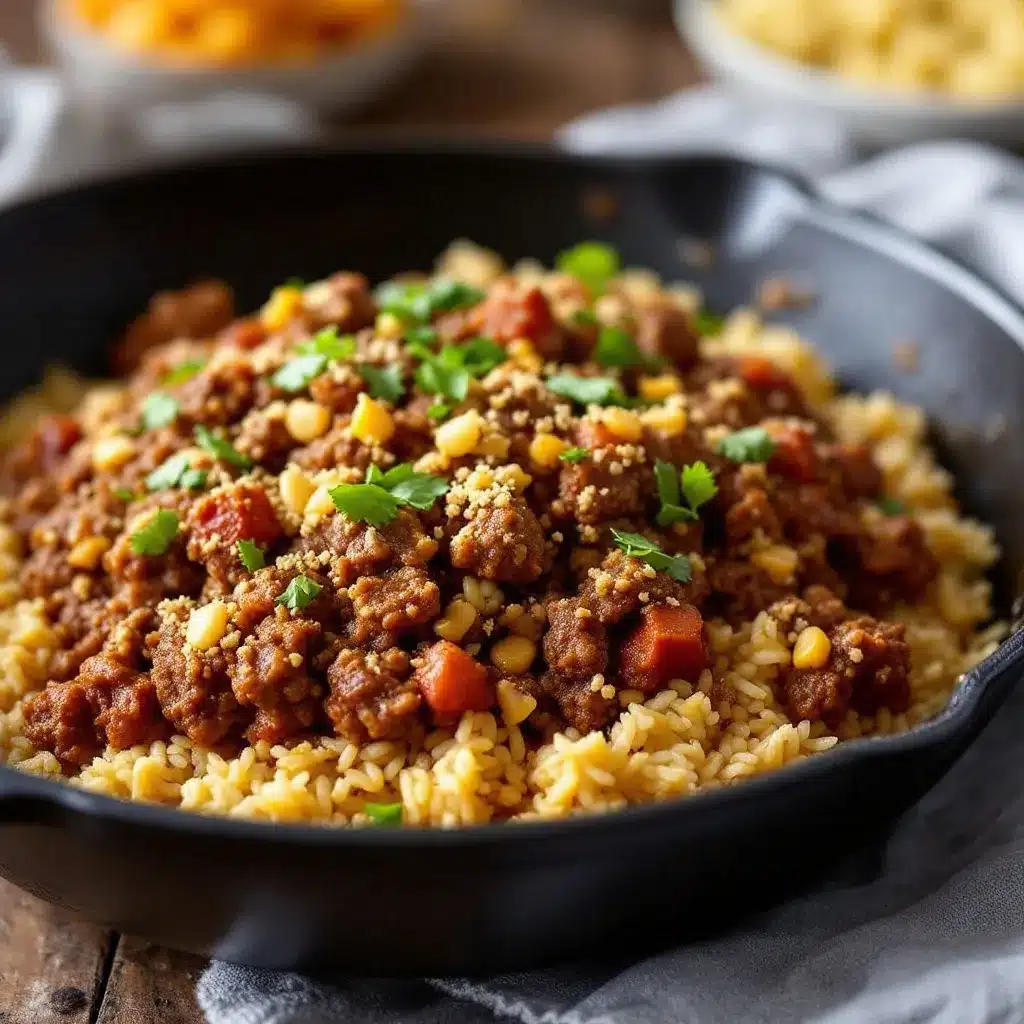
- Brown the Ground Beef (5 minutes): Place your skillet over medium-high heat. Add the ground beef and break it apart with your spoon. Cook until browned, about 5 minutes, stirring occasionally. Don’t drain all the fat—leave about a tablespoon for flavor. If you’re using lean beef, add the butter now.
- Sauté the Aromatics (2 minutes): Add the diced onion to the skillet. Cook for 1-2 minutes until it softens. Stir in the minced garlic and cook for 30 seconds until fragrant. Your kitchen will start smelling incredible right about now.
- Add Tomato Paste and Spices (1 minute): Push the beef and onions to one side. Add the tomato paste to the empty space and let it cook for 30 seconds, stirring. This deepens the flavor. Then mix everything together with the paprika, onion powder, salt, and pepper.
- Add Rice and Broth (1 minute): Pour in the rice and stir to coat it in all those beefy, tomatoey flavors. Then pour in the beef broth and stir everything together. Scrape up any browned bits from the bottom of the pan—that’s pure flavor.
- Simmer and Cook (12 minutes): Bring the mixture to a boil, then reduce the heat to low. Cover the skillet with a tight-fitting lid. Let it simmer gently for 12 minutes. Don’t peek! Lifting the lid releases steam and messes with the cooking time.
- Check the Rice (1 minute): After 12 minutes, remove the lid. The rice should be tender and most of the liquid absorbed. If it’s still a bit soupy, cook uncovered for 1-2 more minutes. If it’s dry but the rice isn’t done, add 2-3 tablespoons of water and cook covered for 2 more minutes.
- Add the Cheese (1 minute): Remove the skillet from the heat. Sprinkle the shredded cheddar evenly over the top. Cover the skillet again for 1 minute to let the cheese melt. This steam-melt method gives you the gooiest results without drying out the rice.
- Fluff and Serve (1 minute): Remove the lid and give everything a gentle stir to incorporate the melted cheese. Taste and adjust salt and pepper. Garnish with fresh parsley if you’re feeling fancy. Serve hot straight from the skillet.
Cooking Tips & Techniques
I’ve made this recipe enough times to know where things can go sideways. Here’s what I’ve learned the hard way so you don’t have to:
- Don’t Over-Stir the Rice: Once the rice is in the broth, resist the urge to stir. Stirring releases starch and makes the rice gummy. Let it do its thing under the lid.
- Use a Heavy-Bottomed Skillet: Thin pans can scorch the rice before it’s cooked through. A heavy skillet distributes heat evenly and prevents burning. If your skillet is thin, use the lowest simmer setting.
- Grate Your Own Cheese: Pre-shredded cheese has anti-caking agents that prevent it from melting smoothly. Grating your own takes an extra minute but gives you that silky, stretchy melt. I do it when I’m feeling fancy.
- Toast the Rice Briefly: Letting the rice cook in the beef mixture for 30 seconds before adding broth gives it a nuttier flavor. It’s a small step that makes a noticeable difference.
- Let It Rest: After the cheese melts, let the skillet sit off the heat for 2-3 minutes before serving. The rice absorbs any remaining liquid and the flavors meld together beautifully.
Variations & Adaptations
This recipe is a chameleon. Here are some ways to switch it up based on what you have or what you’re craving:
- Swap the Protein: Ground turkey, ground chicken, or even crumbled Italian sausage work great. If using turkey or chicken, add a tablespoon of olive oil to keep it moist.
- Add Vegetables: Toss in a cup of frozen peas and corn when you add the rice. Or sauté diced bell peppers and zucchini with the onion. It bulks up the meal and adds color.
- Change the Cheese: Monterey Jack, pepper jack, or a Mexican blend all melt beautifully. For a smoky twist, try smoked gouda. For extra sharpness, use extra-sharp white cheddar.
- Make It Spicy: Add a diced jalapeño with the onion, or stir in ½ teaspoon of cayenne pepper with the spices. A drizzle of hot sauce at the end works too.
- Go Low-Carb: Swap the rice for cauliflower rice. Cook the cauliflower rice separately and stir it in at the end with the cheese. Reduce the broth to ½ cup since cauliflower releases water.
- Try a Different Grain: Brown rice works but needs more liquid and time—use 2 ½ cups broth and simmer for 35-40 minutes. Quinoa cooks in about the same time as white rice and adds a protein boost.
Serving & Storage Suggestions
This skillet is a complete meal on its own, but here’s how to make it even better:
- Serving Temperature: Serve hot, straight from the skillet. The cheese should be melty and the rice fluffy. Let it cool for 2-3 minutes so nobody burns their mouth.
- What to Serve With It: A simple side salad with a tangy vinaigrette cuts through the richness. Steamed green beans or roasted broccoli add color and crunch. For a heartier meal, serve with warm tortillas or crusty bread.
- Storing Leftovers: Transfer cooled leftovers to an airtight container. Refrigerate for up to 4 days. The rice will absorb more liquid as it sits, so it might be a bit softer the next day—still delicious though.
- Freezing: This freezes well for up to 3 months. Portion into freezer-safe containers. Thaw overnight in the fridge before reheating.
- Reheating: The best way is in a skillet over medium-low heat with a splash of broth or water. Stir occasionally until heated through. Microwave works in a pinch—cover the bowl and heat in 30-second bursts, stirring between each.
- Flavor Development: Honestly, this tastes even better the next day. The flavors meld together overnight, making leftovers a real treat. I often double the batch just for this reason.
Nutritional Information & Benefits
Here’s a rough estimate per serving (based on 4 servings):
- Calories: ~520
- Protein: 32g
- Fat: 24g
- Carbohydrates: 42g
- Fiber: 2g
- Calcium: 25% DV
- Iron: 20% DV
This meal provides a solid balance of protein, carbs, and fat to keep you full and satisfied. The ground beef is a great source of iron and B vitamins, while the cheese adds calcium for bone health. If you’re watching sodium, use low-sodium broth and reduce the added salt. For a lighter version, swap in ground turkey and reduce the cheese to 1 cup.
I love that this recipe feels indulgent but actually fits into a balanced diet. It’s comfort food you can feel good about serving any night of the week.
Conclusion
This quick cheesy ground beef and rice skillet is exactly what weeknight dinners should be—fast, satisfying, and made with ingredients you already have. It’s the kind of recipe that saves you on those nights when takeout is tempting but you know a home-cooked meal will hit different.
I love how forgiving this recipe is. You can tweak it, swap things out, and it still turns out delicious. That’s the mark of a keeper in my book. Whether you’re feeding a hungry family or just need a hearty meal for yourself, this skillet delivers every single time.
Give it a try and let me know how it goes! Drop a comment below with your favorite variation or tag me in your skillet photos. I genuinely love seeing how you make this recipe your own. Happy cooking, friend!
Frequently Asked Questions
Can I use instant rice instead of long-grain rice?
Yes, but adjust the liquid and time. Use 1 cup instant rice with 1 ½ cups broth. Simmer covered for only 5-6 minutes instead of 12. Check for doneness early to avoid mushy rice.
Can I make this dairy-free?
Absolutely. Use a dairy-free shredded cheese alternative that melts well, like a cashew-based or coconut oil-based shred. Nutritional yeast can also add a cheesy flavor without dairy.
Why is my rice still hard after 12 minutes?
Your heat might be too low, or the lid wasn’t tight enough. Add ¼ cup more broth, cover tightly, and cook for 3-4 more minutes. Also check that your rice isn’t too old—older rice takes longer to cook.
Can I use ground beef that’s already been frozen and thawed?
Yes, as long as it was thawed safely in the fridge. Pat it dry with paper towels before cooking to remove excess moisture. This helps it brown properly instead of steaming.
How do I prevent the cheese from clumping?
Shred your own cheese from a block. Pre-shredded cheese has starches and anti-caking agents that prevent smooth melting. Also, add the cheese off the heat and let it melt with the lid on for best results.
Pin This Recipe!
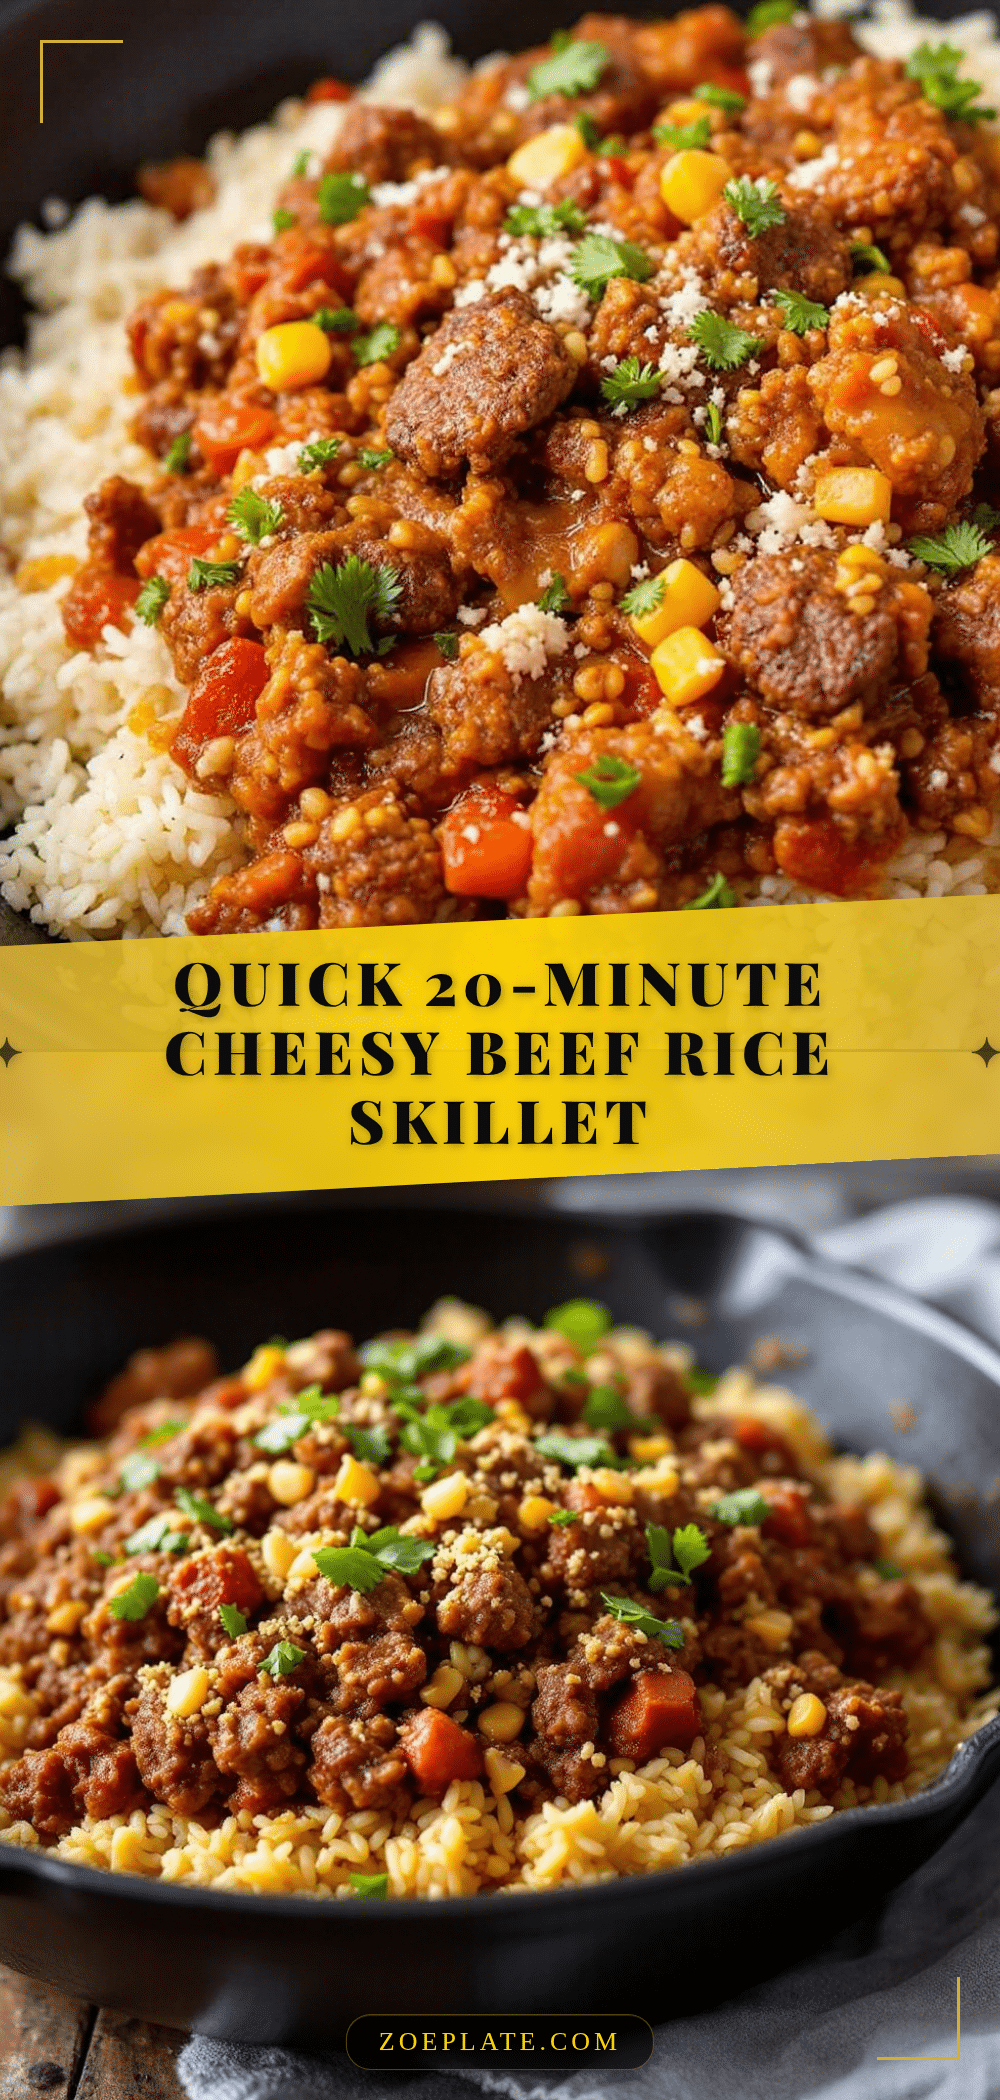
Easy Cheesy Ground Beef and Rice Skillet in 20 Minutes

A quick and satisfying one-skillet meal with ground beef, rice, and melted cheddar cheese, ready in just 20 minutes. Perfect for busy weeknights when you need dinner on the table fast.
- Prep Time: 5 minutes
- Cook Time: 15 minutes
- Total Time: 20 minutes
- Yield: 4 servings 1x
- Category: Main Course
- Cuisine: American
Ingredients
- 1 lb (450g) ground beef (80/20)
- 1 cup (200g) long-grain white rice
- 2 cups (480ml) beef broth
- 1 ½ cups (170g) shredded cheddar cheese
- 1 medium yellow onion, diced
- 3 cloves garlic, minced
- 2 tablespoons tomato paste
- 1 teaspoon paprika (smoked or sweet)
- ½ teaspoon onion powder
- ½ teaspoon salt (or to taste)
- ¼ teaspoon black pepper (or to taste)
- 1 tablespoon butter
- Fresh parsley for garnish (optional)
Instructions
- Brown the ground beef in a large skillet over medium-high heat, breaking it apart, for about 5 minutes. Leave about 1 tablespoon of fat in the pan.
- Add the diced onion and cook for 1-2 minutes until softened. Stir in the minced garlic and cook for 30 seconds until fragrant.
- Push the beef and onions to one side. Add the tomato paste to the empty space and cook for 30 seconds, stirring. Mix everything together with the paprika, onion powder, salt, and pepper.
- Pour in the rice and stir to coat. Then add the beef broth and stir, scraping up any browned bits from the bottom.
- Bring to a boil, then reduce heat to low. Cover tightly and simmer for 12 minutes. Do not lift the lid.
- After 12 minutes, check the rice. If still soupy, cook uncovered for 1-2 more minutes. If dry but rice isn’t done, add 2-3 tablespoons water and cook covered for 2 more minutes.
- Remove from heat. Sprinkle the shredded cheddar evenly over the top. Cover and let sit for 1 minute to melt the cheese.
- Remove lid, gently stir to incorporate the cheese. Taste and adjust seasoning. Garnish with parsley if desired. Serve hot.
Notes
For best results, grate your own cheese from a block to avoid anti-caking agents. Do not stir the rice once the broth is added to prevent gumminess. Let the skillet rest off the heat for 2-3 minutes before serving for better texture and flavor melding.
Nutrition
- Serving Size: 1 serving (about 1.5
- Calories: 520
- Sugar: 4
- Sodium: 800
- Fat: 24
- Saturated Fat: 12
- Carbohydrates: 42
- Fiber: 2
- Protein: 32
Keywords: ground beef, rice, cheddar, skillet, quick dinner, weeknight meal, cheesy, one pan


