“Wait, you browned the butter?” My neighbor Jen leaned over my kitchen counter, peering at the bowl of cookie dough like I’d just announced I was baking with liquid gold. She had stopped by to borrow an egg — classic neighbor move — and caught me mid-recipe, standing over a saucepan, watching butter foam and turn amber. I was stirring, sniffing, trying not to burn it. She asked what I was making. I told her. And that was it.
She didn’t leave for an hour. We sat there, tasting warm dough straight from the bowl (don’t judge), and I told her how I’d been chasing that bakery-style cookie texture for months. You know the one — crispy edges, soft center, that deep nutty flavor that makes you wonder why you ever made cookies any other way. This best brown butter chocolate chip cookies recipe wasn’t born from a cookbook or a celebrity chef’s class. It came from a Tuesday night, a half-stick of butter, and a stubborn refusal to settle for flat, boring cookies ever again.
Honestly, I almost didn’t share it. It felt like my little secret. But then Jen texted me later that night: “I just ate three. Send the recipe.” So here we are. These cookies have that thing — that hard-to-describe, makes-you-close-your-eyes quality. And I think you’re going to love them.
Why You’ll Love This Recipe
Let’s be real for a second. There are a million chocolate chip cookie recipes out there. What makes this one different? I’ve tested this recipe more times than I care to admit — some batches came out too flat, others too cakey, a few were just… sad. But this version? It’s the one I keep coming back to.
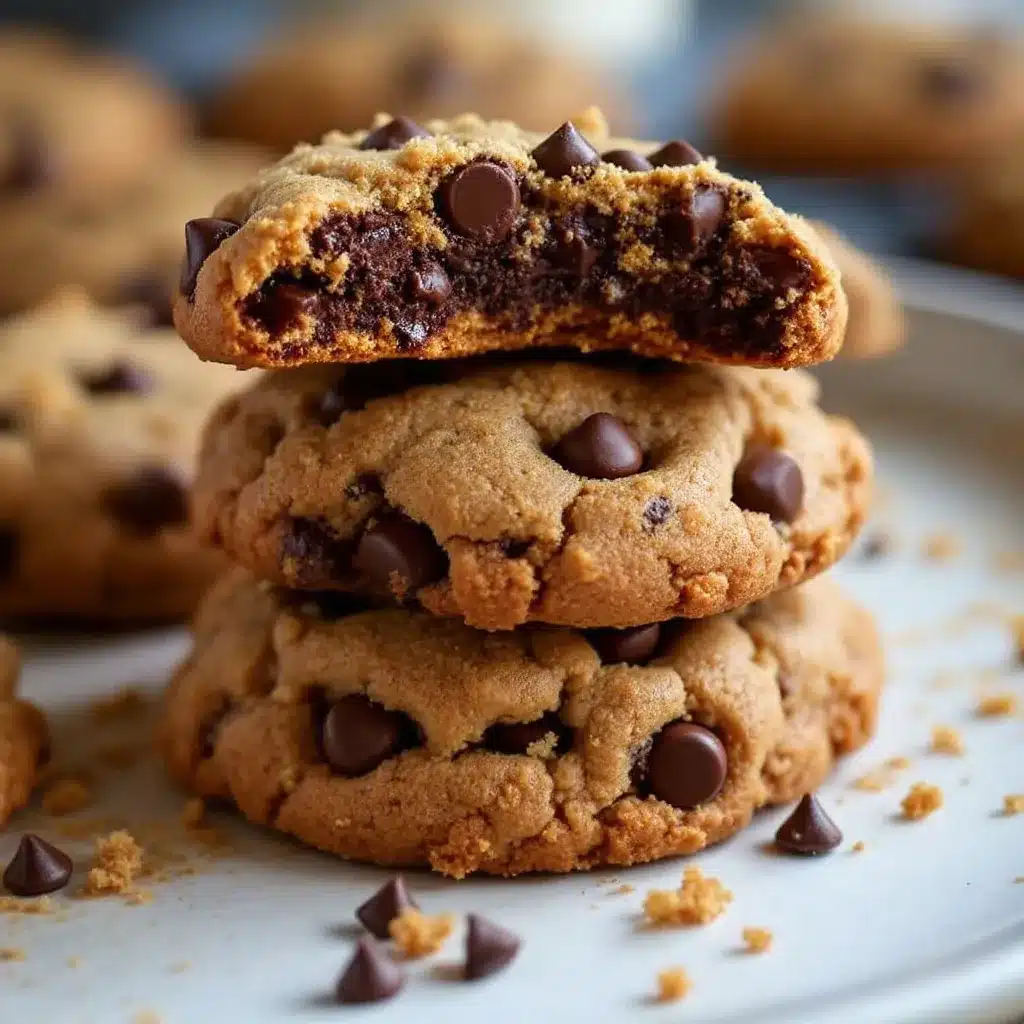
- Bakery-Style Texture: Crispy edges with a thick, chewy center. No thin, greasy cookies here.
- Deep Nutty Flavor: Browning the butter adds a toasty, caramel-like richness you just can’t get from melted butter alone.
- Simple Ingredients: You probably have everything in your pantry right now. No fancy extracts or hard-to-find flours.
- Make-Ahead Friendly: The dough chills beautifully, so you can bake fresh cookies whenever the craving hits.
- Foolproof for Beginners: I’ve included all the little tricks I learned the hard way — so you don’t have to learn them yourself.
This isn’t just another chocolate chip cookie recipe. It’s the result of burning butter (literally), underbaking, overbaking, and finally figuring out what works. It’s the kind of cookie that makes people text you at 10 PM asking for the recipe. And honestly? It’s the kind of cookie that makes you feel like a professional baker, even if you’re just wearing sweatpants in your own kitchen.
What Ingredients You Will Need
This recipe uses straightforward ingredients, but the way you handle them makes all the difference. Here’s what you’ll need and why each one matters.
For the Brown Butter Base
- 1 cup (226g) unsalted butter — I prefer using European-style butter like Kerrygold for browning. It has a higher fat content, which means richer flavor and better texture. But regular unsalted butter works perfectly too.
- 1 cup (200g) packed light brown sugar — Brown sugar adds moisture and that slight molasses flavor that pairs beautifully with nutty brown butter. Dark brown sugar works too, but the cookies will be slightly darker and more caramel-like.
- ½ cup (100g) granulated sugar — White sugar helps create those crispy edges. Don’t skip it.
For the Wet Ingredients
- 2 large eggs, room temperature — Cold eggs will seize up your brown butter. Trust me, I’ve made that mistake. Let them sit on the counter for 30 minutes first.
- 2 teaspoons vanilla extract — Use real vanilla, not imitation. It makes a difference in the depth of flavor.
For the Dry Ingredients
- 2 ½ cups (312g) all-purpose flour — Spoon and level your flour. Scooping directly from the bag packs in too much flour and gives you dry, crumbly cookies.
- 1 teaspoon baking soda — This helps the cookies spread just enough without turning into puddles.
- ½ teaspoon baking powder — Adds a little lift for that thick, bakery-style center.
- 1 teaspoon kosher salt — If you’re using table salt, reduce to ¾ teaspoon. Salt balances the sweetness and enhances the brown butter flavor.
For the Mix-Ins
- 2 cups (340g) semi-sweet chocolate chips or chopped chocolate — I love using a mix: half semi-sweet chips and half chopped dark chocolate bar. It gives you those beautiful pools of chocolate in every bite. Ghirardelli or Guittard are my go-to brands.
- Flaky sea salt for finishing (optional but highly recommended) — Maldon or any flaky salt. Just a pinch on top before baking transforms these cookies.
If you’re looking for a dairy-free option, you can use plant-based butter for browning — just watch it carefully as it can burn faster. For a gluten-free version, swap the all-purpose flour with a 1:1 gluten-free baking blend. I’ve tested this with King Arthur’s Measure for Measure flour, and it works beautifully.
Equipment Needed
You don’t need a professional bakery setup to make these cookies. Here’s what you’ll actually use:
- Light-colored saucepan — Dark pans make it hard to see the butter change color as it browns. A stainless steel or light-colored nonstick pan is ideal.
- Stand mixer or hand mixer — I’ve made these with both. A stand mixer with the paddle attachment is easiest, but a hand mixer works just fine. You can even mix by hand with some elbow grease.
- Large mixing bowls — You’ll need at least two.
- Rubber spatula — For scraping every last bit of that brown butter goodness.
- Baking sheets — Heavy-duty aluminum baking sheets give the most even browning. Avoid dark nonstick sheets — they can over-brown the bottoms.
- Parchment paper or silicone baking mats — Parchment is my preference because it gives slightly crisper edges.
- Cookie scoop (2-tablespoon size) — For uniform cookies that bake evenly. A 1.5-tablespoon scoop works too for smaller cookies.
- Cooling rack — Essential for getting those crispy edges without soggy bottoms.
Preparation Method
This is where the magic happens. Follow these steps carefully, and you’ll have cookies that look and taste like they came from a fancy bakery.
Step 1: Brown the Butter
Cut the butter into tablespoon-sized pieces and place them in your light-colored saucepan. Melt over medium heat, stirring frequently with a rubber spatula. The butter will foam, then bubble, then start to turn golden. Keep stirring — you’ll see brown specks form at the bottom. This is the milk solids toasting, and it’s where all the flavor lives. Once the butter smells nutty and is a deep amber color (about 5-7 minutes), remove it from the heat immediately. Pour it into a heatproof bowl, including all those brown bits. Let it cool for 10-15 minutes. Don’t skip the cooling — hot butter will cook your eggs.
Step 2: Combine Sugars and Brown Butter
Add both sugars to the warm (not hot) brown butter. Whisk until smooth and combined. The mixture will look a bit grainy — that’s normal. Let it sit for 2 minutes, then whisk again. This little rest helps the sugar dissolve slightly. The mixture should look like wet sand.
Step 3: Add Eggs and Vanilla
Add the room-temperature eggs one at a time, whisking vigorously after each addition. The mixture should become thick, glossy, and pale. Add the vanilla and whisk until combined. If the mixture looks separated or greasy, your butter was too hot. Don’t panic — just keep whisking; it will come back together.
Step 4: Mix Dry Ingredients
In a separate bowl, whisk together the flour, baking soda, baking powder, and salt. Make sure there are no lumps. This is also where you can add any extra spices if you’re feeling adventurous (I sometimes add ½ teaspoon cinnamon, but that’s optional).
Step 5: Combine Wet and Dry
Gradually add the dry ingredients to the wet mixture. If using a stand mixer, mix on low speed until just barely combined — you should still see some streaks of flour. Overmixing at this stage develops gluten and makes tough cookies. Add the chocolate chips and fold them in with a rubber spatula. The dough will be thick and slightly sticky. That’s exactly what you want.
Step 6: Chill the Dough
This is non-negotiable. Cover the bowl with plastic wrap and refrigerate for at least 30 minutes, but 2 hours is better. Overnight is ideal. Chilling solidifies the brown butter, prevents excessive spreading, and lets the flavors meld. I’ve baked cookies straight from chilled dough that sat for 48 hours, and they were incredible.
Step 7: Preheat and Prepare
Preheat your oven to 375°F (190°C). Line two baking sheets with parchment paper. Scoop the chilled dough into 2-tablespoon-sized balls. Place them 3 inches apart on the prepared sheets — these cookies spread. For that bakery-style look, press a few extra chocolate chips onto the tops of the dough balls before baking.
Step 8: Bake
Bake one sheet at a time for 10-12 minutes. At 10 minutes, the edges should be golden brown and the centers should look slightly underdone and puffy. That’s your cue. Remove from the oven and let the cookies rest on the hot baking sheet for 5 minutes. This allows them to finish baking from residual heat. Sprinkle with flaky sea salt immediately. Transfer to a cooling rack to cool completely — if you can wait that long.
Cooking Tips & Techniques
I’ve made every mistake in the book so you don’t have to. Here’s what I’ve learned:
- Watch the butter like a hawk: Brown butter goes from perfect to burnt in seconds. Once you see amber color and smell that nutty aroma, pull it off the heat. Swirl the pan for another 10 seconds to let residual heat finish the job.
- Don’t skip the chill: I once tried to rush this step and ended up with flat, greasy cookies that spread into one giant cookie pancake. Chilling solidifies the fat and prevents over-spreading. Thirty minutes is the bare minimum.
- Room temperature eggs matter: Cold eggs will seize up your brown butter mixture, making it grainy and separated. Leave them out for 30 minutes, or place them in a bowl of warm water for 5 minutes.
- Underbake slightly: The cookies will continue baking on the hot sheet after you pull them out. If they look perfectly done in the oven, they’ll be overdone on the plate. Pull them when the edges are set and the centers look slightly soft and puffy.
- Use a cookie scoop for uniform size: This ensures even baking. Nobody wants one burnt cookie and one underdone one on the same sheet.
- Bake one sheet at a time: Your oven needs proper air circulation. Baking two sheets at once leads to uneven browning and sad, uneven cookies.
If you love working with brown butter as much as I do, you might also enjoy my crispy brown butter chocolate chip cookies with flaky sea salt — it’s a slightly different take that’s equally addictive.
Variations & Adaptations
One of the best things about this recipe is how versatile it is. Here are some ways to make it your own:
- Chocolate Lover’s Dream: Swap ½ cup of the chocolate chips for white chocolate chunks or milk chocolate chips. Or add 2 tablespoons of cocoa powder to the dry ingredients for a double chocolate version.
- Nutty Crunch: Fold in ½ cup of toasted chopped pecans or walnuts along with the chocolate chips. Toast them in a dry pan for 3-4 minutes first — it brings out their oils and makes them extra crunchy.
- Gluten-Free Option: Replace the all-purpose flour with a 1:1 gluten-free baking blend. I’ve had great results with King Arthur’s Measure for Measure. Add an extra tablespoon of milk if the dough feels dry.
- Vegan Adaptation: Use plant-based butter (I like Miyoko’s for browning) and a flax egg (1 tablespoon ground flaxseed + 3 tablespoons water, let sit for 5 minutes). The texture will be slightly different but still delicious.
- Spiced Version: Add 1 teaspoon of cinnamon, ½ teaspoon of nutmeg, and a pinch of cardamom to the dry ingredients. It gives the cookies a warm, cozy flavor that’s perfect for fall.
I once made a batch with chopped dried cherries and dark chocolate chunks — it was a happy accident that turned into one of my favorite variations. Don’t be afraid to experiment. That’s half the fun.
Serving & Storage Suggestions
These cookies are best served warm, straight from the oven, with a glass of cold milk or a hot cup of coffee. The contrast between the warm, melty chocolate and the crisp edges is unbeatable. For a more decadent experience, sandwich two cookies with a scoop of vanilla ice cream for the ultimate ice cream sandwich.
To store, keep the cookies in an airtight container at room temperature for up to 5 days. Place a slice of bread in the container — it absorbs excess moisture and keeps the cookies soft. Change the bread every other day. Honestly, they rarely last that long in my house.
For longer storage, freeze the baked cookies in a single layer on a baking sheet, then transfer to a freezer-safe bag. They’ll keep for up to 3 months. To reheat, pop a frozen cookie in a 300°F oven for 5 minutes, or microwave for 15 seconds. The flavor actually deepens after freezing — something about the chocolate and brown butter mellowing out together.
You can also freeze the raw dough balls. Scoop them onto a parchment-lined baking sheet, freeze until solid, then transfer to a freezer bag. Bake straight from frozen, adding 2-3 minutes to the baking time. Fresh cookies on demand — it’s a game changer.
If you’re looking for other treats to bake alongside these cookies, try my perfect small batch pumpkin cinnamon rolls or these easy one-bowl pumpkin banana bread for a cozy baking session.
Nutritional Information & Benefits
Let’s be honest — these are cookies, not health food. But knowing what’s in them helps you enjoy them mindfully. Per cookie (based on 24 cookies):
- Calories: Approximately 220-250
- Fat: 12-14g
- Carbohydrates: 28-32g
- Protein: 3-4g
- Sugar: 18-22g
- Sodium: 180-220mg
The brown butter adds a small amount of healthy fats, and chocolate contains antioxidants — so there’s that. The real benefit here is the joy factor. These cookies are meant to be shared, savored, and enjoyed without guilt. They’re comfort food at its finest, made with real ingredients and a lot of love. If you’re watching your sugar intake, you can reduce the granulated sugar by ¼ cup, but the texture will be slightly less crispy.
Conclusion
This best brown butter chocolate chip cookies recipe is more than just a recipe — it’s the result of trial, error, and a whole lot of butter. It’s the cookie I bring to every potluck, the one my friends request for birthdays, and the one that makes me feel like I’ve got this whole baking thing figured out. The nutty brown butter, the crispy edges, the soft center, the melty chocolate — every bite is exactly what a chocolate chip cookie should be.
I’d love to hear how they turn out for you. Did you try a variation? Did you burn the butter on your first try like I did? (It happens to the best of us.) Drop a comment below and let me know. And if you share them on social media, tag me — I want to see your beautiful cookies. Happy baking, friend. You’ve got this.
Frequently Asked Questions
Can I use salted butter instead of unsalted?
Yes, but reduce the added salt in the recipe to ½ teaspoon. The salted butter will add enough saltiness on its own.
Why did my cookies spread too much?
This usually happens when the dough isn’t chilled long enough. Make sure you chill for at least 30 minutes, and check that your butter wasn’t too warm when you mixed it. Also, ensure your baking soda isn’t expired — old baking soda loses its leavening power.
Can I make these cookies without a stand mixer?
Absolutely! A hand mixer works perfectly, or you can mix everything by hand with a wooden spoon. Just be patient and mix thoroughly, especially when incorporating the dry ingredients.
How do I know when the butter is properly browned?
Look for a deep amber color and a nutty, toasty aroma. You’ll see brown specks at the bottom of the pan — those are toasted milk solids. The whole process takes about 5-7 minutes over medium heat.
Can I use dark chocolate instead of semi-sweet?
Yes, dark chocolate (60-70% cocoa) works wonderfully. It adds a deeper, less sweet flavor that pairs beautifully with the nutty brown butter. Just chop it into chunks instead of using chips for those beautiful chocolate pools.
Pin This Recipe!
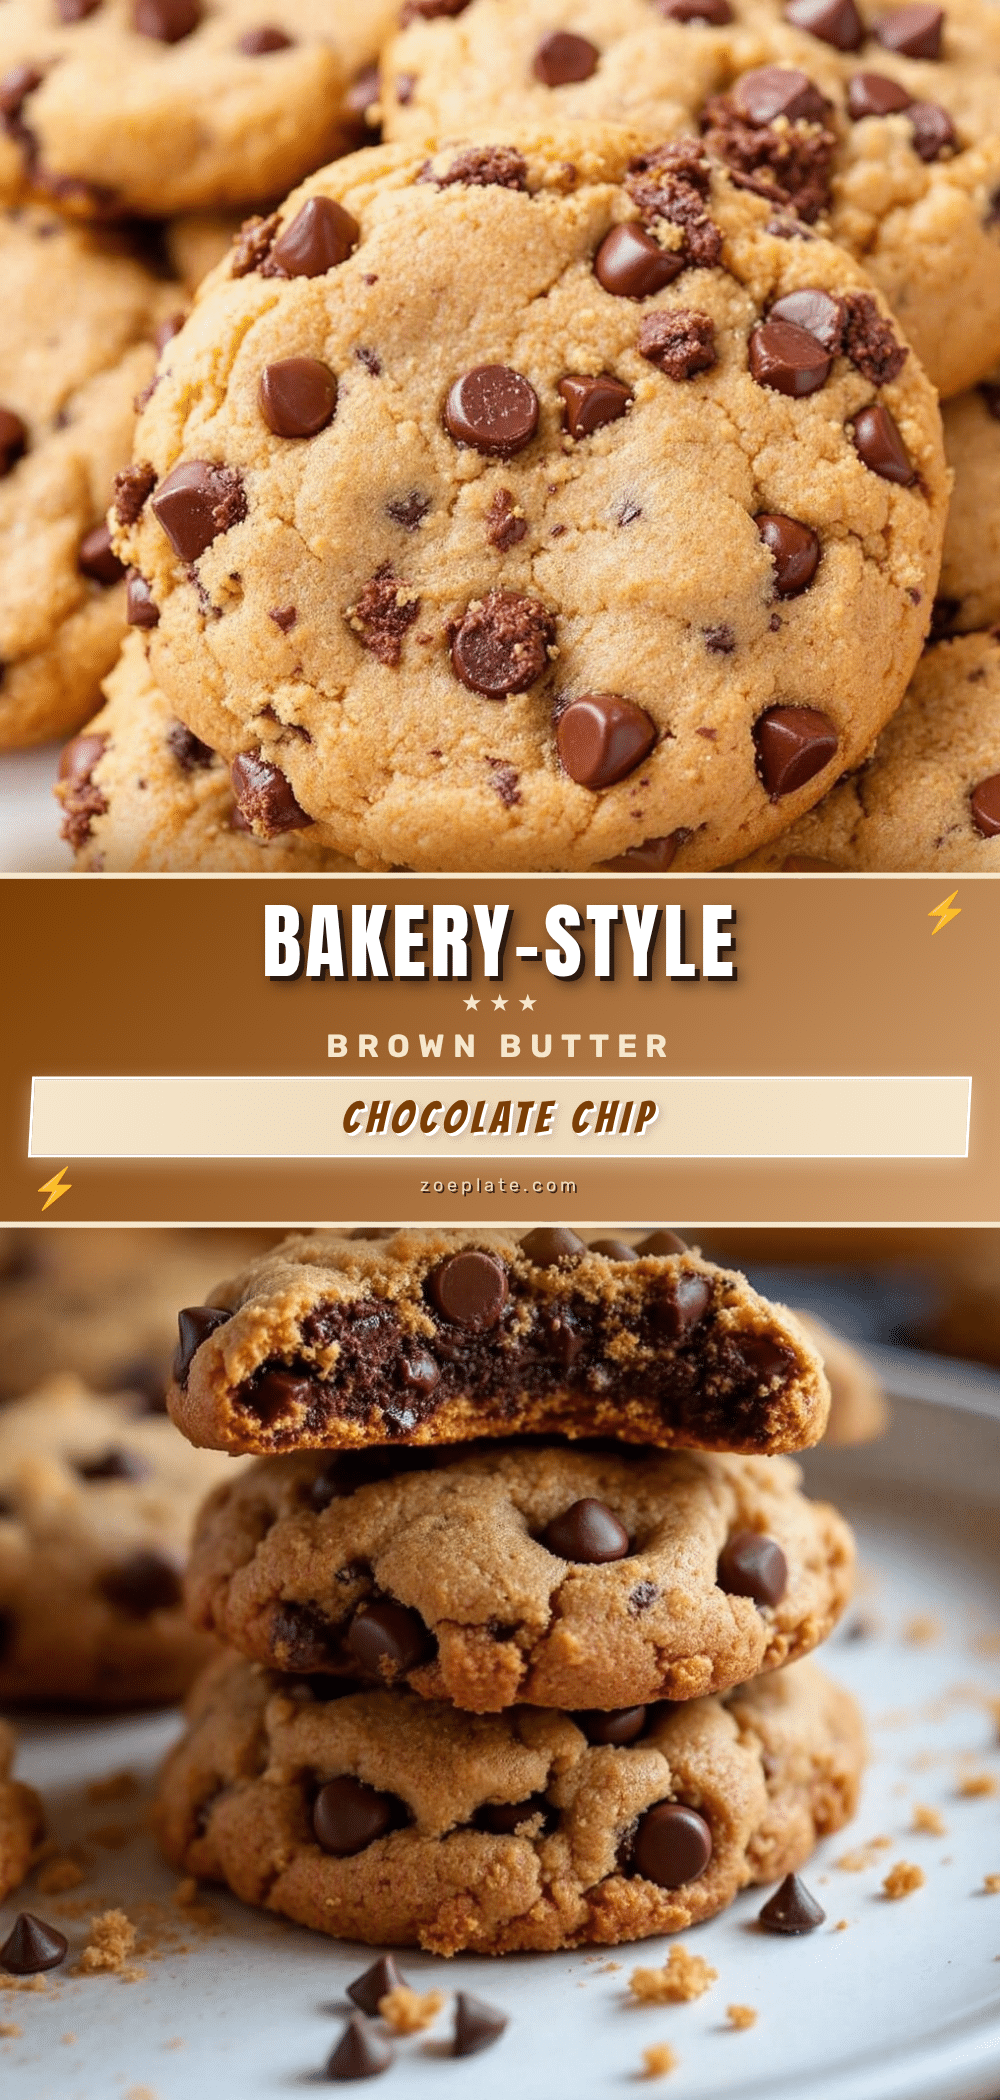
Best Brown Butter Chocolate Chip Cookies Recipe

These brown butter chocolate chip cookies have crispy edges, a thick chewy center, and a deep nutty flavor from browned butter. This foolproof recipe yields bakery-style cookies that are perfect for beginners and make-ahead friendly.
- Prep Time: 20 minutes
- Cook Time: 12 minutes
- Total Time: 1 hour 2 minutes (including 30 minutes chilling)
- Yield: 24 cookies 1x
- Category: Dessert
- Cuisine: American
Ingredients
- 1 cup (226g) unsalted butter (preferably European-style like Kerrygold)
- 1 cup (200g) packed light brown sugar
- ½ cup (100g) granulated sugar
- 2 large eggs, room temperature
- 2 teaspoons vanilla extract
- 2 ½ cups (312g) all-purpose flour, spooned and leveled
- 1 teaspoon baking soda
- ½ teaspoon baking powder
- 1 teaspoon kosher salt (or ¾ teaspoon table salt)
- 2 cups (340g) semi-sweet chocolate chips or chopped chocolate (mix of chips and chopped dark chocolate bar recommended)
- Flaky sea salt for finishing (optional but recommended)
Instructions
- Brown the butter: Cut butter into tablespoon-sized pieces and melt in a light-colored saucepan over medium heat, stirring frequently. Cook until butter foams, bubbles, turns golden amber, and smells nutty (about 5-7 minutes). Remove from heat immediately and pour into a heatproof bowl, including brown bits. Let cool for 10-15 minutes.
- Combine sugars and brown butter: Add both sugars to warm (not hot) brown butter. Whisk until smooth and combined. Let sit for 2 minutes, then whisk again until mixture looks like wet sand.
- Add eggs and vanilla: Add room-temperature eggs one at a time, whisking vigorously after each addition until mixture is thick, glossy, and pale. Add vanilla and whisk until combined.
- Mix dry ingredients: In a separate bowl, whisk together flour, baking soda, baking powder, and salt until no lumps remain.
- Combine wet and dry: Gradually add dry ingredients to wet mixture. Mix on low speed (or by hand) until just barely combined with some streaks of flour remaining. Fold in chocolate chips with a rubber spatula until evenly distributed. Dough will be thick and slightly sticky.
- Chill the dough: Cover bowl with plastic wrap and refrigerate for at least 30 minutes (2 hours is better, overnight is ideal).
- Preheat and prepare: Preheat oven to 375°F (190°C). Line two baking sheets with parchment paper. Scoop chilled dough into 2-tablespoon-sized balls and place 3 inches apart on prepared sheets. Press extra chocolate chips onto tops if desired.
- Bake: Bake one sheet at a time for 10-12 minutes. Edges should be golden brown and centers slightly underdone and puffy. Remove from oven and let rest on hot baking sheet for 5 minutes. Sprinkle with flaky sea salt immediately. Transfer to cooling rack to cool completely.
Notes
Watch the butter carefully as it browns—it goes from perfect to burnt in seconds. Chilling the dough is non-negotiable for preventing excessive spreading. Underbake slightly as cookies continue baking on the hot sheet. For best results, use room temperature eggs and bake one sheet at a time. Dough can be frozen for up to 3 months.
Nutrition
- Serving Size: 1 cookie
- Calories: 235
- Sugar: 20
- Sodium: 200
- Fat: 13
- Saturated Fat: 8
- Carbohydrates: 30
- Fiber: 1
- Protein: 3.5
Keywords: brown butter chocolate chip cookies, bakery style cookies, chewy chocolate chip cookies, easy cookie recipe, homemade cookies


