My aunt Linda asked this while staring at the plate in front of her. She took a tiny bite, chewed slowly, and then looked up with that skeptical squint she saves for questionable life choices. I just smiled and shrugged. She took another bite, bigger this time, and the skepticism melted into pure delight. That was the moment I knew this recipe had crossed the line from “good” to “best-ever.”
We’ve all been there. You bring a dessert to a gathering, and people assume it’s store-bought because it looks too perfect. Too smooth. Too consistent. With this best-ever creamy pumpkin pie recipe, you get that professional sheen without the artificial aftertaste. It’s the kind of pie that disappears before you can even grab a second slice.
I spent years trying to fix the cracked tops and runny centers of my early attempts. Let’s face it, pumpkin pie is tricky. It’s easy to overbake and end up with a rubbery texture. But after testing dozens of variations, I finally nailed the balance. The secret isn’t just in the spices; it’s in the technique.
This pie isn’t just about taste. It’s about that quiet realization that you actually made this from scratch. It’s about the smell filling your kitchen and the compliments rolling in. Once you try this version, you’ll never go back to the canned stuff again. Honestly, it’s the only pie I make anymore.
Why You’ll Love This Recipe
There is a specific kind of magic that happens when you combine high-quality ingredients with a little bit of patience. This recipe isn’t just another pumpkin pie; it’s the result of trial, error, and a lot of taste-testing. I wanted a pie that was rich and velvety, not grainy or watery. Here is why this one stands out from the crowd.
- Quick & Easy: Yes, really. While baking takes time, the prep is straightforward. You likely have most ingredients on hand. It comes together quickly, making it perfect for busy weeknights or last-minute holiday prep.
- Simple Ingredients: No fancy grocery trips needed. This relies on pantry staples and fresh pumpkin puree. You don’t need obscure spices or hard-to-find dairy.
- Perfect for Hosting: Whether it’s Thanksgiving, a family dinner, or just a cozy weekend treat, this pie impresses without the stress. It looks elegant on the table.
- Crowd-Pleaser: Kids and adults alike love it. The sweetness is balanced, and the spice level is warm but not overpowering.
- Unbelievably Delicious: The texture is next-level comfort food. It’s smooth, dense, and creamy, unlike the watery versions you might be used to.
What makes this different is the use of full-fat coconut milk in the custard base. It adds a richness that dairy alone can’t match, creating a silkier mouthfeel. Plus, the crust is flaky and buttery, not soggy. This isn’t just a pie; it’s an experience. It’s the kind of dessert that makes you close your eyes after the first bite. It’s comfort food reimagined—healthier in texture if not in sugar, but with the same soul-soothing satisfaction. Perfect for impressing guests without stress, or turning a simple meal into something memorable.
What Ingredients You Will Need
This recipe uses simple, wholesome ingredients to deliver bold flavor and satisfying texture without the fuss. The key is quality. Since there are so few ingredients, each one plays a huge role. I recommend using real pumpkin puree, not pumpkin pie filling, which has added sugars and spices that throw off the balance.
- For the Crust:
- 1 ½ cups all-purpose flour (the backbone of the structure)
- ½ teaspoon salt (enhances flavor)
- 1 tablespoon granulated sugar (for a hint of sweetness)
- ½ cup unsalted butter, cold and cubed (crucial for flakiness)
- 3-4 tablespoons ice water (binds the dough without melting the butter)
- For the Filling:
- 1 can (15 oz) pure pumpkin puree (check for 100% pumpkin, no additives)
- 1 can (13.5 oz) full-fat coconut milk, chilled (adds incredible creaminess)
- ½ cup packed brown sugar (adds depth and moisture)
- ¼ cup granulated sugar (balances the brown sugar)
- 2 large eggs, room temperature (binds the filling)
- 1 teaspoon vanilla extract (pure vanilla makes a big difference)
- 1 teaspoon ground cinnamon (warmth and aroma)
- ½ teaspoon ground ginger (spicy kick)
- ¼ teaspoon ground nutmeg (earthy note)
- ¼ teaspoon ground cloves (strong, aromatic spice)
I prefer using a brand like Libby’s for the pumpkin puree because it has a consistent texture. For the coconut milk, make sure it’s full-fat and not light; the fat is what gives the pie its luxurious mouthfeel. If you are dairy-free, this recipe is naturally perfect for you. You can also swap the all-purpose flour for a 1:1 gluten-free flour blend if needed. Just ensure your baking powder and spices are certified gluten-free if that’s a concern. Look for firm, small-curd cottage cheese for best texture if you decide to add a protein boost, though it’s not necessary here. In summer, you can swap in fresh roasted pumpkin instead of canned, but it requires more work.
What if I don’t have coconut milk?
You can use heavy cream or evaporated milk, but the texture will be slightly less rich. Coconut milk is the secret weapon here.
Equipment Needed
You don’t need a fancy kitchen to make this pie. Here is what you’ll need:
- 9-inch Pie Dish: Glass or ceramic works best. Metal conducts heat too quickly and can burn the bottom.
- Food Processor or Mixer: For making the crust quickly. A pastry cutter works too, but it takes more effort.
- Whisk: A large whisk is essential for blending the filling ingredients smoothly. No lumps allowed.
- Measuring Cups and Spoons: Precision matters in baking. Don’t guess.
- Rolling Pin: To roll out the dough evenly. A marble rolling pin keeps the dough cool.
- Fork: For docking the crust before baking.
I’ve tried using a stand mixer for the crust, but it often overworks the dough. A food processor is faster and keeps the butter cold. If you don’t have one, use your hands or a pastry cutter. For the filling, a hand mixer is fine, but a whisk gives you better control over the texture. Avoid using a blender for the filling unless you are in a rush, as it can incorporate too much air, leading to bubbles in the crust.
Preparation Method
Let’s get into the nitty-gritty. This process is simple, but attention to detail makes all the difference.
- Make the Crust (15 minutes): In a food processor, pulse the flour, salt, and sugar. Add the cold, cubed butter. Pulse until the mixture resembles coarse crumbs. Drizzle in ice water, one tablespoon at a time, pulsing until the dough starts to clump. Do not overmix. Turn the dough out onto a plastic wrap and form it into a disk. Wrap tightly and refrigerate for at least 30 minutes. This step is non-negotiable; cold butter creates steam, which creates flaky layers.
- Preheat and Blind Bake (20 minutes): Preheat your oven to 375°F (190°C). Roll out the dough on a floured surface to a 12-inch circle. Carefully transfer it to the pie dish. Trim the edges and flute them with your fingers or a fork. Prick the bottom and sides with a fork. Line the crust with parchment paper and fill with pie weights or dried beans. Bake for 15 minutes. Remove the weights and parchment, then bake for another 5 minutes until lightly golden. Let it cool slightly. This prevents a soggy bottom.
- Prepare the Filling (10 minutes): In a large bowl, whisk the brown sugar, granulated sugar, and spices until combined. Add the pumpkin puree and whisk until smooth. Add the chilled coconut milk, eggs, and vanilla. Whisk vigorously until the mixture is completely homogeneous and no streaks remain. Strain the mixture through a fine-mesh sieve if you want it ultra-smooth, though it’s optional.
- Assemble and Bake (50-60 minutes): Pour the filling into the pre-baked crust. Place the pie on a baking sheet (to catch any drips) and bake at 350°F (175°C) for 50-60 minutes. The edges should be set, but the center should still jiggle slightly like Jell-O when you shake the pan. This is crucial; it will set as it cools. Do not overbake.
- Cool Completely (2 hours): Remove the pie from the oven and place it on a wire rack. Let it cool completely at room temperature before refrigerating. This can take 2-3 hours. Patience is key. Cutting it warm will result in a messy, runny slice.
Personal tip: If the edges of the crust start to brown too quickly, cover them with a pie shield or strips of aluminum foil after the first 30 minutes of baking.
Cooking Tips & Techniques
Professional bakers know that temperature control is everything. Here are some tips to ensure success.
- Keep Ingredients Cold: For the crust, keep the butter and water ice-cold. If the butter melts before baking, you lose the flaky layers. Work quickly.
- Room Temperature Eggs: Cold eggs can shock the pumpkin puree and cause curdling. Let them sit out for 30 minutes before using.
- Don’t Overmix: Once you add the eggs, mix just until combined. Overmixing incorporates air, which can cause the pie to rise and crack, then fall.
- The Jiggle Test: This is the most important visual cue. The center should wobble like gelatin, not slosh like water. If it’s firm, it’s overbaked.
- Slow Cooling: Rapid temperature changes can cause cracking. Let the pie cool gradually on a wire rack. Avoid moving it while it’s warm.
I once rushed the cooling process and put the pie in the fridge while it was still warm. The result? Condensation made the crust soggy, and the filling separated. Lesson learned. Always cool completely.
Variations & Adaptations
While this recipe is perfect as is, here are some ways to customize it.
- Dairy-Free: This recipe is already dairy-free if you use coconut milk. You can also use oat milk or almond milk, but the texture will be lighter.
- Gluten-Free: Use a gluten-free flour blend for the crust. Add a teaspoon of xanthan gum if the blend doesn’t include it.
- Lower Sugar: Reduce the brown sugar to ¼ cup and use a sugar substitute like erythritol for the granulated sugar. Note that this may affect the texture.
- Spice Variations: Add a pinch of cardamom or allspice for a different flavor profile. Or, swap some of the cinnamon for pumpkin pie spice.
- Chocolate Twist: Drizzle melted dark chocolate over the whipped cream topping for a decadent treat.
I tried adding a layer of cream cheese to the bottom of the crust once. It was good, but it changed the texture significantly. I prefer the pure pumpkin flavor here. For a seasonal twist, add chopped pecans to the crust before blind baking.
Serving & Storage Suggestions
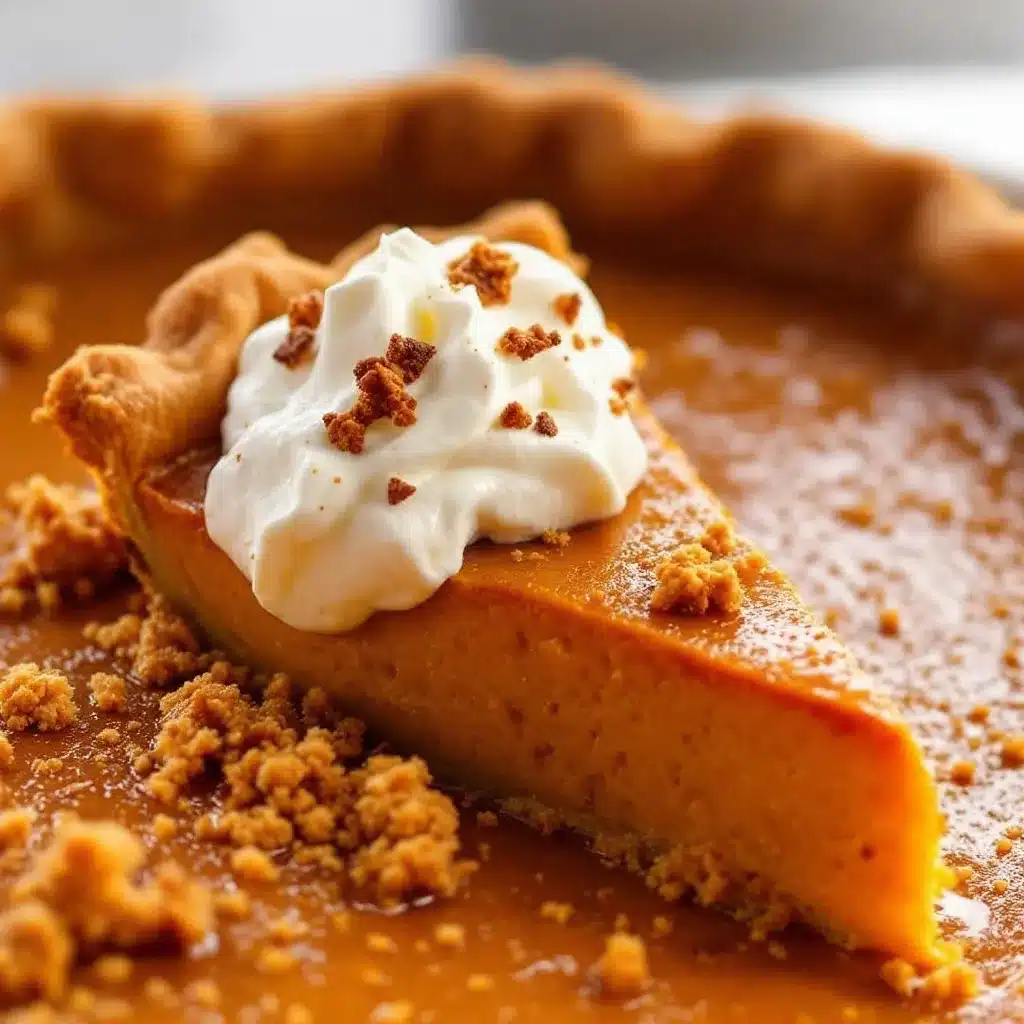
This pie is best served chilled. I recommend topping each slice with a dollop of whipped cream and a sprinkle of toasted pecans. It adds crunch and richness. You can also serve it with a drizzle of salted caramel sauce.
Storage: Store leftovers in the refrigerator, covered with plastic wrap or in an airtight container, for up to 5 days. Do not leave it at room temperature for more than 2 hours.
Freezing: You can freeze the unbaked pie. Wrap the filled pie tightly in plastic wrap and foil. Freeze for up to 1 month. Thaw in the refrigerator overnight before baking. Do not bake from frozen.
Reheating: Reheat slices in the microwave for 30 seconds or in the oven at 300°F for 10 minutes. The texture is best cold, so reheating is optional.
The flavors actually deepen after a day or two. The spices meld together, making the second day even better than the first.
Nutritional Information & Benefits
While this is a dessert, pumpkin is a nutritious ingredient. It is high in Vitamin A, fiber, and antioxidants. Coconut milk provides healthy fats, which can help with satiety. Each slice contains approximately 350 calories, 15g fat, 45g carbs, and 5g protein. It is naturally gluten-free if you use a gluten-free crust. It is not suitable for vegans due to the eggs, but you can use flax eggs as a substitute. Moderation is key, but this pie is a wholesome treat compared to highly processed desserts.
Conclusion
This best-ever creamy pumpkin pie recipe is a game-changer. It’s smooth, flavorful, and easy to make. I hope you try it and enjoy it as much as my family does. Feel free to customize it with your favorite spices or toppings. Let me know in the comments how it turns out. Did you add pecans? Did you use coconut milk? I’d love to hear your adaptations. Happy baking!
FAQs
Can I use fresh pumpkin instead of canned?
Yes, but you need to roast and puree it yourself. Canned puree is more concentrated and consistent. Fresh pumpkin has more water, so you may need to bake the pie longer.
Why did my pie crack?
Overbaking is the most common cause. Remove the pie when the center still jiggles slightly. Also, avoid overmixing the filling.
Can I make this pie ahead of time?
Yes, it’s actually better the next day. Make it 1-2 days in advance and store it in the fridge.
What if I don’t have coconut milk?
Use heavy cream or evaporated milk. The texture will be slightly less rich, but still delicious.
How do I prevent a soggy crust?
Blind bake the crust before adding the filling. This seals the dough and prevents moisture from soaking in.
Pin This Recipe!
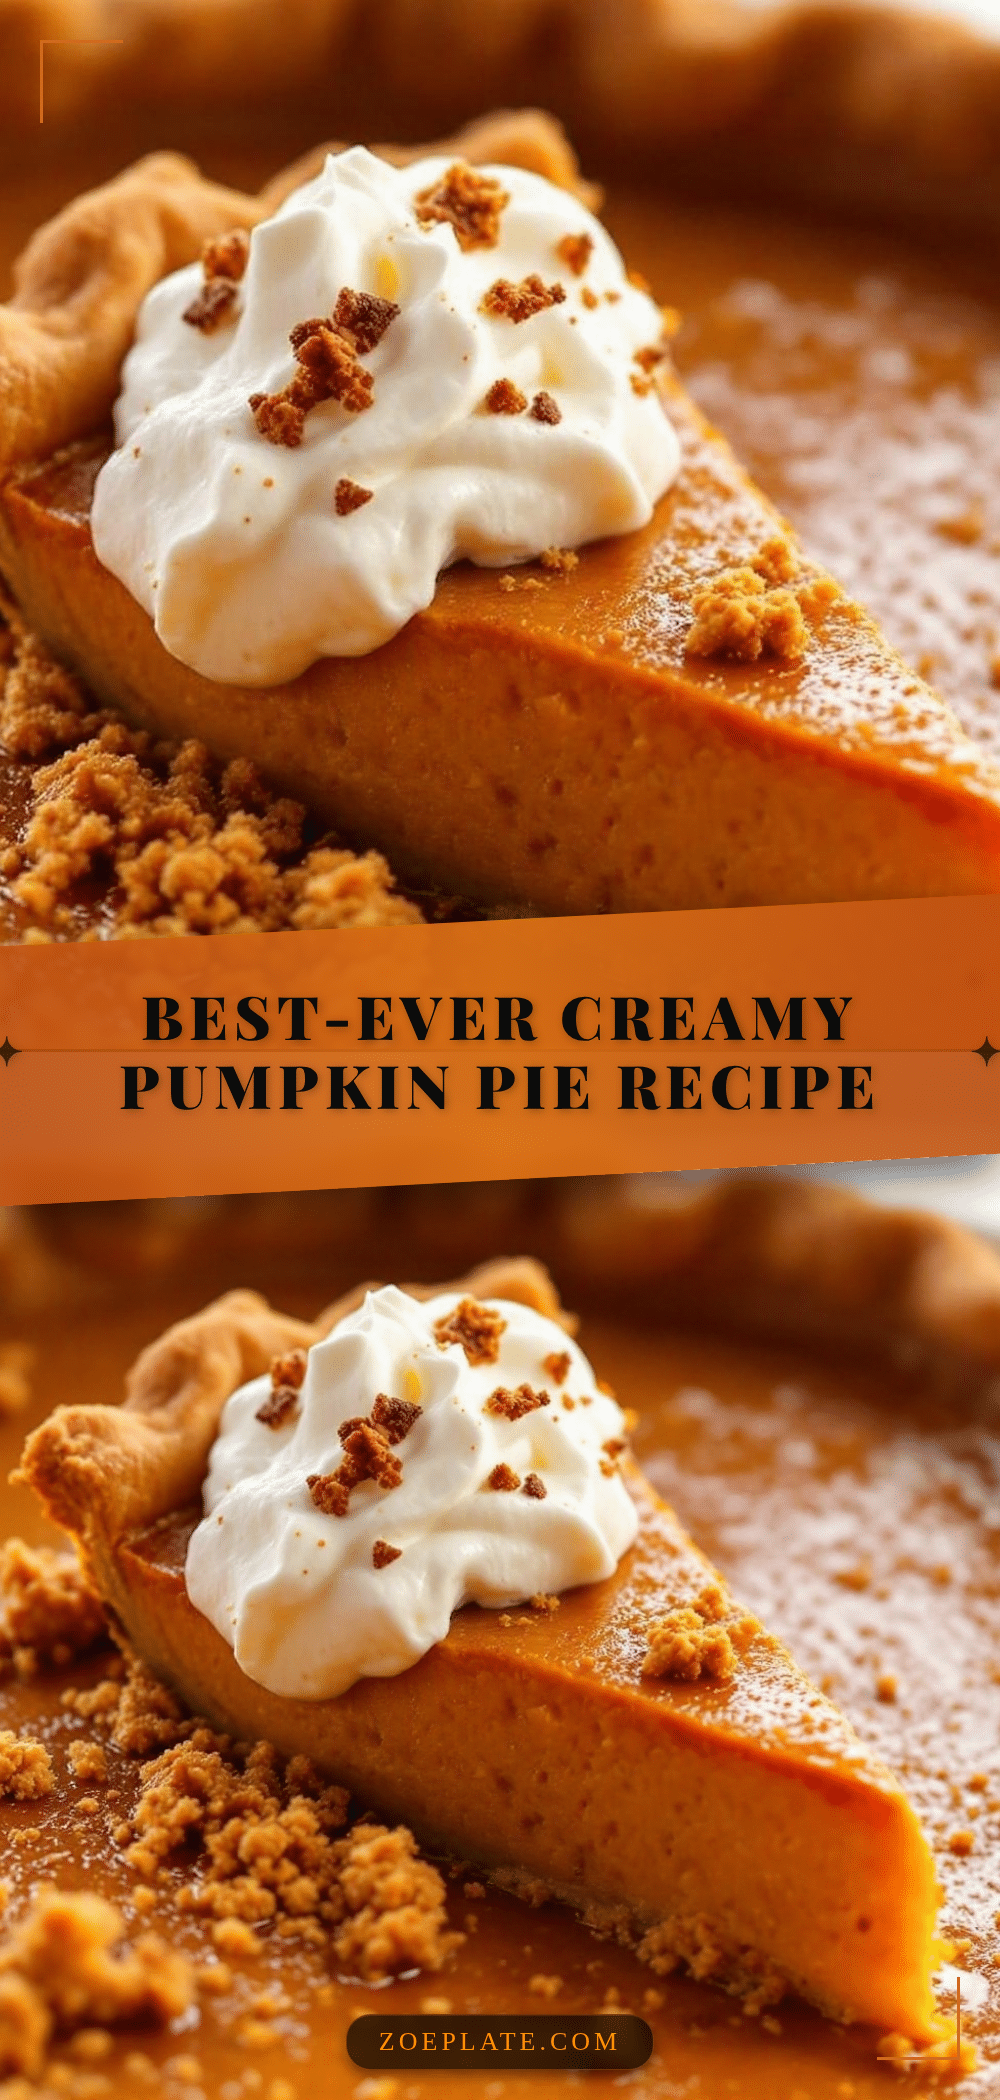
Best-Ever Creamy Pumpkin Pie: Easy Homemade Dessert

A rich, velvety, and creamy pumpkin pie made with full-fat coconut milk for a luxurious texture. This homemade dessert features a flaky butter crust and a smooth, spice-infused filling that is perfect for holidays or special occasions.
- Prep Time: 45 minutes
- Cook Time: 75 minutes
- Total Time: 2 hours 40 minutes
- Yield: 8 servings 1x
- Category: Dessert
- Cuisine: American
Ingredients
- 1 ½ cups all-purpose flour
- ½ teaspoon salt
- 1 tablespoon granulated sugar
- ½ cup unsalted butter, cold and cubed
- 3–4 tablespoons ice water
- 1 can (15 oz) pure pumpkin puree
- 1 can (13.5 oz) full-fat coconut milk, chilled
- ½ cup packed brown sugar
- ¼ cup granulated sugar
- 2 large eggs, room temperature
- 1 teaspoon vanilla extract
- 1 teaspoon ground cinnamon
- ½ teaspoon ground ginger
- ¼ teaspoon ground nutmeg
- ¼ teaspoon ground cloves
Instructions
- In a food processor, pulse flour, salt, and sugar. Add cold cubed butter and pulse until mixture resembles coarse crumbs.
- Drizzle in ice water one tablespoon at a time, pulsing until dough starts to clump. Do not overmix.
- Turn dough onto plastic wrap, form into a disk, wrap tightly, and refrigerate for at least 30 minutes.
- Preheat oven to 375°F (190°C). Roll dough into a 12-inch circle and transfer to a 9-inch pie dish.
- Trim edges, flute with fingers or fork, and prick bottom and sides with a fork.
- Line crust with parchment paper and fill with pie weights or dried beans. Bake for 15 minutes.
- Remove weights and parchment, then bake for another 5 minutes until lightly golden. Let cool slightly.
- In a large bowl, whisk brown sugar, granulated sugar, and spices until combined.
- Add pumpkin puree and whisk until smooth. Add chilled coconut milk, eggs, and vanilla. Whisk vigorously until homogeneous.
- Pour filling into the pre-baked crust. Place pie on a baking sheet.
- Bake at 350°F (175°C) for 50-60 minutes. The edges should be set, but the center should jiggle slightly like Jell-O.
- Remove from oven and place on a wire rack. Cool completely at room temperature (2-3 hours) before refrigerating.
Notes
Keep ingredients cold for a flaky crust. Use room temperature eggs to prevent curdling. Do not overbake; the center should jiggle slightly. Cool completely before slicing to ensure proper setting. For a dairy-free version, use coconut milk. For a gluten-free version, use a 1:1 gluten-free flour blend.
Nutrition
- Serving Size: 1 slice
- Calories: 350
- Sugar: 30
- Sodium: 200
- Fat: 15
- Saturated Fat: 8
- Carbohydrates: 45
- Fiber: 3
- Protein: 5
Keywords: pumpkin pie, creamy pumpkin pie, homemade dessert, gluten-free option, dairy-free option, holiday baking, Thanksgiving dessert, coconut milk pie


