I want that specific crunch right now. The kind that sounds like a dry leaf stepping on pavement. I have the chicken thighs in the fridge, but they’re sitting there, moist and reluctant, waiting for me to do something about it. Honestly, most people think air frying is just for frozen fries and sad nuggets. But let’s face it, if you aren’t getting that golden, shattering crust on your chicken, you’re missing out on the whole point of the appliance. I was staring at the digital display, thinking about how easy it is to ruin a good thigh by overcrowding the basket or skipping the brine. It’s funny how we complicate simple things. We buy expensive spices and fancy glazes when the real secret is just patience and salt. I realized I didn’t need a new recipe. I needed to stop overthinking the process. The buttermilk does the heavy lifting here. It tenderizes the meat while the air fryer does the crisping. It’s a simple partnership. I just need to trust the heat. And once that timer dings, the smell will fill the kitchen, and you’ll know you made the right choice. It’s not just dinner; it’s a small victory.
Why You’ll Love This Recipe
This isn’t just another chicken recipe you’ll find buried in a search result. This is the one that actually works every single time. I’ve tested enough dry, rubbery chicken to last a lifetime, so I know what makes the difference. This buttermilk brine method changes everything. It’s not magic; it’s science, but it tastes like comfort.
- Quick & Easy: The brine takes a few hours, but the active cooking time is under 30 minutes. It’s the perfect weeknight hero when you’re tired and hungry.
- Simple Ingredients: You probably have buttermilk, spices, and oil in your kitchen already. No exotic trips to the grocery store are needed.
- Perfect for Meal Prep: These thighs hold up surprisingly well in the fridge. They reheat nicely without getting soggy, unlike breast meat.
- Crowd-Pleaser: Kids love the crunch, and adults appreciate the juicy interior. It’s a rare dish that satisfies both sides.
- Unbelievably Delicious: The texture is next-level. Crispy skin, tender meat, and a savory spice rub that sticks.
What makes this different from the rest is the brine. Most air fryer recipes skip this step, leading to dry meat. The buttermilk breaks down proteins gently, ensuring the meat stays moist even in the intense, circulating heat. It’s the kind of recipe that makes you close your eyes after the first bite. It’s comfort food reimagined for modern kitchens. Whether you are serving it for a casual Tuesday or a weekend gathering, it brings that home-cooked soul to the table without the stress.
What Ingredients You Will Need
This recipe relies on a few key components to build flavor and texture. The buttermilk is non-negotiable for that tender texture. It acts as a acidic tenderizer, loosening the muscle fibers so the chicken stays juicy. The spice blend provides the savory backbone, while a touch of oil helps the skin crisp up in the air fryer.
- Chicken Thighs (boneless, skin-on): I recommend looking for thighs that are relatively uniform in size. This ensures they cook evenly. Bone-in thighs work too, but you’ll need to adjust the cooking time slightly. Skin-on is crucial for that crispy exterior.
- Buttermilk: Full-fat buttermilk is best. The fat content helps carry the flavors and keeps the meat rich. If you can’t find it, mix milk with a tablespoon of vinegar or lemon juice and let it sit for ten minutes.
- Garlic Powder: Use the powdered form, not fresh garlic. Fresh garlic burns easily in an air fryer at high heat. Powdered garlic gives a consistent, savory flavor without the char.
- Smoked Paprika: This adds a deep, smoky note that mimics grilling. It’s essential for that “fried” taste. Don’t use regular paprika if you can help it; the smokiness makes a big difference.
- Onion Powder: Another dry spice that adds depth. It balances the sharpness of the garlic and the heat of the pepper.
- Black Pepper: Freshly cracked black pepper is ideal. It adds a mild heat and visual appeal against the golden crust.
- Salt: Kosher salt is my go-to. It dissolves easily and seasons evenly. Avoid table salt as it can be too salty by volume.
- Oil: A neutral oil like avocado or vegetable oil. You only need a small amount to coat the chicken before air frying. This helps the spices stick and promotes browning.
For the best results, I suggest using a high-quality spice blend if you don’t want to mix your own. However, making your own allows you to control the sodium and heat levels. It’s a small effort for a big reward.
Equipment Needed
You don’t need a lot of fancy gear for this. The star of the show is obviously the air fryer. Make sure yours has enough capacity to hold the thighs in a single layer. Overcrowding is the enemy of crispiness. If you have a large family, you might need to cook in batches.
- Air Fryer: Any brand works. I’ve used both basket-style and oven-style air fryers. Basket-style tends to get crispier because the air circulates more directly around the food.
- Large Bowl or Ziplock Bag: Use this for the brining process. A large bowl is easier to stir, but a bag saves on cleanup.
- Wire Rack (Optional): If your air fryer basket doesn’t have a good airflow bottom, a small wire rack can help. It lifts the chicken off the bottom, allowing air to circulate underneath.
- Tongs: Metal tongs are best for handling the hot chicken. They give you better control than a fork, which can pierce the skin and release juices.
- Cutting Board: Use a separate board for raw chicken to avoid cross-contamination. It’s a simple habit that keeps your kitchen safe.
If you don’t have an air fryer, you can use an oven broiler, but the texture won’t be quite the same. The air fryer’s rapid circulation is what creates that specific crunch. Keep your equipment clean. A dirty air fryer basket can impart off-flavors to your food. A quick wash after each use keeps it running smoothly.
Preparation Method
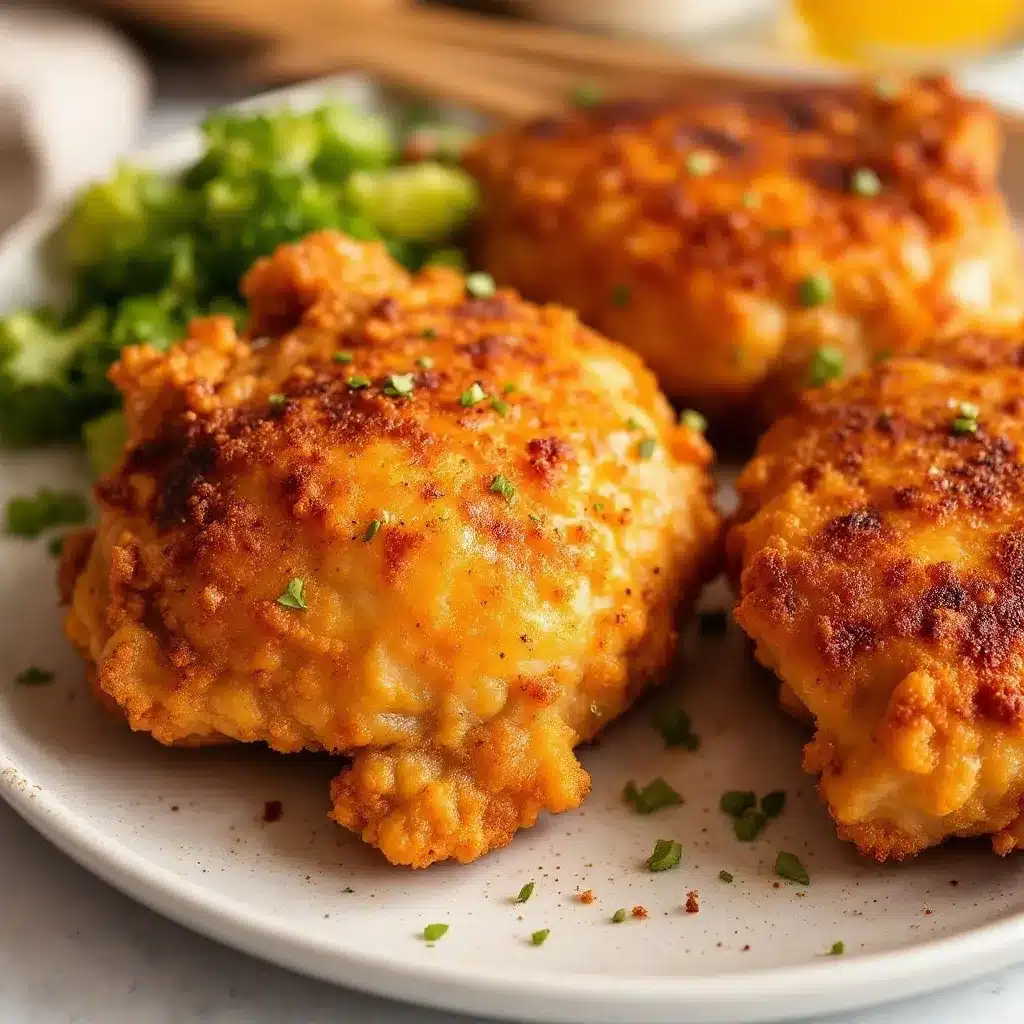
The process is straightforward, but timing matters. Here is how to get it right.
- Prepare the Brine: In a large bowl, combine the buttermilk, salt, garlic powder, onion powder, paprika, and black pepper. Whisk it together until the spices are mostly dissolved. It will look thick and chunky. This is normal. The goal is to coat every piece of chicken in this mixture.
Time estimate: 5 minutes. - Brine the Chicken: Place the chicken thighs in the brine. Make sure they are fully submerged. If some float, weigh them down with a plate. Cover the bowl with plastic wrap or transfer the chicken and brine to a large ziplock bag. Squeeze out the air if using a bag.
Time estimate: 2 minutes. - Wait: Place the chicken in the refrigerator. Let it sit for at least 4 hours, but overnight is better. The longer it sits, the more tender the meat becomes. Don’t rush this step. It’s the secret to juicy meat.
Time estimate: 4-12 hours. - Preheat the Air Fryer: Take the chicken out of the fridge. Preheat your air fryer to 400°F (200°C). This takes about 3-5 minutes. Preheating ensures the cooking starts immediately, which helps with crisping.
Time estimate: 5 minutes. - Remove Excess Brine: Take the chicken out of the brine. Shake off any excess liquid. You don’t need to pat it dry completely, but removing the bulk of the wet brine helps the spices stick better and prevents steaming.
Time estimate: 3 minutes. - Season and Oil: Lightly sprinkle the chicken with a little extra salt and pepper if you want more flavor. Then, drizzle with the oil. Rub the oil and spices into the skin with your hands. You want a thin, even coating.
Time estimate: 2 minutes. - Air Fry: Place the thighs in the air fryer basket in a single layer. Do not overlap them. Cook at 400°F (200°C) for 12 minutes.
Time estimate: 12 minutes. - Flip and Finish: Open the basket and flip the chicken thighs. Cook for another 8-10 minutes. The exact time depends on the size of your thighs. The internal temperature should reach 165°F (74°C).
Time estimate: 8-10 minutes. - Rest: Remove the chicken from the air fryer. Let it rest on a plate for 5 minutes. This allows the juices to redistribute. If you cut into it immediately, the juices will run out, and the meat will be dry.
Time estimate: 5 minutes.
If the skin isn’t as crispy as you like, you can air fry for an additional 2 minutes. Keep an eye on it so it doesn’t burn.
Cooking Tips & Techniques
There are a few tricks I’ve learned along the way to ensure perfection. First, don’t skip the brine. I know it takes time, but the difference between brined and unbrined chicken is night and day. The brine seasons the meat all the way through, not just on the surface.
Second, make sure your air fryer is preheated. Many people skip this, but it’s crucial for getting that initial sear on the skin. If you put cold chicken into a cold basket, it will steam instead of fry.
Third, avoid overcrowding. Air needs to circulate. If the pieces are touching, they will steam each other. Cook in batches if necessary. It’s better to have two batches of perfect chicken than one batch of mediocre chicken.
I also recommend using a meat thermometer. Visual cues can be misleading. A thermometer takes the guesswork out of it. You want to pull the chicken at 165°F. It will continue to cook slightly while resting.
Finally, let the chicken rest. I know it’s tempting to dig in right away, but resting is part of the cooking process. It ensures every bite is juicy.
Variations & Adaptations
This recipe is a great base for experimentation. Here are a few ways to change it up.
- Spicy Version: Add cayenne pepper or red pepper flakes to the brine and the spice rub. It adds a nice kick that pairs well with the cool buttermilk.
- Honey Glazed: Brush the chicken with a mixture of honey and apple cider vinegar during the last 2 minutes of cooking. It adds a sweet and tangy glaze.
- Herb Crusted: Add dried thyme and rosemary to the spice mix. These herbs complement the smokiness of the paprika beautifully.
- Gluten-Free: This recipe is naturally gluten-free. Just ensure your spices are certified gluten-free if you have celiac disease.
- Dairy-Free: Use coconut milk instead of buttermilk. It won’t be as tangy, but it still tenderizes the meat well.
I’ve tried adding brown sugar to the rub, but it burns easily in the air fryer. If you want sweetness, add it at the very end or use a glaze.
Serving & Storage Suggestions
Serve these thighs hot, straight from the air fryer. They pair well with a simple green salad or roasted vegetables. I like to serve them with a side of creamy coleslaw or a crisp cucumber salad to balance the richness. A squeeze of lemon juice right before eating brightens up the flavors.
For storage, let the chicken cool completely. Place it in an airtight container in the refrigerator. It will keep for up to 3 days. To reheat, use the air fryer at 350°F for 3-4 minutes. This restores the crispiness better than a microwave. Microwaving tends to make the skin soggy.
You can also freeze the cooked chicken. Wrap it tightly in plastic wrap and foil. It will keep for up to 3 months. Thaw in the fridge overnight and reheat in the air fryer.
Nutritional Information & Benefits
Chicken thighs are a great source of protein and healthy fats. They contain more iron and zinc than chicken breasts. The skin adds flavor and moisture, and while it has more calories, it’s not something to fear in moderation. The brine helps reduce the need for excessive salt during cooking.
For those watching their carb intake, this recipe is low-carb friendly. Just avoid sugary glazes. The spices add flavor without adding significant calories.
It’s a balanced meal option that keeps you full for longer. The protein helps with muscle repair, and the fats provide sustained energy. It’s a wholesome choice for dinner.
Conclusion
This crispy air fryer chicken thigh recipe is a game-changer. It’s simple, delicious, and reliable. I hope you try it and find your new favorite weeknight dinner. Feel free to adjust the spices to suit your taste. The beauty of this recipe is its flexibility.
If you make it, I’d love to hear how it turned out. Leave a comment below and let me know your favorite spice combination. Share your photos on social media and tag me. I love seeing your creations.
Happy cooking!
FAQs
Can I use chicken breasts instead of thighs?
Yes, but chicken breasts cook faster and can dry out easily. If you use breasts, reduce the cooking time by 2-3 minutes and keep a close eye on them. Thighs are recommended for their juiciness.
Do I need to preheat the air fryer?
It’s highly recommended. Preheating ensures the chicken starts cooking immediately, which helps achieve that crispy skin. Without preheating, the chicken might steam in its own juices.
How do I know when the chicken is done?
Use a meat thermometer. The internal temperature should reach 165°F (74°C). If you don’t have a thermometer, cut into the thickest part. The juices should run clear, and the meat should not be pink.
Can I brine the chicken for too long?
Yes, if you brine for more than 24 hours, the texture can become mushy. The acid in the buttermilk breaks down the proteins. For best results, stick to 4-12 hours.
Why is my chicken skin not crispy?
This usually happens if the basket is overcrowded or if the chicken wasn’t preheated. Make sure there is space between the pieces and that the air fryer is hot before you add the chicken. Also, ensure you are using skin-on thighs.
Pin This Recipe!
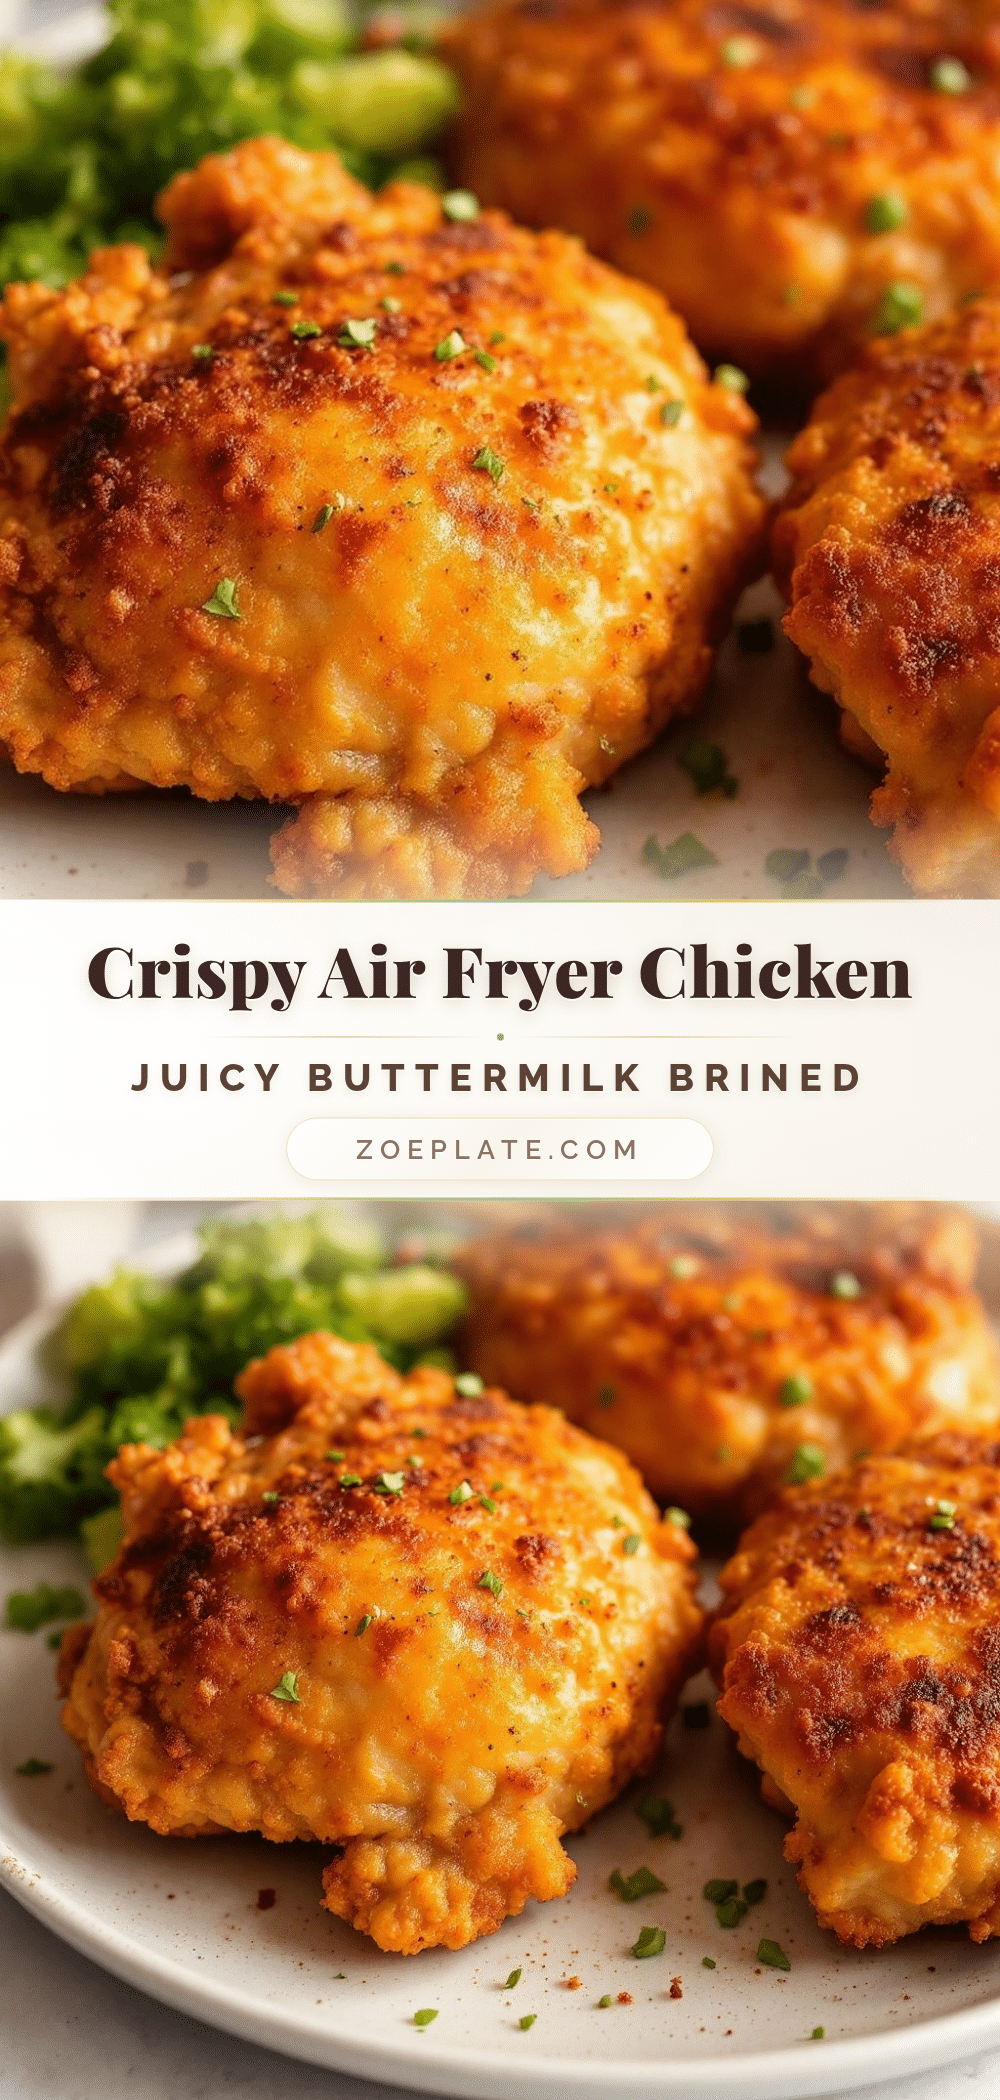
Crispy Air Fryer Chicken Thighs: Best Buttermilk Brine Recipe

Juicy, tender chicken thighs brined in buttermilk and air-fried to golden perfection. This recipe delivers a shattering crispy crust and moist interior with minimal active time.
- Prep Time: 10 minutes
- Cook Time: 20-22 minutes
- Total Time: 30 minutes
- Yield: 4 servings
- Category: Main Course
- Cuisine: American
Ingredients
- Chicken Thighs (boneless, skin-on)
- Buttermilk (full-fat)
- Garlic Powder
- Smoked Paprika
- Onion Powder
- Black Pepper (freshly cracked)
- Kosher Salt
- Neutral Oil (avocado or vegetable)
Instructions
- In a large bowl, combine buttermilk, salt, garlic powder, onion powder, paprika, and black pepper. Whisk until spices are mostly dissolved.
- Place chicken thighs in the brine, ensuring they are fully submerged. Cover with plastic wrap or transfer to a ziplock bag, squeezing out excess air.
- Refrigerate for at least 4 hours, or overnight for best results.
- Preheat air fryer to 400°F (200°C).
- Remove chicken from brine and shake off excess liquid. Do not pat completely dry.
- Lightly sprinkle with extra salt and pepper if desired, then drizzle with oil. Rub oil and spices into the skin to create an even coating.
- Place thighs in the air fryer basket in a single layer, ensuring they do not overlap. Cook at 400°F (200°C) for 12 minutes.
- Flip the chicken thighs and cook for another 8-10 minutes, or until internal temperature reaches 165°F (74°C).
- Remove from air fryer and let rest on a plate for 5 minutes before serving.
Notes
Do not overcrowd the air fryer basket; cook in batches if necessary to ensure proper air circulation and crispiness. Preheating the air fryer is crucial for achieving a crispy skin. If the skin isn’t crispy enough, air fry for an additional 2 minutes. Chicken can be stored in the fridge for up to 3 days or frozen for up to 3 months.
Nutrition
- Serving Size: 1-2 thighs per servi
- Calories: 350
- Sugar: 1
- Sodium: 450
- Fat: 22
- Saturated Fat: 6
- Carbohydrates: 2
- Protein: 30
Keywords: air fryer chicken, crispy chicken thighs, buttermilk brine, healthy dinner, weeknight meals, gluten-free, low-carb


