My husband stared at the pot on the stove like I’d just poured gasoline into the coffee maker. It was a Tuesday night, the kind where the house is quiet and the only noise is the hum of the refrigerator. I had just pulled the pan off the heat, and the air in the kitchen was thick with a smell that was nutty, deep, and unmistakably toasted. He wasn’t wrong to look skeptical. I had spent the last ten minutes watching a pot of butter turn from pale yellow to a deep amber, stirring constantly, waiting for the milk solids to separate and toast. It’s a risky move if you aren’t paying attention, but honestly? It was worth every second of the anxiety.
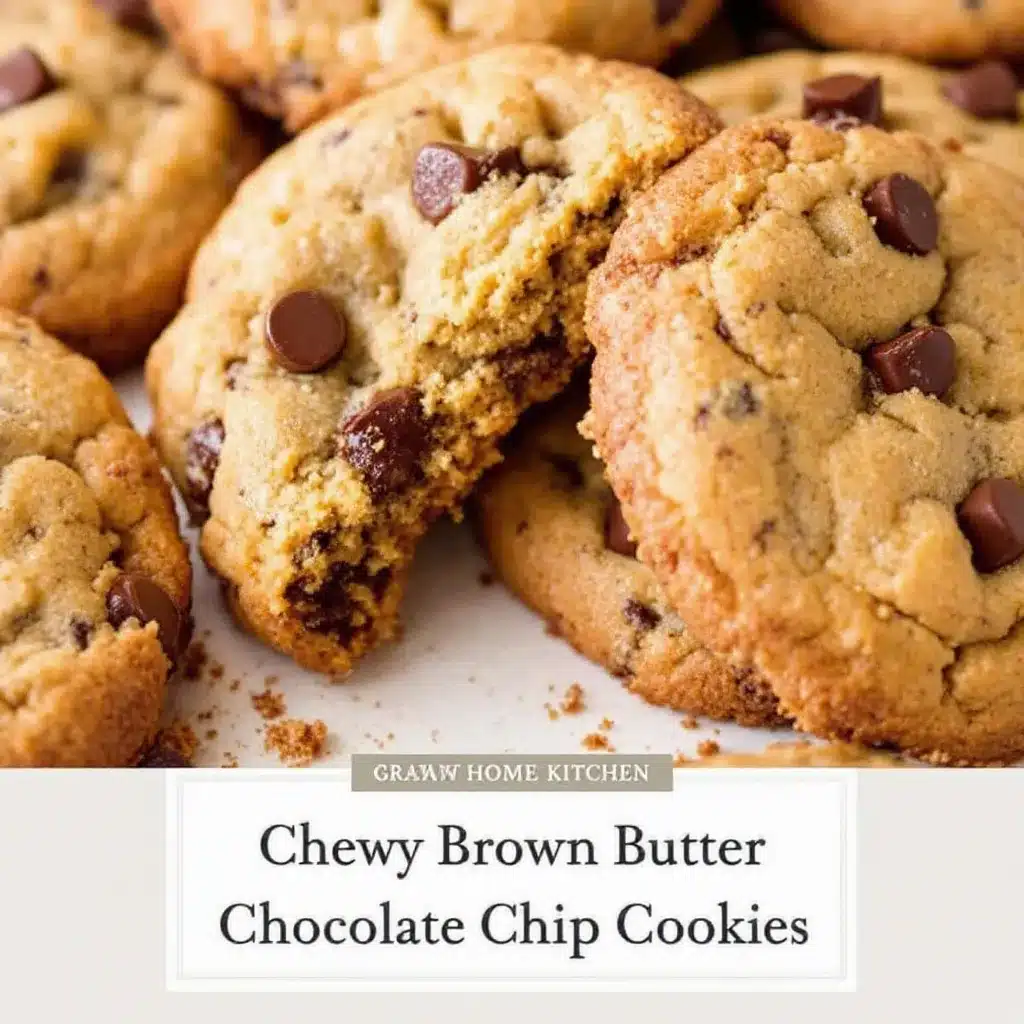
That moment changed how I think about chocolate chip cookies. Before that night, I was perfectly happy with the standard recipe. You cream the butter and sugar, add the eggs, dump in the flour, and hope for the best. It works. It’s reliable. But it lacks soul. It’s just… cookie. When I pulled those first brown butter cookies out of the oven, the edges were crisp and lacy while the centers stayed soft and chewy. The flavor wasn’t just sweet; it had this complex, caramel-like depth that made us both stop chewing for a second to process what we were tasting. It wasn’t just a snack; it was an experience.
I’ve made these perfect chewy brown butter chocolate chip cookies dozens of times since that Tuesday. I’ve tested different flours, different sugars, and different chocolate chunks. I’ve burned a batch or two (don’t judge me). But this version? This is the one. It’s the one that ends up on the plate first. It’s the one that gets scraped clean while I’m still washing the bowl. There’s something about that nutty butter flavor that just hits differently, especially when it’s paired with high-quality dark chocolate chunks. It’s rich without being heavy, and chewy without being gummy. If you’re looking to upgrade your baking game, this is the place to start.
Why You’ll Love This Recipe
Let’s be real for a second. We’ve all had that one recipe we swear by. Maybe it’s your mom’s meatloaf or your dad’s grilled cheese. For me, it’s always been the cookie. And after years of trial and error—some successful, some involving trips to the trash can—I’ve finally nailed down what makes these cookies so special. It’s not just the brown butter, though that’s definitely the star of the show. It’s the balance. It’s the texture. It’s the way they keep their shape but still melt in your mouth.
- Quick & Easy: Yes, you have to brown the butter, which takes about 10 minutes. But the rest of the process is straightforward. You’re talking about under 30 minutes of active time. Perfect for those weeknights when you want something homemade but don’t have hours to spare.
- Simple Ingredients: You probably have most of this in your pantry right now. Butter, sugars, eggs, flour, baking soda, salt, and chocolate. No weird, hard-to-find powders or exotic spices. Just good, honest baking staples.
- Perfect for Gifting: These cookies travel well. They stay soft for days if stored properly. I’ve boxed them up for neighbors and coworkers, and they always come back with empty tins. It’s the ultimate edible gift.
- Crowd-Pleaser: Kids love the sweetness. Adults love the complexity of the toasted butter flavor. It’s a win-win. Even people who claim they “don’t like sweet treats” usually change their minds after one bite of these.
- Unbelievably Delicious: The texture is next-level. Crispy edges, soft centers, and bursts of chocolate. It’s comfort food in its purest form.
What makes this recipe different from the rest? It’s the technique. A lot of people skip browning the butter, or they don’t let it cool down enough before mixing. That leads to flat, greasy cookies. I’ve tested this method thoroughly, and the key is patience. Letting the brown butter cool slightly, and then chilling the dough, creates that thick, chewy texture we all crave. It’s not just another chocolate chip cookie recipe; it’s the best version of one.
What Ingredients You Will Need
This recipe relies on simple, high-quality ingredients to deliver bold flavor and satisfying texture without the fuss. The magic happens in the details, like the ratio of brown sugar to white sugar, and the type of chocolate you choose. You don’t need fancy equipment or exotic items, just a few key components that work together to create that perfect chew.
- Unsalted Butter (1 cup / 226g): This is the foundation. I recommend using high-quality butter with a high fat content, like Plugrá or Kerrygold. The quality of your butter really shines through in this recipe since it’s the main flavor profile. You want to brown it until it’s golden and nutty.
- Dark Brown Sugar (1 ½ cups / 300g): Don’t skimp on the molasses here. Dark brown sugar adds moisture and that deep, caramel-like flavor. Light brown sugar works, but you’ll miss out on some of that rich depth. Pack it tightly into the measuring cup for accuracy.
- Granulated White Sugar (½ cup / 100g): This helps with the crisp edges. It balances out the moisture from the brown sugar and adds a bit of sparkle to the texture. It’s a classic combo that never fails.
- Large Eggs (2): Room temperature eggs mix in easier and create a more uniform dough. Don’t use cold eggs from the fridge; let them sit out for 30 minutes before you start.
- Egg Yolk (1 extra): This is a little secret trick. Adding an extra yolk increases the fat content, which contributes to that soft, chewy center. It makes the cookies richer and more tender.
- Vanilla Extract (2 tsp): Use pure vanilla extract, not imitation. The flavor is subtle but essential for rounding out the buttery notes. A good quality vanilla makes a huge difference.
- All-Purpose Flour (2 ¼ cups / 280g): Spoon and level your flour. Don’t scoop it directly from the bag, or you’ll end up with too much flour and dry cookies. I use Gold Medal for consistent results.
- Baking Soda (1 tsp): This is the leavening agent. Make sure it’s fresh; old baking soda won’t give you the right rise. It also helps with browning.
- Kosher Salt (1 tsp): Salt is crucial for balancing the sweetness. I prefer kosher salt because it’s easier to sprinkle evenly. If you use table salt, reduce the amount slightly.
- Chocolate Chunks (2 cups): I love using a mix of dark and milk chocolate chunks. Bars chopped into pieces give you irregular shapes that melt in pockets. Brands like Ghirardelli or Guittard are reliable choices.
If you’re looking to substitute, you can use oat flour for a gluten-free option, though the texture will be slightly different. For the chocolate, semi-sweet chips work fine if that’s all you have, but chunks are superior for texture.
Equipment Needed
You don’t need a lot of fancy gear to make these cookies, but having the right tools makes the process smoother. A heavy-bottomed saucepan is essential for browning the butter evenly. If your pan is too thin, the butter will burn in spots before it browns overall. I use a stainless steel pan because I can see the color change clearly.
A stand mixer or a hand mixer is helpful for creaming the butter and sugars, but you can do it by hand with a sturdy whisk if you’re up for a little arm workout. It takes about 3-4 minutes to get that fluffy texture. A rubber spatula is your best friend for scraping down the sides of the bowl to ensure everything is incorporated. You’ll also need a large mixing bowl, preferably one with a spout for easy pouring if you’re adding ingredients later.
For baking, rimmed baking sheets are best because they prevent the cookies from spreading too much onto the counter. Silicone baking mats are great for even browning and easy cleanup, but parchment paper works perfectly too. Avoid using dark non-stick pans if you can help it, as they conduct heat faster and can lead to over-browned bottoms. If you only have dark pans, lower the oven temperature by 25 degrees. A kitchen scale is optional but highly recommended for accuracy, especially for the flour.
Preparation Method
Start by browning your butter. Place the unsalted butter in a heavy-bottomed saucepan over medium heat. Stir it constantly with a heat-proof spatula. You’ll see it melt, then foam up, and then the foaming will subside. Listen closely. You’ll hear a sizzling sound, like bacon frying. That’s the milk solids cooking. Look for the butter to turn a deep golden amber color and smell a distinct nutty aroma. This should take about 5-7 minutes. Once you see those brown bits at the bottom and smell the nuts, remove the pan from the heat immediately. Pour the brown butter into a heat-proof bowl to stop the cooking process. Let it cool for about 20-30 minutes until it’s just warm to the touch, not hot.
While the butter cools, preheat your oven to 350°F (175°C). Line your baking sheets with parchment paper or silicone mats. In a medium bowl, whisk together the all-purpose flour, baking soda, and kosher salt. Set this aside. It’s important to whisk these dry ingredients together so the baking soda and salt are distributed evenly.
In a large mixing bowl, combine the cooled brown butter with the dark brown sugar and granulated white sugar. Whisk vigorously for about 2-3 minutes. You want the mixture to look glossy and slightly thickened. This step incorporates air and helps create that chewy texture. Add the two large eggs and the extra egg yolk. Whisk again until fully combined. Stir in the vanilla extract. The mixture might look a bit separated at first; that’s okay.
Gradually add the dry ingredients to the wet ingredients. If using a mixer, switch to the paddle attachment on low speed. If mixing by hand, use a spatula. Mix just until the flour disappears. Do not overmix! Overmixing develops gluten, which leads to tough cookies. You want them tender. Fold in the chocolate chunks. Use your hands to press them into the dough if needed, ensuring they are evenly distributed.
Now, the most important step: chilling the dough. Cover the bowl with plastic wrap and refrigerate for at least 30 minutes, but ideally 1-2 hours. This solidifies the fat, which prevents the cookies from spreading too much in the oven. It also allows the flavors to meld together. If you’re in a rush, you can freeze the dough for 15 minutes, but chilling is better for flavor development.
Once the dough is chilled, scoop portions onto your prepared baking sheets. Use a cookie scoop for uniform size, about 2 tablespoons per cookie. Leave about 2 inches between them for spreading. Bake for 10-12 minutes. You want the edges to be golden brown and set, but the centers to still look slightly soft and underbaked. They will continue to cook on the hot baking sheet after you remove them from the oven. Let them cool on the sheet for 5 minutes before transferring to a wire rack. Enjoy them warm!
Cooking Tips & Techniques
Let’s talk about the brown butter process because this is where most people go wrong. The biggest mistake is walking away from the stove. Butter goes from perfect to burnt in seconds. Keep your spatula moving. If you see dark brown spots forming too quickly, take the pan off the heat for a few seconds and keep stirring. You’re looking for a color like peanut butter, not chocolate. And trust your nose more than your eyes. If it smells like burnt toast, you’ve gone too far. Scrape out the good butter and discard the burnt bits at the bottom.
Another common issue is over-baking. These cookies continue to cook after you take them out of the oven. If you wait until they look fully set in the center, they will be hard and crisp all the way through. You want them to look slightly underdone. The residual heat will finish the job. This is the secret to that perfect chewy center.
Measuring your flour correctly is also critical. If you scoop the flour directly from the bag with the measuring cup, you’re packing it down. This leads to too much flour and dry, crumbly cookies. Instead, spoon the flour into the measuring cup until it’s heaping, then level it off with the back of a knife. This “spoon and level” method ensures you get the right amount of flour for a tender cookie.
Don’t skip the chilling step. I know it’s tempting to bake the dough right away. But the chill helps the cookies hold their shape. It also prevents them from spreading into one giant cookie on the pan. If your kitchen is very warm, you might even want to chill the baking sheets before putting the dough on them. This extra cold helps counteract the heat of the oven.
Finally, use good chocolate. Cheap chocolate chips often contain stabilizers that prevent them from melting properly. They’ll stay in little plastic-like disks even after baking. Chopping up a bar of good chocolate gives you irregular pieces that melt into gooey pockets. It’s worth the extra few minutes to chop your own chocolate. It makes a huge difference in the final texture and flavor.
Variations & Adaptations
While the classic version is my favorite, there are plenty of ways to tweak this recipe to suit your taste or dietary needs. Here are a few variations I’ve tried and loved.
White Chocolate and Macadamia: Swap the dark chocolate chunks for white chocolate chunks and add 1 cup of toasted macadamia nuts. The nutty brown butter pairs beautifully with the sweet white chocolate and crunchy nuts. It’s a tropical twist that feels fancy but is actually quite simple.
Pretzel and Sea Salt: Add ½ cup of crushed pretzels to the dough along with the chocolate. Sprinkle flaky sea salt on top of the cookies right after they come out of the oven. The salty crunch contrasts perfectly with the sweet, chewy cookie. It’s a flavor combination that’s addictive.
Gluten-Free Option: You can substitute the all-purpose flour with a 1:1 gluten-free flour blend. Look for a blend that contains xanthan gum, as this helps with binding. The texture might be slightly more delicate, but the flavor will still be fantastic. Let the dough chill for a bit longer if you use gluten-free flour, as it tends to absorb liquid differently.
Vegan Version: Use a vegan butter stick that bakes well (like Miyoko’s or Earth Balance). Replace the eggs with a flax egg (1 tablespoon ground flaxseed mixed with 3 tablespoons water per egg). The texture will be slightly different, but they’ll still be delicious. You might need to add a bit more flour if the dough feels too wet.
Spiced Variation: Add 1 teaspoon of cinnamon and ½ teaspoon of nutmeg to the dry ingredients. This gives the cookies a cozy, autumnal flavor that pairs well with the brown butter. It’s like having a cookie version of pumpkin spice without the pumpkin.
Feel free to experiment with these variations. Baking is all about making it your own. Just remember to keep an eye on the baking time, as add-ins like nuts or chocolate can affect how quickly the cookies bake.
Serving & Storage Suggestions
These cookies are best enjoyed warm, right out of the oven. There’s nothing quite like a fresh, gooey cookie with a glass of cold milk. But they’re also great at room temperature for lunchboxes or office snacks. If you’re serving them at a party, arrange them on a platter with a few different types of cookies for variety. They look beautiful with their golden edges and melted chocolate pools.
For storage, let the cookies cool completely before placing them in an airtight container. They will stay fresh at room temperature for up to 5 days. If you live in a humid climate, add a piece of bread to the container to help keep them soft. The bread will dry out, but the cookies will stay chewy. If you want to freeze the cookies, you can freeze the baked cookies for up to 3 months. Just thaw them at room temperature or warm them up in the microwave for 10 seconds.
You can also freeze the dough. Scoop the dough onto a baking sheet and freeze until solid, then transfer the dough balls to a freezer bag. You can bake them straight from the freezer, just add 1-2 minutes to the baking time. This is great for having homemade cookies on hand for unexpected guests. The flavors actually improve after a day or two as they continue to meld, so don’t be surprised if day two tastes even better than day one.
Nutritional Information & Benefits
While these cookies are definitely a treat, they are made with wholesome ingredients that provide some nutritional benefits. The brown butter adds a rich flavor that means you might need less to feel satisfied. The eggs provide protein, and the dark chocolate is packed with antioxidants. However, these cookies are still high in sugar and fat, so enjoy them in moderation. One cookie contains approximately 250-300 calories, depending on the size and amount of chocolate used. They are not suitable for those with nut allergies if you use the nut variations. For a gluten-free option, ensure your flour and chocolate are certified gluten-free. I always try to balance indulgent treats with healthy meals throughout the day, so these fit perfectly into a balanced diet when enjoyed as a special snack.
Conclusion
These perfect chewy brown butter chocolate chip cookies are more than just a dessert; they’re a celebration of simple ingredients and careful technique. The nutty depth of the brown butter elevates the classic cookie to something truly special. I hope you try this recipe and find it as much of a joy to make as I do. Don’t be afraid to experiment with different chocolates or add-ins to make it your own. And if you do make them, I’d love to hear how they turned out for you. Leave a comment below with your thoughts or share a photo on social media. Happy baking!
FAQs
Can I use salted butter instead of unsalted?
It’s best to use unsalted butter so you can control the salt content. If you only have salted butter, reduce the added kosher salt to ½ teaspoon. Taste the butter if possible to gauge its saltiness.
Why are my cookies flat?
Flat cookies usually result from butter that is too warm when mixed, or dough that wasn’t chilled enough. Make sure your brown butter is cooled to just warm, not hot, before adding the sugars. Also, ensure you chill the dough for at least 30 minutes.
Can I freeze the cookie dough?
Yes! Scoop the dough onto a baking sheet and freeze until solid. Then transfer the dough balls to a freezer-safe bag. You can bake them straight from the freezer, adding 1-2 minutes to the baking time.
What type of chocolate is best?
I recommend using high-quality chocolate bars chopped into chunks. This gives you irregular pieces that melt into gooey pockets. Dark chocolate or a mix of dark and milk chocolate works best with the brown butter flavor.
How do I keep the cookies soft?
Don’t overbake them. Remove them from the oven when the edges are set but the centers still look slightly soft. They will continue to cook on the hot baking sheet. Storing them in an airtight container with a piece of bread also helps keep them soft.
Pin This Recipe!
Perfect Chewy Brown Butter Chocolate Chip Cookies

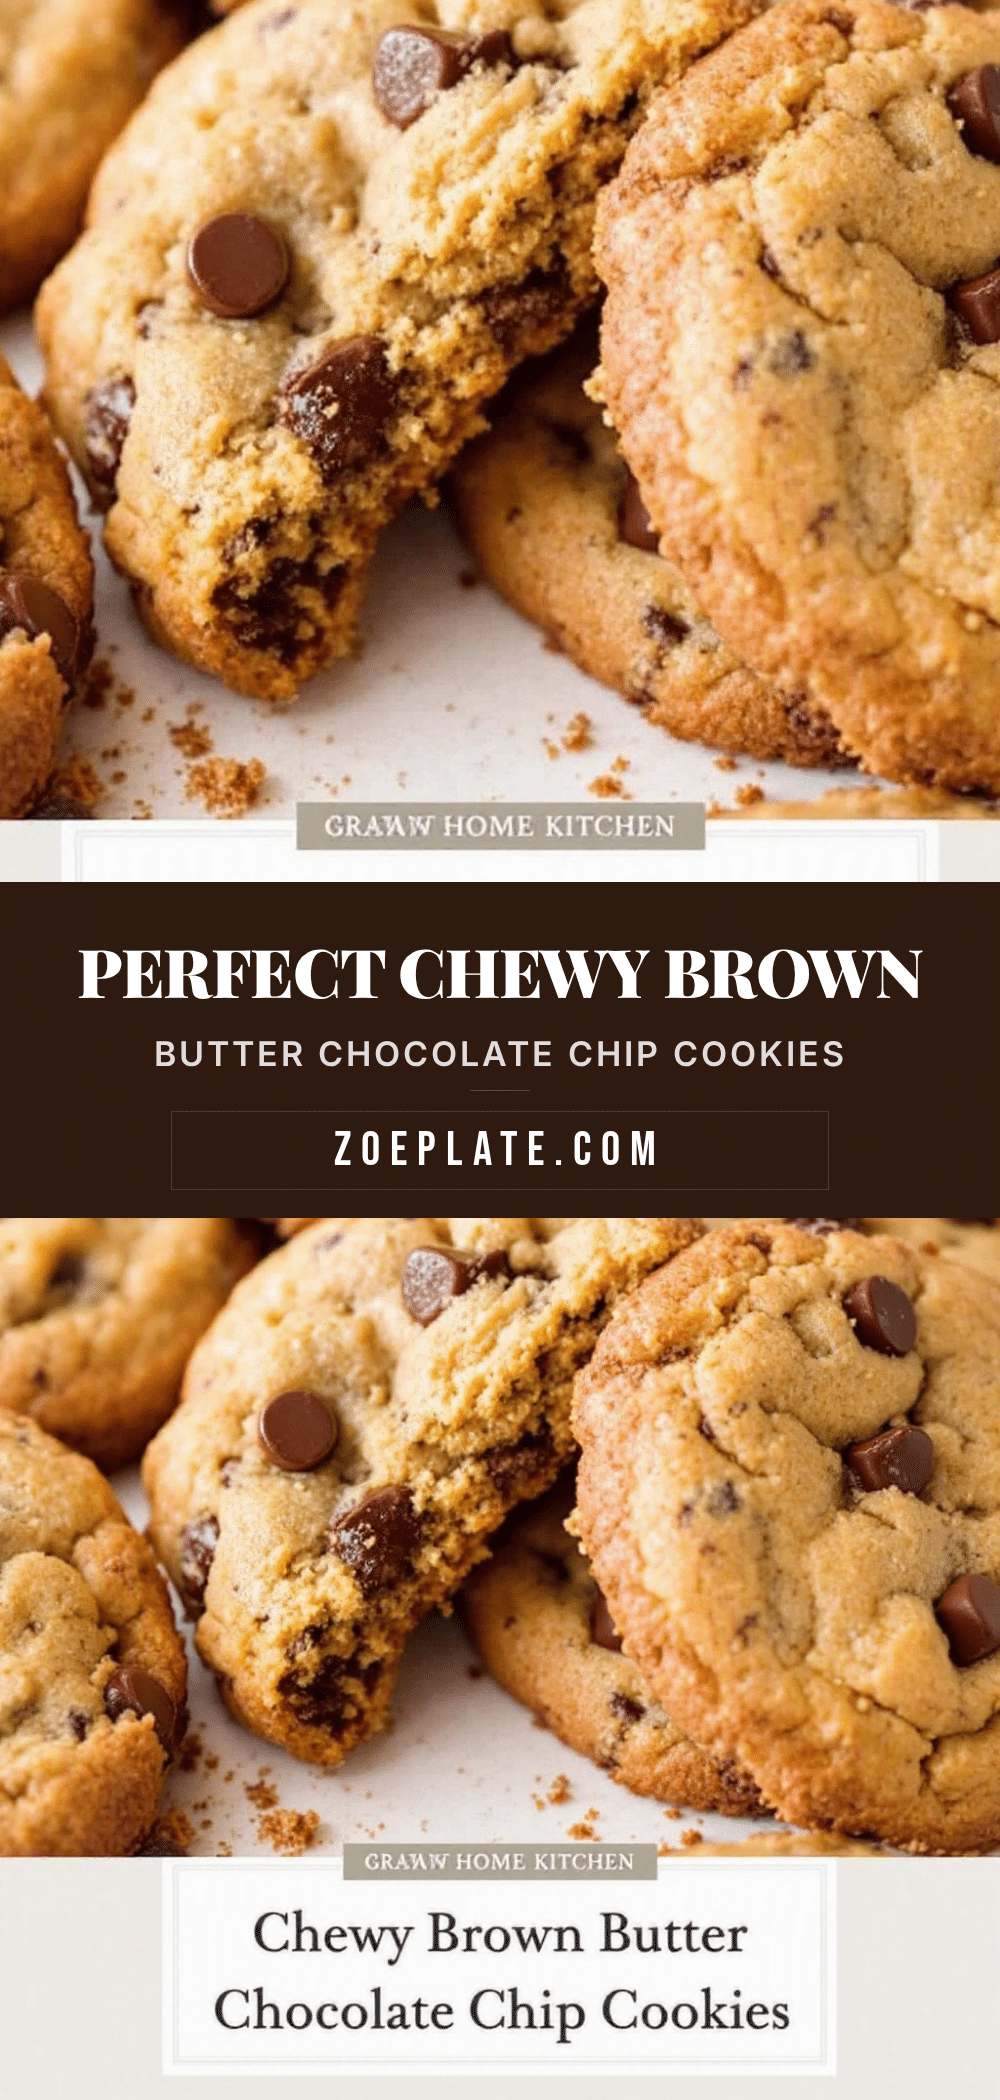
These cookies feature a rich, nutty flavor from browned butter, resulting in crisp lacy edges and soft, chewy centers. They are easy to make, use simple pantry ingredients, and are perfect for gifting or weeknight baking.
- Prep Time: 30 minutes
- Cook Time: 12 minutes
- Total Time: 42 minutes
- Yield: Approximately 24 cookies 1x
- Category: Dessert
- Cuisine: American
Ingredients
- 1 cup (226g) unsalted butter
- 1 ½ cups (300g) dark brown sugar, packed
- ½ cup (100g) granulated white sugar
- 2 large eggs, room temperature
- 1 extra egg yolk
- 2 tsp pure vanilla extract
- 2 ¼ cups (280g) all-purpose flour
- 1 tsp baking soda
- 1 tsp kosher salt
- 2 cups chocolate chunks (dark or milk)
Instructions
- Brown the butter: Place unsalted butter in a heavy-bottomed saucepan over medium heat. Stir constantly until it turns deep golden amber and smells nutty (5-7 minutes). Remove from heat and pour into a heat-proof bowl to cool for 20-30 minutes until just warm.
- Preheat oven to 350°F (175°C). Line baking sheets with parchment paper or silicone mats.
- Whisk together flour, baking soda, and kosher salt in a medium bowl. Set aside.
- In a large mixing bowl, whisk the cooled brown butter with brown sugar and white sugar for 2-3 minutes until glossy and thickened.
- Add eggs, extra egg yolk, and vanilla extract. Whisk until fully combined.
- Gradually add dry ingredients to wet ingredients. Mix just until flour disappears. Do not overmix.
- Fold in chocolate chunks.
- Cover dough and refrigerate for at least 30 minutes (ideally 1-2 hours) to chill.
- Scoop dough onto prepared baking sheets, about 2 tablespoons per cookie, leaving 2 inches between them.
- Bake for 10-12 minutes until edges are golden brown but centers look slightly soft.
- Let cookies cool on the baking sheet for 5 minutes before transferring to a wire rack.
Notes
Do not walk away from the butter while browning; it can burn quickly. Ensure the brown butter is cooled to just warm before mixing to prevent flat cookies. Chilling the dough is crucial for texture and preventing excessive spreading. For gluten-free, use a 1:1 gluten-free flour blend. For vegan, use vegan butter and flax eggs.
Nutrition
- Serving Size: 1 cookie
- Calories: 275
- Sugar: 24
- Sodium: 180
- Fat: 14
- Saturated Fat: 8
- Carbohydrates: 35
- Fiber: 1
- Protein: 3
Keywords: brown butter cookies, chocolate chip cookies, chewy cookies, baking, dessert, homemade cookies, nutty flavor


