My first attempt at these creamy pumpkin cheesecake bars was a crumbly disaster. I skipped the chill step because, honestly, who has time for that when the oven is already preheated? I just pressed the crumbs into the pan, poured the filling over it, and hoped for the best. The result was less “sliceable bar” and more “pumpkin soup with cookie shards.” I stared at the pan, wondering if I had somehow broken the laws of physics. Then I remembered my grandmother’s rule about patience in baking. She always said that cold butter binds better than warm butter, and I had ignored her completely. This time, I chilled the crust for an hour. The difference was night and day. The crust stayed intact, providing a sturdy, spicy foundation for the silky pumpkin layer. It’s a small detail, but it changes everything. Now, whenever I make these bars, I think of that first messy failure. It reminds me that good things take a little bit of waiting. The flavor is worth the effort, and the texture is finally right.
Why You’ll Love This Recipe
This isn’t just another pumpkin dessert you’ll forget by Tuesday. It’s the kind of bar that disappears before you can finish plating it. I’ve tested this recipe more times than I can count, tweaking the spice blend and the cream cheese ratio until it felt perfect. Here is why these bars keep coming back to my table:
- Quick & Easy Prep: While the bake time is longer, the actual hands-on time is under thirty minutes. You don’t need to be a professional pastry chef to pull this off. It’s perfect for busy weeknights or when you need to bring a dessert to a last-minute gathering.
- Simple Ingredients: You likely already have most of these in your pantry. Gingersnaps, cream cheese, pumpkin puree, and basic spices. No fancy grocery trips needed for obscure ingredients.
- Perfect for Thanksgiving: These bars are the ideal bridge between a heavy dinner and a sweet finish. They are festive but not overly rich, making them a crowd-pleaser for guests with varying appetites.
- Crowd-Pleaser: Kids love the sweetness, and adults appreciate the hint of ginger and spice. It’s a flavor profile that appeals to almost everyone.
- Unbelievably Delicious: The combination of the tangy cheesecake filling and the crunchy, spiced crust is next-level comfort food. The texture contrast is what really makes it special.
What makes this recipe different from the rest is the balance of moisture. Many pumpkin cheesecakes turn out watery or dense. By using pure pumpkin puree instead of pumpkin pie filling and draining it slightly, we get a rich, dense texture that isn’t soggy. It’s the kind of bar that makes you close your eyes after the first bite. It’s comfort food reimagined—simpler than a whole cake but with the same soul-soothing satisfaction. Plus, they are easier to serve than a traditional cheesecake because they are already portioned.
What Ingredients You Will Need
This recipe uses simple, wholesome ingredients to deliver bold flavor and satisfying texture without the fuss. The key to success is quality, especially with the pumpkin and spices. Here is what you need to gather:
For the Gingersnap Crust
- Gingersnap cookies: About 2 cups of crumbs. I prefer using store-bought gingersnaps like Ginger Snap Co. or any classic brand found in the cookie aisle. They have the right amount of spice and crunch.
- Unsalted butter: Melted. This binds the crumbs together. Use real butter for the best flavor; margarine can make the crust greasy.
- Granulated sugar: Just a tablespoon to help the crust crisp up slightly.
- Ground cinnamon: A half teaspoon to boost the ginger flavor.
For the Pumpkin Cheesecake Filling
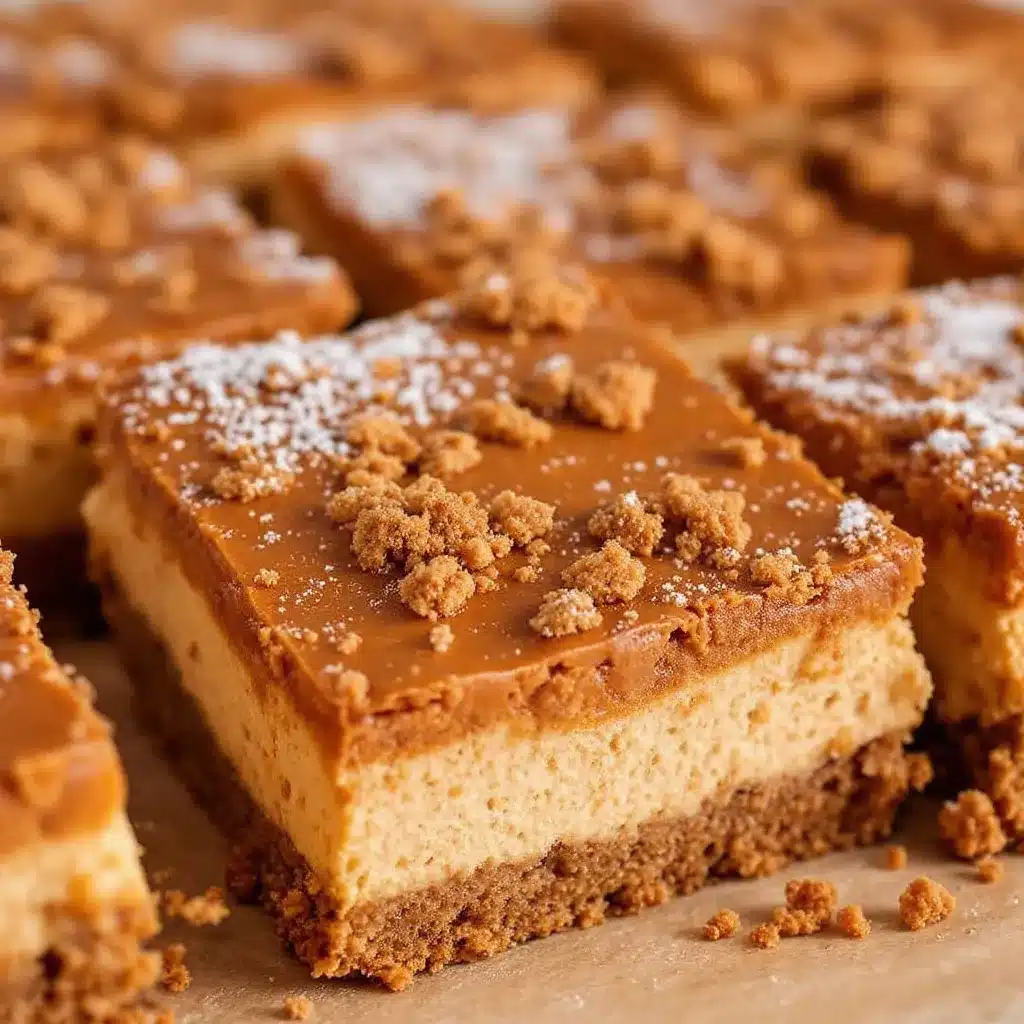
- Full-fat cream cheese: Two 8-ounce blocks, softened to room temperature. This is crucial. If your cream cheese is cold, you will get lumps. I recommend Philadelphia brand for its consistency.
- Pure pumpkin puree: One 15-ounce can. Do not use pumpkin pie filling, which is pre-sweetened and spiced. We control the sweetness here.
- Granulated sugar: One cup. Adjust slightly if you prefer less sweet bars.
- Brown sugar: Half a cup. This adds a deeper, molasses-like flavor that pairs beautifully with pumpkin.
- Large eggs: Two large eggs, room temperature. Cold eggs can cause the filling to curdle when mixed.
- Vanilla extract: One teaspoon. Pure vanilla makes a big difference.
- Ground ginger: One teaspoon. This gives the “ginger” in gingersnap crust its name.
- Ground cinnamon: One teaspoon.
- Ground nutmeg: Half a teaspoon. Freshly grated is best if you have a microplane.
- Ground cloves: A quarter teaspoon. Don’t skip this; it adds warmth.
- Salt: Half a teaspoon to balance the sweetness.
Note: If you are using fresh pumpkin, roast it and mash it until smooth, but make sure to squeeze out excess moisture in a cheesecloth. This prevents a watery filling.
Equipment Needed
You don’t need a lot of fancy gadgets for this recipe. A standard 9×13-inch baking pan is all you really need. I use a metal pan because it conducts heat evenly, helping the crust crisp up. Glass pans work too, but they might need a slightly longer bake time. An electric hand mixer or a stand mixer with a paddle attachment is essential for getting the cream cheese smooth. A food processor or a simple zip-top bag and rolling pin works great for crushing the gingersnaps. A spatula is your best friend here for scraping down the sides of the bowl. I also recommend using parchment paper or aluminum foil to line the pan with an overhang. This makes lifting the bars out of the pan much easier, so you don’t have to dig them out with a knife.
Preparation Method
Getting these bars ready involves a few simple steps, but precision matters. Here is how to put it all together:
- Preheat and Prep: Preheat your oven to 350°F (175°C). Line your 9×13-inch baking pan with parchment paper, leaving a slight overhang on the long sides. This is your lifeline for removing the bars later.
- Make the Crust: Place your gingersnap cookies in a food processor and pulse until they turn into fine crumbs. If you don’t have a processor, put them in a heavy-duty zip-top bag and crush them with a rolling pin until fine. Transfer the crumbs to a medium bowl.
- Combine Crust Ingredients: Add the melted butter, granulated sugar, and cinnamon to the crumbs. Stir until the mixture looks like wet sand. It should hold together when pinched.
- Press the Crust: Pour the crumb mixture into the prepared pan. Use the bottom of a measuring cup or a flat glass to press the crumbs firmly and evenly into the bottom of the pan. This step is vital for a stable base.
- Chill the Crust: Place the pan in the refrigerator for at least 20 minutes. This helps the butter solidify, preventing the crust from crumbling when you add the wet filling.
- Beat the Cream Cheese: In a large bowl, beat the softened cream cheese on medium speed until it is completely smooth and creamy. This should take about 2-3 minutes. Scrape down the sides of the bowl to ensure there are no lumps.
- Add Sugars and Spices: Add the granulated sugar, brown sugar, ground ginger, cinnamon, nutmeg, cloves, and salt. Beat on low speed until combined. Scrape the bowl again.
- Incorporate Pumpkin and Eggs: Add the pure pumpkin puree and vanilla extract. Mix on low until just combined. Add the eggs one at a time, mixing on low speed just until the yellow disappears. Overmixing at this stage can incorporate too much air, which might cause cracking later.
- Assemble: Remove the pan from the fridge. Pour the pumpkin filling over the chilled crust. Use a spatula to spread it evenly. The filling should be smooth and glossy.
- Bake: Bake at 350°F (175°C) for 35-40 minutes. The edges should be set, but the center should still have a slight jiggle. It will firm up as it cools.
- Cool Completely: Let the bars cool in the pan on a wire rack for at least one hour. Then, refrigerate for at least 4 hours, preferably overnight. This is the hardest part, but it ensures clean cuts.
Cooking Tips & Techniques
I’ve learned a few things the hard way while making cheesecake bars. First, room temperature ingredients are non-negotiable. Cold cream cheese and cold eggs create a lumpy batter that is impossible to fix without overmixing. Take your ingredients out of the fridge an hour before you start. Second, do not overbeat the batter once you add the eggs. Overbeating incorporates air bubbles, which can expand in the oven and then collapse, causing the top to crack. Mix gently and stop as soon as the ingredients are combined. Third, check for doneness early. Cheesecake continues to cook as it cools. If you wait until the center is completely firm in the oven, it will be dry and dense once cooled. A slight jiggle in the center is actually a good sign. Finally, patience with the cooling process is key. Slicing warm cheesecake bars is a recipe for disaster. They will be mushy and fall apart. Let them chill thoroughly for the best texture.
Variations & Adaptations
While the classic version is my favorite, there are plenty of ways to tweak these bars to suit your taste or dietary needs. For a gluten-free option, simply use gluten-free gingersnap cookies or a gluten-free graham cracker crust. You can also swap the gingersnaps for snickerdoodle cookies for a milder spice flavor. If you want to reduce the sugar, you can cut the granulated sugar in the filling by half, though the bars will be less sweet. For a dairy-free version, use plant-based cream cheese and butter, though the texture might be slightly different. You can also add chocolate chips to the filling for a pumpkin chocolate chip swirl. Another variation is to add a layer of caramel sauce on top before baking, or drizzle salted caramel over the cooled bars. I once tried adding a layer of pumpkin spice whipped cream on top, which was delicious but added extra calories. For a healthier twist, you can substitute half the cream cheese with Greek yogurt, though this makes the bars tangier and softer.
Serving & Storage Suggestions
These bars are best served chilled. They taste like a slice of pumpkin pie but with the convenience of a bar. I like to serve them with a dollop of whipped cream or a drizzle of caramel sauce. They pair wonderfully with a cup of hot coffee or tea, making them a perfect afternoon treat. For storage, keep the bars in an airtight container in the refrigerator for up to five days. They can also be frozen for up to three months. To freeze, wrap the entire pan in plastic wrap and then aluminum foil, or cut the bars into individual portions and freeze them on a baking sheet before transferring to a freezer bag. Thaw them in the refrigerator overnight before serving. The flavors actually deepen after a day or two in the fridge, making them even better on the second day.
Nutritional Information & Benefits
While these bars are a dessert, they do offer some nutritional benefits. Pumpkin is rich in vitamin A, fiber, and antioxidants, which are good for immune health and eye health. The gingersnap crust provides some energy from carbohydrates, and the ginger has anti-inflammatory properties. However, this is still a rich dessert due to the cream cheese and sugar content. A typical serving (one bar) contains approximately 250-300 calories, depending on the size. It is best enjoyed in moderation as part of a balanced diet. For those watching their sugar intake, you can reduce the sugar content or use a sugar substitute, though this may affect the texture. Overall, it’s a festive treat that feels indulgent but uses real, recognizable ingredients.
Conclusion
These creamy pumpkin cheesecake bars with gingersnap crust are a must-try for any fall dessert lover. They are easy to make, delicious, and perfect for sharing. I hope you enjoy making them as much as I do. Feel free to customize the spice levels or add your own toppings to make them your own. If you try this recipe, I’d love to hear how it turned out. Leave a comment below with your thoughts or share a photo on social media. Happy baking, and enjoy every bite!
Frequently Asked Questions
Can I use fresh pumpkin instead of canned?
Yes, you can use fresh pumpkin. Roast a sugar pumpkin, scoop out the flesh, and mash it until smooth. Make sure to drain the excess moisture by placing the puree in a cheesecloth or paper towels before adding it to the batter.
Why did my cheesecake bars crack?
Cracking is often caused by overmixing the batter, which incorporates too much air, or overbaking. Make sure to mix gently after adding eggs and check for doneness when the center still has a slight jiggle.
Can I make these bars ahead of time?
Absolutely. These bars actually taste better the next day. You can make them up to two days in advance and store them in the refrigerator.
What kind of gingersnaps work best?
Any classic gingersnap cookie works well. Look for cookies that are crisp and have a strong ginger flavor. Brands like Ginger Snap Co. or standard supermarket brands are fine.
How do I store leftover bars?
Store leftovers in an airtight container in the refrigerator for up to five days. You can also freeze them for up to three months for longer storage.
Pin This Recipe!
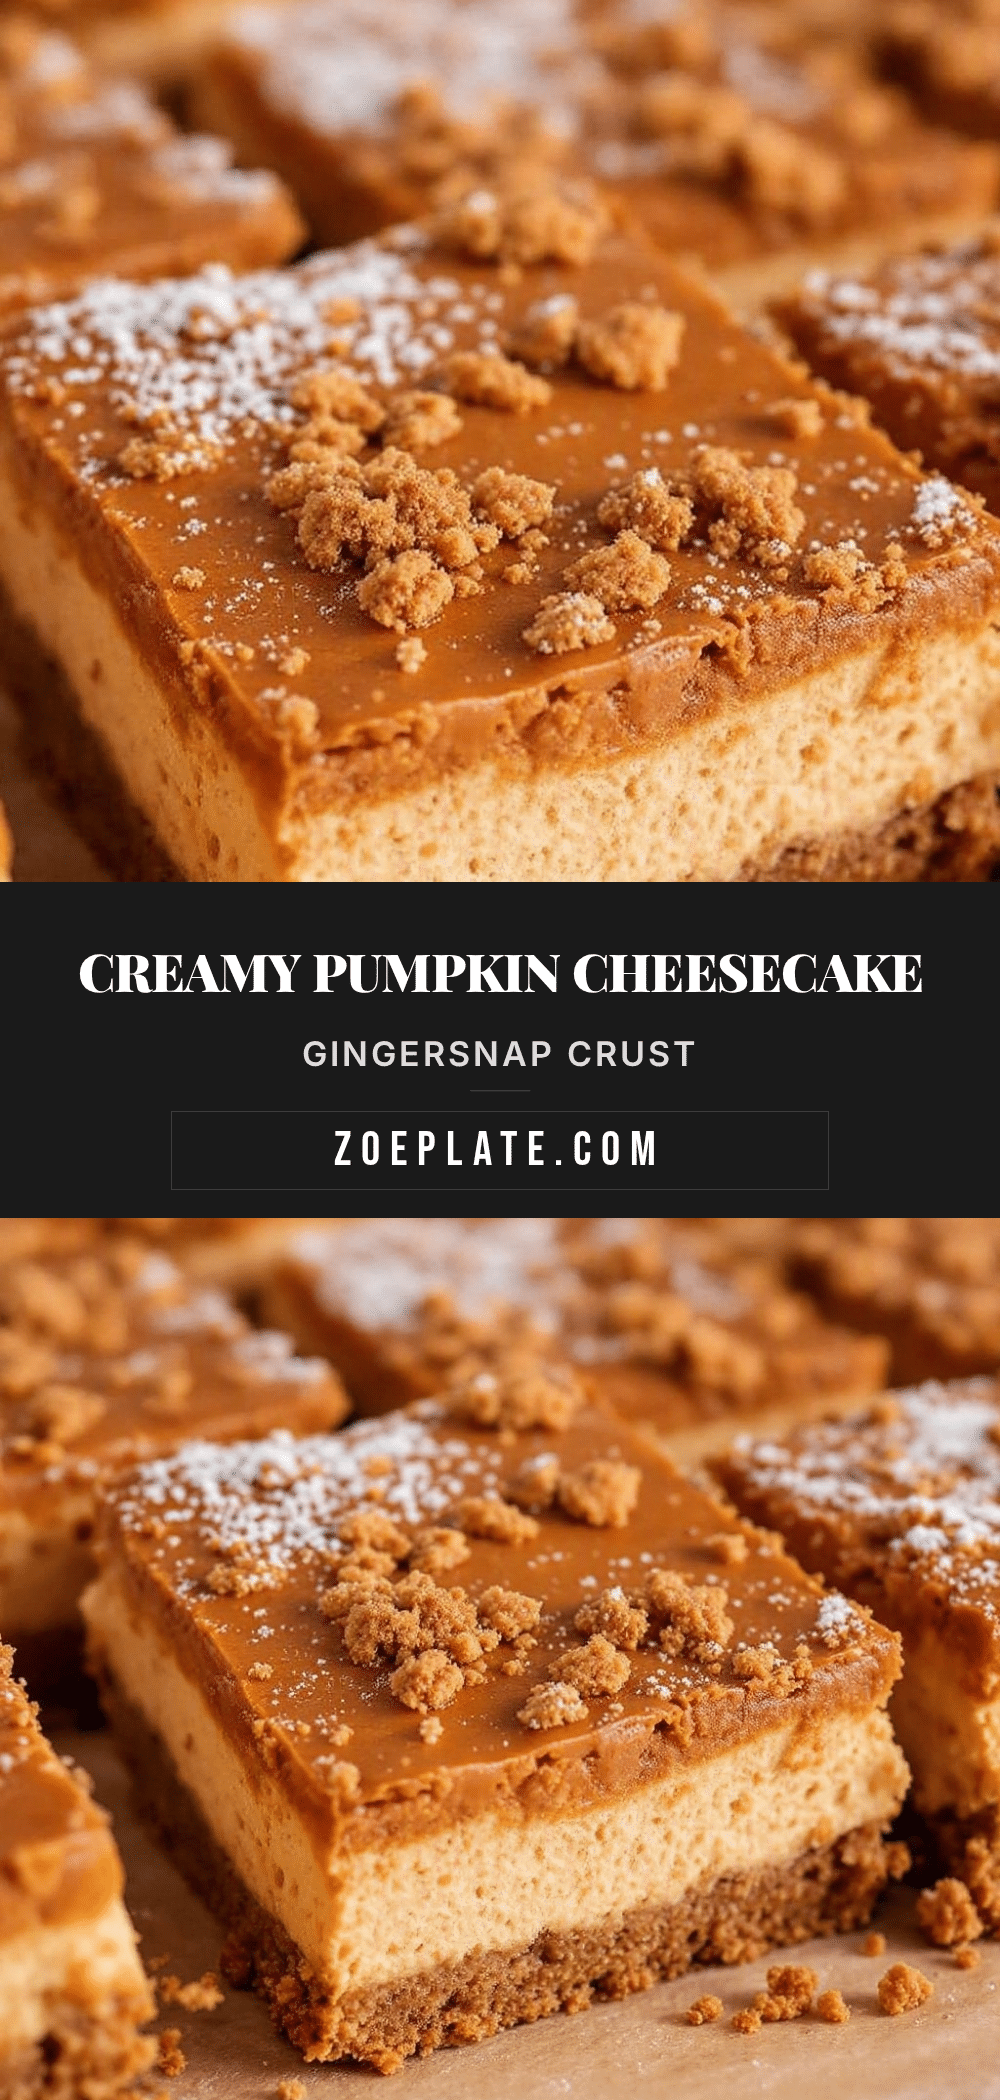
Creamy Pumpkin Cheesecake Bars: Easy Thanksgiving Dessert
These creamy pumpkin cheesecake bars feature a crunchy gingersnap crust and a rich, spiced cream cheese filling. They are easy to make, perfect for Thanksgiving, and offer a comforting balance of texture and flavor.
- Prep Time: 30 minutes
- Cook Time: 40 minutes
- Total Time: 4 hours 50 minutes
- Yield: 12 servings 1x
- Category: Dessert
- Cuisine: American
Ingredients
- 2 cups gingersnap cookie crumbs
- 1/2 cup unsalted butter, melted
- 1 tablespoon granulated sugar
- 1/2 teaspoon ground cinnamon
- 16 ounces full-fat cream cheese, softened to room temperature
- 15 ounces pure pumpkin puree
- 1 cup granulated sugar
- 1/2 cup brown sugar
- 2 large eggs, room temperature
- 1 teaspoon vanilla extract
- 1 teaspoon ground ginger
- 1 teaspoon ground cinnamon
- 1/2 teaspoon ground nutmeg
- 1/4 teaspoon ground cloves
- 1/2 teaspoon salt
Instructions
- Preheat oven to 350°F (175°C). Line a 9×13-inch baking pan with parchment paper, leaving an overhang on the long sides.
- Pulse gingersnap cookies in a food processor until fine crumbs form, or crush them in a zip-top bag with a rolling pin.
- In a medium bowl, combine the cookie crumbs, melted butter, 1 tablespoon granulated sugar, and 1/2 teaspoon cinnamon. Stir until the mixture resembles wet sand.
- Press the crumb mixture firmly and evenly into the bottom of the prepared pan using the bottom of a measuring cup.
- Chill the crust in the refrigerator for at least 20 minutes to allow the butter to solidify.
- In a large bowl, beat the softened cream cheese on medium speed until smooth and creamy (about 2-3 minutes). Scrape down the sides of the bowl.
- Add 1 cup granulated sugar, 1/2 cup brown sugar, 1 teaspoon ground ginger, 1 teaspoon cinnamon, 1/2 teaspoon nutmeg, 1/4 teaspoon cloves, and 1/2 teaspoon salt. Beat on low speed until combined.
- Add the pure pumpkin puree and 1 teaspoon vanilla extract. Mix on low until just combined.
- Add the eggs one at a time, mixing on low speed just until the yellow color disappears. Avoid overmixing to prevent air bubbles.
- Remove the pan from the fridge and pour the pumpkin filling over the chilled crust. Spread evenly with a spatula.
- Bake at 350°F (175°C) for 35-40 minutes. The edges should be set, but the center should still have a slight jiggle.
- Let the bars cool in the pan on a wire rack for at least one hour.
- Refrigerate for at least 4 hours, preferably overnight, to ensure clean cuts and set texture.
Notes
Ensure all dairy ingredients (cream cheese and eggs) are at room temperature to prevent lumps. Do not overmix the batter after adding eggs to avoid cracking. For fresh pumpkin, roast and mash until smooth, then squeeze out excess moisture in a cheesecloth. Bars taste better the next day after flavors have melded.
Nutrition
- Serving Size: 1 bar
- Calories: 275
- Sugar: 22
- Sodium: 180
- Fat: 18
- Saturated Fat: 10
- Carbohydrates: 28
- Fiber: 1
- Protein: 4
Keywords: pumpkin cheesecake bars, gingersnap crust, thanksgiving dessert, easy pumpkin recipe, fall baking, cream cheese bars


