I figured energy bites were a snack you had to choke down—the kind of thing you eat because you should, not because you want to. It took about three seconds after the first bite of these peanut butter oat energy bites for that assumption to fall apart completely. I was standing in my kitchen, still annoyed from a morning that had gone sideways, and I grabbed one of these little balls out of the fridge just to have something. No expectations. And then I stood there, chewing, and realized I was actually enjoying myself. That sounds dramatic, but honestly? They were good. Like, really good. Not dry, not chalky, not tasting like a compromise. Just chewy, sweet enough, with that salty peanut butter thing that gets me every time.
I’d tried making energy bites before—years ago—and they always ended up crumbly and sad. I blamed the recipe, but looking back, I think I just wasn’t paying attention to the ratios. This version is different. It holds together without being sticky in a bad way, and the oats stay tender instead of feeling like you’re eating raw grain. The chocolate chips melt just slightly against your palm as you roll them, which is a sensory thing I didn’t know I needed until it happened.
I make these every Sunday now. They’re the thing I reach for at 3 PM when my brain is foggy and my stomach is making noises that aren’t polite. They’re also the thing my kid steals from the container when he thinks I’m not looking. And honestly? That’s how I know a recipe is worth keeping around.
Why You’ll Love This Recipe
Let’s be real—most recipes that claim to be “easy” still require you to chop something or turn on the oven. These no-bake peanut butter oat energy bites are the exception. You mix everything in one bowl, roll it into balls, and let the fridge do the rest. No baking, no blender to wash, no excuses.
- Ready in 15 minutes — Mixing takes maybe ten, rolling takes five. That’s it.
- Pantry-friendly ingredients — No trips to a specialty store. You probably have everything already.
- Perfect for meal prep — Make a batch on Sunday and grab them all week.
- Kid-approved — My son calls them “cookie dough balls” and I don’t correct him.
- Actually filling — The oats and peanut butter give you real staying power, not a sugar spike and crash.
What makes these different from the other energy bite recipes out there? It’s the texture. I tested this about five times to get the ratio of wet to dry just right. Too much peanut butter and they’re greasy. Too much honey and they’re sticky and hard to roll. This version hits that sweet spot where the oats absorb just enough moisture to stay chewy without turning into paste. The mini chocolate chips are non-negotiable too—they melt into little pockets of sweetness that make every bite interesting.
These aren’t just a healthy snack you tolerate. They’re the snack you actually look forward to. And in a world where most “healthy” things taste like cardboard, that’s a win.
What Ingredients You Will Need
This recipe uses simple, everyday ingredients that do exactly what they’re supposed to do. No weird powders or expensive add-ins. Just real food that comes together into something greater than the sum of its parts.
- 1 cup creamy peanut butter — Use a brand you like the taste of since it’s the main flavor. I prefer Skippy Natural or Jif Natural. Avoid the super oily natural peanut butter that separates—it makes the bites too loose.
- ½ cup honey — This is the sweetener and the glue. Local honey is nice if you have it, but any liquid honey works. Maple syrup also works if you want a different flavor profile.
- 1 ½ cups old-fashioned rolled oats — Not quick oats and definitely not steel-cut. Rolled oats give the right chewy texture. Quick oats turn into mush, and steel-cut oats stay too hard.
- ½ cup mini chocolate chips — Mini chips distribute better than regular-sized ones. I use semi-sweet, but dark chocolate or milk chocolate work too.
- ¼ cup ground flaxseed — Adds fiber and omega-3s, plus it helps bind everything together. You can skip it or sub with chia seeds if needed.
- ½ teaspoon vanilla extract — A little goes a long way. Pure vanilla is best, but imitation works fine here.
- Pinch of sea salt — If your peanut butter is already salted, you might skip this. But I like the contrast it adds.
Optional add-ins: Shredded coconut, chopped nuts, dried fruit (cranberries or raisins work great), or a scoop of vanilla protein powder for extra protein.
Equipment Needed
You don’t need much here, which is part of the appeal. Here’s what I use:
- Large mixing bowl — Any bowl big enough to stir without making a mess.
- Spatula or wooden spoon — For mixing. A spatula works better for scraping the sides.
- Measuring cups and spoons — I’m not strict about precision here, but close counts.
- Cookie scoop or tablespoon — For portioning evenly. A #40 scoop (about 1.5 tablespoons) is perfect.
- Parchment-lined baking sheet or plate — To hold the bites while they chill.
- Airtight container — For storage. A glass meal prep container works great.
No food processor, no mixer, no special gadgets. If you don’t have a cookie scoop, just use a spoon and your hands. That’s what I did the first time.
Preparation Method
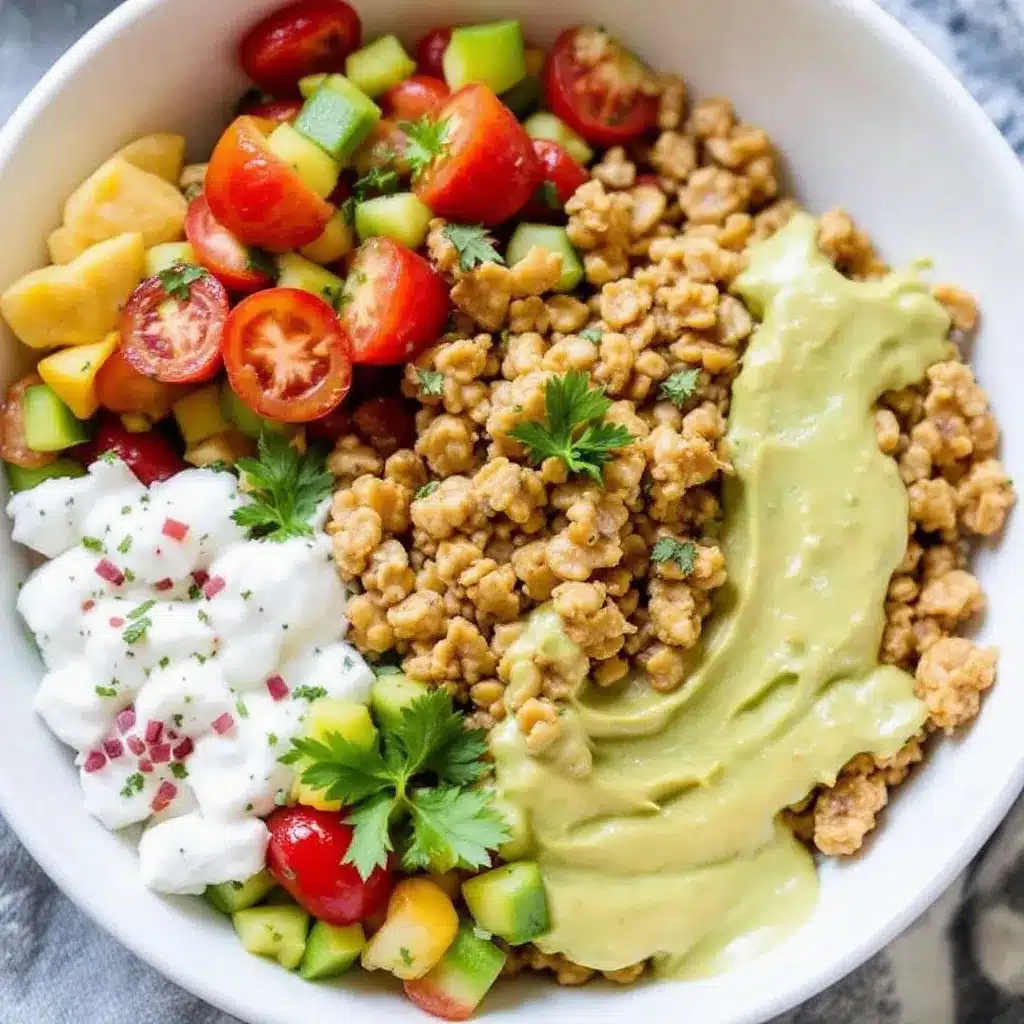
- Combine the wet ingredients. In a large mixing bowl, add 1 cup creamy peanut butter, ½ cup honey, and ½ teaspoon vanilla extract. Stir until smooth and fully combined. This should take about 30 seconds. If your peanut butter is cold from the fridge, microwave it for 10-15 seconds first to soften it—makes mixing way easier.
- Add the dry ingredients. Pour in 1 ½ cups rolled oats, ¼ cup ground flaxseed, and a pinch of sea salt. Stir everything together with your spatula until no dry spots remain. The mixture will look thick and a little sticky—that’s exactly what you want. If it looks too dry (like crumbly sand), add another tablespoon of honey. If it looks too wet (like soup), add a tablespoon more oats.
- Fold in the chocolate chips. Add ½ cup mini chocolate chips and fold them in gently. Don’t overmix here or the chips might break apart. You want them whole so every bite has a little pocket of chocolate.
- Chill the mixture. Cover the bowl and pop it in the fridge for 15-20 minutes. This step is optional but highly recommended. Chilling makes the mixture firmer and easier to roll without sticking to your hands. If you’re in a hurry, you can skip this and just wash your hands more often.
- Roll into balls. Line a baking sheet or plate with parchment paper. Using a cookie scoop or tablespoon, portion out about 1.5 tablespoons of mixture. Roll between your palms into a smooth ball. Place on the parchment. Repeat until all the mixture is used. You should get about 18-20 bites, depending on size.
- Chill to set. Place the baking sheet in the fridge for at least 30 minutes. This helps the bites firm up so they hold their shape. If you can’t wait that long, they’re still delicious—just a little softer.
Sensory cues to watch for: The mixture should feel slightly tacky but not wet. When you roll a ball, it should hold together without cracking. If it cracks, add a tiny bit more honey. If it’s too sticky to roll, add a sprinkle more oats.
Cooking Tips & Techniques
I’ve made these more times than I can count, and here are the things I wish someone had told me the first time:
- Wet your hands slightly if the mixture sticks to your palms while rolling. A tiny bit of water on your hands makes the rolling go much smoother. Don’t overdo it or the bites get soggy.
- Use a cookie scoop for even portions. This isn’t just about aesthetics—evenly sized bites chill at the same rate and make portion control easier. I use a #40 scoop that gives me about 1.5 tablespoons per ball.
- Don’t skip the chill step. I know it’s tempting to eat them right away, but the fridge time is what gives them that perfect chewy texture. Without it, they’re too soft and fall apart.
- If your mixture is too dry (crumbly, won’t hold together), add more honey or peanut butter one tablespoon at a time. I’ve had this happen when my oats were particularly old and dry.
- If your mixture is too wet (sticky, won’t form balls), add more oats a tablespoon at a time. This usually happens if you used a very runny natural peanut butter.
- Let them come to room temperature for about 5 minutes before eating straight from the fridge. They’re softer and the chocolate chips taste more chocolatey.
I once made a batch where I forgot the flaxseed entirely. They still worked—just a little softer. So don’t stress if you’re missing something. The recipe is forgiving.
Variations & Adaptations
This base recipe is a starting point, not a rulebook. Here are some ways I’ve adapted it over time:
- Chocolate peanut butter version — Replace ¼ cup of the oats with 2 tablespoons of unsweetened cocoa powder. Add an extra tablespoon of honey to balance the bitterness. The result tastes like no-bake cookie dough.
- Nut-free version — Swap the peanut butter for sunflower seed butter or WowButter. The texture is similar, and the flavor is still great. Just note that sunflower seed butter can turn green when combined with baking soda (not an issue here, but good to know).
- Vegan option — Use maple syrup instead of honey. The flavor changes slightly—maple is less sweet and has its own distinct taste—but it works beautifully.
- Crunchy texture version — Use crunchy peanut butter instead of creamy, and add ¼ cup chopped peanuts. The extra crunch makes these feel more like a candy bar than a health snack.
- Protein boost — Add 1 scoop (about 30g) of vanilla or chocolate protein powder. Reduce the oats by ¼ cup to compensate for the dry volume. You might need an extra tablespoon of honey to balance the dryness.
- Seasonal twist — In fall, add ½ teaspoon cinnamon and a pinch of nutmeg. In summer, swap the chocolate chips for dried cherries or chopped dried apricots.
My personal favorite variation? I add 2 tablespoons of chia seeds and use dark chocolate chips. The chia seeds give a tiny pop of texture, and the dark chocolate makes me feel fancy even when I’m just eating them over the sink at 3 PM.
Serving & Storage Suggestions
These energy bites are best served cold, straight from the fridge. The texture is firm but chewy, and the chocolate chips are snappy. If you leave them out at room temperature for too long (more than an hour), they soften up and get a little greasy. Still edible, just not as nice.
I like to serve them on a small plate with a cup of coffee or tea. They’re also great crumbled over Greek yogurt for a quick breakfast parfait. My kid eats them as an after-school snack, and I’ve been known to pack them in lunchboxes for a sweet treat that doesn’t melt.
Storage: Keep the bites in an airtight container in the refrigerator. They’ll stay fresh for up to 2 weeks—though in my house, they rarely last that long. You can also freeze them for up to 3 months. Just layer them between sheets of parchment in a freezer-safe container. Thaw overnight in the fridge or for about 15 minutes at room temperature.
Reheating tip: These are meant to be eaten cold, but if you want a softer texture, microwave one for 5-7 seconds. Be careful not to overdo it or the chocolate chips will melt into a mess.
Flavor development note: These actually get better after a day or two in the fridge. The flavors meld together, and the oats absorb more moisture, making the texture even more cohesive. So don’t be discouraged if they taste a little flat on day one—give them time.
Nutritional Information & Benefits
Here’s an approximate breakdown per bite (based on 20 servings):
- Calories: 145
- Protein: 5g
- Fat: 8g
- Carbohydrates: 16g
- Fiber: 2g
- Sugar: 10g
These numbers will vary based on your specific ingredients, but the general idea is solid—these are a balanced snack with protein, healthy fats, and fiber to keep you full.
The oats provide slow-release energy, the peanut butter adds protein and healthy monounsaturated fats, and the flaxseed brings omega-3 fatty acids and extra fiber. The honey gives you a quick energy boost without the crash you get from refined sugar. Plus, the mini chocolate chips add a touch of indulgence that keeps these from feeling like a punishment.
If you’re watching your sugar intake, you can reduce the honey to ⅓ cup. The bites will be less sweet and slightly drier, but still good. For a lower-fat option, use powdered peanut butter (reconstituted with water) in place of regular peanut butter.
Conclusion
These no-bake peanut butter oat energy bites are the kind of recipe that earns its place in your regular rotation. They’re fast, forgiving, and genuinely delicious—no compromises required. Whether you need a post-workout refuel, a lunchbox filler, or just something to get you through the 3 PM slump, these little guys deliver.
I love that I can make them with my eyes half-closed on a Sunday afternoon and have snacks ready for the whole week. I love that my family eats them without complaint. And I love that they make me feel like I’ve got my act together, even on days when I definitely don’t.
Try this recipe and see what variations work for you. Add your favorite mix-ins, adjust the sweetness, make them your own. And when you do, come back and tell me about it in the comments. I’d love to hear how they turned out in your kitchen.
Happy snacking!
Frequently Asked Questions
Can I use quick oats instead of rolled oats?
You can, but the texture will be different. Quick oats are more finely processed, so they absorb moisture faster and create a softer, almost mushy bite. Rolled oats give you that chewy, satisfying texture that makes these energy bites so good. If quick oats are all you have, reduce the honey slightly and expect a softer result.
How long do these energy bites last at room temperature?
They’re best kept in the fridge, but they can sit at room temperature for up to 2 hours without issue. After that, the texture starts to soften and the chocolate chips may melt slightly. If you’re taking them on a hike or to work, pack them in a cooler bag or eat them within a couple of hours.
Can I make these without honey?
Yes. Maple syrup is the best substitute—it’s the same consistency and sweetness level. Agave nectar also works, though it’s thinner so you might need slightly less. Brown rice syrup is another option, but it’s less sweet so you may want to add a bit more. Avoid using granulated sugar or dry sweeteners since they won’t provide the moisture needed to bind the ingredients.
Why are my energy bites falling apart?
This usually means the mixture is too dry. The most common cause is using a very dry peanut butter or not enough honey. Fix it by adding another tablespoon of honey or peanut butter and mixing well. Chilling the mixture for 20 minutes before rolling also helps the ingredients bind together better.
Can I freeze these energy bites?
Absolutely. Place the rolled bites on a parchment-lined baking sheet and freeze until solid (about 1 hour). Then transfer them to a freezer-safe bag or container. They’ll keep for up to 3 months. Thaw overnight in the fridge or for about 15 minutes at room temperature before eating. They’re actually pretty good eaten frozen too—like a cold, chewy candy.
Pin This Recipe!
Best No-Bake Peanut Butter Oat Energy Bites Recipe

These no-bake peanut butter oat energy bites are chewy, sweet, and salty, made with simple pantry ingredients. Ready in 15 minutes, they’re perfect for meal prep and a kid-approved snack that actually fills you up.
- Prep Time: 15 minutes
- Cook Time: 0 minutes
- Total Time: 45 minutes
- Yield: 18-20 bites 1x
- Category: Snack
- Cuisine: American
Ingredients
- 1 cup creamy peanut butter
- ½ cup honey
- 1 ½ cups old-fashioned rolled oats
- ½ cup mini chocolate chips
- ¼ cup ground flaxseed
- ½ teaspoon vanilla extract
- Pinch of sea salt
Instructions
- Combine the wet ingredients. In a large mixing bowl, add 1 cup creamy peanut butter, ½ cup honey, and ½ teaspoon vanilla extract. Stir until smooth and fully combined. This should take about 30 seconds. If your peanut butter is cold from the fridge, microwave it for 10-15 seconds first to soften it—makes mixing way easier.
- Add the dry ingredients. Pour in 1 ½ cups rolled oats, ¼ cup ground flaxseed, and a pinch of sea salt. Stir everything together with your spatula until no dry spots remain. The mixture will look thick and a little sticky—that’s exactly what you want. If it looks too dry (like crumbly sand), add another tablespoon of honey. If it looks too wet (like soup), add a tablespoon more oats.
- Fold in the chocolate chips. Add ½ cup mini chocolate chips and fold them in gently. Don’t overmix here or the chips might break apart. You want them whole so every bite has a little pocket of chocolate.
- Chill the mixture. Cover the bowl and pop it in the fridge for 15-20 minutes. This step is optional but highly recommended. Chilling makes the mixture firmer and easier to roll without sticking to your hands. If you’re in a hurry, you can skip this and just wash your hands more often.
- Roll into balls. Line a baking sheet or plate with parchment paper. Using a cookie scoop or tablespoon, portion out about 1.5 tablespoons of mixture. Roll between your palms into a smooth ball. Place on the parchment. Repeat until all the mixture is used. You should get about 18-20 bites, depending on size.
- Chill to set. Place the baking sheet in the fridge for at least 30 minutes. This helps the bites firm up so they hold their shape. If you can’t wait that long, they’re still delicious—just a little softer.
Notes
Wet your hands slightly if the mixture sticks while rolling. Don’t skip the chill step for best texture. These actually get better after a day or two in the fridge. For a vegan option, use maple syrup instead of honey.
Nutrition
- Serving Size: 1 bite
- Calories: 145
- Sugar: 10
- Sodium: 80
- Fat: 8
- Saturated Fat: 2
- Carbohydrates: 16
- Fiber: 2
- Protein: 5
Keywords: no-bake energy bites, peanut butter oat bites, healthy snack, meal prep snack, kid-friendly snack


