“You really think this will set right on a warm summer day?” my cousin asked, eyeing the jiggle of the bright red layer I’d just poked full of holes. Honestly, I wasn’t sure either. It was Fourth of July afternoon, and the sun was relentless, but I was determined to bring something eye-catching and fun to the picnic. This layered jello poke cake had been a bit of a happy accident, born from a last-minute craving for something sweet, patriotic, and easy enough to throw together before guests arrived.
We’d been chatting about classic desserts and how most holiday cakes end up too dense or too plain. I remembered a poke cake I’d made once that soaked up pudding and turned out ridiculously moist. So, I figured—why not layer it with red, white, and blue jello to nail that festive look without fuss? The poke holes let the jello seep right into the cake, creating this cool, wobbly texture that was a surprise every time you took a bite.
The moment the cake hit the picnic table, it was like a magnet. Kids poking holes, adults sneaking spoonfuls between conversations, and that familiar jello scent mixing with summer’s grass and barbecue smoke. I didn’t expect the layered jello poke cake to become the star of the day, but it did—no one could resist that bright, nostalgic charm paired with creamy whipped topping.
It stuck with me because it’s not just a dessert; it’s a little celebration on a plate. Something that feels both playful and thoughtfully homemade, perfect for those moments when you want to share a bit of joy without sweating over complicated baking. So, if you’re looking for a festive, easy-to-make holiday treat that’s as fun to make as it is to eat, this red white and blue layered jello poke cake might just become your go-to.
Why You’ll Love This Recipe
This festive red white and blue layered jello poke cake is a total crowd-pleaser, and I’ve made it so many times over summers and holidays that I can’t imagine a celebration without it. Here’s why it’s earned a permanent spot in my recipe box:
- Quick & Easy: Ready in under 1 hour (plus chilling time), it’s perfect for busy holiday prep or last-minute dessert needs.
- Simple Ingredients: Uses pantry staples and common jello flavors—no exotic trips to specialty stores.
- Perfect for Patriotic Occasions: Ideal for Fourth of July, Memorial Day, or any red-white-and-blue themed party.
- Crowd-Pleaser: Kids love the jiggly layers and adults appreciate the nostalgic, creamy combo.
- Unbelievably Delicious: The poke cake technique makes every bite moist and bursting with fruity flavor.
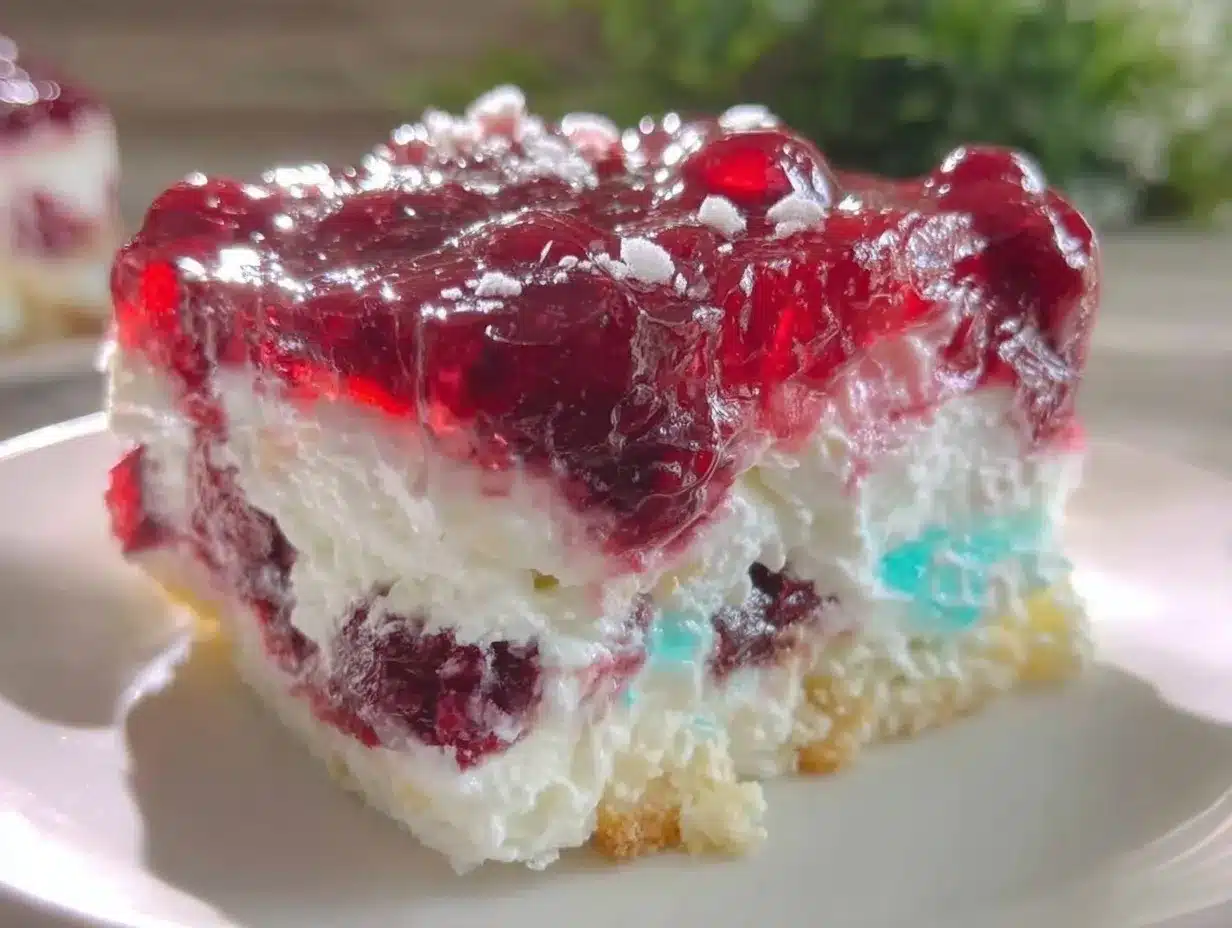
What makes this version stand out is the layering technique combined with the poke method. Many jello poke cakes just mix jello with the batter or pour on top, but here, each layer is given its own jello flavor and color, creating that festive red, white, and blue striped effect. The white layer uses a vanilla pudding mix for a creamy contrast, making it not just pretty, but deeply satisfying.
Honestly, the texture is what sold me. The jello seeps through the cake holes, infusing it with flavor and moisture so it’s soft without being soggy. Plus, topping it with whipped cream adds that cool, light finish that’s perfect for warm weather. It’s a dessert that feels nostalgic but fresh—comfort food for the holiday table without the fuss.
What Ingredients You Will Need
This red white and blue layered jello poke cake uses simple, wholesome ingredients to create bold flavor and that satisfying, playful texture without any extra fuss. You likely have most of these already, and substitutions are easy if you’re tweaking for dietary needs.
- For the Cake Base:
- 1 box white cake mix (about 15.25 oz / 432 g) – I prefer Pillsbury for consistent fluffiness
- Ingredients called for on cake mix box (usually eggs, oil, water)
- For the Red Jello Layer:
- 1 package (3 oz / 85 g) red flavored gelatin (strawberry or cherry works best)
- 1 cup boiling water (240 ml)
- For the White Layer:
- 1 package (3.4 oz / 96 g) instant vanilla pudding mix
- 2 cups cold milk (480 ml) – use whole milk for creamier texture
- For the Blue Jello Layer:
- 1 package (3 oz / 85 g) blue flavored gelatin (blue raspberry or berry blue)
- 1 cup boiling water (240 ml)
- Topping:
- 2 cups whipped topping (cool whip or homemade whipped cream)
- Fresh berries for garnish (optional, but adds a nice touch)
If you want to make this gluten-free, swap the white cake mix for a gluten-free version like King Arthur Flour’s gluten-free blend. For a dairy-free version, use coconut milk with dairy-free pudding and whipped toppings. The key is to keep the bright jello flavors shining through while layering with creamy white.
Equipment Needed
- 9×13 inch (23×33 cm) baking pan – the perfect size for even layers
- Mixing bowls – a few, since you’ll be making separate jello and pudding mixtures
- Electric mixer or whisk – for mixing pudding and whipping cream
- Toothpick or fork – for poking holes in the cake
- Measuring cups and spoons – accuracy helps layers set nicely
- Spatula – for spreading layers evenly
I’ve tried making this cake in glass and metal pans, and glass seems to hold the chill better, which helps the jello set firmer. You can use a hand whisk if you don’t have an electric mixer, but it takes a bit more elbow grease to get the pudding and whipped topping nice and smooth. If you’re making your own whipped cream, a chilled bowl helps a lot for better volume.
Preparation Method
- Prepare the Cake: Preheat your oven to 350°F (175°C). Mix the white cake batter according to the box instructions—usually combining cake mix, eggs, oil, and water. Pour into the greased 9×13 pan and bake for 28–32 minutes, or until a toothpick inserted comes out clean. Let it cool completely—this is important to avoid melting the jello layers later (about 1 hour).
- Make the Red Jello: Dissolve the red gelatin package in 1 cup (240 ml) boiling water, stirring until fully dissolved. Set aside to cool but not set.
- Poke the Cake: Once the cake is cool, use a toothpick or fork to poke holes all over the surface, about 1 inch (2.5 cm) apart. This step allows the jello to seep into the cake for that signature poke cake texture.
- Pour the Red Jello: Slowly pour the cooled red jello over the cake evenly, letting it sink into the holes. Refrigerate for about 30 minutes, or until the jello layer is set but still a bit tacky.
- Prepare the Vanilla Pudding: In a bowl, whisk the instant vanilla pudding mix with 2 cups (480 ml) cold milk until thickened (about 2 minutes). Spread the pudding evenly over the red jello layer, smoothing with a spatula. Return to the fridge for 15 minutes to let it firm up slightly.
- Make the Blue Jello: Dissolve the blue gelatin package in 1 cup (240 ml) boiling water. Let cool but not set. Pour the blue jello carefully over the vanilla pudding layer. Refrigerate for at least 2 hours to fully set the cake.
- Add Topping: Spread whipped topping evenly over the set blue jello layer. Garnish with fresh berries if desired for extra holiday flair.
- Chill Before Serving: For best results, chill the cake for at least 4 hours or overnight to let all layers meld beautifully. You’ll notice the cake is moist, colorful, and full of that playful jello poke texture you want.
One tip: don’t rush the chilling times. The jello layers need to be firm enough before pouring the next to keep the distinct stripes clear. And remember, when poking holes, be gentle but thorough—it’s the magic that lets the jello soak in evenly.
Cooking Tips & Techniques
One thing I learned the hard way is that pouring hot jello directly on warm cake makes a mess. Be patient and let the cake cool completely before poking and pouring. Otherwise, you’ll end up with a melty, sad puddle instead of defined layers.
When poking the cake, use a toothpick for small, neat holes. It’s tempting to go wild, but too big or too few holes won’t absorb enough jello. Also, spacing the holes evenly helps the cake soak up the jello uniformly, so every bite has that perfect balance of cake and gelatin.
For the pudding layer, whisk vigorously to avoid lumps. Instant pudding sets fast, so work quickly to spread it before it thickens too much. If you want a richer cake, try using half-and-half instead of milk.
Multitasking is key here: while the cake is baking, prepare your jello mixes so they’re cooled and ready. This saves time and keeps you from rushing the layering steps.
Finally, topping with whipped cream right before serving keeps it fluffy and fresh. If you add it too early, it might weep or melt into the jello, which you don’t want for presentation.
Variations & Adaptations
- Dietary Tweaks: Use a gluten-free white cake mix to make this recipe gluten-free. For a dairy-free version, try coconut milk-based pudding and coconut whipped cream. The vibrant flavors still shine through!
- Flavor Twists: Swap the red and blue jello flavors for raspberry and blueberry for a more natural berry taste. You can also add fresh fruit pieces between layers for texture.
- Seasonal Spins: For summer barbecues, add a lemon jello layer for a zesty twist. Or, for winter holidays, use cranberry and peppermint jello flavors with a cream cheese frosting topping.
- Alternative Cooking Methods: If you want to avoid boxed mixes, use a from-scratch white cake recipe and homemade gelatin with fresh fruit juices, but expect a bit more prep time.
- Personal Variation: One time, I added a layer of crushed graham crackers between the pudding and blue jello layers for a subtle crunch. It was a hit at an office party and shows how flexible this recipe can be.
Serving & Storage Suggestions
This red white and blue layered jello poke cake is best served chilled, straight from the fridge. The bright colors and creamy topping make it an instant showstopper on any holiday dessert table. Slice with a sharp knife dipped in warm water for clean cuts.
Pair it with light beverages like iced tea, lemonade, or a sparkling berry mocktail to balance the sweetness. It’s great alongside savory picnic staples or after a hearty meal like comforting one-pot dishes you might be serving at a family gathering.
Store leftovers covered tightly in the refrigerator for up to 3 days. Because of the jello layers, freezing isn’t recommended as it can change the texture. When reheating (if you must!), let it sit at room temperature for 15 minutes—though honestly, it tastes best cold.
Flavors deepen after a few hours in the fridge, so if you make the cake the night before, it’ll taste even better the next day. The layered jello soak and pudding meld into the cake, creating a juicy, indulgent treat you’ll want to revisit.
Nutritional Information & Benefits
This layered jello poke cake is a fun treat with moderate calories—about 280–320 per serving depending on portion size and toppings. It offers a good balance of carbs and fat, with the pudding and whipped topping adding richness.
The red and blue jello layers provide a nostalgic boost of flavor without extra fat, and using instant pudding keeps prep simple while adding calcium and protein from the milk. Using fresh berries as garnish adds antioxidants and vitamins, making it a bit more wholesome.
For those watching gluten or dairy, easy swaps make this recipe accessible without losing charm. It’s not a health food, but it’s a joyful dessert that fits well within balanced eating, especially when paired with wholesome meals like creamy pasta dishes or fresh salads.
Conclusion
This festive red white and blue layered jello poke cake is exactly the kind of dessert that turns holiday gatherings into memorable celebrations. It’s simple, bright, and playful—qualities that make it stand out without demanding hours in the kitchen. What I love most is how customizable it is; you can tweak flavors, colors, and toppings to fit your occasion perfectly.
Whether you’re bringing it to a potluck, serving it after a backyard barbecue, or just craving something sweet and colorful, this layered jello poke cake delivers every time. I hope it becomes a staple in your recipe collection, bringing smiles and maybe a little nostalgic fun to your table.
If you try it, I’d love to hear how you made it your own—drop a comment or share your favorite twists. Cooking and celebrating together, even through simple recipes like this, makes all the difference.
FAQs About Festive Red White and Blue Layered Jello Poke Cake
Can I make this cake ahead of time?
Absolutely! It actually tastes better after chilling overnight because the jello and pudding layers meld into the cake, creating moist, flavorful bites.
What if I don’t have instant pudding mix?
You can substitute homemade pudding, but keep in mind it needs to be thick enough to hold the layers. Instant pudding is easiest and sets quickly.
How do I get clean slices when serving?
Dip your knife in warm water and wipe it dry before slicing. This helps cut through the jello layers smoothly without sticking.
Can I use fresh fruit instead of jello?
Fresh fruit alone won’t create the same layered effect, but you can add berries as a topping or mix small pieces into the pudding layer for texture.
Is this recipe kid-friendly?
Definitely! Kids love the bright colors and fun texture, plus it’s easy to eat and not too sweet. It’s a great holiday treat for all ages.
Pin This Recipe!
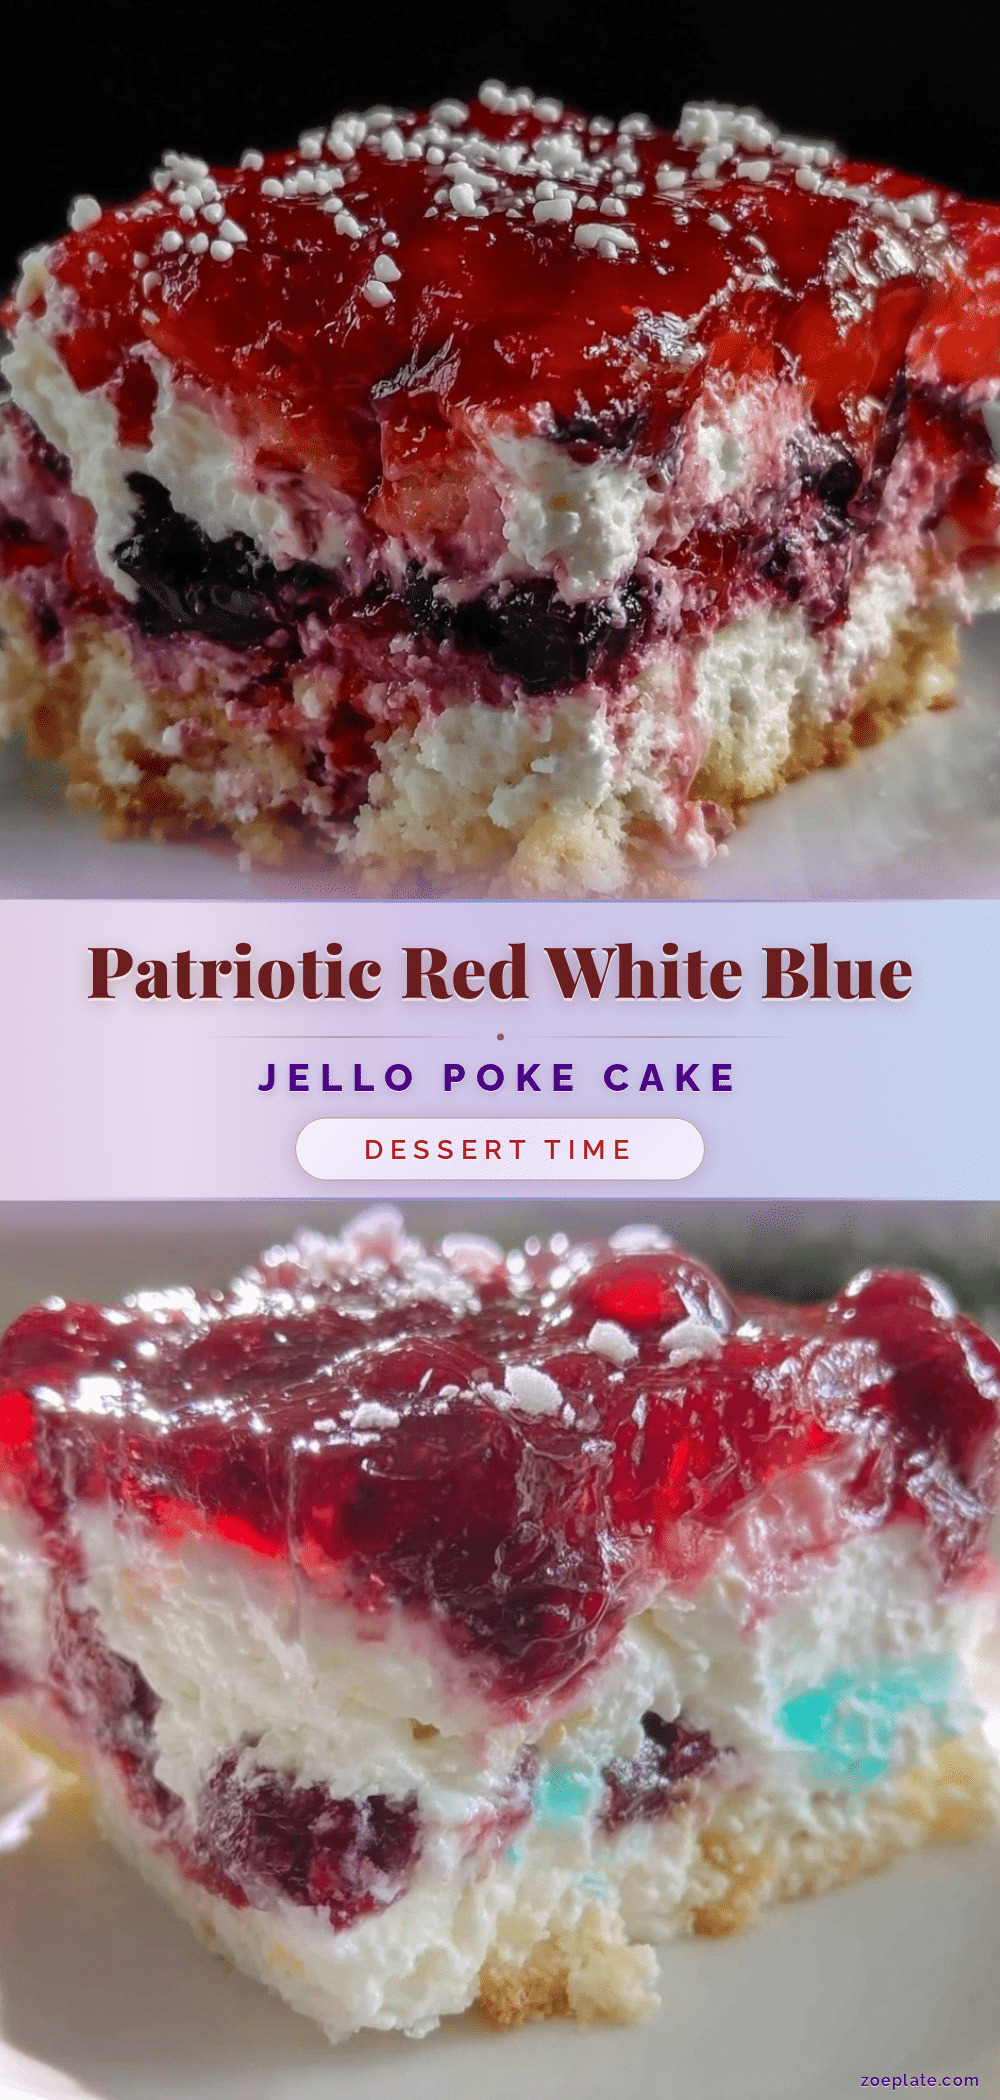
Festive Red White and Blue Layered Jello Poke Cake

A colorful and moist layered jello poke cake perfect for patriotic holidays like Fourth of July, featuring red and blue jello layers with a creamy vanilla pudding middle and whipped topping.
- Prep Time: 20 minutes
- Cook Time: 30 minutes
- Total Time: 5 hours 50 minutes
- Yield: 12 servings 1x
- Category: Dessert
- Cuisine: American
Ingredients
- 1 box white cake mix (about 15.25 oz / 432 g)
- Ingredients called for on cake mix box (usually eggs, oil, water)
- 1 package (3 oz / 85 g) red flavored gelatin (strawberry or cherry)
- 1 cup boiling water (240 ml)
- 1 package (3.4 oz / 96 g) instant vanilla pudding mix
- 2 cups cold milk (480 ml), preferably whole milk
- 1 package (3 oz / 85 g) blue flavored gelatin (blue raspberry or berry blue)
- 1 cup boiling water (240 ml)
- 2 cups whipped topping (cool whip or homemade whipped cream)
- Fresh berries for garnish (optional)
Instructions
- Preheat oven to 350°F (175°C). Mix the white cake batter according to box instructions, combining cake mix, eggs, oil, and water. Pour into greased 9×13 inch pan and bake for 28–32 minutes or until toothpick inserted comes out clean. Let cool completely (about 1 hour).
- Dissolve red gelatin package in 1 cup boiling water, stirring until fully dissolved. Set aside to cool but not set.
- Use a toothpick or fork to poke holes all over the cooled cake surface about 1 inch apart.
- Slowly pour cooled red jello over the cake evenly, letting it sink into the holes. Refrigerate about 30 minutes until jello layer is set but still tacky.
- Whisk instant vanilla pudding mix with 2 cups cold milk until thickened (about 2 minutes). Spread pudding evenly over red jello layer and refrigerate 15 minutes to firm up slightly.
- Dissolve blue gelatin package in 1 cup boiling water. Let cool but not set. Pour blue jello carefully over pudding layer. Refrigerate at least 2 hours to fully set.
- Spread whipped topping evenly over set blue jello layer. Garnish with fresh berries if desired.
- Chill cake for at least 4 hours or overnight before serving to let layers meld.
Notes
Let the cake cool completely before poking holes and pouring jello to avoid melting. Chill each jello layer until set but tacky before adding the next to keep distinct layers. Use a toothpick for small, evenly spaced holes about 1 inch apart. Whisk pudding quickly to avoid lumps and spread before it thickens too much. Add whipped topping just before serving to keep it fresh and fluffy. For gluten-free, use gluten-free cake mix; for dairy-free, use coconut milk and dairy-free pudding and whipped topping.
Nutrition
- Serving Size: 1 slice (1/12 of cak
- Calories: 300
- Sugar: 35
- Sodium: 320
- Fat: 10
- Saturated Fat: 3
- Carbohydrates: 48
- Protein: 3
Keywords: jello poke cake, patriotic dessert, Fourth of July cake, layered jello cake, easy holiday dessert, red white and blue cake