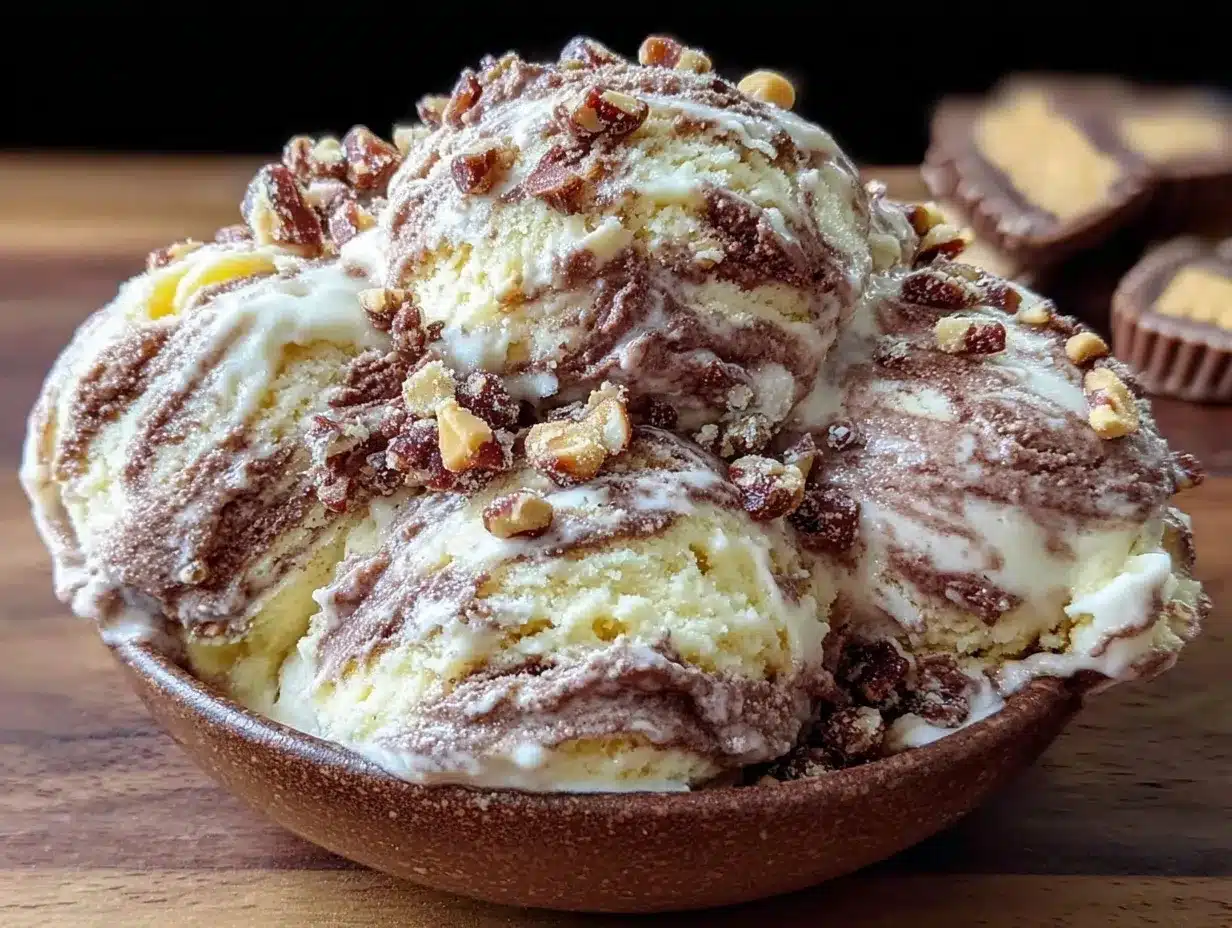
“You’ve got to try this,” my friend texted me one rainy afternoon. Honestly, I was skeptical — homemade ice cream? With a Ninja Creami? I’m more of a ‘grab a pint and call it dessert’ kind of person. But curiosity got the best of me, and after a few tries, I couldn’t stop making this Delicious Ninja Creami Chocolate Peanut Butter Ice Cream Inspired by Reese’s. The balance of rich cocoa and creamy peanut butter hits a nostalgic note without the sticky mess of candy wrappers everywhere.
One night, after a long day juggling work deadlines and family chaos, I found myself sneaking a scoop straight from the container. The smooth texture felt like a little reset button — comforting, indulgent, but also homemade and thoughtfully crafted. It’s funny how the simplest things, like chocolate and peanut butter, can turn a hectic evening into a moment of calm.
What stuck with me was how easy it was to whip up this ice cream without any fancy ingredients or complicated steps. No need for an ice cream maker, no long churning sessions, just a few ingredients blended and frozen in the Ninja Creami. That’s why this recipe has become a go-to treat whether I’m craving a solo indulgence or serving up something special when friends drop by unexpectedly.
So if you’ve been eyeing your Ninja Creami wondering what sweet magic it can create, this recipe might just become your new obsession — and honestly, I’m not mad about it.
Why You’ll Love This Recipe
Having tested this recipe on multiple occasions — including some late-night experiments and weekend dessert parties — I can confidently say it’s a winner for so many reasons. Here’s why this Ninja Creami Chocolate Peanut Butter Ice Cream Recipe stands out:
- Quick & Easy: The entire process takes under 30 minutes before freezing, perfect for those spontaneous ice cream cravings or last-minute dessert needs.
- Simple Ingredients: You won’t need obscure items; most are pantry staples like cocoa powder, peanut butter, and milk.
- Perfect for Any Occasion: Whether it’s a cozy night in or a casual get-together, this ice cream feels like a treat everyone will appreciate.
- Crowd-Pleaser: Kids, adults, and even picky eaters have all given this recipe thumbs up — the chocolate and peanut butter combo is just irresistible.
- Unbelievably Delicious: The creamy texture combined with that rich peanut butter swirl delivers a melt-in-your-mouth experience that’s hard to beat.
What really makes this recipe different is the use of the Ninja Creami itself. The technique of freezing the base mix and then spinning it in the Creami produces an ice cream that’s smoother than your average homemade batch. Plus, blending peanut butter right into the mix creates pockets of flavor that remind me exactly of the classic Reese’s cups — without the added preservatives or artificial ingredients.
This isn’t just a simple chocolate peanut butter ice cream; it’s a nostalgic homemade treat with a modern twist that feels both indulgent and approachable.
What Ingredients You Will Need
This recipe keeps things straightforward with ingredients that deliver bold flavor and creamy texture without any fuss. Most are everyday pantry items, which means you can make this ice cream on a whim without a special trip to the store.
- Whole milk (2 cups / 480 ml) – provides the creamy base, but you can swap with almond milk for a dairy-free option
- Heavy cream (1 cup / 240 ml) – adds richness and smoothness
- Granulated sugar (3/4 cup / 150 g) – balances the chocolate and peanut butter flavors
- Cocoa powder (1/3 cup / 35 g), unsweetened – use a good quality brand like Hershey’s for best chocolate flavor
- Peanut butter (3/4 cup / 190 g), creamy – I prefer natural peanut butter with no added sugar for a more authentic taste
- Vanilla extract (1 tsp / 5 ml) – enhances the overall flavor profile
- Salt (1/4 tsp / 1.5 g) – balances sweetness and intensifies the chocolate notes
Optional additions to customize your ice cream:
- Peanut butter chips or chopped Reese’s cups – for added texture and nostalgic crunch
- Mini chocolate chips – fold in after creaming for bursts of chocolate throughout
- Maple syrup or honey – swap for sugar if you want a natural sweetener
In summer, I sometimes swap cocoa powder for fresh berries to make a fruity peanut butter swirl, but honestly, the classic chocolate-peanut butter combo is hard to beat.
Equipment Needed
The Ninja Creami is the star of this recipe, but aside from that, you won’t need much else. Here’s what I use:
- Ninja Creami machine – essential for turning the frozen base into smooth, creamy ice cream
- Measuring cups and spoons – for precise ingredient amounts
- Mixing bowl – a medium-sized bowl to whisk the base ingredients
- Whisk or spoon – to combine ingredients thoroughly
- Freezer-safe pint container – the container that fits into the Ninja Creami (usually comes with the machine)
If you don’t have a Ninja Creami, a sturdy blender plus a freezer and some patience can work as substitutes, but the texture won’t be quite the same. I’ve tried using my blender for homemade ice cream, and while it’s good, the Creami’s churning makes a noticeable difference in creaminess.
For maintenance, I keep the Creami’s paddle clean and dry between uses to avoid any ice buildup. Budget-wise, while the Creami is an investment, it’s a great tool for more than just this recipe — check out how I use it for other frozen treats like no-bake peanut butter pie desserts.
Preparation Method
- Mix your base: In a medium bowl, whisk together 2 cups (480 ml) whole milk, 1 cup (240 ml) heavy cream, 3/4 cup (150 g) granulated sugar, 1/3 cup (35 g) unsweetened cocoa powder, 1 tsp (5 ml) vanilla extract, and 1/4 tsp (1.5 g) salt until sugar and cocoa are fully dissolved. This usually takes about 3–5 minutes. The mixture should be smooth with no lumps.
- Add peanut butter: Warm the 3/4 cup (190 g) creamy peanut butter slightly in the microwave for 20 seconds to make it easier to mix (optional but recommended). Stir it into the chocolate base until fully incorporated. The mixture will thicken slightly here, which is perfect.
- Pour into the pint container: Transfer the mixture into your Ninja Creami pint container. Leave about 1/2 inch (1.3 cm) headspace at the top to allow for expansion when freezing.
- Freeze overnight: Place the pint container flat in your freezer for at least 24 hours to allow the mixture to harden completely — this step is crucial for the Creami to work its magic.
- Process in Ninja Creami: Insert the frozen pint into the Ninja Creami machine and select the “Ice Cream” function. The machine will churn the base into creamy ice cream in about 5 minutes.
- Check texture: If your ice cream looks crumbly or powdery, run the “Re-spin” function once or twice for a smoother result.
- Add mix-ins (optional): If you want to add peanut butter chips or mini chocolate chips, create a small hole in the center of the ice cream, add them, and then use the “Mix-In” function on the Creami to fold them in evenly.
Watch for the texture as you spin — the ice cream should be thick, creamy, and scoopable. If it’s too dense, that’s usually a sign you need a quick re-spin. If it’s too soft, pop it back in the freezer for 15-30 minutes before trying again.
Pro tip: When mixing peanut butter, warming it just a touch makes all the difference in smoothness — trust me, I learned this the hard way the first time I tried cold peanut butter chunks in the base!
Cooking Tips & Techniques
From my experience, a few key tips help nail this recipe every time. First, don’t rush the freezing step. The Ninja Creami needs that fully frozen base to churn ice cream properly — anything less and you’ll end up with a slushy mess.
Second, quality ingredients make a huge difference. Using a rich, unsweetened cocoa powder prevents any bitter aftertastes, and natural peanut butter keeps the flavor balanced without overwhelming sweetness.
One mistake I made early on was skipping the warming of peanut butter. That led to uneven pockets and a grainy texture. Now I always warm it slightly to help it blend seamlessly.
Timing-wise, you can multitask by prepping the base in the morning and freezing it by afternoon, then spinning it fresh for dessert after dinner. It’s perfect for busy days when you want a homemade treat but don’t have hours to spend in the kitchen.
For consistency, I recommend always measuring ingredients with a kitchen scale if possible. It’s easy to eyeball sugar or cocoa, but small differences can affect the texture and flavor subtly.
Finally, if you want to experiment, try folding in crunchy peanut butter swirls or even chopped nuts after the first spin to add texture contrast — just be gentle so the Creami doesn’t get jammed.
Variations & Adaptations
This recipe is pretty flexible, so you can tailor it to fit your taste or dietary needs. Here are some variations I’ve tried or recommend:
- Vegan/Dairy-Free: Use coconut milk and a dairy-free cream alternative, swap sugar for maple syrup, and use a peanut butter brand free of dairy additives. The texture changes a bit but remains creamy and satisfying.
- Low Sugar: Replace granulated sugar with a natural sweetener like erythritol or monk fruit sweetener. Just be careful with sweetness levels, as some alternative sweeteners can taste bitter if overused.
- Crunchy Surprise: Add chopped roasted peanuts or vegan chocolate chunks after the first spin for a delightful crunch reminiscent of a Reese’s cup texture.
- Seasonal Twist: Swap cocoa powder for pumpkin spice mix in fall or add a swirl of raspberry puree in summer for a fruity-peanut butter combo.
One personal favorite I’ve made recently is a swirl of sea salt caramel folded in post-spin — the salty-sweet contrast with chocolate and peanut butter is honestly unbelievable.
Serving & Storage Suggestions
Serve this ice cream slightly softened for the best mouthfeel — about 5 minutes at room temperature after scooping. I love to garnish with crushed peanuts or a drizzle of melted dark chocolate for a little extra flair.
This ice cream pairs wonderfully with rich desserts like a warm brownie or even alongside some homemade cinnamon rolls for an indulgent brunch treat. For drinks, a cold brew coffee or a glass of milk complements the flavors beautifully.
Store leftovers in the pint container, tightly sealed, in the freezer. It keeps well for up to 2 weeks but is best enjoyed within 5 days for peak freshness. When reheating, let it thaw for 10-15 minutes on the counter, then give it a quick stir to restore creaminess.
Flavors often deepen after a day or two in the freezer, which I find makes the peanut butter notes even more pronounced — a happy surprise if you can wait that long!
Nutritional Information & Benefits
This recipe offers approximately 250 calories per half-cup (120 ml) serving, with around 15 grams of fat, 18 grams of carbohydrates, and 5 grams of protein. It’s a treat, but with real ingredients you can feel good about — no artificial flavors, colors, or preservatives.
Peanut butter provides a good source of healthy fats and protein, while cocoa powder adds antioxidants and a rich chocolate flavor without added sugar. Using whole milk and cream contributes to a satisfying texture and richness.
For those watching gluten intake, this recipe is naturally gluten-free, and swapping to plant-based milks can cater to lactose intolerance. Just keep in mind peanut allergies are a concern here, so always share ingredient info if serving guests.
Personally, I appreciate how this recipe feels indulgent yet homemade and straightforward, fitting well into a balanced approach to enjoying sweets without guilt.
Conclusion
If you’re craving a luscious, chocolatey peanut butter ice cream that’s easy to make at home, this Ninja Creami Chocolate Peanut Butter Ice Cream Recipe is a must-try. It hits that perfect nostalgic note inspired by Reese’s, but with a fresh, homemade spin that’s pure comfort in every scoop.
Feel free to tweak the sweetness or add your favorite mix-ins to make it truly yours. I love how this recipe brings a bit of joy and calm to busy days, turning simple pantry staples into something special.
Give it a go, and I’d love to hear how your version turns out — drop a comment, share your tweaks, or let me know if this recipe made your dessert rotation. Here’s to sweet moments made easy and delicious!
FAQs
- Can I use peanut butter powder instead of creamy peanut butter?
Yes, but you will need to adjust the liquid in the base, adding a bit more cream or milk to maintain the right consistency. - What if I don’t have a Ninja Creami machine?
You can freeze the base in a shallow container and stir every 30 minutes to break up ice crystals, but the texture won’t be as smooth and creamy as the Creami produces. - How long should I freeze the base before processing?
At least 24 hours to ensure it’s completely solid for the Ninja Creami to churn properly. - Can I add chunks of Reese’s candy into the ice cream?
Absolutely! Add them during the “Mix-In” step for even distribution without damaging the machine. - Is this recipe suitable for kids?
Yes, it’s a family-friendly treat, but watch portion sizes due to the rich peanut butter and sugar content.
Pin This Recipe!
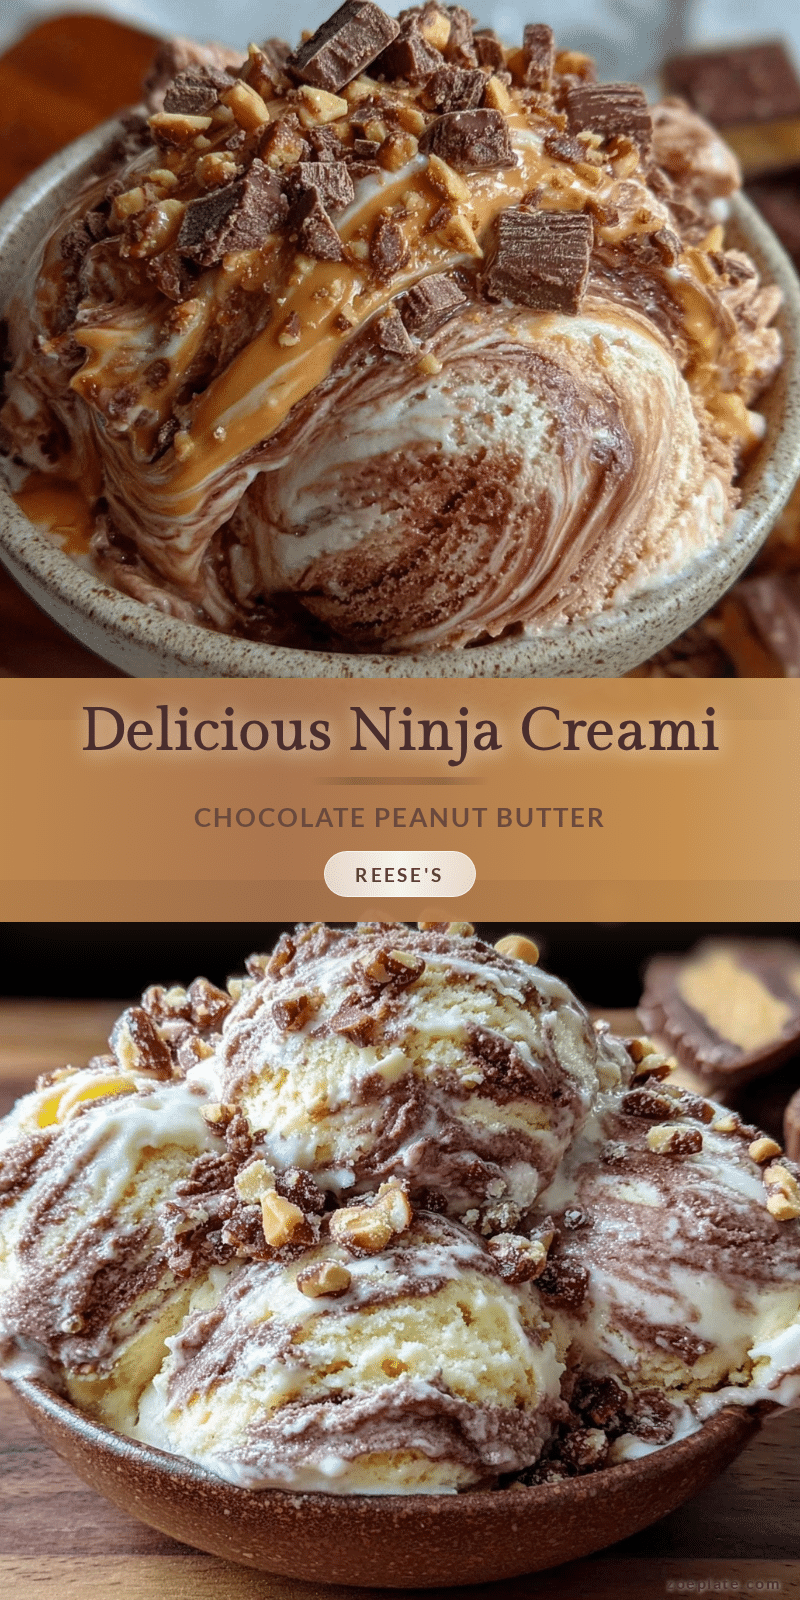
Ninja Creami Chocolate Peanut Butter Ice Cream Recipe Easy Homemade Treat

A rich and creamy homemade chocolate peanut butter ice cream inspired by Reese’s, made easily with the Ninja Creami machine. This nostalgic treat combines smooth cocoa and peanut butter flavors for a delicious dessert.
- Prep Time: 10 minutes
- Cook Time: 5 minutes (processing time in Ninja Creami)
- Total Time: 24 hours 15 minutes (including freezing time)
- Yield: 4 servings 1x
- Category: Dessert
- Cuisine: American
Ingredients
- 2 cups whole milk (480 ml)
- 1 cup heavy cream (240 ml)
- 3/4 cup granulated sugar (150 g)
- 1/3 cup unsweetened cocoa powder (35 g)
- 3/4 cup creamy peanut butter (190 g)
- 1 tsp vanilla extract (5 ml)
- 1/4 tsp salt (1.5 g)
- Optional: peanut butter chips or chopped Reese’s cups
- Optional: mini chocolate chips
- Optional: maple syrup or honey (as sugar substitute)
Instructions
- In a medium bowl, whisk together whole milk, heavy cream, granulated sugar, unsweetened cocoa powder, vanilla extract, and salt until sugar and cocoa are fully dissolved, about 3–5 minutes.
- Warm the creamy peanut butter slightly in the microwave for 20 seconds (optional but recommended) and stir it into the chocolate base until fully incorporated.
- Pour the mixture into the Ninja Creami pint container, leaving about 1/2 inch headspace at the top.
- Freeze the pint container flat in the freezer for at least 24 hours until completely hardened.
- Insert the frozen pint into the Ninja Creami machine and select the ‘Ice Cream’ function to churn the base into creamy ice cream, about 5 minutes.
- If the ice cream is crumbly or powdery, run the ‘Re-spin’ function once or twice for a smoother texture.
- Optionally, create a small hole in the center of the ice cream, add peanut butter chips or mini chocolate chips, and use the ‘Mix-In’ function to fold them in evenly.
- Serve slightly softened after about 5 minutes at room temperature for best texture.
Notes
Warm peanut butter slightly before mixing to avoid grainy texture. Freeze base for at least 24 hours for best results. Use quality unsweetened cocoa powder and natural peanut butter for best flavor. Optional mix-ins like peanut butter chips or mini chocolate chips add texture. Store leftovers tightly sealed in freezer up to 2 weeks, best within 5 days.
Nutrition
- Serving Size: 1/2 cup (120 ml)
- Calories: 250
- Fat: 15
- Carbohydrates: 18
- Protein: 5
Keywords: Ninja Creami, chocolate peanut butter ice cream, homemade ice cream, easy dessert, Reese's inspired, creamy ice cream, no churn ice cream