The thing about apple crisp for two—it’s supposed to be a simple, no-fuss dessert. I figured one apple, a handful of oats, a little butter, and you’re done in twenty minutes flat. It took exactly one attempt for that assumption to fall apart completely, leaving me with a sad, watery mess that was more like apple soup with a sad oat blanket floating on top. Honestly, that first try was humbling.
I was craving that warm, cinnamon-spiced comfort without committing to a whole 9×13 pan that would sit in my fridge for a week. You know that feeling? You just want one perfect serving, maybe two, with a scoop of melty vanilla ice cream. But the problem with scaling down a classic dessert is that the ratios get all wonky. Too much liquid, not enough structure, and the topping just sinks into the fruit instead of getting that glorious golden crunch.
So I went back to the kitchen—more times than I’d like to admit. I tested different apple varieties, different ratios of butter to flour, and even tried a few weird techniques (like pre-cooking the apples, which just turned them to mush). The version I’m sharing with you today is the one that finally made me close my eyes after the first forkful. It’s got that perfect contrast: soft, jammy apples underneath a blanket of buttery, brown sugar oat crumble. And it’s just enough for two people to feel completely satisfied, maybe even fight over the last spoonful of topping.
This recipe stuck because it solved a real problem. It’s not about being fancy—it’s about getting that cozy, homemade apple crisp feeling without the waste or the hassle. Trust me on this one.
Why You’ll Love This Recipe
This isn’t just another apple crisp recipe. It’s the one you’ll actually make on a random Tuesday night when the craving hits. Here’s why it works:
- Perfectly Portioned: No leftovers to tempt you for days. Just two generous servings that hit the spot without the commitment.
- Quick & Easy: From start to table in about 35 minutes. Most of that is hands-off baking time.
- Simple Pantry Ingredients: You probably have everything in your kitchen right now. No special trips to the store.
- Foolproof Texture: The topping stays crunchy, the apples get perfectly tender without turning into applesauce. I’ve tested this enough to guarantee it.
- Customizable: Swap the apples, change the spice blend, or add nuts. It’s a forgiving recipe that welcomes your personal touch.
What makes this different from other small-batch recipes? It’s the technique. I don’t pre-cook the apples, which keeps them from getting mushy. And I use a specific ratio of cold butter to flour that creates a topping that’s actually crunchy, not just soft and doughy. It’s a small tweak that makes a huge difference.
This is the kind of dessert that makes you feel taken care of. It’s warm, it’s comforting, and it’s just for you and someone you like. Maybe that someone is just you, and that’s perfectly fine too.
What Ingredients You Will Need
This recipe uses simple, wholesome ingredients to deliver that classic apple crisp flavor without any fuss. Most of these are staples you probably have in your pantry and fridge already.
For the Apple Filling
- 2 medium apples (about 300g total), peeled, cored, and sliced into ¼-inch thick pieces. I recommend a firm, tart-sweet apple like Honeycrisp, Granny Smith, or Braeburn. They hold their shape well during baking. (Avoid Red Delicious—they get too mushy.)
- 2 tablespoons (25g) granulated sugar. Regular white sugar works fine. You can use coconut sugar for a less refined option.
- 1 tablespoon (8g) all-purpose flour. This helps thicken the juices released by the apples as they bake, preventing a watery crisp.
- 1 teaspoon ground cinnamon. The backbone of apple crisp flavor. Use a good quality cinnamon—it makes a difference.
- ¼ teaspoon ground nutmeg. Freshly grated if you have it, but pre-ground works perfectly well.
- 1 tablespoon (15ml) lemon juice. Fresh is best. It brightens the flavor and helps prevent the apples from browning.
- Pinch of salt. Just a tiny bit to balance the sweetness.
For the Crisp Topping
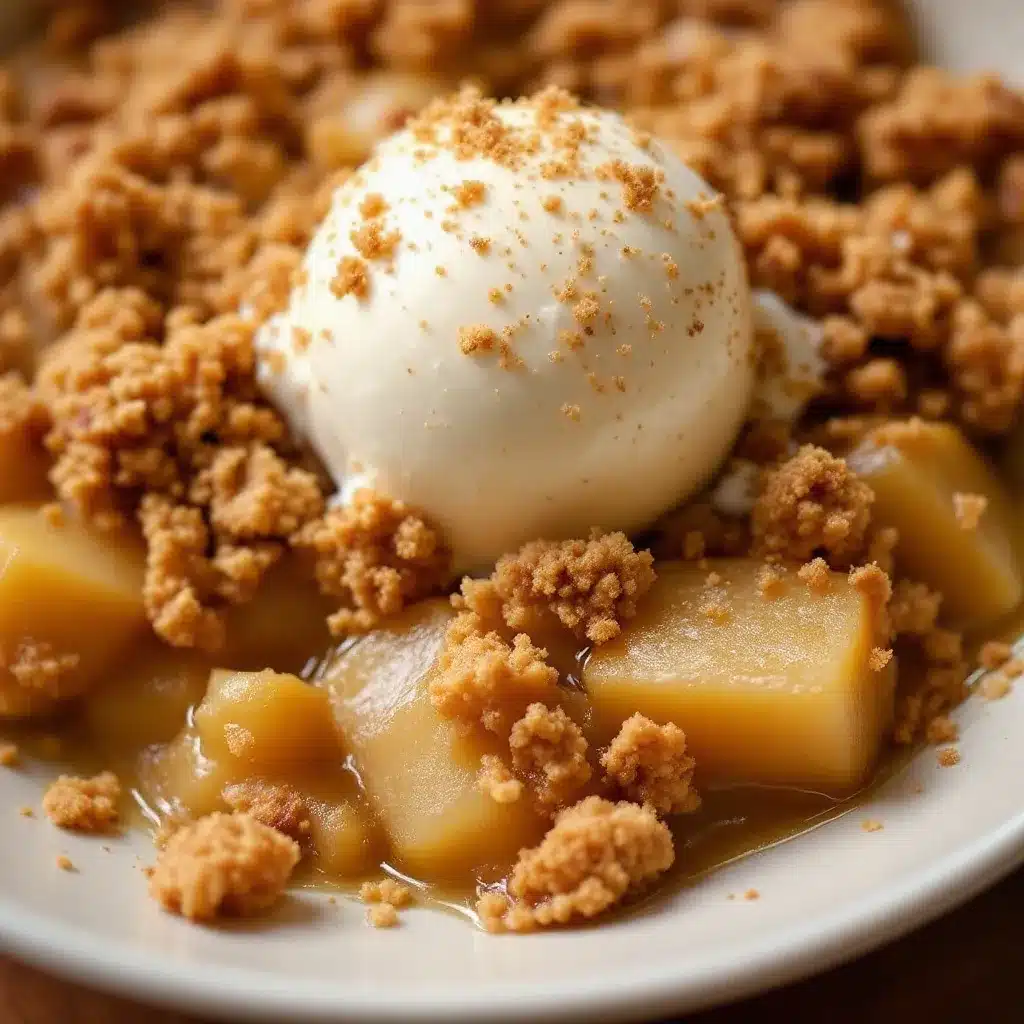
- ¼ cup (30g) old-fashioned rolled oats. Don’t use quick oats—they’ll turn to mush. Old-fashioned oats give that perfect chewy-crunchy texture.
- ¼ cup (30g) all-purpose flour. For structure. You can substitute with a gluten-free all-purpose blend if needed.
- ¼ cup (50g) packed brown sugar. Light or dark works. Dark brown sugar gives a deeper, more molasses-y flavor.
- ¼ teaspoon ground cinnamon. More cinnamon in the topping? Absolutely. You can never have too much.
- 3 tablespoons (42g) cold unsalted butter, cut into small cubes. This is crucial—the butter must be cold to create a crumbly, not greasy, topping.
- ¼ cup (30g) chopped pecans or walnuts (optional). Adds a lovely crunch. I usually add them when I’m feeling fancy.
I personally prefer using Honeycrisp apples for this recipe. They’re sweet enough that you don’t need to add a ton of sugar, and they hold their shape beautifully. If you’re using a tart apple like Granny Smith, you might want to add an extra teaspoon of sugar to the filling. For the butter, I always use unsalted so I can control the salt level. Kerrygold is my go-to for its rich flavor, but any good-quality unsalted butter works.
Equipment Needed
You don’t need much for this recipe, which is part of its charm. Here’s what you’ll need:
- Two 8-ounce (1-cup) ramekins or small baking dishes. This is the perfect size for individual servings. You can also use a small 4×4-inch baking dish or even a small cast-iron skillet.
- Mixing bowls. One medium bowl for the filling, one small bowl for the topping.
- Sharp knife and cutting board. For peeling and slicing the apples. A vegetable peeler makes the job faster.
- Measuring cups and spoons. For accuracy, though I’ll admit I often eyeball the cinnamon.
- Pastry cutter or two forks. For cutting the cold butter into the flour mixture. You can also use your fingertips, but work quickly so the butter doesn’t warm up.
- Baking sheet. Place the ramekins on a baking sheet to catch any bubbly overflow. Trust me, you want this.
If you don’t have ramekins, no worries. A small loaf pan or even a mug works in a pinch. Just adjust the baking time slightly—mugs will bake faster because they’re smaller. I’ve used a toaster oven for this recipe too, and it works beautifully. Just reduce the temperature by 25°F and keep an eye on it.
Preparation Method
Let’s get to it. This comes together in about 10 minutes of active work, then the oven does the rest.
- Preheat your oven to 375°F (190°C). Place a baking sheet on the middle rack to catch any drips. This isn’t strictly necessary, but it saves you from scrubbing caramelized sugar off the bottom of your oven later.
- Prepare the apples. Peel, core, and slice your apples into ¼-inch thick pieces. I like to slice them into half-moons, but any even-sized pieces work. The key is consistency—if some pieces are thicker, they’ll take longer to soften.
- Make the filling. In a medium bowl, toss the sliced apples with the granulated sugar, flour, cinnamon, nutmeg, lemon juice, and a pinch of salt. Stir until every apple slice is evenly coated. Let it sit for 5 minutes while you make the topping. This gives the sugar time to start drawing out the juices.
- Make the crisp topping. In a small bowl, combine the rolled oats, flour, brown sugar, and cinnamon. Add the cold, cubed butter. Using a pastry cutter or two forks, cut the butter into the dry ingredients until the mixture resembles coarse meal with some pea-sized butter pieces remaining. You want some bigger chunks—they’ll melt and create those delicious crispy clusters. If you’re using nuts, stir them in now.
- Assemble the crisps. Divide the apple mixture evenly between your two ramekins. Don’t pack them down—just let them sit loosely. Sprinkle the topping evenly over the apples, covering them completely. Don’t press the topping into the apples; you want it to sit on top and get crispy.
- Bake. Place the ramekins on the baking sheet and bake for 25-30 minutes, until the filling is bubbly and the topping is golden brown. If the topping is browning too quickly but the apples aren’t tender yet, tent loosely with foil for the last 5-10 minutes.
- Cool slightly. Let the crisps cool on a wire rack for at least 10 minutes before serving. This allows the filling to set up a bit. I know it’s hard to wait, but trust me—it’s worth it.
Sensory cues: You’ll know it’s done when you see the apple juices bubbling up around the edges of the topping. The kitchen will smell like heaven—warm cinnamon, caramelized sugar, and toasted oats. The topping should be deep golden brown and feel firm to the touch.
Pro tip: If you’re making this for a special occasion, you can assemble the crisps (without baking) up to a day ahead. Just cover and refrigerate, then add about 5 extra minutes to the baking time.
Cooking Tips & Techniques
After testing this recipe more times than I care to count, I’ve learned a few things the hard way. Here are my best tips for perfect apple crisp every time.
Don’t overwork the topping. I’ve made the mistake of over-mixing the butter into the flour until it was completely incorporated. The result? A dense, greasy topping that never got crispy. You want visible pieces of butter throughout. Those little butter pockets melt in the oven, creating steam that makes the topping light and crunchy.
Use cold butter. This is non-negotiable. If your butter is even slightly soft, the topping will turn into a paste. Cut the butter into small cubes and pop them back in the fridge for 10 minutes before mixing if your kitchen is warm. I learned this one the hard way on a hot summer day when my “crisp” turned into a soggy mess.
Don’t skip the lemon juice. It might seem like a small detail, but it does two things: it keeps the apples from browning (important if you’re prepping ahead) and it balances the sweetness. Without it, the crisp can taste one-dimensionally sweet.
Watch the baking time. All ovens run differently. Start checking at 22 minutes. The topping should be deep golden brown, and you should see bubbly juices around the edges. If the topping is browning too fast but the apples aren’t tender, tent with foil and keep baking.
Let it rest. I know it’s tempting to dig in right away, but those 10 minutes of resting are crucial. The filling thickens as it cools, so you get a nice, jammy consistency instead of a runny mess. Plus, you won’t burn your mouth on molten apple juice.
One of my biggest failures? I once used quick oats because that’s all I had. The topping turned into a gluey paste. Never again. Stick with old-fashioned rolled oats for that perfect texture.
Variations & Adaptations
This recipe is wonderfully flexible. Here are some ways to make it your own:
Dietary Adaptations
- Gluten-Free: Use a gluten-free all-purpose flour blend (I like Bob’s Red Mill 1-to-1) and certified gluten-free oats. The texture will be slightly different but still delicious.
- Vegan: Substitute the butter with cold coconut oil or a plant-based butter. Use maple syrup instead of brown sugar for a refined-sugar-free option.
- Lower Sugar: Reduce the granulated sugar in the filling to 1 tablespoon and the brown sugar in the topping to 2 tablespoons. The apples will still be plenty sweet.
Flavor Variations
- Apple Pear Crisp: Replace one apple with a ripe but firm pear. The combination is lovely.
- Berry Apple Crisp: Add ¼ cup of fresh or frozen blueberries or raspberries to the apple mixture. No need to adjust the sugar.
- Spiced Apple Crisp: Add ¼ teaspoon of cardamom or ginger to the filling for a more complex spice profile.
- Caramel Apple Crisp: Drizzle 1 tablespoon of caramel sauce over the apples before adding the topping. It’s indulgent and amazing.
Method Variations
- Air Fryer: Cook at 350°F (175°C) for 12-15 minutes, checking at the 10-minute mark. The topping gets extra crispy in the air fryer.
- Microwave (for emergencies): Cook on high for 2-3 minutes, but the topping won’t be as crispy. It works in a pinch, though.
I once made a version with a splash of bourbon in the apple filling—just a tablespoon. It added a lovely warmth that paired perfectly with the cinnamon. Highly recommend it for a grown-up dessert.
Serving & Storage Suggestions
This dessert is best served warm, straight from the oven. Here’s how to make it shine:
Serving: Top each crisp with a generous scoop of vanilla ice cream. The contrast between the warm, spiced apples and the cold, creamy ice cream is pure magic. If you don’t have ice cream, a dollop of whipped cream or a drizzle of heavy cream works beautifully. For a special touch, sprinkle a little flaky sea salt on top—it sounds weird, but it really brings out the flavors.
Pairings: This crisp pairs perfectly with a cup of hot coffee or a mug of spiced chai. For a dessert spread, serve it alongside some small-batch pumpkin cinnamon rolls for a cozy fall-themed treat. Or, if you’re feeling festive, a pumpkin chai latte on the side makes for a perfect autumn evening.
Storage: If you have leftovers (unlikely, but possible), cover the ramekins tightly with plastic wrap or foil and refrigerate for up to 3 days. The topping will lose some of its crunch, but the flavor will still be great.
Reheating: To restore some of the topping’s crispness, reheat in a 350°F oven for 10-15 minutes. You can also use the air fryer at 350°F for 5-7 minutes. The microwave will work in a pinch, but the topping will be soft.
Flavor development: Interestingly, the flavors actually deepen after a day in the fridge. The cinnamon and nutmeg meld together beautifully. If you’re making this ahead, I’d recommend assembling it unbaked and baking fresh when you’re ready to serve.
Nutritional Information & Benefits
Here’s an approximate nutritional breakdown per serving (without ice cream or whipped cream):
- Calories: 380-420
- Fat: 18g
- Carbohydrates: 55g
- Fiber: 6g
- Sugar: 35g
- Protein: 4g
Health benefits: Apples are a great source of fiber and vitamin C. The oats provide soluble fiber, which is good for heart health. Cinnamon has anti-inflammatory properties and may help with blood sugar regulation. This isn’t a health food, but it’s certainly not the worst dessert you could choose.
Dietary considerations: This recipe is vegetarian and can easily be made gluten-free or vegan with the substitutions mentioned above. It contains dairy (butter) and gluten (flour, oats). If you’re using nuts in the topping, it also contains tree nuts.
I like to think of this as a dessert that nourishes the soul. It’s comfort food, pure and simple. Sometimes that’s exactly what you need.
Conclusion
This easy small-batch apple crisp for two is everything I want in a dessert: it’s quick, it’s satisfying, and it doesn’t leave me with a week’s worth of leftovers. The apples get perfectly tender, the topping is crunchy and buttery, and the whole thing comes together in about 35 minutes.
I love that this recipe is forgiving enough to adapt to whatever you have on hand. Use pears instead of apples, swap in pecans for walnuts, or add a splash of bourbon for a grown-up twist. It’s your dessert—make it your own.
If you try this recipe, I’d love to hear how it turned out. Leave a comment below and let me know what variations you tried. Did you add ice cream? Did you use a different type of apple? Share your experience—it helps other readers too.
And if you’re looking for more cozy desserts, check out my pumpkin dump cake with pecan crumble for another effortless fall treat. Or, for something completely different, try my no-bake peanut butter oat energy bites for a healthier snack option.
Happy baking, friends. Go make something delicious for someone you love—even if that someone is just you.
Frequently Asked Questions
Can I use a different type of apple?
Absolutely. Firm, tart-sweet apples like Honeycrisp, Granny Smith, Braeburn, or Fuji work best. Avoid soft apples like Red Delicious or McIntosh, as they’ll turn to mush during baking.
Can I make this in advance?
You can assemble the crisps (without baking) up to a day ahead. Cover and refrigerate, then add about 5 extra minutes to the baking time. The topping might not be quite as crunchy, but it’ll still be delicious.
Can I double this recipe?
Yes! Just double all the ingredients and bake in a 9×9-inch baking dish or four ramekins. You might need to add 10-15 minutes to the baking time since there’s more volume.
Why did my topping turn out soggy?
This usually happens if the butter was too warm when you mixed it in, or if you used quick oats instead of old-fashioned rolled oats. Make sure your butter is cold and your oats are the right kind.
Can I freeze apple crisp?
Yes, but the topping will lose its crunch. Freeze the baked and cooled crisp in an airtight container for up to 3 months. Reheat in a 350°F oven until warmed through. The flavor will still be great, even if the texture isn’t perfect.
Pin This Recipe!
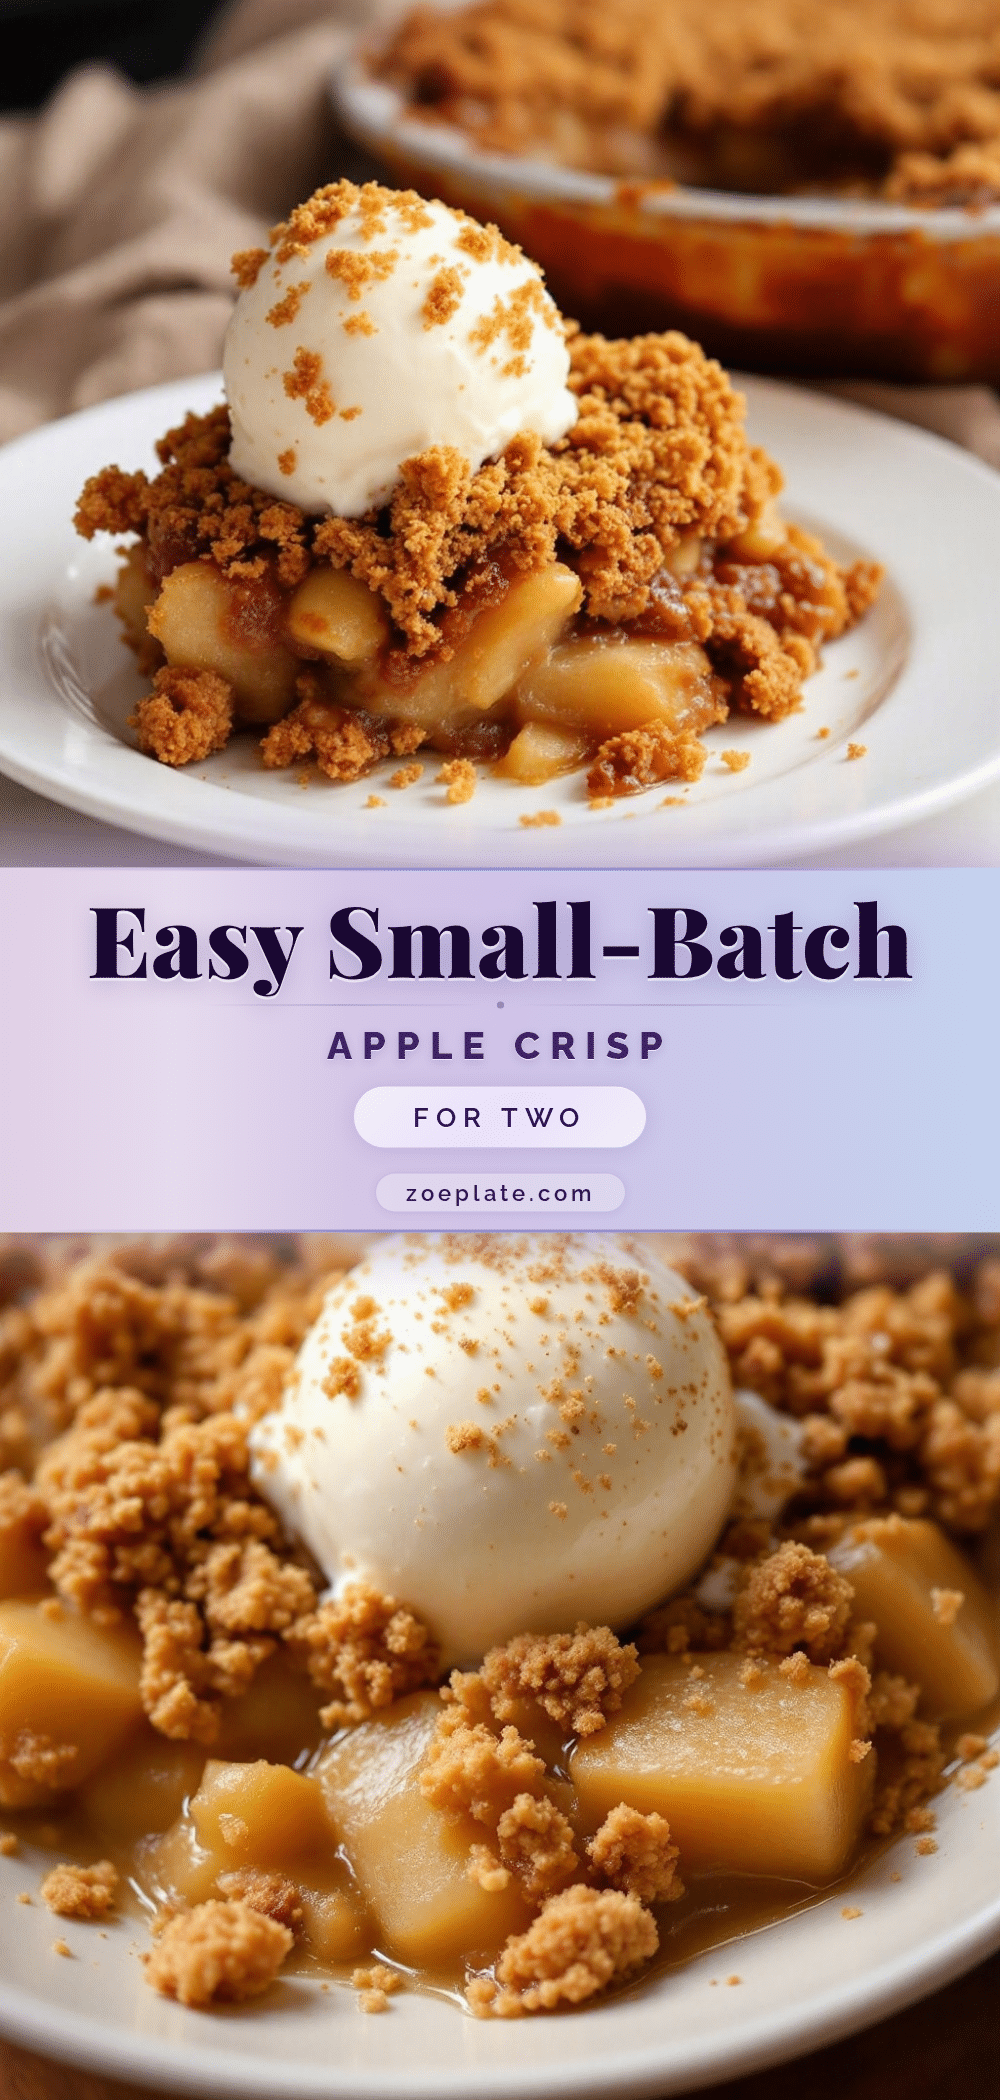
Easy Small-Batch Apple Crisp for Two: Best Quick Dessert

A perfectly portioned apple crisp for two with a buttery, crunchy oat topping and tender, jammy apples. Ready in about 35 minutes with simple pantry ingredients.
- Prep Time: 10 minutes
- Cook Time: 25-30 minutes
- Total Time: 35-40 minutes
- Yield: 2 servings 1x
- Category: Dessert
- Cuisine: American
Ingredients
- 2 medium apples (about 300g total), peeled, cored, and sliced into ¼-inch thick pieces
- 2 tablespoons (25g) granulated sugar
- 1 tablespoon (8g) all-purpose flour
- 1 teaspoon ground cinnamon
- ¼ teaspoon ground nutmeg
- 1 tablespoon (15ml) lemon juice
- Pinch of salt
- ¼ cup (30g) old-fashioned rolled oats
- ¼ cup (30g) all-purpose flour
- ¼ cup (50g) packed brown sugar
- ¼ teaspoon ground cinnamon
- 3 tablespoons (42g) cold unsalted butter, cut into small cubes
- ¼ cup (30g) chopped pecans or walnuts (optional)
Instructions
- Preheat your oven to 375°F (190°C). Place a baking sheet on the middle rack to catch any drips.
- Peel, core, and slice your apples into ¼-inch thick pieces.
- In a medium bowl, toss the sliced apples with the granulated sugar, flour, cinnamon, nutmeg, lemon juice, and a pinch of salt. Stir until every apple slice is evenly coated. Let it sit for 5 minutes.
- In a small bowl, combine the rolled oats, flour, brown sugar, and cinnamon. Add the cold, cubed butter. Using a pastry cutter or two forks, cut the butter into the dry ingredients until the mixture resembles coarse meal with some pea-sized butter pieces remaining. If using nuts, stir them in now.
- Divide the apple mixture evenly between two 8-ounce ramekins. Sprinkle the topping evenly over the apples, covering them completely. Do not press the topping into the apples.
- Place the ramekins on the baking sheet and bake for 25-30 minutes, until the filling is bubbly and the topping is golden brown. If the topping is browning too quickly but the apples aren’t tender yet, tent loosely with foil for the last 5-10 minutes.
- Let the crisps cool on a wire rack for at least 10 minutes before serving.
Notes
Don’t overwork the topping; use cold butter. Let the crisps rest for 10 minutes before serving to allow the filling to set. For a gluten-free version, use a gluten-free all-purpose flour blend and certified gluten-free oats. For a vegan version, substitute butter with cold coconut oil or plant-based butter and use maple syrup instead of brown sugar.
Nutrition
- Serving Size: 1 ramekin
- Calories: 380420
- Sugar: 35
- Fat: 18
- Carbohydrates: 55
- Fiber: 6
- Protein: 4
Keywords: apple crisp, small batch, dessert for two, quick dessert, apple crisp for two, easy apple crisp


