I figured making ghost-shaped meringues would be a delicate, fussy affair — something that required a pastry bag, a steady hand, and a whole lot of patience I didn’t have. It took about ten minutes of piping these little blobs onto a baking sheet for that assumption to fall apart completely.
They looked ridiculous at first. Honestly, they looked less like ghosts and more like sad little clouds that forgot to be round. But then I stuck on the chocolate chip eyes, and something clicked. These misshapen, lumpy little guys suddenly had personalities. They were goofy and charming, and I realized that’s exactly what Halloween treats should be — a little imperfect, a little spooky, and a whole lot of fun.
The first time I made these ghost meringue cookies with chocolate chip eyes, I was testing them for a Halloween party. I figured they’d be a cute side dish. Instead, they were the first thing to disappear off the dessert table. People kept picking them up and laughing, which is pretty much the best reaction you can get from a cookie. They’re light, they’re crispy, they melt in your mouth, and they’re so simple that you’ll wonder why you ever bought store-bought Halloween treats.
These cookies have become my go-to for the season. They’re the recipe I make when I want something that looks impressive but takes almost no real effort. And honestly? They taught me that sometimes the best things in the kitchen come from letting go of perfection and just having fun with it.
Why You’ll Love This Recipe
Let’s be real — most Halloween desserts are either a massive time commitment or a sugar bomb that leaves you feeling weird. These ghost meringue cookies are neither. They’re the perfect middle ground.
Here’s why this recipe works so well:
- Quick & Easy : You’re looking at about 15 minutes of active prep time. The oven does the rest of the work. This is the kind of recipe you can whip up after work, between errands, or when you realize you forgot to bring something to the school party.
- Simple Ingredients : Egg whites, sugar, cream of tartar, vanilla, and chocolate chips. That’s it. You probably have everything in your kitchen right now, which means no last-minute grocery runs.
- Perfect for Halloween : These little ghosts are the star of any spooky spread. They work for classroom parties, office potlucks, or just making your kitchen feel festive. Pair them with our melting witch Halloween sugar cookies for a full lineup of eerie treats.
- Crowd-Pleaser : Kids go wild for them. Adults love them because they’re not too sweet and they’re naturally gluten-free. Everyone wins.
- Unbelievably Delicious : There’s something magical about a meringue that’s crispy on the outside, slightly chewy in the middle, and studded with tiny chocolate eyes. It’s like a cloud that decided to dress up for Halloween.
What makes these different from other meringue recipes is the technique. I use a slightly lower oven temperature and a longer baking time to get that perfect crispness without any browning. The ghosts stay pure white, which makes the chocolate chip eyes pop. And the texture? It’s light as air but sturdy enough to hold its shape. That’s not luck — that’s tested and tweaked over multiple batches.
This recipe isn’t just good. It’s the kind that makes you close your eyes after the first bite. It’s comfort food reimagined — healthier, faster, but with the same soul-soothing satisfaction.
What Ingredients You Will Need
This recipe uses simple, wholesome ingredients to deliver that light, crispy texture and adorable appearance. Everything here is a pantry staple, which makes this one of those recipes you can make on a whim.
- 3 large egg whites, room temperature — Room temperature egg whites whip up higher and hold more air, which gives you fluffier meringues. Separate your eggs when they’re cold, then let the whites sit out for about 30 minutes. (Pro tip: save the yolks for a batch of pumpkin cinnamon rolls or a quick custard.)
- 3/4 cup (150g) granulated sugar — Regular white sugar works best here. Avoid superfine or powdered sugar — they don’t dissolve the same way and can affect the texture. You want the sugar to dissolve completely into the egg whites for that smooth, glossy finish.
- 1/4 teaspoon cream of tartar — This stabilizes the egg whites and helps them hold their shape. If you don’t have cream of tartar, you can substitute with 1/2 teaspoon of lemon juice or white vinegar. It does the same job.
- 1 teaspoon vanilla extract — Pure vanilla extract gives the best flavor, but imitation vanilla works fine too. You can also experiment with peppermint extract for a fun twist, or almond extract for a nutty note.
- 1/4 cup (about 60g) mini chocolate chips — Regular chocolate chips are too big for the eyes. Mini chips are the perfect size. I prefer semi-sweet or dark chocolate because it balances the sweetness of the meringue. Milk chocolate works too, but it can make the cookies a bit sweeter overall.
- Optional: Gel food coloring — If you want to get fancy, you can tint your meringues a pale orange or green. Just add a tiny drop after the stiff peaks form and fold gently. Gel coloring is better than liquid because it won’t deflate your meringue.
I usually buy large eggs from a local farm when I can — the yolks are brighter and the whites whip up beautifully. But standard grocery store eggs work perfectly fine. Just make sure they’re fresh. Older egg whites actually whip up better, so if your eggs have been sitting in the fridge for a week, you’re in luck.
Equipment Needed
You don’t need a ton of fancy equipment for these cookies, which is part of the appeal.
- Stand mixer or hand mixer — A stand mixer with the whisk attachment is ideal, but a hand mixer works just as well. You’ll be whipping for about 8-10 minutes, so your arm might get tired with a hand mixer. Totally worth it though.
- Large glass or metal mixing bowl — Avoid plastic bowls. They can hold onto grease residue, which prevents egg whites from whipping up properly. Glass or metal is the way to go.
- Baking sheet — A standard half-sheet pan works perfectly. Line it with parchment paper or a silicone baking mat. Do NOT use wax paper — it will stick and you’ll have a mess.
- Piping bag with a large round tip — A piping bag gives you the most control for shaping the ghosts. If you don’t have one, you can use a zip-top bag with the corner snipped off. It’s not as precise, but it gets the job done.
- Small cookie scoop or two spoons — For portioning the meringue if you’re not piping. A scoop gives you more uniform ghosts, but spoons work in a pinch.
- Offset spatula (optional) — Handy for smoothing out the ghosts after piping, but not strictly necessary.
I’ve made these with both a stand mixer and a hand mixer. The stand mixer is definitely easier, but the hand mixer gives you a better feel for when the meringue is ready. You can feel the resistance change as the peaks form. It’s a weirdly satisfying experience.
Preparation Method
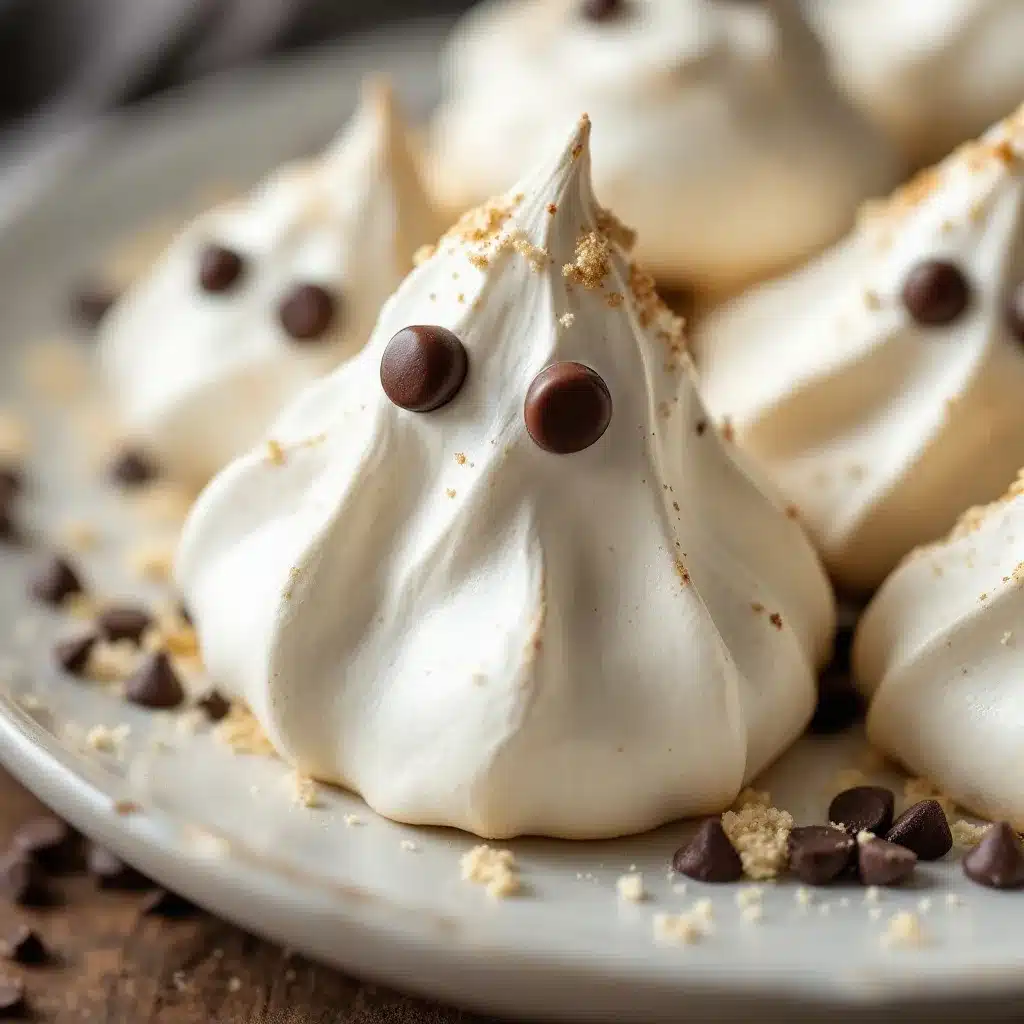
Let’s get into the nitty-gritty. This is where the magic happens.
- Preheat your oven to 200°F (93°C) — Yes, that’s low. That’s intentional. We’re drying the meringues out, not baking them. Line a baking sheet with parchment paper or a silicone mat. Set it aside.
- Prepare your egg whites — Make sure your bowl and whisk attachment are completely clean and dry. Any trace of grease or yolk will ruin your meringue. Crack your eggs carefully — I always separate them one at a time into a small bowl before adding to the main bowl. That way, if one yolk breaks, you haven’t ruined the whole batch.
- Start whipping — Beat the egg whites on medium speed until they’re frothy and bubbly, about 1-2 minutes. You’ll see lots of tiny bubbles form. This is where the cream of tartar goes in. Sprinkle it over the frothy whites and continue beating.
- Add the sugar slowly — With the mixer running on medium-high, add the sugar one tablespoon at a time. I know it’s tempting to dump it all in at once, but don’t. Slow addition helps the sugar dissolve completely. Keep beating until the mixture turns glossy and forms stiff peaks. This takes about 6-8 minutes total. You’ll know it’s ready when you lift the whisk and the meringue stands up straight without drooping. Also, rub a tiny bit between your fingers — if it feels gritty, keep beating. You want it smooth.
- Add the vanilla — Pour in the vanilla extract and beat for another 30 seconds until combined. The mixture should look thick, glossy, and almost marshmallow-like.
- Pipe the ghosts — Transfer the meringue to your piping bag fitted with a large round tip. Hold the bag straight up and pipe a blob about 1.5 inches wide and 2 inches tall. To get the ghost shape, start piping in a spiral from the bottom up, then pull straight up to create a little peak on top. Don’t stress about making them perfect — uneven ghosts look more authentic. If you’re using a zip-top bag, just snip a 1/2-inch corner and pipe away.
- Add the eyes — This is the fun part. While the meringue is still wet, gently press two mini chocolate chips into each ghost for eyes. Place them close together near the top. You can also add a tiny dot of meringue on top of each chip to make them look like they’re peeking out. It’s a small detail, but it makes a big difference.
- Bake low and slow — Place the baking sheet in the preheated oven and bake for 1 hour to 1 hour 15 minutes. The meringues should be dry to the touch and easily lift off the parchment paper. They shouldn’t be brown at all — if they start to color, your oven is too hot. Turn it down by 10-15 degrees.
- Cool in the oven — This is the secret step. Turn off the oven and leave the meringues inside with the door slightly ajar for another 30-60 minutes. This helps them dry out completely and prevents cracking. I usually just leave them in there while I clean up the kitchen.
- Let them cool completely — Once they’re out of the oven, let them sit on the baking sheet for about 10 minutes. They should be light as air and perfectly crisp.
A quick note on timing: the actual hands-on time is about 15 minutes. The rest is just waiting. Plan ahead so you’re not rushing to get them done right before a party.
Cooking Tips & Techniques
I’ve made plenty of mistakes with meringues over the years, so let me save you some trouble.
Humidity is your enemy. Meringues hate moisture. If it’s a rainy or humid day, your cookies might end up sticky or chewy instead of crisp. Save this recipe for a dry day, or run a dehumidifier in your kitchen. Trust me on this one — I learned the hard way after a batch turned into sad, sticky puddles.
Don’t overbake. The goal is dry, not brown. If your meringues start to take on color, they’re overdone. Lower your oven temperature by 10-15 degrees next time. Every oven runs differently, so keep an eye on them.
The stiff peak test matters. You want the meringue to hold a peak that doesn’t flop over. If it’s still droopy, keep beating. But don’t overbeat either — if the mixture looks grainy or separated, you’ve gone too far and it won’t pipe well.
Piping consistency. If your meringue is too stiff to pipe, it might be overbeaten. If it’s too runny, it wasn’t beaten enough. The perfect consistency is thick, glossy, and holds its shape when you lift the whisk. It should feel like marshmallow fluff.
Chocolate chip placement. Press the chips in gently but firmly. If you push too hard, the meringue will crack around the edges. If you don’t push enough, the chips will fall off when the cookie is dry. Aim for a gentle press that leaves the chips slightly embedded.
Make ahead tip. These cookies actually get better after a day or two. Store them in an airtight container at room temperature, and they’ll stay crisp for up to a week. Just don’t refrigerate them — the moisture will ruin the texture.
Variations & Adaptations
One of the best things about this recipe is how easy it is to customize. Here are some variations I’ve tried and loved.
Halloween color twist. Add a drop of orange or purple gel food coloring after the stiff peaks form. Fold it in gently with a spatula until you get a marbled effect. The ghosts will look like they’re wearing Halloween costumes. It’s adorable.
Spooky flavor swap. Replace the vanilla extract with peppermint extract for a cool, minty ghost. Or try almond extract for a nutty, marzipan-like flavor. Just be careful — extracts are strong, so start with 1/2 teaspoon and adjust to taste.
Gluten-free and dairy-free. These cookies are naturally gluten-free and dairy-free as written. Just make sure your chocolate chips are certified gluten-free if that’s a concern. Most mini chips are, but it’s worth checking the label.
Mini ghosts. For bite-sized treats, pipe smaller ghosts about 1 inch wide and 1.5 inches tall. Reduce the baking time to about 45-50 minutes. They’re perfect for snacking or adding to a Halloween candy spread.
Chocolate drizzle. After the meringues are completely cool, drizzle melted dark chocolate over the tops. It adds a little extra sweetness and makes them look even more festive. Just let the chocolate set before storing.
I once made a batch with orange food coloring and peppermint extract for a Halloween party, and they were a huge hit. The mint flavor paired perfectly with the chocolate eyes. It’s a simple change, but it makes the cookies feel totally different.
Serving & Storage Suggestions
These ghost meringue cookies are best served at room temperature. They’re light, crispy, and practically melt in your mouth. I like to arrange them on a platter with a few fake spiderwebs or plastic spiders for a fun Halloween display. They also look great stacked in a clear jar or arranged on a cake stand.
For a full Halloween dessert table, pair them with our black cat cupcakes and mummy pumpkin cheesecake bars. The combination of light meringues, rich cupcakes, and creamy cheesecake is unbeatable.
Storage: Store the meringues in an airtight container at room temperature. They’ll stay crisp for up to a week. Do not refrigerate them — the moisture will make them sticky and soft. If you live in a humid climate, add a silica gel packet to the container to absorb excess moisture.
Freezing: You can freeze these cookies for up to 3 months. Place them in a single layer in a freezer-safe container with parchment paper between layers. Thaw at room temperature for about 30 minutes before serving. They might lose a bit of their crispness, but they’ll still be delicious.
Reheating: If your meringues lose their crispness, pop them in a 200°F (93°C) oven for 10-15 minutes. Let them cool completely before serving. This usually restores their texture.
One thing I love about these cookies is that the flavors actually develop over time. The vanilla becomes more pronounced after a day or two, and the chocolate chips soften slightly, creating a nice contrast with the crispy meringue. They’re even better the next day.
Nutritional Information & Benefits
Per serving (2 cookies): approximately 60 calories, 1g fat, 12g carbohydrates, 1g protein. These are estimates and will vary based on exact ingredients and portion sizes.
These cookies are naturally low in fat and calories compared to traditional cookies. They’re also gluten-free and dairy-free, making them a great option for people with dietary restrictions. The egg whites provide a small amount of protein, and the chocolate chips add a touch of antioxidants.
From a wellness perspective, these cookies are a lighter treat that won’t leave you feeling heavy or sluggish. They’re perfect for satisfying a sweet tooth without overdoing it. Plus, they’re fun to make with kids — it’s a great way to get them involved in the kitchen without a huge sugar overload.
Just keep in mind that they are still a treat, so moderation is key. But honestly, who can eat just two?
Conclusion
These ghost meringue cookies with chocolate chip eyes are everything I want in a Halloween treat — fun, easy, and genuinely delicious. They’re the kind of recipe that makes people smile, and that’s the whole point of holiday baking, isn’t it?
I love that they’re simple enough for a beginner but impressive enough to wow a crowd. I love that they’re naturally gluten-free and dairy-free, so almost everyone can enjoy them. And I really love that they bring a little bit of spooky joy to the table without requiring hours of work.
I hope you give these a try and make them your own. Add a little color, swap the flavor, or just pipe them into whatever shape makes you happy. The beauty of this recipe is that it’s forgiving — it wants you to have fun.
If you make these, I’d love to hear how they turned out. Drop a comment below or tag me in your photos. Happy Halloween, and happy baking!
Frequently Asked Questions
Can I make these ghost meringue cookies without a piping bag?
Absolutely. If you don’t have a piping bag, use a zip-top bag with the corner snipped off. You can also use two spoons to drop dollops of meringue onto the baking sheet. They won’t be as perfectly shaped, but they’ll still be delicious and cute.
Why did my meringues turn out chewy instead of crispy?
This usually happens because of humidity or underbaking. Make sure you bake them long enough — the full hour at 200°F is important. Also, let them cool completely in the oven with the door ajar. If it’s a humid day, save this recipe for a drier time.
Can I use liquid food coloring instead of gel?
You can, but liquid food coloring can deflate your meringue because it adds extra moisture. Gel food coloring is much better because it’s concentrated and doesn’t affect the texture. If you only have liquid, use just a drop or two and fold gently.
How do I store leftover meringue cookies?
Store them in an airtight container at room temperature for up to a week. Do not refrigerate — moisture will make them sticky. If they lose their crispness, pop them in a 200°F oven for 10 minutes to re-crisp.
Can I make these cookies ahead of time for a party?
Yes! These cookies actually get better after a day or two. Make them up to a week in advance and store them in an airtight container. Just keep them away from moisture and heat, and they’ll be perfect for your party.
Pin This Recipe!
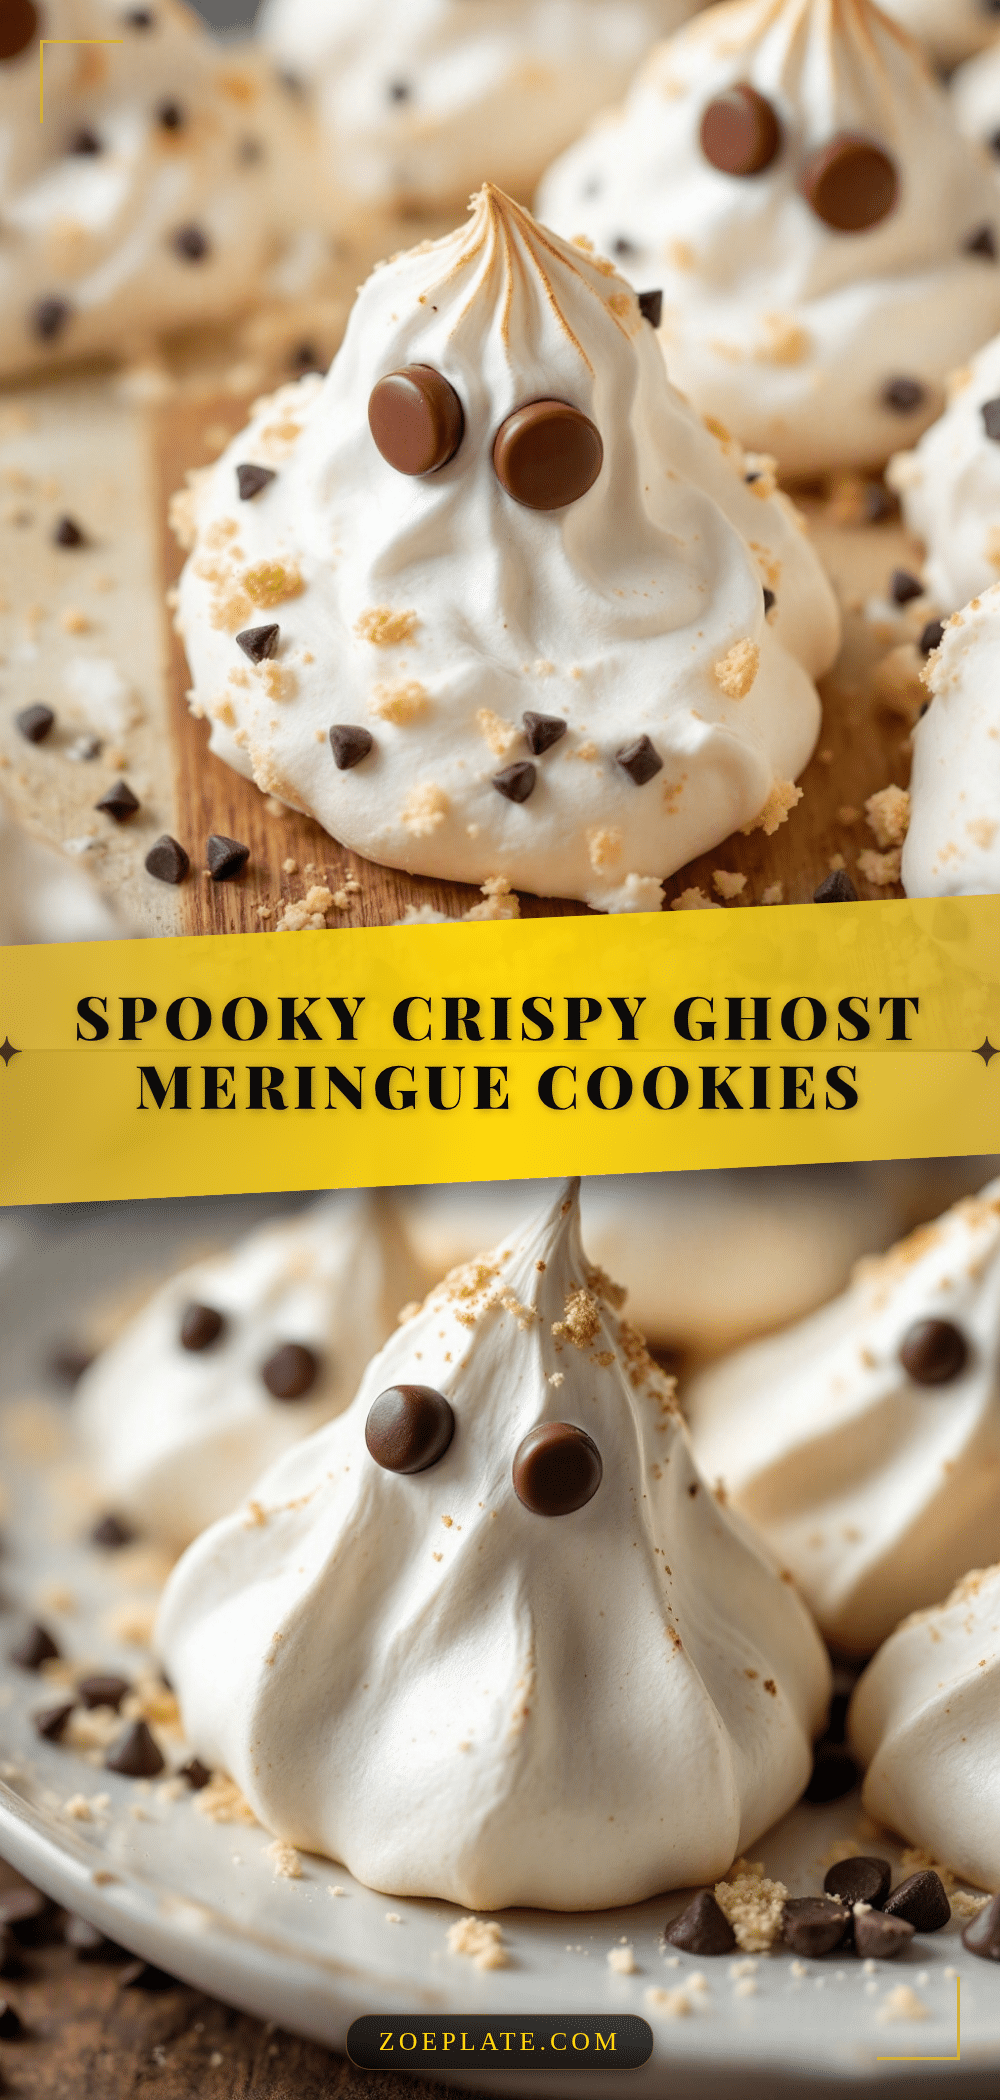
Best Easy Ghost Meringue Cookies with Chocolate Chip Eyes
These ghost meringue cookies with chocolate chip eyes are light, crispy, and melt in your mouth. They’re simple to make with just a few ingredients, naturally gluten-free and dairy-free, and perfect for Halloween parties or spooky treats.
- Prep Time: 15 minutes
- Cook Time: 1 hour 15 minutes
- Total Time: 2 hours (including cooling in oven)
- Yield: 24 cookies (12 servings of 2 cookies each) 1x
- Category: Dessert
- Cuisine: American
Ingredients
- 3 large egg whites, room temperature
- 3/4 cup (150g) granulated sugar
- 1/4 teaspoon cream of tartar
- 1 teaspoon vanilla extract
- 1/4 cup (about 60g) mini chocolate chips
- Optional: Gel food coloring
Instructions
- Preheat your oven to 200°F (93°C). Line a baking sheet with parchment paper or a silicone mat.
- Make sure your bowl and whisk attachment are completely clean and dry. Crack your eggs carefully, separating one at a time into a small bowl before adding to the main bowl.
- Beat the egg whites on medium speed until frothy and bubbly, about 1-2 minutes. Sprinkle cream of tartar over the frothy whites and continue beating.
- With the mixer running on medium-high, add the sugar one tablespoon at a time. Keep beating until the mixture turns glossy and forms stiff peaks, about 6-8 minutes total. The meringue should stand up straight without drooping and feel smooth between your fingers.
- Pour in the vanilla extract and beat for another 30 seconds until combined. The mixture should look thick, glossy, and almost marshmallow-like.
- Transfer the meringue to a piping bag fitted with a large round tip. Hold the bag straight up and pipe a blob about 1.5 inches wide and 2 inches tall. Start piping in a spiral from the bottom up, then pull straight up to create a little peak on top.
- While the meringue is still wet, gently press two mini chocolate chips into each ghost for eyes, placing them close together near the top.
- Place the baking sheet in the preheated oven and bake for 1 hour to 1 hour 15 minutes. The meringues should be dry to the touch and easily lift off the parchment paper without browning.
- Turn off the oven and leave the meringues inside with the door slightly ajar for another 30-60 minutes to dry out completely.
- Let them cool on the baking sheet for about 10 minutes before serving.
Notes
Humidity is the enemy of meringues—save this recipe for a dry day. Don’t overbake; the goal is dry, not brown. Press chocolate chips gently but firmly to avoid cracking. These cookies actually get better after a day or two. Store in an airtight container at room temperature for up to a week. Do not refrigerate. If they lose crispness, reheat in a 200°F oven for 10-15 minutes.
Nutrition
- Serving Size: 2 cookies
- Calories: 60
- Sugar: 11
- Sodium: 20
- Fat: 1
- Saturated Fat: 0.5
- Carbohydrates: 12
- Protein: 1
Keywords: ghost meringue cookies, Halloween cookies, meringue cookies, chocolate chip eyes, gluten-free Halloween treats, easy Halloween dessert


