The loaf was half-eaten before the coffee even cooled. I had only intended to make enough for my morning toast, a quiet treat to get me through the first hour of work from home. But then my partner wandered in, grabbed a slice, and without saying a word, went back for a second one. By the time I sat down with my mug, there was just a few crumbs left in the pan. Honestly, it’s the third time that’s happened this week. I didn’t plan for this. I just wanted a simple snack, something low-maintenance for a busy Tuesday. Yet here we are, with an empty tin and a text from my sister asking if I can send her the recipe. It’s funny how a tiny loaf can cause such a stir, especially when you’re not trying to impress anyone. It just tastes like home.
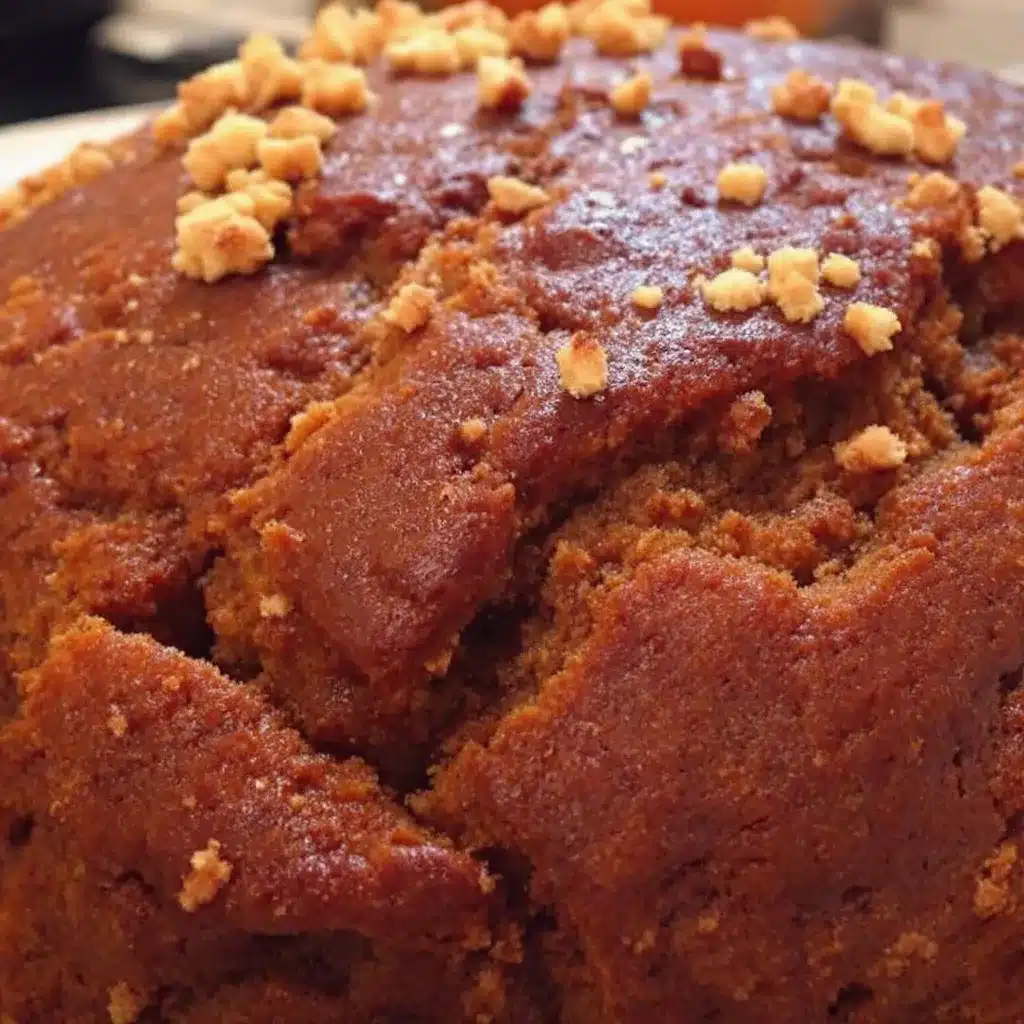
This isn’t some grand holiday centerpiece or a show-stopping dessert for a dinner party. It’s the kind of moist small-batch pumpkin bread that fits into a normal week. I started making this because I realized I rarely have enough time for a full-sized loaf, and half a loaf often goes stale before it’s finished. This version solves that problem. It bakes in a standard loaf pan but yields just enough for two people over a few days, or a small family on a weekend morning. The crumb is dense but tender, the spice blend is warm without being overpowering, and it stays fresh longer than most quick breads I’ve tried. You don’t need fancy ingredients or hours of prep. Just a bowl, a spoon, and a little patience. It’s reliable, it’s comforting, and it’s surprisingly easy to master. If you’re looking for a way to use up a little pumpkin puree or just want a warm smell in your kitchen, this is the one. It’s not perfect, but it’s close, and it gets better with every slice.
Why You’ll Love This Recipe
There is a specific kind of magic in baking something small. It feels less like a chore and more like a quick, satisfying project. I’ve tested dozens of pumpkin bread recipes over the years, ranging from massive 10-cup flour batters to overly sweet cakes that feel more like dessert than breakfast. This one hits the sweet spot. It’s designed for real life, where you might not have three cups of flour sitting out or an entire can of pumpkin left over. Here is why this small-batch version has become a staple in my kitchen:
- Quick & Easy: You can have this mixed and in the oven in under 15 minutes. It’s perfect for those rainy mornings when you want something warm but don’t have all day. The prep is minimal, just whisking wet and dry ingredients together.
- Simple Ingredients: You likely already have everything you need in your pantry. Flour, sugar, pumpkin puree, eggs, and spices. No weird specialty items or expensive imports. It’s pantry-friendly baking at its finest.
- Perfect for Single Servings or Small Families: Let’s face it, full-sized loaves are intimidating. They take up space and they go bad fast. This recipe makes a slim, manageable loaf that finishes in a few days, ensuring you always eat it at its peak freshness.
- Unbelievably Moist Texture: The secret isn’t just the pumpkin; it’s the ratio of fat to liquid. I use a bit of oil and brown sugar to keep the crumb tender for days. It doesn’t dry out overnight, which is the biggest complaint with most quick breads.
- Versatile Flavor Profile: It’s not just plain pumpkin. The addition of warm spices like cinnamon, ginger, and nutmeg creates a complex flavor that feels gourmet but tastes homemade. It pairs beautifully with a simple cream cheese spread or stands alone as is.
What makes this recipe different from the rest is the attention to moisture retention. Many small-batch recipes fail because they bake too fast and come out dry. I’ve adjusted the baking time and temperature to ensure the center sets without overcooking the edges. It’s the kind of bread that makes you close your eyes after the first bite. It’s comfort food reimagined—simpler, faster, but with the same soul-soothing satisfaction. Whether you are a novice baker or a seasoned pro, this loaf will become your go-to for cozy autumn evenings.
What Ingredients You Will Need
This recipe relies on wholesome, accessible ingredients to deliver bold flavor and a satisfying texture without the fuss. The beauty of a small-batch loaf is that it doesn’t require a trip to a specialty store. Most of these items are pantry staples, though you might need to check your spice rack. Here is what you’ll need to gather:
For the Bread
- All-Purpose Flour: 1 ½ cups (190g). This is the base. I recommend a standard brand like Gold Medal or King Arthur for consistent results. Do not use self-rising flour unless you adjust the leavening agents.
- Baking Soda: ½ teaspoon. This reacts with the acidity in the pumpkin and brown sugar to give the bread its rise. Make sure it’s fresh for the best lift.
- Baking Powder: ¼ teaspoon. A little extra lift to ensure the loaf isn’t dense.
- Salt: ½ teaspoon. Essential for balancing the sweetness and enhancing the spice flavors.
- Ground Cinnamon: 1 teaspoon. The primary spice flavor. Use a good quality brand for a stronger aroma.
- Ground Ginger: ½ teaspoon. Adds a warm, spicy kick that complements the pumpkin perfectly.
- Ground Nutmeg: ¼ teaspoon. Just a pinch goes a long way. It adds depth and that classic holiday scent.
- Unsalted Butter: 3 tablespoons, melted. Butter adds flavor, but oil can make it moister. I use butter for the taste.
- Vegetable Oil: 2 tablespoons. This ensures the crumb stays tender. Coconut oil works too if you prefer that flavor.
- Brown Sugar: ½ cup (100g). Packed. This adds moisture and a caramel-like depth that white sugar lacks.
- Granulated Sugar: ¼ cup (50g). Balances the sweetness and helps with browning.
- Egg: 1 large egg, room temperature. This binds the ingredients together. Room temperature eggs mix more easily.
- Pumpkin Puree: ¾ cup (180g). Use 100% pure pumpkin, not pumpkin pie filling. Canned is fine, or fresh roasted if you’re feeling ambitious.
- Vanilla Extract: 1 teaspoon. Enhances the overall flavor profile. Pure vanilla is best.
Tip: If you don’t have nutmeg, you can skip it, but the ginger and cinnamon will carry the flavor. For a gluten-free option, you can swap the all-purpose flour for a 1:1 gluten-free baking blend, though the texture may be slightly crumblier.
Equipment Needed
You don’t need a fancy kitchen to make this bread. In fact, keeping it simple is part of the charm. Here is the essential gear you’ll need:
- 9×5 Inch Loaf Pan: A standard metal loaf pan works best. I prefer dark metal pans as they promote better browning, but light-colored pans work too; just watch the baking time closely. If you don’t have a loaf pan, a standard 6-inch round cake pan works in a pinch, though the baking time will be shorter.
- Mixing Bowls: Two medium bowls. One for dry ingredients and one for wet. I like using a large bowl for dry and a smaller one for wet to keep things organized.
- Whisk: A standard balloon whisk is perfect for combining the dry ingredients and beating the egg and sugars. It ensures there are no lumps of flour or baking soda.
- Fork: Useful for mashing the pumpkin if it’s chunky, though canned puree is usually smooth.
- Cooling Rack: Essential for letting the bread cool evenly. Placing it on a counter can make the bottom soggy from trapped steam.
- Pastry Brush (Optional): If you want to brush the top with a little melted butter after baking for a shiny, soft crust.
Maintenance Tip: Always grease your pan well, even if it’s non-stick. A light coat of butter or non-stick spray ensures the bread releases easily. If your pan is older and has scratches, lining the bottom with parchment paper guarantees a clean release.
Preparation Method
- Preheat and Prep: Start by preheating your oven to 350°F (175°C). This is crucial for the rise. While the oven heats, grease your 9×5 loaf pan with butter or non-stick spray. For extra insurance, line the bottom with a strip of parchment paper. This takes about 2 minutes.
- Mix Dry Ingredients: In a medium bowl, whisk together the flour, baking soda, baking powder, salt, cinnamon, ginger, and nutmeg. Whisking ensures the leavening agents are distributed evenly, preventing bitter spots. Set this aside. (2 minutes)
- Melt Fats: In a small microwave-safe bowl or saucepan, melt the butter and mix it with the vegetable oil. Let it cool for a minute so it doesn’t cook the egg when added. (1 minute)
- Mix Wet Ingredients: In a larger bowl, combine the brown sugar, granulated sugar, melted butter/oil mixture, egg, pumpkin puree, and vanilla extract. Whisk vigorously until the mixture is smooth and well-combined. The sugar might look a bit gritty at first, but it will dissolve during baking. (3 minutes)
- Combine Wet and Dry: Pour the dry ingredients into the wet mixture. Using a spatula or wooden spoon, gently fold the ingredients together. Stop as soon as the flour disappears. Overmixing is the enemy of moist bread; it develops gluten and makes the bread tough. The batter will be thick and dense. (2 minutes)
- Fill Pan: Pour the batter into the prepared loaf pan. Smooth the top with your spatula. If you want a streusel topping, sprinkle it on now. Bake immediately. (1 minute)
- Bake: Place the loaf in the center of the oven. Bake for 45-55 minutes. Start checking at 45 minutes. Insert a toothpick into the center; if it comes out clean or with just a few moist crumbs, it’s done. If it’s wet, give it 5 more minutes. (45-55 minutes)
- Cool: Remove the pan from the oven and let it cool in the pan for 10 minutes. Then, transfer the loaf to a wire rack to cool completely. This step is important to prevent the bottom from becoming soggy. (30 minutes)
Warning: Do not skip the cooling time. Cutting into hot bread can make it gummy. The structure needs to set as it cools.
Cooking Tips & Techniques
I’ve made my fair share of dense bricks and dry cakes while perfecting this recipe. Here are the lessons I’ve learned the hard way:
- Don’t Overmix: I cannot stress this enough. Once you add the flour, mix until just combined. A few lumps are okay. Overmixing leads to a chewy, tough texture instead of a tender crumb.
- Check Your Pumpkin: If you are using fresh pumpkin puree, make sure it is not watery. Squeeze it in a cheesecloth or paper towel to remove excess moisture. Too much water will make the bread soggy and prevent it from rising properly.
- Room Temperature Ingredients: Try to have your egg and butter at room temperature. They emulsify better, creating a smoother batter that bakes more evenly.
- Toothpick Test: The toothpick test is your best friend. But don’t rely on time alone. Ovens vary wildly. If the toothpick comes out clean but the top is browning too fast, cover the loaf loosely with aluminum foil for the last 10 minutes of baking.
- Patience is Key: Letting the bread cool completely before slicing might be hard, but it’s necessary. The internal temperature needs to drop so the crumb sets. If you cut it too early, it will fall apart.
Personal Note: I once rushed this bread and cut it warm. It was a mess. Now, I wait. It’s worth it. The flavor deepens slightly as it cools, and the texture becomes perfect.
Variations & Adaptations
One of the best things about this small-batch recipe is how easily it can be adapted. Here are a few ways to tweak it:
- Chocolate Chip: Add ¼ cup of semi-sweet chocolate chips to the batter. Fold them in gently at the end. This turns it into a dessert-like treat.
- Walnut or Pecan: Add ¼ cup of chopped walnuts or pecans for crunch. Toast them in a dry pan for 2 minutes before adding for extra flavor.
- Gluten-Free: Use a 1:1 gluten-free flour blend. Note that GF flour can absorb more liquid, so you might need an extra tablespoon of pumpkin puree or milk.
- Vegan: Substitute the egg with a flax egg (1 tbsp ground flaxseed + 3 tbsp water). Use coconut oil instead of butter. The texture will be slightly denser but still delicious.
- Spice It Up: Add a pinch of cardamom or allspice for a more complex spice profile. I love adding a little orange zest for brightness.
My Favorite Variation: I often add a swirl of cream cheese to the batter. Drop dollops of sweetened cream cheese on top of the pumpkin batter and swirl with a knife before baking. It adds a tangy contrast that is absolutely divine.
Serving & Storage Suggestions
This bread is best served at room temperature, allowing the flavors to fully develop. It pairs wonderfully with a cup of hot coffee or tea. For a treat, spread a thin layer of cream cheese or butter on warm slices.
Storage: Store leftover bread in an airtight container at room temperature for up to 3 days. For longer storage, wrap it tightly in plastic wrap and foil, then freeze for up to 3 months. Thaw at room temperature before serving.
Reheating: To revive a stale slice, microwave it for 10-15 seconds. It will be soft and warm again. You can also toast slices for a crunchy texture.
Note: The flavors actually improve after a day. The spices meld together, making the second day often the best day to eat it.
Nutritional Information & Benefits
While this is a treat, it’s made with relatively wholesome ingredients. One slice (approx. 1/10th of the loaf) contains roughly 180 calories, 8g of fat, 25g of carbohydrates, and 2g of protein. The pumpkin puree adds a boost of Vitamin A and fiber. Using brown sugar instead of white sugar adds trace minerals, though it’s still a source of added sugar. For a lower-sugar option, you can reduce the sugar to ½ cup total, though the bread may be less moist. It is not gluten-free unless you use GF flour, and it contains dairy and eggs. Always check labels if you have specific dietary needs. This recipe is a balanced indulgence, perfect for a small treat rather than a daily staple.
Conclusion
This moist small-batch pumpkin bread is more than just a recipe; it’s a solution for busy lives and small appetites. It’s easy, it’s delicious, and it’s reliable. I hope you try it and find it as comforting as I do. Feel free to add your own twists, like nuts or chocolate, to make it your own. If you do, I’d love to hear how it turned out. Leave a comment below with your variations or just let me know if it became a favorite in your home. Sharing recipes is the best part of cooking, so don’t forget to share this with a friend who loves pumpkin. Happy baking!
Frequently Asked Questions
Can I use fresh pumpkin instead of canned?
Yes, you can use fresh pumpkin. Roast the pumpkin, scoop out the flesh, and blend it until smooth. Be sure to drain any excess liquid to avoid a soggy loaf.
How do I know when the bread is done?
Insert a toothpick into the center. If it comes out clean or with a few moist crumbs, it’s done. The top should be golden brown and spring back when lightly pressed.
Can I freeze this bread?
Absolutely. Wrap it tightly in plastic wrap and then foil. It will keep in the freezer for up to 3 months. Thaw at room temperature before serving.
Can I make this in a mini loaf pan?
Yes, but reduce the baking time to 25-30 minutes. Check for doneness early to prevent overbaking.
Why is my bread dense?
This could be due to overmixing the batter, old baking soda, or too much pumpkin puree. Ensure your leavening agents are fresh and mix gently.
Pin This Recipe!
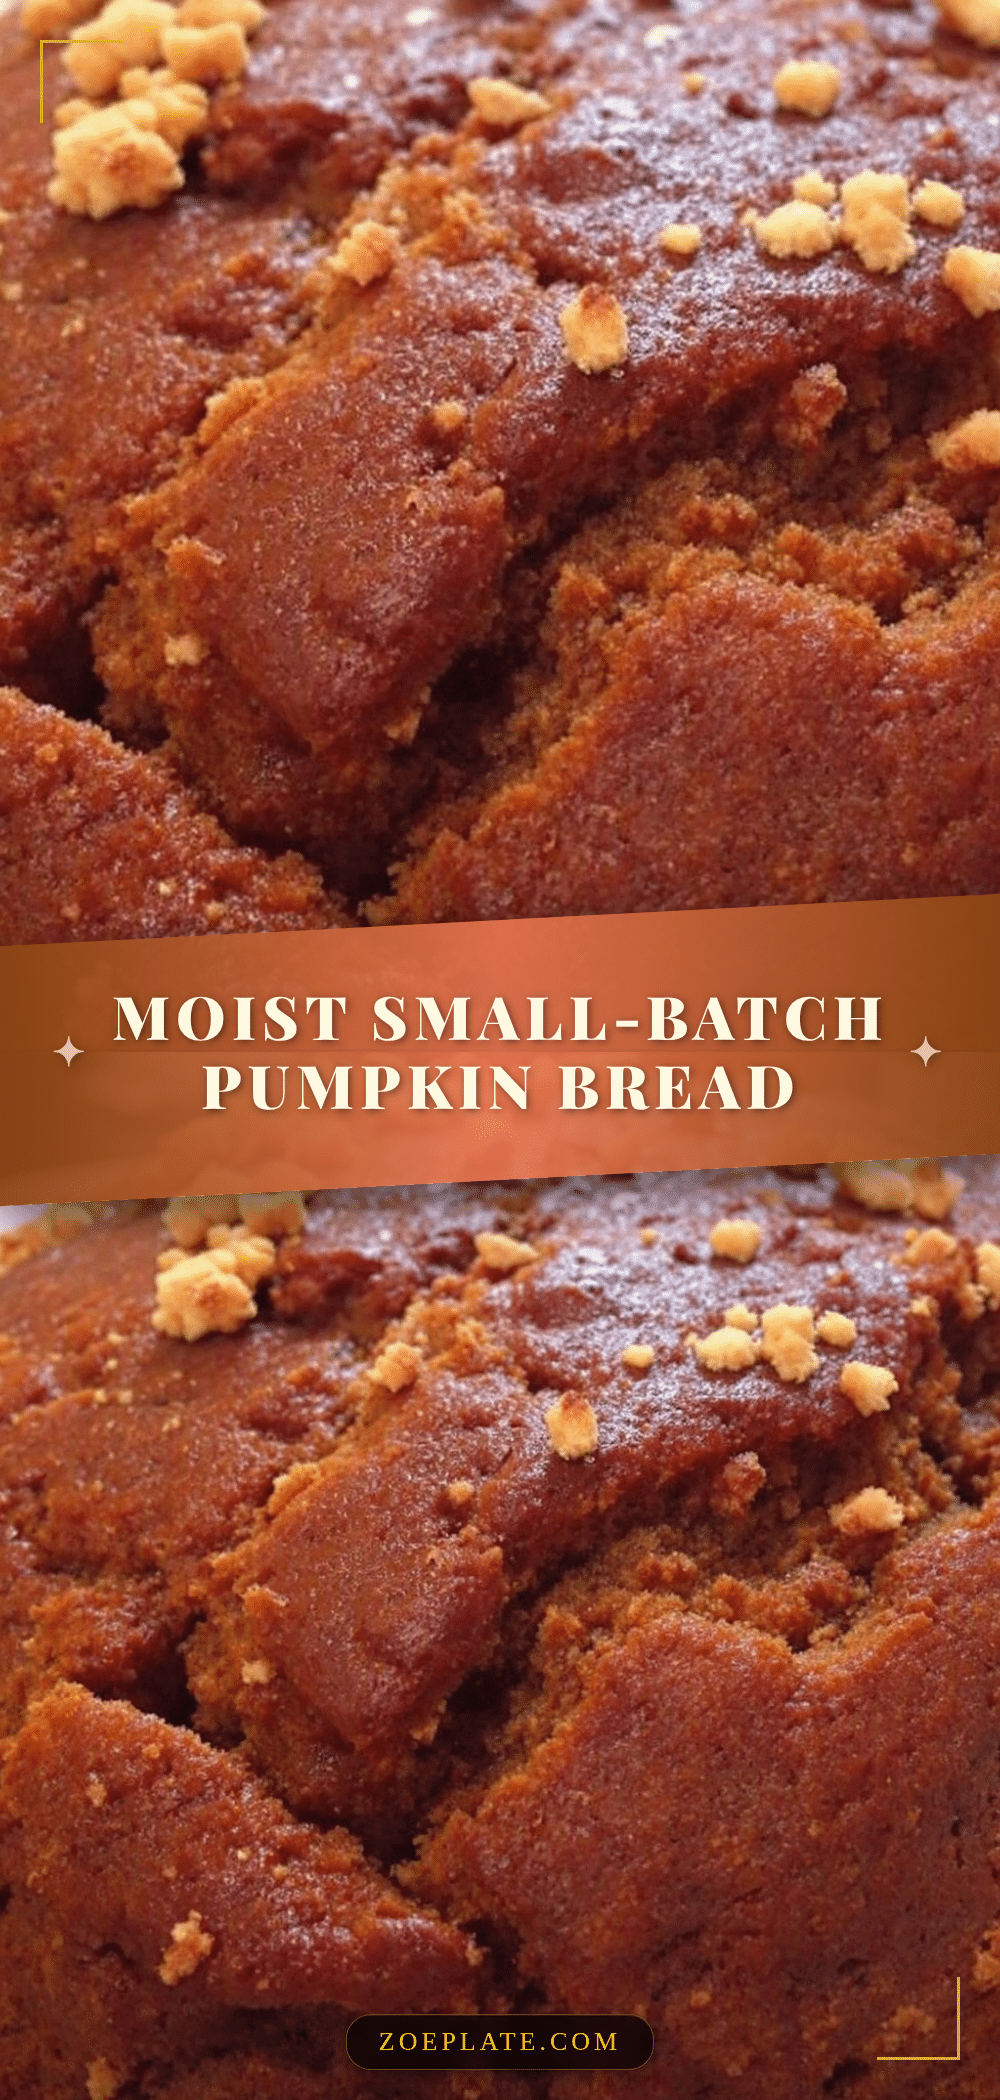
Moist Small-Batch Pumpkin Bread: Best Easy Recipe
A quick, easy, and incredibly moist small-batch pumpkin bread that yields just enough for two people or a small family. Perfect for busy mornings, this recipe uses simple pantry ingredients and requires minimal prep time.
- Prep Time: 15 minutes
- Cook Time: 45-55 minutes
- Total Time: 1 hour 10 minutes
- Yield: 1 small loaf (approx. 10 slices) 1x
- Category: Breakfast
- Cuisine: American
Ingredients
- 1 ½ cups (190g) All-Purpose Flour
- ½ teaspoon Baking Soda
- ¼ teaspoon Baking Powder
- ½ teaspoon Salt
- 1 teaspoon Ground Cinnamon
- ½ teaspoon Ground Ginger
- ¼ teaspoon Ground Nutmeg
- 3 tablespoons Unsalted Butter, melted
- 2 tablespoons Vegetable Oil
- ½ cup (100g) Brown Sugar, packed
- ¼ cup (50g) Granulated Sugar
- 1 large Egg, room temperature
- ¾ cup (180g) Pumpkin Puree
- 1 teaspoon Vanilla Extract
Instructions
- Preheat oven to 350°F (175°C). Grease a 9×5 inch loaf pan with butter or non-stick spray, optionally lining the bottom with parchment paper.
- In a medium bowl, whisk together the flour, baking soda, baking powder, salt, cinnamon, ginger, and nutmeg. Set aside.
- In a small microwave-safe bowl or saucepan, melt the butter and mix with the vegetable oil. Let cool slightly.
- In a larger bowl, combine the brown sugar, granulated sugar, melted butter/oil mixture, egg, pumpkin puree, and vanilla extract. Whisk vigorously until smooth.
- Pour the dry ingredients into the wet mixture. Gently fold together with a spatula or wooden spoon until just combined. Do not overmix.
- Pour the batter into the prepared loaf pan and smooth the top.
- Bake for 45-55 minutes, or until a toothpick inserted into the center comes out clean or with a few moist crumbs.
- Let the bread cool in the pan for 10 minutes, then transfer to a wire rack to cool completely before slicing.
Notes
Do not overmix the batter to ensure a tender crumb. If using fresh pumpkin puree, squeeze out excess moisture. For best texture, let the bread cool completely before slicing. The flavor improves after a day. Can be frozen for up to 3 months.
Nutrition
- Serving Size: 1 slice (approx. 1/1
- Calories: 180
- Sugar: 15
- Sodium: 200
- Fat: 8
- Saturated Fat: 3
- Carbohydrates: 25
- Fiber: 1
- Protein: 2
Keywords: pumpkin bread, small batch, quick bread, easy recipe, moist pumpkin bread, fall baking, gluten-free option, vegan option


