My seven-year-old son grabbed my wrist and squeezed it tight, his eyes wide with a mix of terror and delight, pointing at the baking sheet. He whispered that the little white strips were actually bandages keeping the cheese alive, and he didn’t want to eat it because it looked too much like a Halloween prop. I laughed, telling him that these crispy mummy wrapped baked brie were meant to be devoured, not just stared at in fear. He took a tiny bite of the warm, gooey center and immediately asked if he could have one every Friday night, completely forgetting his spooky fears in favor of the melted cheese.
That moment of hesitation turning into pure enjoyment is why this recipe stuck with me. It’s not just about the food; it’s about that bridge between fun presentation and actual deliciousness. You know how hard it is to get kids to eat appetizers that look weird? This recipe solves that problem by making the weird part the best part. The pastry gets flaky and golden, hiding the simple cheese inside until the very first bite.
I remember making this for a neighbor’s kid’s party last October. The other parents were asking for the recipe while their kids were fighting over the last piece. It’s become a staple in our house for any gathering where people need to mingle while eating. There’s something comforting about pulling a hot, cheesy dish out of the oven when the weather is getting crisp. It feels like autumn in a bite.
The magic is in the simplicity. You don’t need to be a pastry chef to make this work. Store-bought puff pastry does all the heavy lifting for you. You just wrap, bake, and watch the transformation happen. It’s reliable, tasty, and always a hit. I’ve made this recipe dozens of times, and it never fails to impress. It’s the kind of dish that disappears faster than you can blink.
Why You’ll Love This Recipe
This crispy mummy wrapped baked brie isn’t just another party snack; it’s a test of my patience because it disappears so fast. I’ve tried making brie appetizers for years, from stuffed to grilled, but this one stands out for its perfect balance of textures and flavors. It’s the kind of dish that makes you close your eyes after the first bite, savoring the contrast between the crunchy, buttery pastry and the soft, creamy cheese.
Here is why this recipe is a winner in my kitchen:
* **Quick & Easy**: Comes together in under 20 minutes before baking. Perfect for busy weeknights or last-minute Halloween gatherings where you need to look like you spent hours cooking.
* **Simple Ingredients**: No fancy grocery trips needed; you likely already have puff pastry and cheese in your freezer or fridge. It relies on pantry staples that most people keep on hand.
* **Perfect for Halloween**: Great for spooky themed parties, fall gatherings, or just adding a fun twist to your regular game night.
* **Crowd-Pleaser**: Always gets rave reviews from kids and adults alike. Even the pickiest eaters can’t resist the gooey center.
* **Unbelievably Delicious**: The texture and flavor combo is next-level comfort food. The savory notes of the cheese pair beautifully with the buttery crust.
What makes this recipe different from the rest is the technique of wrapping. Many recipes just place cheese on dough, but wrapping it tightly ensures every bite has that crispy exterior. I tested several methods before settling on this one. The key is cutting the strips evenly so they cover the cheese completely without overlapping too much. This creates that “mummy” look while ensuring the cheese melts evenly.
It’s also easier than you think. You don’t need to make dough from scratch. Using high-quality store-bought puff pastry saves time and guarantees a flaky result. I prefer brands like Pepperidge Farm for their consistent quality. The result is a sophisticated appetizer that feels homemade but requires minimal effort.
This recipe isn’t just good—it is the kind that makes you feel like a genius host. It’s comfort food reimagined—fun, fast, but with the same soul-soothing satisfaction as a warm meal. It’s perfect for impressing guests without stress, or turning a simple meal into something memorable.
What Ingredients You Will Need
This recipe uses simple, wholesome ingredients to deliver bold flavor and satisfying texture without the fuss. The beauty of this dish lies in its minimalism. You don’t need a long list of obscure spices or hard-to-find items. Everything you need is likely already in your kitchen or can be grabbed quickly from the store. The focus is on quality over quantity, letting the natural flavors of the cheese and pastry shine through.
Here is what you will need to make this crispy mummy wrapped baked brie:
* **1 sheet puff pastry, thawed**: This is the foundation of the recipe. Look for a brand that has high butter content for the best flakiness. I recommend Pepperidge Farm for its consistent layers.
* **1 wheel brie cheese, rind on**: Choose a wheel that is about 8-9 inches in diameter. The rind is edible and adds a nice earthy flavor, so don’t remove it unless you really dislike it.
* **1 egg, beaten**: This acts as an egg wash to give the pastry a beautiful golden-brown color. You can also use milk if you want a lighter crust.
* **Sesame seeds (optional)**: These are used for the mummy’s eyes. Black sesame seeds look more like eyes, but white ones work too. They add a subtle crunch and visual detail.
* **1 tablespoon water**: Used to mix with the egg for the wash.
The puff pastry should be thawed according to package instructions but still cold. If it gets too warm, it will stick to your hands and lose its flaky texture. Keep it in the fridge until you are ready to roll it out.
For the brie, freshness matters. Make sure your cheese is not too soft or leaking. A firm wheel will hold its shape better during baking. If you are buying brie in advance, keep it refrigerated until the day of cooking.
You can substitute the brie with camembert if you prefer a stronger flavor. Camembert is often creamier and has a more pungent taste, which some people love. However, brie is milder and more universally liked, making it a safer bet for mixed crowds.
If you are looking for a gluten-free option, you can use gluten-free puff pastry, though the texture might be slightly different. It’s worth experimenting with to see what works best for your dietary needs.
The sesame seeds are just for decoration, but they add a nice finishing touch. If you don’t have sesame seeds, you can use poppy seeds or just leave them off. The mummy look is still clear without them.
Equipment Needed
You don’t need a lot of fancy tools to make this recipe. A few basic kitchen items will get the job done perfectly. Having the right equipment makes the process smoother and ensures even baking.
* **Baking sheet**: A standard 13×18 inch baking sheet is ideal. Make sure it is large enough to hold the brie wheel with some space around it for the pastry strips.
* **Parchment paper**: Line your baking sheet with parchment paper to prevent sticking. This makes cleanup a breeze and ensures the pastry doesn’t burn on the bottom.
* **Rolling pin**: You will need this to roll out the puff pastry to the correct size. A standard rolling pin works fine.
* **Pastry brush**: Essential for applying the egg wash evenly. A silicone brush is easier to clean than a traditional bristle brush.
* **Sharp knife or pizza cutter**: Use this to cut the pastry into strips. A pizza cutter makes quick, clean cuts through the dough.
* **Small bowl**: For mixing the egg wash.
If you don’t have a rolling pin, you can use a clean glass bottle. It works surprisingly well for flattening the pastry. For the egg wash, a small spoon can work in a pinch, but a brush gives a more even coating.
Maintaining your baking sheet is important for consistent results. If it’s warped, the pastry might not bake evenly. Replace it if it shows signs of wear. A light-colored sheet is better for preventing the bottom from burning too quickly.
Budget-friendly options include using a standard baking sheet instead of a specialty one. The results are the same. You don’t need to invest in expensive tools for this recipe.
Preparation Method
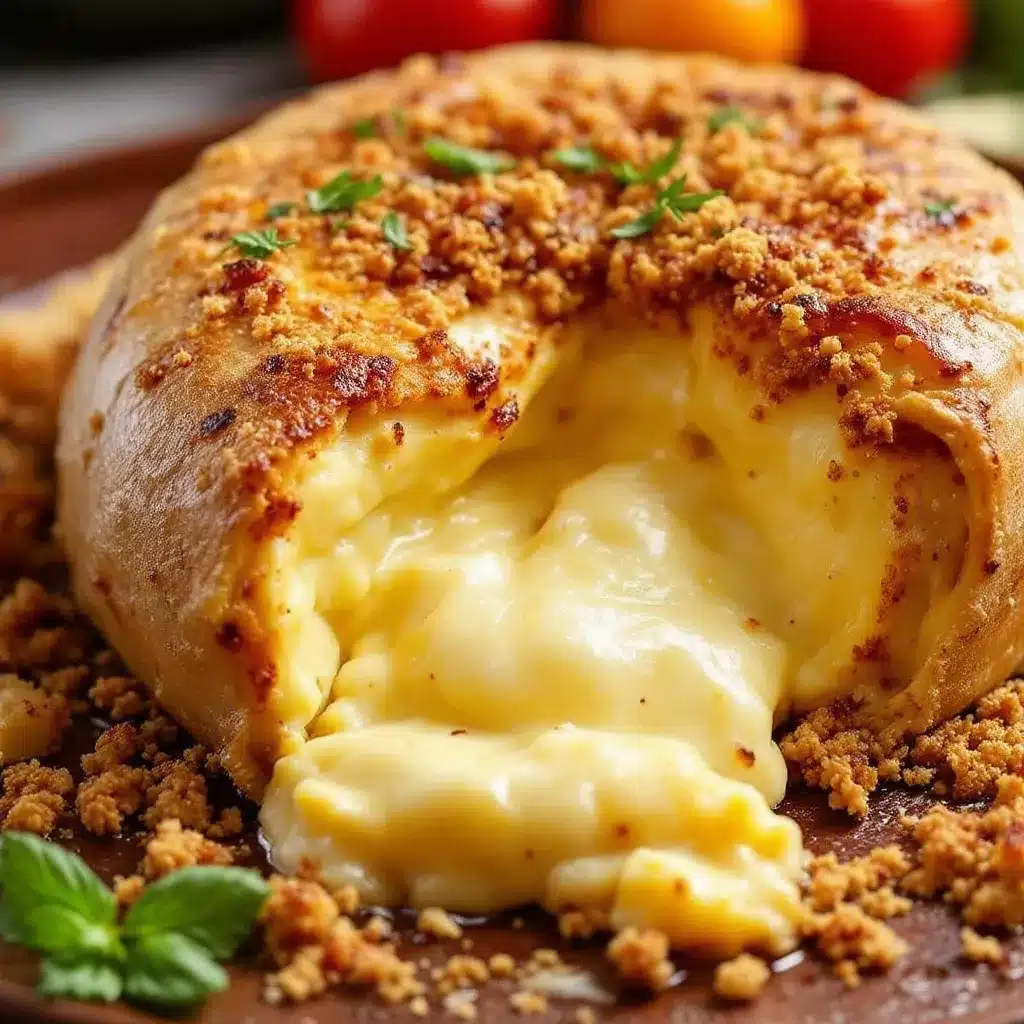
Making crispy mummy wrapped baked brie is straightforward, but attention to detail matters. Follow these steps carefully for the best results.
1. **Preheat the Oven**: Start by preheating your oven to 400°F (200°C). This ensures the oven is hot enough when the brie goes in, helping the pastry puff up immediately.
2. **Prepare the Baking Sheet**: Line a large baking sheet with parchment paper. This prevents sticking and makes cleanup easy. Set it aside.
3. **Roll Out the Pastry**: On a lightly floured surface, roll out the thawed puff pastry sheet. You want it to be large enough to wrap around the brie wheel with some overlap. Roll it to about 1/8 inch thickness.
4. **Cut the Strips**: Use a sharp knife or pizza cutter to cut the pastry into strips about 1 inch wide. You will need enough strips to cover the entire wheel of brie.
5. **Place the Brie**: Gently place the wheel of brie in the center of the baking sheet. Keep the rind on; it helps hold the cheese together.
6. **Wrap the Mummy**: Lay the pastry strips over the brie, starting from the bottom and working your way up. Overlap the strips slightly to create the mummy effect. Leave a small gap at the top for the face if you want.
7. **Add Eyes**: Place two sesame seeds on the top strip for the eyes. Press them gently into the dough so they stick.
8. **Apply Egg Wash**: Beat one egg with a tablespoon of water. Use a pastry brush to coat the pastry strips evenly. This gives the mummy a golden, shiny finish.
9. **Bake**: Place the baking sheet in the preheated oven. Bake for 20-25 minutes, or until the pastry is puffed and golden brown.
10. **Cool and Serve**: Let the brie cool for 5 minutes before serving. This allows the cheese to set slightly, making it easier to cut. Serve warm with crackers or bread.
Troubleshooting tips: If the pastry starts to brown too quickly, cover it loosely with foil. If the cheese leaks out, it might be overbaked. Keep an eye on it during the last few minutes.
The key is to work quickly with the pastry so it doesn’t get too warm. If it becomes sticky, pop it back in the fridge for 10 minutes. This helps maintain the layers.
Cooking Tips & Techniques
Professional bakers know that temperature control is everything. For this recipe, keeping the pastry cold is crucial. If the butter in the dough melts before baking, you lose those flaky layers. Work in a cool kitchen if possible, or chill the wrapped brie in the fridge for 10 minutes before baking.
A common mistake is not sealing the edges properly. Make sure the strips are pressed down firmly against the cheese. This prevents the cheese from oozing out too much during baking. Oozing is delicious, but too much can make a mess on your baking sheet.
Timing is also important. Brie can go from perfect to liquid gold in minutes. Start checking at 20 minutes. The pastry should be deep golden brown, and the cheese should be soft but not running. If you’re unsure, gently press the top; it should yield slightly.
Multitasking strategy: While the brie is baking, prepare your serving platter. Crackers, apples, and grapes can be arranged ahead of time. This way, you can serve the brie immediately when it comes out of the oven, ensuring it’s at the perfect temperature.
Consistency tip: Cut the pastry strips to the same width. This ensures even baking and a uniform look. Uneven strips might cook at different rates, leading to some parts being undercooked or overcooked.
I learned this the hard way after burning one batch because I walked away to answer the phone. Stay near the oven! The difference between good and great is often just a few seconds of attention.
Variations & Adaptations
You can customize this recipe to suit different tastes and dietary needs. Here are a few ideas:
* **Spicy Twist**: Add a layer of jalapeño jelly or hot honey on top of the brie before wrapping. This adds a kick that pairs well with the mild cheese.
* **Herb Infused**: Mix dried thyme or rosemary into the egg wash. This adds a fragrant aroma and subtle flavor to the pastry.
* **Nutty Option**: Sprinkle chopped walnuts or pecans on the pastry before baking. This adds crunch and pairs nicely with the cheese.
* **Gluten-Free**: Use gluten-free puff pastry. Note that the texture may be slightly denser, but the flavor remains delicious.
* **Dairy-Free**: Use a dairy-free brie alternative. Many brands now offer vegan brie that melts well.
I once tried wrapping the brie in phyllo dough instead of puff pastry. It was too delicate and broke easily. Puff pastry is definitely the better choice for this mummy shape.
For a sweet variation, add cranberry sauce or fig jam under the pastry. This complements the cheese beautifully and adds a touch of sweetness.
If you are feeding a large crowd, double the recipe. Make two mummies and place them side by side on the baking sheet. Just ensure they have enough space to bake evenly.
Serving & Storage Suggestions
Serve this crispy mummy wrapped baked brie warm. It pairs beautifully with crusty baguette slices, water crackers, or apple slices. The contrast between the crunchy fruit and the soft cheese is delightful.
For a complete appetizer spread, add some nuts, olives, and charcuterie. This creates a balanced board that guests can graze on.
To store leftovers, let the brie cool completely. Wrap it tightly in plastic wrap and refrigerate for up to 3 days. Reheat in the oven at 350°F for 10 minutes to restore the crispiness.
Freezing is not recommended as the pastry may become soggy upon thawing. It’s best enjoyed fresh.
The flavors develop over time, becoming richer as the cheese melds with the pastry. However, the texture is best when freshly baked.
Nutritional Information & Benefits
This recipe is rich in calcium and protein from the brie cheese. Puff pastry provides energy from carbohydrates and fats. While it’s indulgent, it’s best enjoyed in moderation.
One serving (approx. 1/8 of the brie) contains about 250 calories. It is naturally gluten-free if you use gluten-free pastry, but standard puff pastry contains gluten.
The brie rind is edible and adds probiotics, which are good for gut health. However, some people prefer to remove it for texture reasons.
This dish is not suitable for those with dairy or gluten allergies unless substitutions are made. Always check ingredient labels for potential allergens.
I enjoy this as a treat rather than a daily staple. It’s a special occasion food that brings joy and comfort.
Conclusion
This crispy mummy wrapped baked brie is a must-try for any party or cozy night in. It’s easy to make, delicious to eat, and fun to look at. I love how it brings people together, whether it’s kids pretending the mummy is real or adults debating the best dipping sauce.
Feel free to customize it with your favorite jams, nuts, or spices. Make it your own and enjoy the process.
Please share your creations in the comments below. I’d love to see how you decorated your mummies and what toppings you added. Don’t forget to share this recipe with friends who love easy appetizers.
Happy baking, and enjoy your spooky snack!
Frequently Asked Questions
Can I use camembert instead of brie?
Yes, camembert works well as a substitute. It has a stronger flavor and softer texture, so handle it gently. The baking time remains the same.
How do I prevent the pastry from getting soggy?
Make sure the brie is not too warm before wrapping. Also, ensure the egg wash is applied evenly but not excessively. Baking on a preheated sheet can also help crisp the bottom.
Can I make this ahead of time?
You can assemble the mummies and refrigerate them for up to 24 hours before baking. Just add a few extra minutes to the baking time if they go in cold from the fridge.
What dipping sauces go well with this?
Cranberry sauce, hot honey, fig jam, or whole grain mustard are excellent choices. They complement the salty, creamy cheese perfectly.
Is the rind of the brie edible?
Yes, the rind is edible and adds a nice earthy flavor. Some people prefer to remove it, but it’s safe and delicious to eat.
Pin This Recipe!
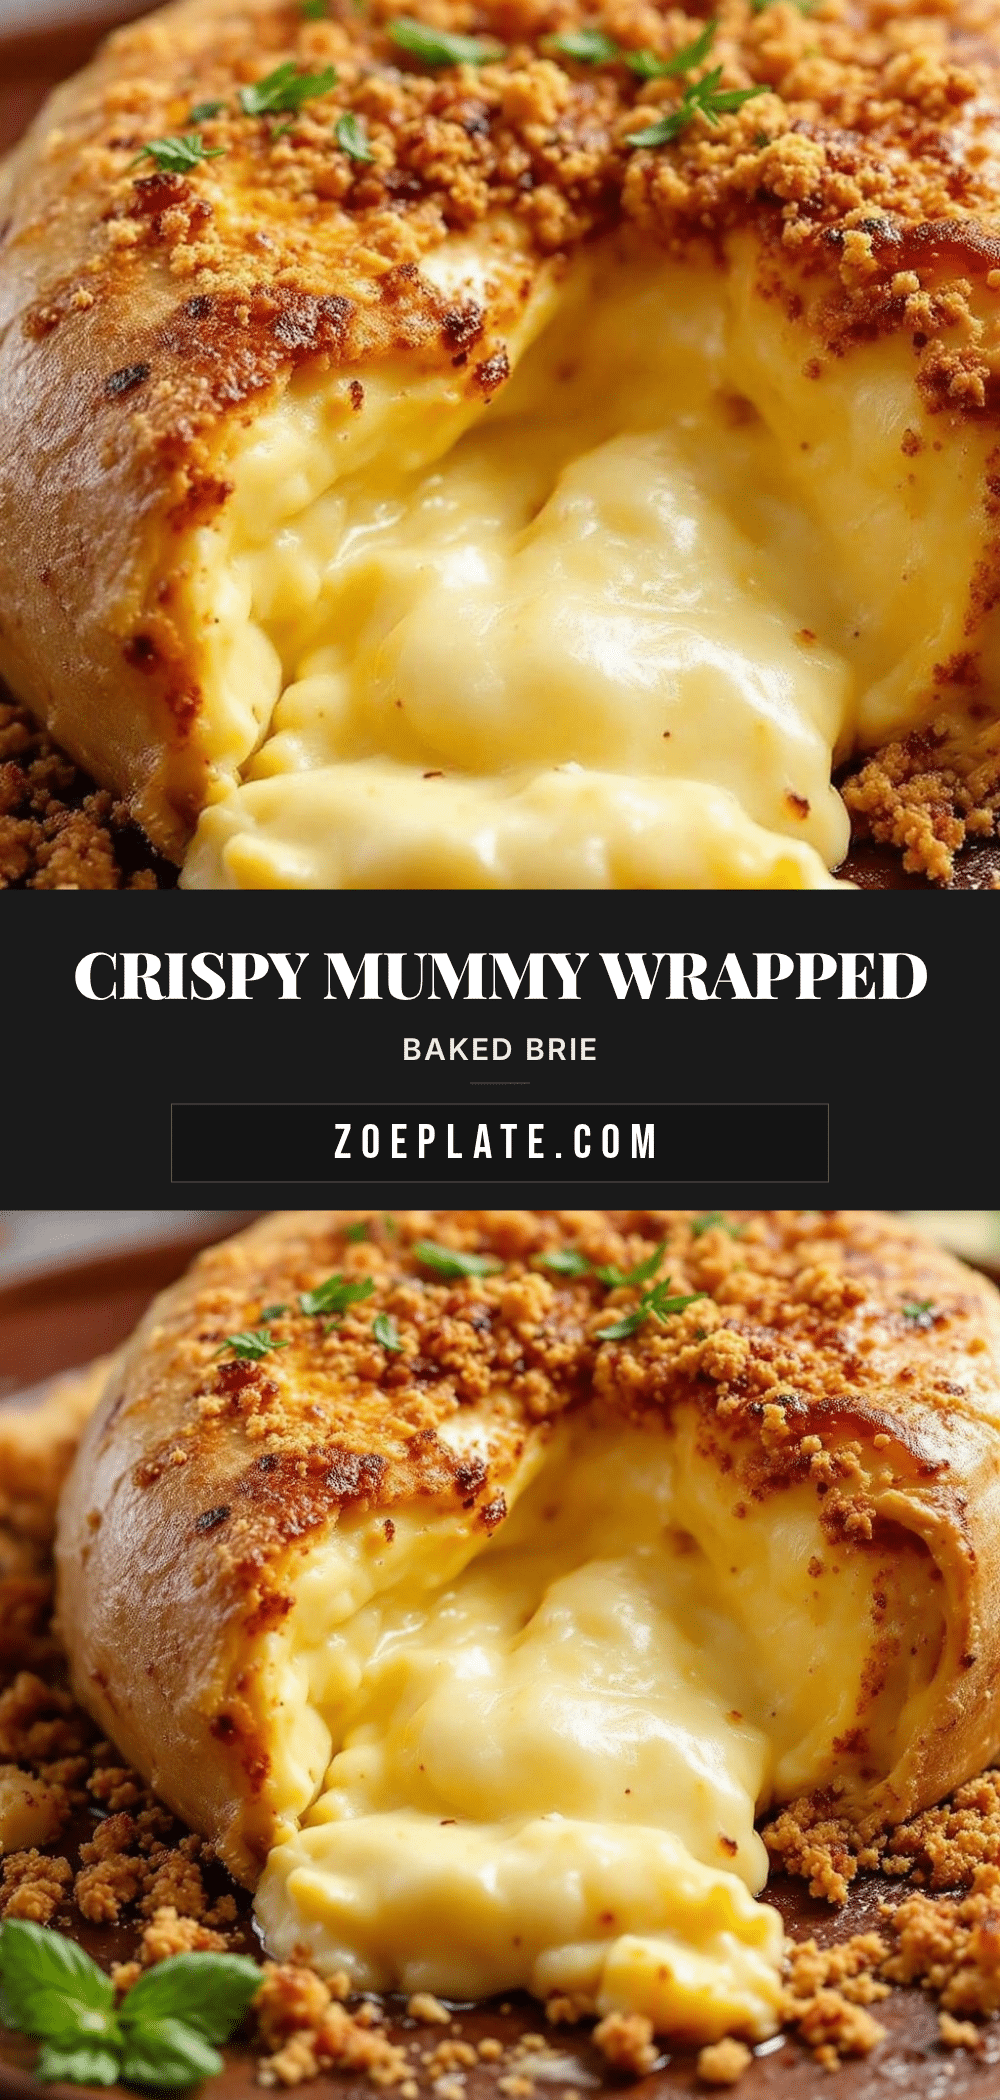
Crispy Mummy Wrapped Baked Brie
A fun and delicious Halloween appetizer featuring a wheel of brie cheese wrapped in flaky puff pastry strips to resemble a mummy. It is quick to prepare, crowd-pleasing, and perfect for spooky themed parties or fall gatherings.
- Prep Time: 20 minutes
- Cook Time: 20-25 minutes
- Total Time: 45 minutes
- Yield: 8 servings 1x
- Category: Appetizer
- Cuisine: American
Ingredients
- 1 sheet puff pastry, thawed
- 1 wheel brie cheese (8–9 inches), rind on
- 1 egg, beaten
- 1 tablespoon water
- Sesame seeds (optional, for eyes)
Instructions
- Preheat the oven to 400°F (200°C).
- Line a large baking sheet with parchment paper.
- On a lightly floured surface, roll out the thawed puff pastry to about 1/8 inch thickness.
- Cut the pastry into strips approximately 1 inch wide.
- Place the wheel of brie in the center of the prepared baking sheet.
- Lay the pastry strips over the brie, starting from the bottom and working up, overlapping slightly to create a mummy effect.
- Place two sesame seeds on the top strip for the eyes.
- Mix the beaten egg with water and brush the pastry strips evenly with the egg wash.
- Bake for 20-25 minutes, or until the pastry is puffed and golden brown.
- Let cool for 5 minutes before serving warm with crackers or bread.
Notes
Keep the pastry cold to ensure flakiness. If the pastry gets too warm, chill it for 10 minutes. Ensure the brie is not too soft or leaking. The rind is edible. Serve with cranberry sauce, hot honey, or whole grain mustard.
Nutrition
- Serving Size: 1/8 of the brie whee
- Calories: 250
- Sugar: 1
- Sodium: 350
- Fat: 18
- Saturated Fat: 10
- Carbohydrates: 15
- Fiber: 1
- Protein: 6
Keywords: Halloween recipe, baked brie, mummy appetizer, puff pastry, party food, easy appetizer, fall recipes, cheese dip


