Still pulling pumpkin guts out from under my fingernails when I spotted the colander I’d dumped all those slippery seeds into. My kitchen looked like a pumpkin exploded — orange pulp on the counter, stringy bits stuck to the sink, and a pile of pale, wet seeds staring at me from the strainer. Every year I tell myself I’ll just toss them. Every year I end up standing there, rinsing and picking, because honestly? Throwing them away feels like wasting the best part of the pumpkin-carving ritual.
This particular October evening, I was tired. The kids had abandoned their half-carved jack-o’-lanterns for video games, and I was left with the mess. But I remembered my grandmother’s trick — she never wasted a single seed. She’d spread them on a dish towel, pat them dry, and roast them low and slow until the whole house smelled like a fall festival. So I grabbed my salt shaker and decided to give it another go.
What came out of that oven was pure gold. Not the soggy, chewy seeds I’d struggled with before. These were crispy, crunchy, salty little nuggets that disappeared before I could even put them in a bowl. My husband walked in, grabbed a handful, and said, “Why don’t we just carve pumpkins for the seeds?” And you know what? He wasn’t wrong. That’s the moment this crispy roasted pumpkin seeds with sea salt recipe became my non-negotiable fall staple.
Why You’ll Love This Recipe
Let me tell you why this recipe works when others fail. I’ve tested it about six different ways — boiling, soaking, skipping the drying step (big mistake), and using different temperatures. This version is the one I keep coming back to, and here’s why it’ll be your go-to too:
- Incredibly Crunchy : No more chewy or rubbery seeds. The boiling step is the secret weapon here — it helps the salt penetrate the seed and ensures that perfect crackle when you bite down.
- Simple Ingredients : You literally need pumpkin seeds, salt, and a little oil. That’s it. No fancy pantry items, no weird spices you’ll never use again.
- Perfect for Fall Gatherings : Whether you’re hosting a Halloween party, setting up a seasonal grazing board, or just want something to munch on while watching a movie, these seeds fit right in.
- Kid-Approved : My kids fight over these. They actually prefer them to chips, which feels like a parenting win I’ll take.
- Budget-Friendly : You’re already carving pumpkins anyway. The seeds are basically free — why buy expensive snacks when you can make something better from what you’d otherwise toss?
What makes this different from other roasted pumpkin seed recipes? Most skip the boiling step or rush the drying process. Trust me, I’ve made both mistakes. Boiling the seeds in salted water before roasting does two things: it seasons them from the inside out, and it helps the shells crisp up instead of staying tough. This isn’t just another version — it’s the one that actually delivers on the crispy promise.
What Ingredients You Will Need
This recipe uses the simplest ingredients you can imagine. That’s the beauty of it — you don’t need much to make something genuinely delicious. Here’s what you’ll need:
- Fresh pumpkin seeds — about 1 ½ cups, scooped straight from your carving pumpkin. You can also use seeds from sugar pumpkins or even butternut squash. The fresher, the better.
- Water — 4 cups for boiling. Just tap water is fine.
- Sea salt — 2 tablespoons for the boiling water, plus extra for sprinkling. I prefer fine sea salt for the boil and flaky sea salt for the final sprinkle. Maldon is my go-to for that last touch.
- Olive oil or melted butter — 1 tablespoon. Olive oil gives a cleaner flavor, but butter adds a richness that’s hard to beat. Both work great.
A quick note on pumpkin seeds: you want to get as much of the pumpkin guts off as possible without driving yourself crazy. I rinse mine in a colander under cold water, picking out the big chunks of stringy pulp. A little bit of orange staining is fine — it’ll cook off. Just don’t leave big wet clumps of pumpkin goo clinging to the seeds, or they’ll steam instead of roast.
If you’re using seeds from a store-bought pumpkin that’s been sitting on your porch for a week, they’ll still work. Just make sure they’re not moldy or soft. Fresh is best, but even slightly older seeds can be revived with this method.
For the salt, don’t skip the boiling step. I know it seems like an extra hassle, but it’s the difference between seeds that taste salty only on the outside and seeds that are seasoned all the way through. Trust the process on this one.
Equipment Needed
You don’t need much for this recipe, which is part of why I love it. Here’s what you’ll need:
- Colander — for rinsing the seeds. Any size works.
- Medium saucepan — for boiling the seeds. A 2-quart pot is perfect.
- Kitchen towel or paper towels — for drying the seeds thoroughly. This step matters more than you think.
- Baking sheet — a standard half-sheet pan works great. Line it with parchment paper if you want easier cleanup, though it’s not strictly necessary.
- Mixing bowl — for tossing the seeds with oil after boiling.
- Spatula or wooden spoon — for stirring halfway through roasting.
If you don’t have a baking sheet, a cast iron skillet works surprisingly well. Just spread the seeds in a single layer and keep an eye on them — cast iron holds heat differently. I’ve also used a toaster oven for smaller batches with good results. Just reduce the temperature by 25 degrees since toaster ovens run hot.
One tip: don’t use a nonstick baking sheet for this. The high heat can damage the coating over time, and the seeds brown better on a plain metal pan anyway.
Preparation Method
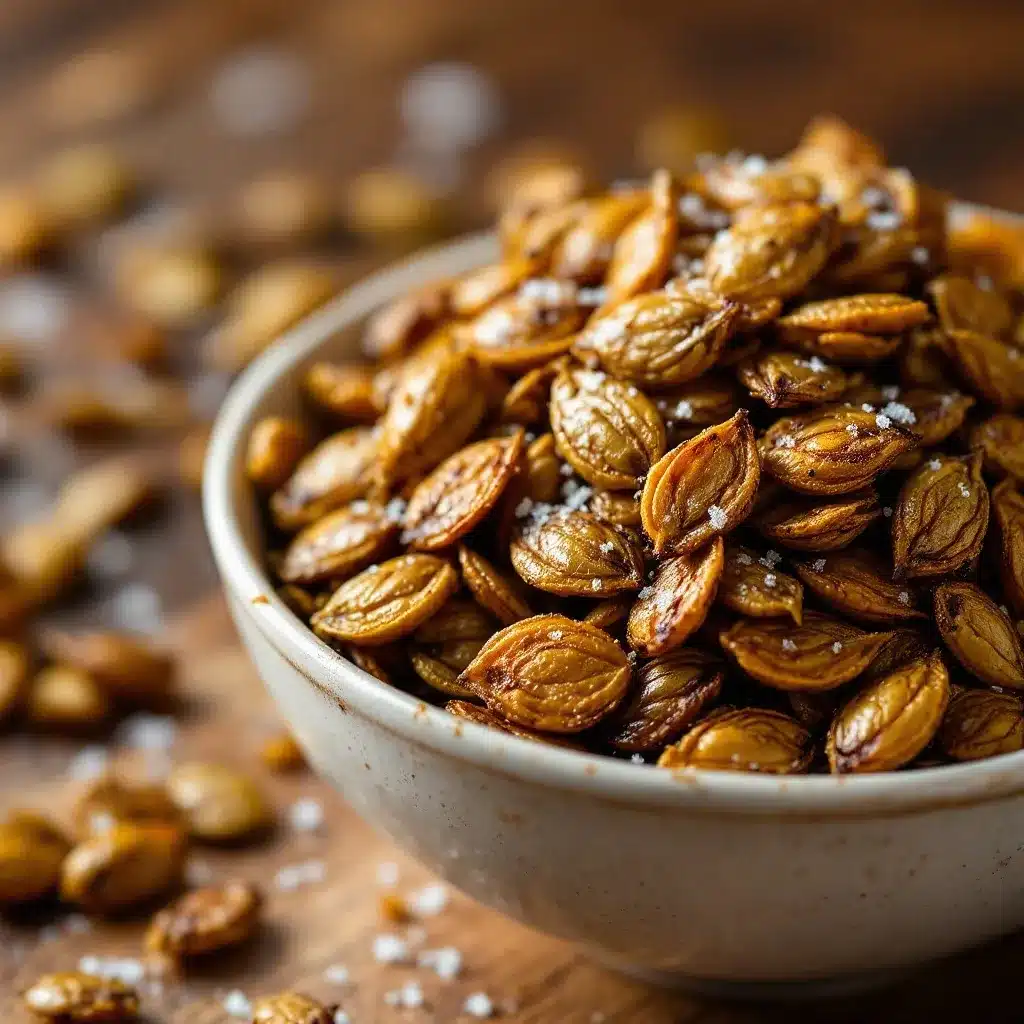
Alright, let’s get to the good part. Here’s exactly how to make the crispiest roasted pumpkin seeds you’ve ever had:
- Clean the seeds. Separate the seeds from the pumpkin guts as best you can. Place them in a colander and rinse under cold water, picking out any large pieces of stringy pulp. Don’t worry about getting them perfectly clean — a little orange residue is fine. Shake off excess water.
- Boil the seeds. In a medium saucepan, bring 4 cups of water to a boil. Add 2 tablespoons of sea salt and stir until dissolved. Add the pumpkin seeds and boil for exactly 10 minutes. This step is non-negotiable — it seasons the seeds and helps them crisp up perfectly. The water will look cloudy and maybe a little orange; that’s normal.
- Drain and dry. Pour the seeds into the colander and let them cool for a minute. Then spread them out on a clean kitchen towel or layers of paper towels. Pat them very dry. I mean really dry — any moisture left on the surface will cause steaming instead of roasting. Let them sit on the towel for about 15 minutes while you preheat the oven.
- Preheat the oven. Set your oven to 350°F (175°C). If your oven runs hot, go with 325°F — you want slow, even roasting, not burnt edges.
- Season the seeds. Transfer the dried seeds to a mixing bowl. Add 1 tablespoon of olive oil or melted butter and toss until every seed is lightly coated. Spread them in a single layer on your baking sheet. Try not to overlap them too much, or they’ll steam instead of crisp.
- Roast. Place the baking sheet on the middle rack. Roast for 20 minutes, then pull the pan out and stir the seeds with a spatula. Spread them back into an even layer and return to the oven. Roast for another 10-15 minutes, checking frequently toward the end. You’re looking for a deep golden brown color and a nutty aroma filling your kitchen.
- Cool completely. Remove the pan from the oven and sprinkle with a little extra flaky sea salt while the seeds are still warm. Let them cool on the baking sheet for at least 15 minutes. They’ll continue to crisp up as they cool. Don’t skip this step — hot seeds are still a little soft, and they need time to set.
- Taste test. Grab a handful once they’re cool. If they’re not as salty as you’d like, add a pinch more salt. If they’re not as crispy as you want, pop them back in the oven for 5 more minutes. Every oven is different, so trust your senses more than the timer.
A few sensory cues to watch for: the seeds should make a gentle clicking sound when you stir them on the pan. They’ll smell toasty and nutty, like popcorn mixed with autumn. And when you bite one, it should crack cleanly — no chewiness, no toughness.
Cooking Tips & Techniques
I’ve made plenty of mistakes with pumpkin seeds over the years, so let me save you the trouble. Here are the things I wish someone had told me:
Don’t skip the boil. I know it’s tempting to just rinse, oil, and roast. I’ve tried it. The result is pale, chewy seeds that taste salty only on the outside. The boil is what transforms them into something truly crispy and flavorful all the way through.
Dry them like you mean it. This is the step most people rush. Wet seeds steam in the oven. Steamed seeds are chewy. Chewy seeds are disappointing. Take the extra 15 minutes to pat them dry and let them air out. Your patience will be rewarded.
Watch the oven like a hawk. Pumpkin seeds go from perfectly golden to burnt in about 90 seconds. I learned this the hard way when I walked away to fold laundry and came back to a smoky kitchen. Set a timer, check early, and trust your nose.
Stir halfway through. The seeds on the edges of the pan brown faster than the ones in the middle. A quick stir at the 20-minute mark ensures even roasting. It takes five seconds and makes a real difference.
Let them cool completely. I know you’ll want to eat them straight out of the oven. I do too. But they’re not fully crispy until they’ve cooled. Give them at least 15 minutes. Use that time to clean up your pumpkin-carving mess.
Double the batch. Seriously. These disappear fast. If you’re carving multiple pumpkins, roast all the seeds at once. They store well (more on that below), and you’ll thank yourself later when you’re reaching for a crunchy snack.
Variations & Adaptations
Once you’ve mastered the basic recipe, feel free to play around. Here are some variations I’ve tried and loved:
- Spicy Chili Lime : After tossing the seeds with oil, add ½ teaspoon chili powder, ½ teaspoon smoked paprika, and the zest of one lime. Skip the flaky salt at the end and use a tiny pinch of lime salt instead. These are amazing on a sheet pan nacho bar for game day.
- Sweet Cinnamon : Replace the salt in the boil with 1 tablespoon of sugar and 1 teaspoon of cinnamon. After roasting, toss with a mixture of 1 tablespoon melted butter, 1 tablespoon brown sugar, and another sprinkle of cinnamon. These taste like fall in a bowl.
- Garlic Parmesan : Add ½ teaspoon garlic powder and 2 tablespoons of finely grated Parmesan cheese to the oil-coated seeds before roasting. The cheese will crisp up and create little salty, savory clusters. Absolutely addictive.
- Everything Bagel : After tossing with oil, sprinkle with 1 tablespoon of everything bagel seasoning. Roast as directed. These are incredible on salads or just eaten by the handful.
- Maple Cayenne : Swap the salt in the boil for 1 tablespoon of maple syrup (yes, in the water — it sounds weird but works). After roasting, drizzle with a little more maple syrup and a pinch of cayenne pepper. Sweet, spicy, and totally unexpected.
If you’re avoiding oil, you can dry-roast the seeds without any fat. They’ll be a little less rich but still crispy. Just watch them more carefully since they can burn faster without the oil buffer.
Serving & Storage Suggestions
These seeds are incredibly versatile. Here’s how to serve and store them:
Serving ideas: Eat them straight from the bowl as a snack. Sprinkle them over soups or salads for crunch. Add them to a seasonal grazing board alongside cheeses, dried fruits, and nuts. Use them as a topping for roasted vegetables or baked sweet potatoes. Crush them up and use them as a crust for chicken or fish. Honestly, I’ve even put them on ice cream — the salty-sweet combo is unreal.
Storage: Once completely cool, transfer the seeds to an airtight container. They’ll stay fresh at room temperature for up to 2 weeks. If you live in a humid climate (I feel your pain), store them in the refrigerator to maintain crispness. They’ll last about a month in the fridge.
Freezing: You can freeze roasted pumpkin seeds for up to 3 months. Let them cool completely, then place them in a freezer-safe bag or container. Squeeze out as much air as possible. To refresh them, spread them on a baking sheet and warm them in a 300°F oven for 5 minutes. They’ll crisp right back up.
Re-crisping: If your seeds lose their crunch over time (it happens), don’t throw them out. Spread them on a baking sheet and pop them in a 300°F oven for 5-7 minutes. Let them cool, and they’ll be almost as good as fresh.
One thing I’ve noticed: the flavor actually deepens after a day or two. The salt settles in, and the toasty notes become more pronounced. So if you can resist eating them all immediately, they’ll reward you.
Nutritional Information & Benefits
Pumpkin seeds are a nutritional powerhouse disguised as a simple snack. Here’s the rough breakdown for a ¼-cup serving of these roasted seeds:
- Calories: Approximately 150-180
- Protein: 7-9 grams
- Fat: 13-15 grams (mostly healthy unsaturated fats)
- Carbohydrates: 4-6 grams
- Fiber: 2-3 grams
- Iron: About 15% of your daily needs
- Magnesium: About 40% of your daily needs
- Zinc: About 20% of your daily needs
The health benefits are pretty impressive. Pumpkin seeds are one of the best natural sources of magnesium, which supports muscle function, sleep quality, and bone health. They’re also rich in zinc, which is great for your immune system — especially during cold and flu season. Speaking of immune support, if you’re looking for other ways to stay healthy this fall, you might enjoy this easy fire cider recipe or this homemade elderberry syrup.
These seeds are naturally gluten-free and can be made dairy-free by using olive oil instead of butter. They’re also low in sugar (unless you go for the sweet variations) and packed with fiber, which helps keep you full between meals.
From a wellness perspective, I love that this snack feels indulgent but is actually good for you. It’s the kind of thing you can feel great about eating — and even better about sharing with your family.
Conclusion
Look, I know roasted pumpkin seeds aren’t exactly a groundbreaking recipe. But the difference between good seeds and great seeds is all in the technique. That boiling step, the thorough drying, the careful watching — those small things turn an afterthought into something you’ll actually crave all year long, not just during pumpkin season.
This recipe is forgiving enough for beginners but rewarding enough for experienced cooks. It’s the kind of thing you can make with your kids, your friends, or just yourself on a quiet fall evening. And honestly? It makes the whole pumpkin-carving mess feel worth it.
I’d love to hear how yours turn out. Did you try a variation? Burn your first batch like I did? Find a new favorite way to eat them? Drop a comment below and tell me about it. And if you share a photo on social media, tag me — I want to see your crispy, salty creations.
Now go carve that pumpkin. The seeds are waiting.
Frequently Asked Questions
Can I use seeds from any type of pumpkin?
Yes, absolutely. Seeds from carving pumpkins, sugar pumpkins, pie pumpkins, and even butternut squash all work. The size and texture might vary slightly — smaller seeds tend to be more tender — but the same method works for all of them.
Do I have to boil the seeds first?
I strongly recommend it. Boiling the seeds in salted water does two things: it seasons them all the way through, and it helps the shells crisp up instead of staying tough. Skipping this step usually leads to chewy, unevenly seasoned seeds.
How do I know when the seeds are done roasting?
Look for a deep golden brown color and a nutty, toasty aroma. The seeds should sound hollow and make a clicking noise when you stir them. Let them cool completely before judging the texture — they’ll continue to crisp up as they cool.
Can I make these in an air fryer?
Yes! Air fry at 300°F for about 12-15 minutes, shaking the basket halfway through. Keep a close eye on them since air fryers run hot. The boiling and drying steps remain the same.
How long do roasted pumpkin seeds stay fresh?
Stored in an airtight container at room temperature, they’ll stay fresh for about 2 weeks. In the refrigerator, they’ll last about a month. You can also freeze them for up to 3 months. If they lose their crunch, re-crisp them in a 300°F oven for 5-7 minutes.
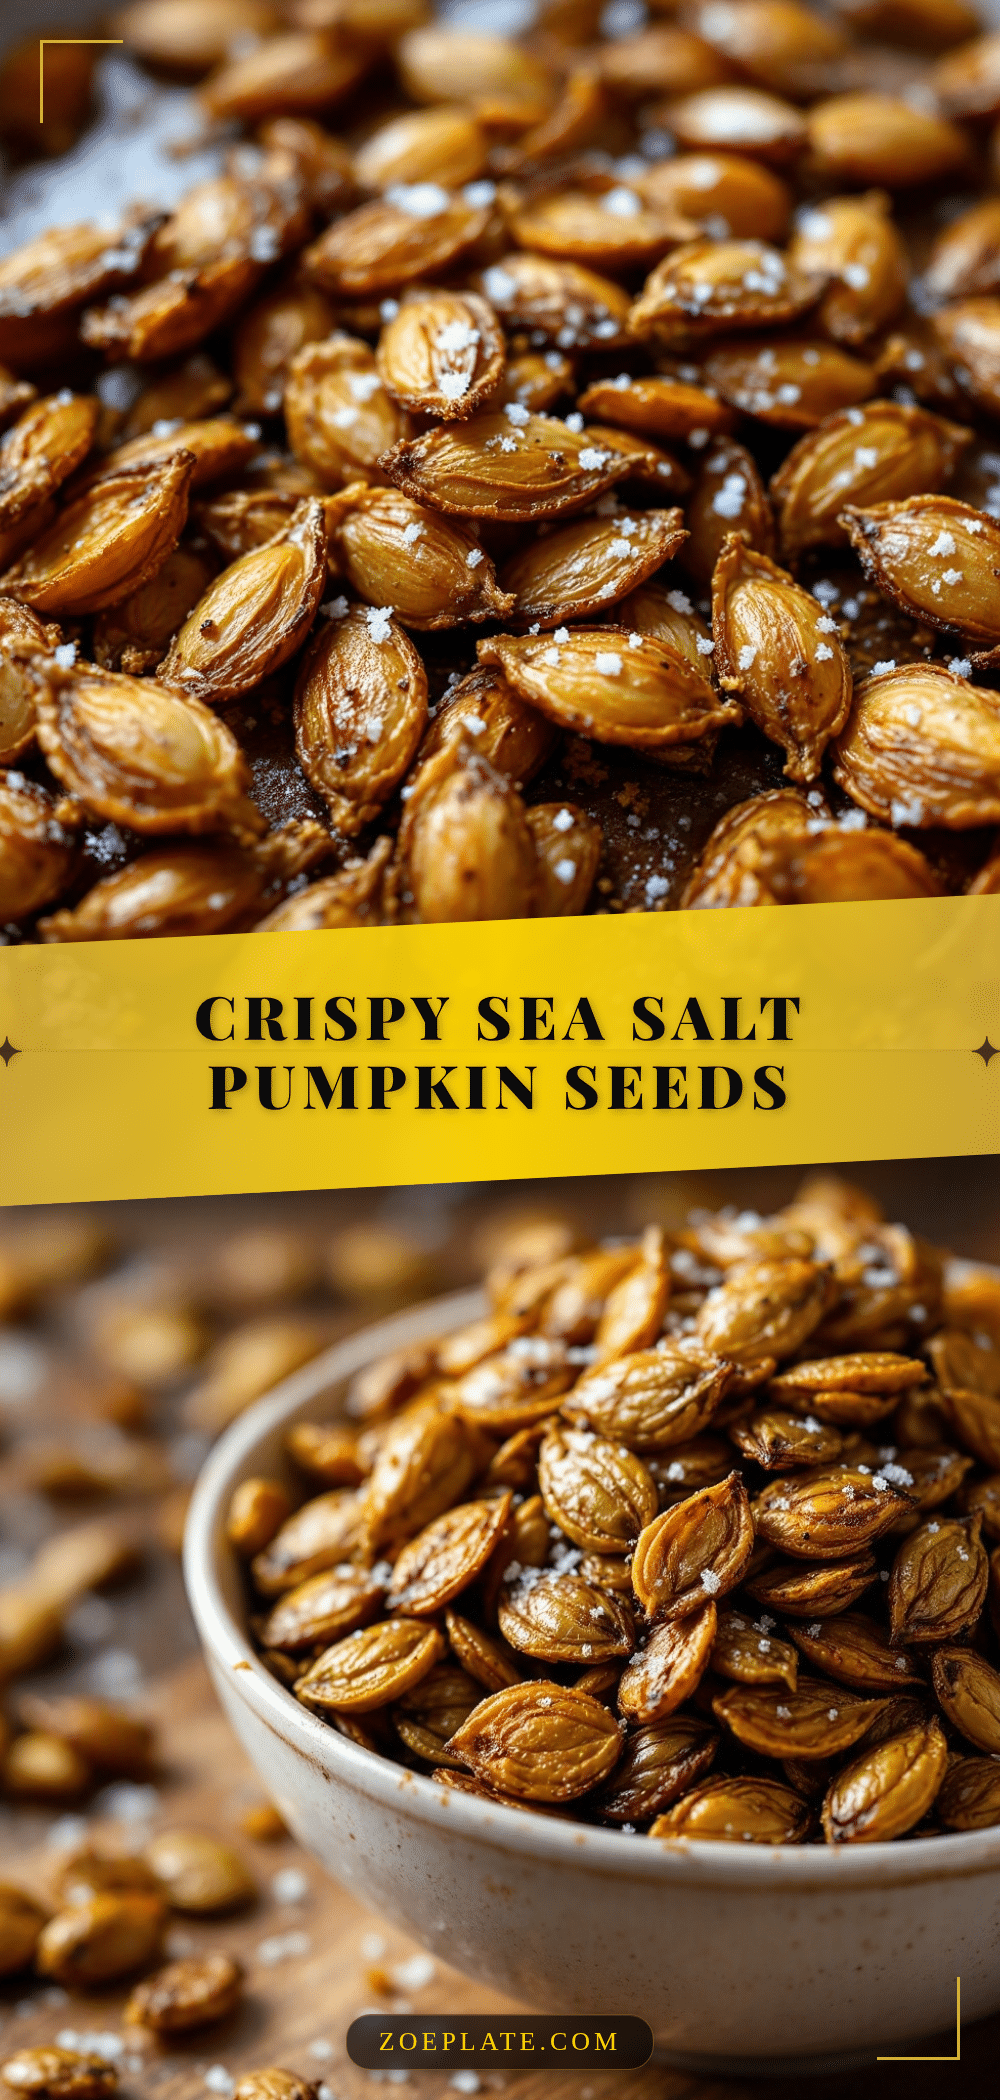
Pin This Recipe!
Crispy Roasted Pumpkin Seeds with Sea Salt
Perfectly crispy, salty roasted pumpkin seeds made with a simple boiling technique that ensures crunch from the inside out. An easy, budget-friendly fall snack that’s kid-approved and perfect for Halloween gatherings.
- Prep Time: 15 minutes
- Cook Time: 30 minutes
- Total Time: 45 minutes
- Yield: 4 servings 1x
- Category: Snack
- Cuisine: American
Ingredients
- 1 ½ cups fresh pumpkin seeds
- 4 cups water
- 2 tablespoons sea salt (for boiling), plus extra for sprinkling
- 1 tablespoon olive oil or melted butter
Instructions
- Clean the seeds: Separate seeds from pumpkin guts, rinse in a colander under cold water, and pick out large pulp pieces. Shake off excess water.
- Boil the seeds: Bring 4 cups water to a boil in a medium saucepan. Add 2 tablespoons sea salt and stir until dissolved. Add pumpkin seeds and boil for exactly 10 minutes.
- Drain and dry: Pour seeds into colander, let cool briefly, then spread on a clean kitchen towel or paper towels. Pat very dry and let sit for 15 minutes while preheating oven.
- Preheat oven to 350°F (175°C). If oven runs hot, use 325°F.
- Season the seeds: Transfer dried seeds to a mixing bowl. Add 1 tablespoon olive oil or melted butter and toss until evenly coated. Spread in a single layer on a baking sheet.
- Roast: Place baking sheet on middle rack. Roast for 20 minutes, then stir seeds. Spread back into even layer and roast another 10-15 minutes until deep golden brown and nutty aroma fills kitchen.
- Cool completely: Remove from oven, sprinkle with extra flaky sea salt while warm. Let cool on baking sheet for at least 15 minutes—they will crisp up as they cool.
- Taste test: Adjust salt if needed. If not crispy enough, return to oven for 5 more minutes.
Notes
Boiling step is essential for crispy, well-seasoned seeds. Dry seeds thoroughly to avoid steaming. Watch closely near end of roasting as seeds can burn quickly. Seeds continue to crisp as they cool. For variations, try Spicy Chili Lime, Sweet Cinnamon, Garlic Parmesan, Everything Bagel, or Maple Cayenne.
Nutrition
- Serving Size: ¼ cup
- Calories: 150180
- Sugar: 1
- Sodium: 200300
- Fat: 1315
- Saturated Fat: 23
- Carbohydrates: 46
- Fiber: 23
- Protein: 79
Keywords: roasted pumpkin seeds, crispy pumpkin seeds, sea salt pumpkin seeds, fall snack, Halloween snack, easy snack recipe


