The car was idling in the driveway, rain hammering the roof, when my daughter realized she’d forgotten her lunchbox. It was 7:15 AM. We were already late. The fridge was humming its usual cold, indifferent tune, and the pantry was looking at me like it owed me money. I had exactly four minutes before the school bus driver would turn around and leave us standing there in our pajamas. No time for a full breakfast. No time to bake a proper pie. Just a bag of old-fashioned oats, a couple of bruised apples that looked a bit sorry for themselves, and a jar of cinnamon that had seen better days.
I dumped the oats into a bowl. I chopped the apples rough—skins on, because who has time to peel? I threw in a splash of milk, a drizzle of maple syrup, and enough cinnamon to make the kitchen smell like a cozy cabin in Vermont. I mixed it all up with a fork, spooned it into the empty muffin tin I’d found under a stack of mail, and shoved it into the oven. The timer set for twenty minutes. We waited. The rain kept up its relentless rhythm. When the timer dinged, the kitchen smelled like autumn had finally decided to stay.
They came out warm, slightly jiggly, and perfect. My daughter ate one standing up, juice dripping down her chin, while I grabbed the other two for the road. They were sturdy enough to hold in a lunchbox later that day, and sweet enough to trick a teenager into thinking they were having dessert for breakfast. That’s when I knew these baked apple cinnamon oatmeal cups weren’t just a backup plan. They were the real deal. Simple, forgiving, and ready for whatever chaos the morning threw at us.
Why You’ll Love This Recipe
Honestly, let’s face it. Mornings are hard. Trying to balance work emails, school runs, and actual human connection before 8 AM is a skill I am still trying to master. That is exactly why this recipe works so well for me. It isn’t just about saving time; it’s about reclaiming a little bit of sanity. I’ve tested this batch dozens of times, from rushed Tuesday mornings to lazy Sunday brunches, and it never fails to deliver. The texture is the key here. Unlike regular oatmeal that can get soggy or weirdly mushy if you leave it too long, baking it creates a structure. It becomes a cupcake, essentially. A healthy, fruit-forward cupcake that doesn’t make you feel guilty.
- Quick & Easy: You’re looking at about 10 minutes of prep time. That’s it. You mix, you scoop, you bake. It’s perfect for busy weeknights when you need breakfast for the next day, or for last-minute cravings on a weekend.
- Simple Ingredients: You likely already have everything in your kitchen right now. Oats, apples, milk, eggs, cinnamon, and a sweetener. No fancy grocery trips needed. No obscure ingredients you’ll use once and then forget in the back of the cupboard.
- Perfect for Meal Prep: This is the ultimate grab-and-go food. Make a batch on Sunday, and you have breakfast sorted for the entire week. They travel well in lunchboxes, which is a huge win for parents trying to avoid the morning scramble.
- Crowd-Pleaser: These always get rave reviews from kids and adults alike. The apple pieces add little bursts of sweetness, and the cinnamon spice feels comforting rather than heavy.
- Unbelievably Delicious: The texture and flavor combo is next-level comfort food. It’s moist but firm, sweet but not cloying. It hits that sweet spot between a snack and a full meal.
What makes this different from other oatmeal recipes? It’s the baking process. When you bake oats, the moisture evaporates slightly, concentrating the flavor. It also allows the apples to soften into the oat mixture without turning into a complete soup. It’s a technique I picked up after burning too many stovetop batches, and it’s the secret to getting that perfect, cake-like consistency. This isn’t just another version of oatmeal—it’s your best version. It’s the kind of recipe that makes you close your eyes after the first bite and just breathe. It’s comfort food reimagined—healthier, faster, but with the same soul-soothing satisfaction. Whether you are impressing guests or just trying to feed yourself, this works.
What Ingredients You Will Need
This recipe uses simple, wholesome ingredients to deliver bold flavor and satisfying texture without the fuss. The beauty of baked oatmeal is that it is incredibly forgiving. You don’t need perfect produce or expensive specialty items. In fact, some of the best results come from using what you already have on hand, like those slightly bruised apples or the last bit of almond milk in the carton. Here is what you need to get started.
- Old-Fashioned Rolled Oats (2 cups / 160g): Do not use instant oats or steel-cut oats for this. Rolled oats provide the right chew and structure. I prefer brands like Bob’s Red Mill because they hold up well during baking without turning to mush. If you need gluten-free, make sure to buy certified GF oats.
- Apples (2 medium, about 300g peeled and diced):: Granny Smith or Honeycrisp are my top picks. Granny Smith gives you a nice tart contrast to the sweetness, while Honeycrisp is juicier and sweeter. You can use any apple you like, but firm apples work best so they don’t completely disintegrate.
- Large Eggs (2 large): These act as the binder. They hold everything together so your cups don’t fall apart when you pick them up. Room temperature eggs mix easier, but cold ones work fine in a pinch.
- Milk (1 cup / 240ml): Dairy or non-dairy both work beautifully. Whole milk makes it richer, but almond, oat, or soy milk work perfectly if you are watching your dairy intake. Just avoid very watery milks like rice milk if you can help it, as it might make the texture too soft.
- Maple Syrup (3 tablespoons / 45ml): Real maple syrup is worth the extra cost for the flavor depth. It adds a distinct, earthy sweetness that white sugar just can’t match. You can use honey or agave if you prefer, but maple is the classic choice here.
- Vanilla Extract (1 teaspoon / 5ml): A good quality vanilla extract adds warmth and rounds out the apple flavor. It’s a small detail, but it makes a big difference in the final taste profile.
- Cinnamon (1 teaspoon / 2g): Ground cinnamon is essential. It ties the apple and oat flavors together. If you have pumpkin pie spice, you can use half cinnamon and half pumpkin spice for a more complex flavor.
- Baking Powder (1 teaspoon / 5g): This is the leavening agent. It helps the cups rise slightly and keeps them fluffy rather than dense. Don’t skip this, or they will be too hard.
- Salt (1/4 teaspoon): A pinch of salt is crucial to balance the sweetness. It enhances the other flavors rather than making the dish taste salty.
- Optional Add-ins: I sometimes throw in a handful of walnuts or pecans for crunch. Raisins or dried cranberries work too if you want a chewier texture. A tablespoon of chia seeds can also add a nice nutritional boost.
When selecting your apples, look for ones that are firm to the touch. Avoid apples that are mealy or soft, as they will turn into applesauce in the oven. If you are using frozen apples, make sure to thaw and drain them first, or your oatmeal will be too wet. For the oats, stick to the medium-thick rolled variety. Instant oats absorb liquid too quickly and result in a gummy texture, while steel-cut oats take too long to bake and remain too hard.
Equipment Needed
You don’t need a fancy kitchen to make these. The main tool you need is a standard 12-cup muffin tin. I use a non-stick metal tin because it conducts heat evenly. Glass or ceramic muffin dishes work too, but you might need to bake them for an extra minute or two. A large mixing bowl is essential—I usually use a 4-quart bowl so there is plenty of room to stir without spilling. A whisk is helpful for beating the eggs and milk together smoothly, though a fork works if you are in a hurry. Measuring cups and spoons are standard, but I’ve found that eyeballing the cinnamon and syrup works fine if you know your taste buds. If you don’t have a muffin tin, you can bake this in a square baking dish, but you will need to cut it into squares rather than scooping individual cups. I also keep a small pastry brush handy to grease the muffin cups with butter or oil, which ensures they don’t stick. Nothing ruins a good oatmeal cup like trying to pry it out of a rusty tin.
Preparation Method
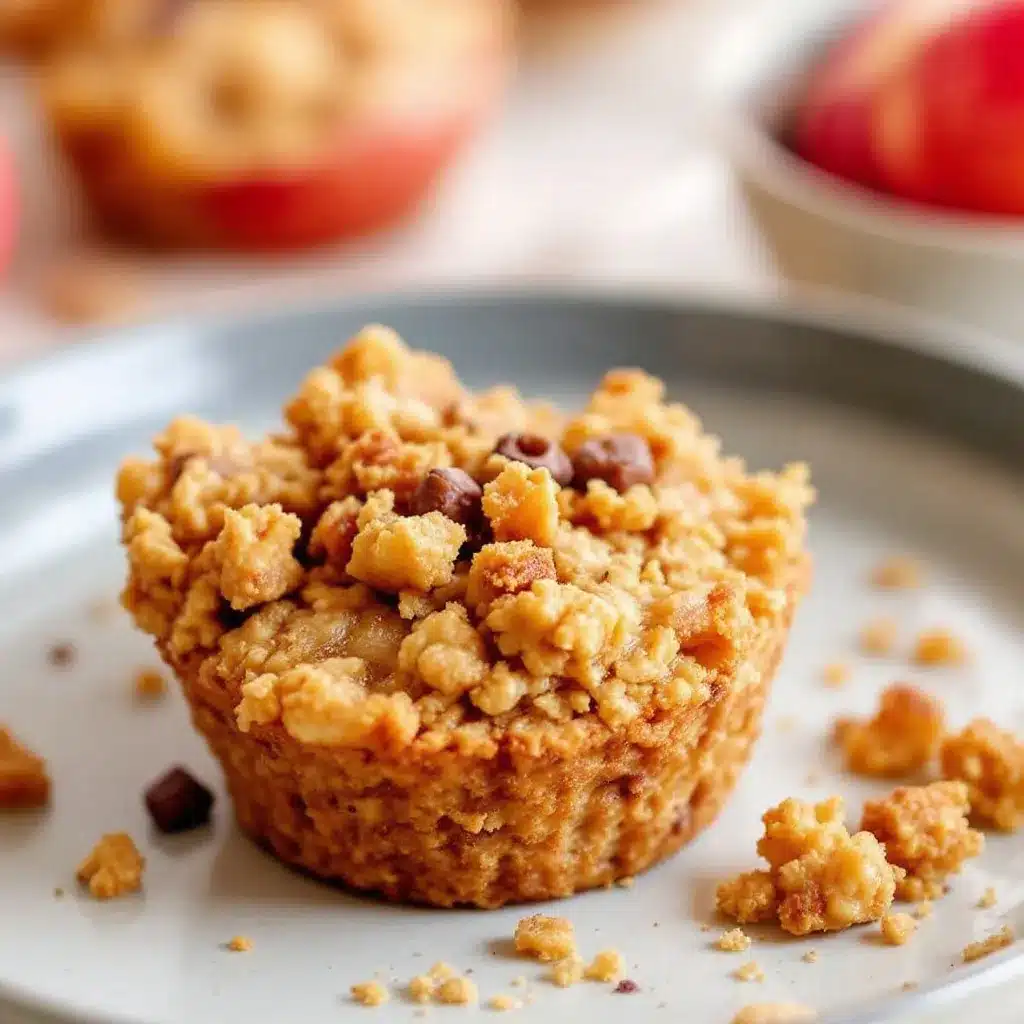
- Preheat the Oven: Start by preheating your oven to 350°F (175°C). This ensures the oven is at the right temperature when your cups go in, which helps them rise properly. Take about 5 minutes for this step.
- Prepare the Apples: Peel the apples if you prefer a smoother texture, though leaving the skin on adds fiber and color. Dice them into small, bite-sized pieces. You want them small enough that they cook through but large enough to find in every bite. This takes about 5 minutes.
- Mix the Dry Ingredients: In a large mixing bowl, combine the rolled oats, baking powder, cinnamon, and salt. Whisk them together to distribute the baking powder and spices evenly. This prevents clumps of pure cinnamon in your final product.
- Mix the Wet Ingredients: In a separate bowl or a large measuring cup, whisk together the eggs, milk, maple syrup, and vanilla extract. Whisk until the mixture is uniform and slightly frothy. This step is quick, taking about 2 minutes.
- Combine Wet and Dry: Pour the wet mixture over the dry ingredients. Stir gently with a spatula or spoon until everything is well coated. Be careful not to overmix, although with oats, it’s hard to overmix too badly. Fold in the diced apples now.
- Grease the Muffin Tin: Lightly grease your muffin tin with butter, coconut oil, or cooking spray. This is crucial for easy removal. If you are in a rush, you can skip this, but you will likely lose some of your cups to the pan.
- Scoop the Batter: Divide the mixture evenly among the 12 muffin cups. Each cup should be about 3/4 full. If you want a taller cup, fill them more, but be careful not to overflow. Use a spoon or an ice cream scoop for even distribution.
- Bake: Place the tin in the preheated oven. Bake for 20-25 minutes. You are looking for the edges to be golden brown and the centers to be set. If you insert a toothpick into the center of a cup and it comes out clean or with just a few moist crumbs, they are done. Do not overbake, or they will become dry.
- Cool: Let the cups cool in the pan for 5 minutes. This allows them to firm up. Then, transfer them to a wire rack to cool completely if you plan to store them. If you are eating them warm, let them cool for just 2 minutes so you don’t burn your tongue.
Keep an eye on the oven around the 18-minute mark. Ovens vary, and some run hotter than others. If the tops are browning too fast, you can loosely tent them with aluminum foil. The goal is a tender interior with a slightly crisp top.
Cooking Tips & Techniques
One common mistake I see people make is using too much liquid. Oats absorb liquid differently depending on their age and brand. If your oats are very old, they might absorb more, so you might need a splash more milk. If your apples are very juicy, you might need a minute less baking time. Trust your eyes more than the timer. Another tip is to let the mixture sit for 5 minutes before baking. This gives the oats time to start absorbing the milk, which leads to a more cohesive texture. It also helps the cinnamon flavor bloom. I also recommend pressing the apples down slightly into the oat mixture. This ensures they are submerged and cook evenly, rather than sitting on top and drying out. If you are meal prepping, let the cups cool completely before storing them. Trapped heat creates condensation, which makes them soggy. For a crispier top, you can broil them for the last 1-2 minutes of baking, but watch them like a hawk. They go from golden to burnt in seconds. I once left them under the broiler to check my email and ended up with charcoal. Don’t be like me.
Variations & Adaptations
This recipe is a blank canvas. Once you master the base, you can change it up endlessly. For a dairy-free version, simply swap the milk for almond, oat, or soy milk, and use maple syrup instead of honey. For a nut-free option, skip the walnuts and add seeds like sunflower or pumpkin seeds. If you want a chocolate twist, stir in a tablespoon of cocoa powder and some dark chocolate chips. The chocolate pairs surprisingly well with the apple. For a spicier kick, add a pinch of nutmeg or allspice along with the cinnamon. I also love adding a crumble topping. Mix a tablespoon of flour, a teaspoon of brown sugar, and a small cube of cold butter, then sprinkle it over the cups before baking. It adds a lovely crunch. If you are using frozen berries instead of apples, reduce the milk by a tablespoon, as berries release a lot of water. You can also make these in a mini-muffin tin for bite-sized snacks, reducing the baking time to 12-15 minutes.
Serving & Storage Suggestions
These cups are best served warm, fresh out of the oven. A dollop of Greek yogurt or a drizzle of extra maple syrup takes them to the next level. They pair well with a hot cup of coffee or tea. For storage, let them cool completely, then place them in an airtight container in the refrigerator. They will keep for up to 5 days. You can also freeze them for up to 3 months. To reheat, microwave a cup for 30-60 seconds, or warm it in the oven at 300°F for 10 minutes. The flavors actually develop and meld together over the first day, so they taste even better the next morning. They make excellent lunchbox additions, especially for kids who prefer handheld foods.
Nutritional Information & Benefits
Each cup contains approximately 150-180 calories, depending on the size of the apple and amount of syrup used. They are a good source of complex carbohydrates from the oats, which provide sustained energy. Apples add fiber and vitamin C, while the eggs contribute protein. This makes them a balanced breakfast option that keeps you full until lunch. They are naturally gluten-free if you use certified GF oats, and can easily be made vegan. The natural sweetness from the fruit and maple syrup means you avoid refined sugars, making this a healthier alternative to traditional muffins. It’s a wholesome start to the day that doesn’t rely on caffeine alone to get you going.
Conclusion
These baked apple cinnamon oatmeal cups are more than just a recipe; they are a solution to the daily morning chaos. They are easy, nutritious, and genuinely delicious. I hope you try them and find that they become a staple in your kitchen, just as they have in mine. Feel free to experiment with different fruits and spices to make them your own. If you do, I’d love to hear how you customize them. Leave a comment below with your favorite add-ins. Share your photos online and tag me—I love seeing your creations. Thanks for cooking with me, and here’s to many cozy, stress-free mornings ahead.
Frequently Asked Questions
Can I use instant oats instead of rolled oats?
It’s not recommended. Instant oats are pre-cooked and thin, so they will turn the mixture into a mushy paste rather than a structured cup. Rolled oats provide the necessary chew and texture. If you must use instant oats, reduce the milk by half and expect a softer, more pudding-like result.
How do I store these oatmeal cups?
Let them cool completely to room temperature. Then, store them in an airtight container in the refrigerator for up to 5 days. You can also freeze them for up to 3 months. Place them in a freezer-safe bag or container, and thaw them in the fridge overnight before reheating.
Can I make these without eggs?
Yes, you can use a “flax egg” (1 tablespoon ground flaxseed mixed with 3 tablespoons water per egg) to replace the eggs. This will make them slightly denser, but they will still hold together. You can also use commercial egg replacers if you prefer.
Why are my oatmeal cups too dry?
This usually happens if they are overbaked or if your oats absorbed too much liquid. Next time, check them a minute or two early. If they are dry now, you can microwave them with a small splash of milk to rehydrate them before eating.
Can I bake this in a regular baking dish?
Absolutely. Grease an 8×8 inch baking dish, pour in the mixture, and bake at 350°F for 25-30 minutes. Cut into squares when cool. The baking time might be slightly longer because the mixture is deeper, so check for doneness with a toothpick.
Pin This Recipe!
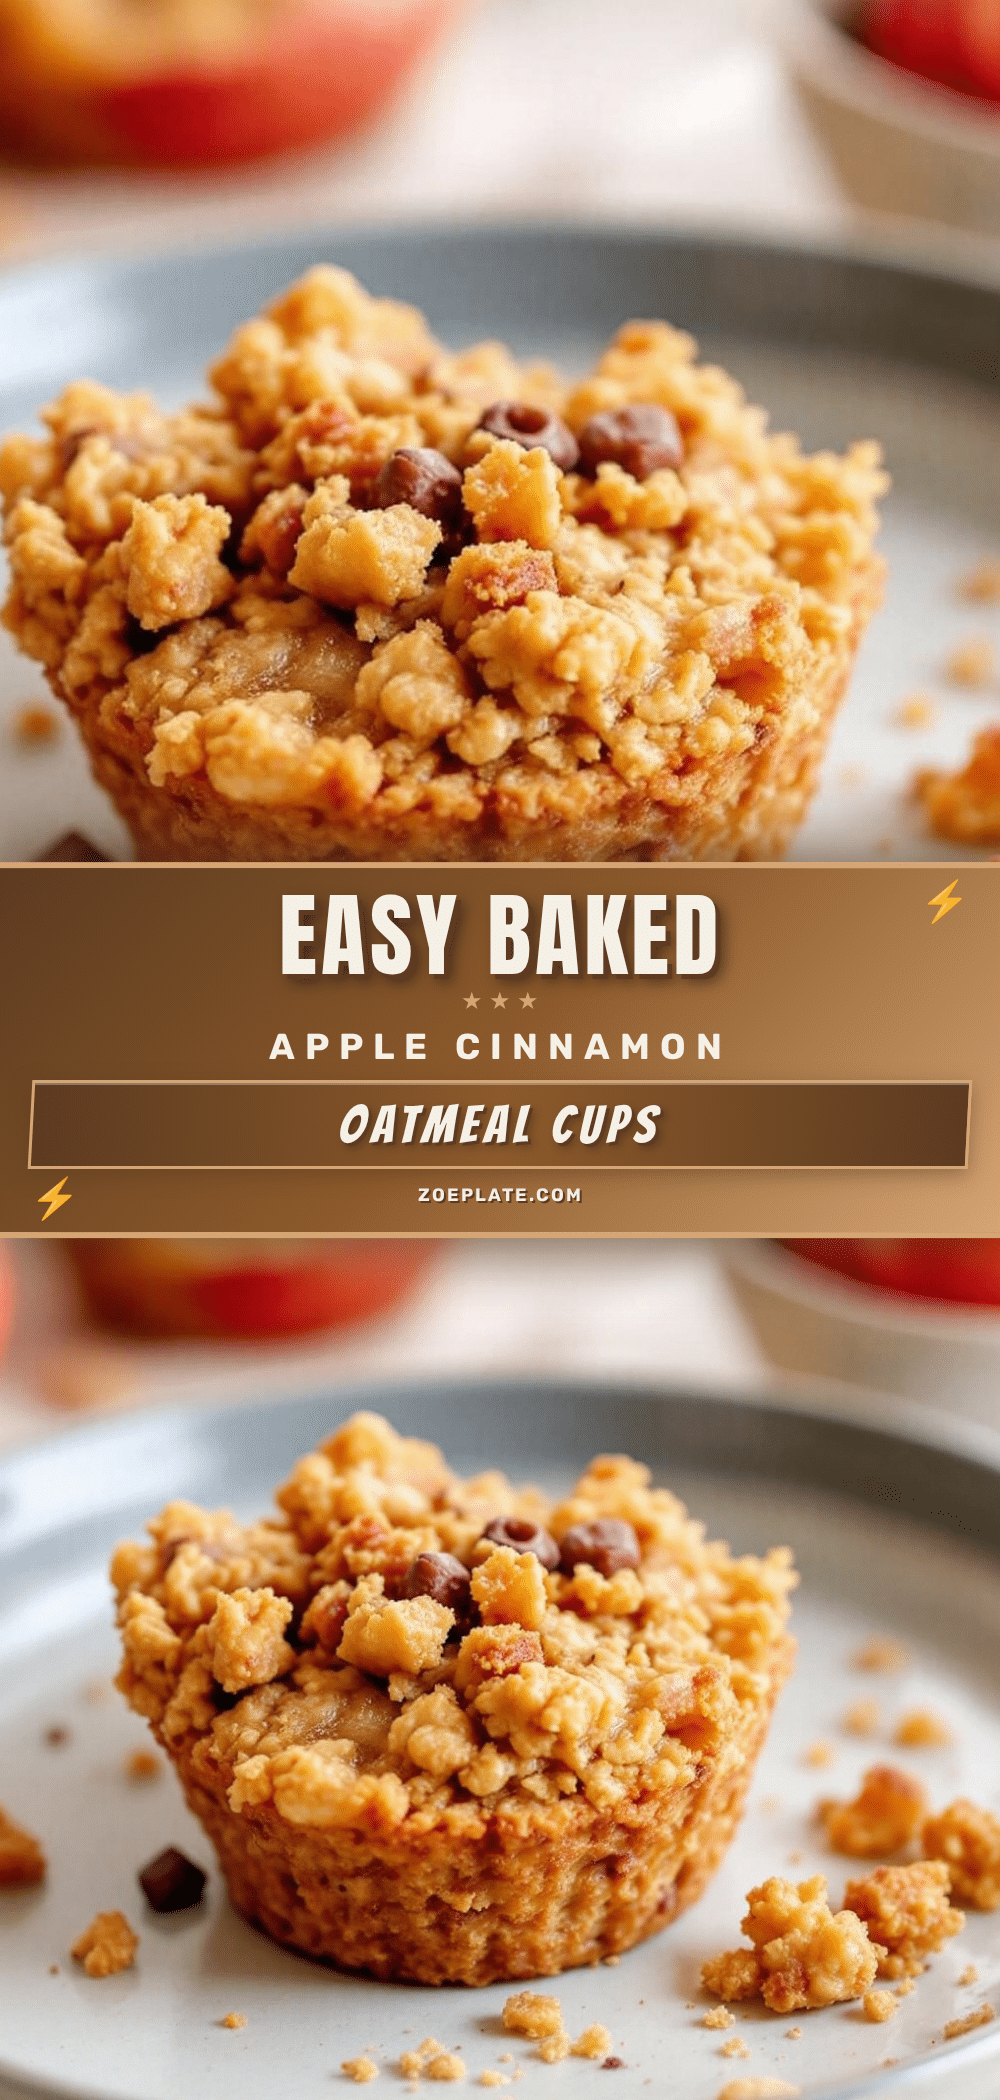
Easy Baked Apple Cinnamon Oatmeal Cups

Simple, forgiving baked oatmeal cups that combine rolled oats, diced apples, and cinnamon for a healthy, grab-and-go breakfast perfect for busy mornings or meal prep.
- Prep Time: 10 minutes
- Cook Time: 20-25 minutes
- Total Time: 30-35 minutes
- Yield: 12 servings 1x
- Category: Breakfast
- Cuisine: American
Ingredients
- 2 cups old-fashioned rolled oats
- 2 medium apples (peeled and diced)
- 2 large eggs
- 1 cup milk (dairy or non-dairy)
- 3 tablespoons maple syrup
- 1 teaspoon vanilla extract
- 1 teaspoon ground cinnamon
- 1 teaspoon baking powder
- 1/4 teaspoon salt
- Butter, coconut oil, or cooking spray for greasing
Instructions
- Preheat oven to 350°F (175°C).
- Peel and dice the apples into small, bite-sized pieces.
- In a large mixing bowl, combine rolled oats, baking powder, cinnamon, and salt; whisk to distribute evenly.
- In a separate bowl or measuring cup, whisk together eggs, milk, maple syrup, and vanilla extract until uniform.
- Pour wet ingredients over dry ingredients and stir gently until coated. Fold in diced apples.
- Lightly grease a 12-cup muffin tin.
- Divide the mixture evenly among the muffin cups, filling each about 3/4 full.
- Bake for 20-25 minutes until edges are golden brown and centers are set.
- Let cool in the pan for 5 minutes before transferring to a wire rack or serving warm.
Notes
Use firm apples like Granny Smith or Honeycrisp to prevent mushiness. Do not use instant or steel-cut oats. Let cups cool completely before storing to avoid sogginess. Can be frozen for up to 3 months.
Nutrition
- Serving Size: 1 cup
- Calories: 165
- Sugar: 12
- Sodium: 150
- Fat: 4
- Saturated Fat: 1
- Carbohydrates: 28
- Fiber: 3
- Protein: 5
Keywords: baked oatmeal, apple cinnamon, healthy breakfast, meal prep, gluten-free, oatmeal cups, quick breakfast


