Garlic butter chicken and rice. It sounds simple enough, right? But for a while, I just accepted that a one-pan version was going to be mushy, bland, or have that weird, crunchy rice that somehow burned on the bottom. I tried a dozen recipes over the years, each promising a creamy, flavorful dish that would change my weeknight dinner game. They never delivered. The chicken was dry, the rice was either gluey or hard, and the garlic flavor always seemed to vanish into the pan. I honestly started to think a decent one-pan chicken and rice was a myth, something that only existed in perfectly lit food photos.
Then, on a random Tuesday when the fridge was looking sad and I was too tired to deal with a sink full of pots, I decided to just wing it. I had chicken thighs, a head of garlic that was starting to sprout, and a half-empty box of long-grain rice. I figured, what’s the worst that could happen? I was already resigned to ordering takeout. I threw everything in my trusty cast iron skillet, hoping for the best but expecting the worst. The kitchen smelled incredible while it cooked, which felt like a cruel trick if the end result was going to be disappointing.
When I finally lifted the lid, the rice was fluffy, the chicken was perfectly golden, and the whole thing was swimming in this buttery, garlicky sauce that smelled better than any restaurant. It was the quietest, most satisfying surprise. I didn’t jump up and down. I just stood there, fork in hand, realizing I had finally found what I was looking for. This wasn’t a recipe I had to hunt for. It was the one I made when I stopped trying so hard. That’s the kind of cooking that sticks with you.
Why You’ll Love This Recipe
Let’s be real. We all want dinners that taste like we spent hours in the kitchen, but we have actual lives to live. This recipe is that perfect cheat code. It looks and tastes impressive, but it’s almost embarrassingly easy to pull off. I’ve made this for my family on busy school nights and for friends who stopped by unexpectedly, and it’s never let me down.
- One Pan, Minimal Mess: The entire meal comes together in a single skillet. No boiling rice separately, no searing chicken in one pan and then transferring it. You cook, you eat, and you have one pan to wash. It’s the kind of efficiency that makes a weeknight feel manageable.
- Incredibly Flavorful: This isn’t bland, sad rice. The rice absorbs all the savory goodness from the garlic butter, chicken juices, and broth. Every single grain is packed with flavor. The garlic gets soft and sweet, and the butter creates a rich, almost creamy texture without any cream.
- Juicy Chicken Every Time: The magic of this one-pan method is that the chicken steams and simmers gently on top of the rice. It stays incredibly moist and tender, never dry or tough. The skin (if you use skin-on) gets a nice sear first, adding that perfect textural contrast.
- Simple, Pantry-Friendly Ingredients: Chicken, rice, garlic, butter, broth, and a few basic seasonings. That’s it. You probably have most of these in your kitchen right now. No fancy trips to the store are required, which is always a win in my book.
- Perfect for a Cozy Dinner: This dish is pure comfort food. It’s warm, hearty, and satisfying in a way that only a simple, home-cooked meal can be. It’s the kind of dinner that makes you want to curl up on the couch and relax.
What makes this different from other one-pan recipes is the technique. We’re not just dumping everything in and hoping for the best. We’re building layers of flavor by searing the chicken first and toasting the rice in the garlic butter. It’s a small step that makes a massive difference. This isn’t just another version of chicken and rice. It’s the version you’ll actually want to make again and again.
What Ingredients You Will Need
This recipe relies on simple, honest ingredients to build big flavor. There’s nothing complicated here, but the quality of what you use really matters. Here’s what you need to grab.
- Chicken Thighs (1.5 lbs or 680g): I prefer boneless, skinless thighs for this recipe. They are more forgiving than chicken breasts and stay incredibly juicy during the long simmer. If you use breasts, keep an eye on them so they don’t dry out. Bone-in thighs work too, but you’ll need to add about 10 minutes to the cooking time.
- Unsalted Butter (4 tablespoons or 56g): The star of the show. We use unsalted butter so we can control the salt level. It creates the rich base for the entire dish. If you only have salted butter, just reduce the added salt by about ¼ teaspoon.
- Garlic (6-8 cloves, minced): Don’t skimp here. We want a serious garlic flavor. Fresh garlic is non-negotiable in this recipe. The pre-minced stuff in a jar just doesn’t have the same punch. You can also use 1-2 teaspoons of garlic powder in a pinch, but fresh is best.
- Long-Grain White Rice (1 cup or 200g): This is the perfect rice for this dish. It cooks up light and fluffy, not sticky or clumpy. Basmati or jasmine rice are excellent choices. Avoid short-grain or sushi rice, as they will become too gummy. I’ve tested this with brown rice, and it requires about 20 minutes more cooking time and an extra ½ cup of broth.
- Chicken Broth (2 cups or 480ml): Use a good quality, low-sodium chicken broth. The broth is what the rice absorbs, so its flavor is crucial. A low-sodium option lets you control the saltiness. If you only have regular broth, be careful with the additional salt you add.
- Yellow Onion (1 medium, diced): A small, finely diced onion adds a savory depth to the rice. It cooks down until it’s almost invisible, but its flavor is essential. You can substitute a shallot or even a leek for a slightly sweeter taste.
- Olive Oil (1 tablespoon or 15ml): We use this to sear the chicken. It has a higher smoke point than butter, so it helps get that beautiful golden-brown crust without burning.
- Dried Thyme (1 teaspoon): This herb adds a subtle, earthy flavor that pairs beautifully with garlic and chicken. Dried rosemary or oregano would also work well. If you have fresh thyme, use about 1 tablespoon of leaves.
- Paprika (1 teaspoon): This adds a lovely color and a mild, sweet smokiness. Smoked paprika is a fantastic option for a deeper flavor. Regular or sweet paprika works perfectly too.
- Salt and Black Pepper (to taste): Essential for seasoning at every stage. Don’t be shy with the pepper. Freshly ground black pepper makes a real difference here.
- Fresh Parsley (for garnish, optional): A sprinkle of fresh parsley right at the end adds a pop of color and a fresh, clean finish. It’s not strictly necessary, but it makes the dish look beautiful.
Equipment Needed
You don’t need a fancy kitchen to make this dish. A few basic tools will do the trick. Here’s what I use every time.
- Large, Heavy-Bottomed Skillet or Dutch Oven: This is the most important tool. A 12-inch skillet with a tight-fitting lid is ideal. A cast iron skillet, stainless steel pan, or a heavy-duty non-stick pan all work great. The heavy bottom ensures even heat distribution, which prevents the rice from burning. I use my trusty cast iron skillet for this and it works like a dream.
- Cutting Board and Chef’s Knife: You’ll be chopping an onion and mincing some garlic. A sharp knife makes this process much safer and more efficient. A dull knife is a dangerous knife!
- Wooden Spoon or Silicone Spatula: You need something sturdy to scrape up all those delicious browned bits from the bottom of the pan after searing the chicken. A wooden spoon is perfect for this.
- Measuring Cups and Spoons: Accurate measurements are key for getting the rice-to-liquid ratio right. Use dry measuring cups for the rice and liquid measuring cups for the broth.
- Lid: Your skillet must have a lid. This traps the steam and allows the rice to cook perfectly. If your skillet doesn’t have a lid, you can use a large piece of aluminum foil, tightly crimped around the edges.
If you don’t have a heavy-bottomed skillet, you can use a large pot. Just be aware that the rice might cook a little differently, and you’ll need to keep a closer eye on it to prevent sticking.
Preparation Method
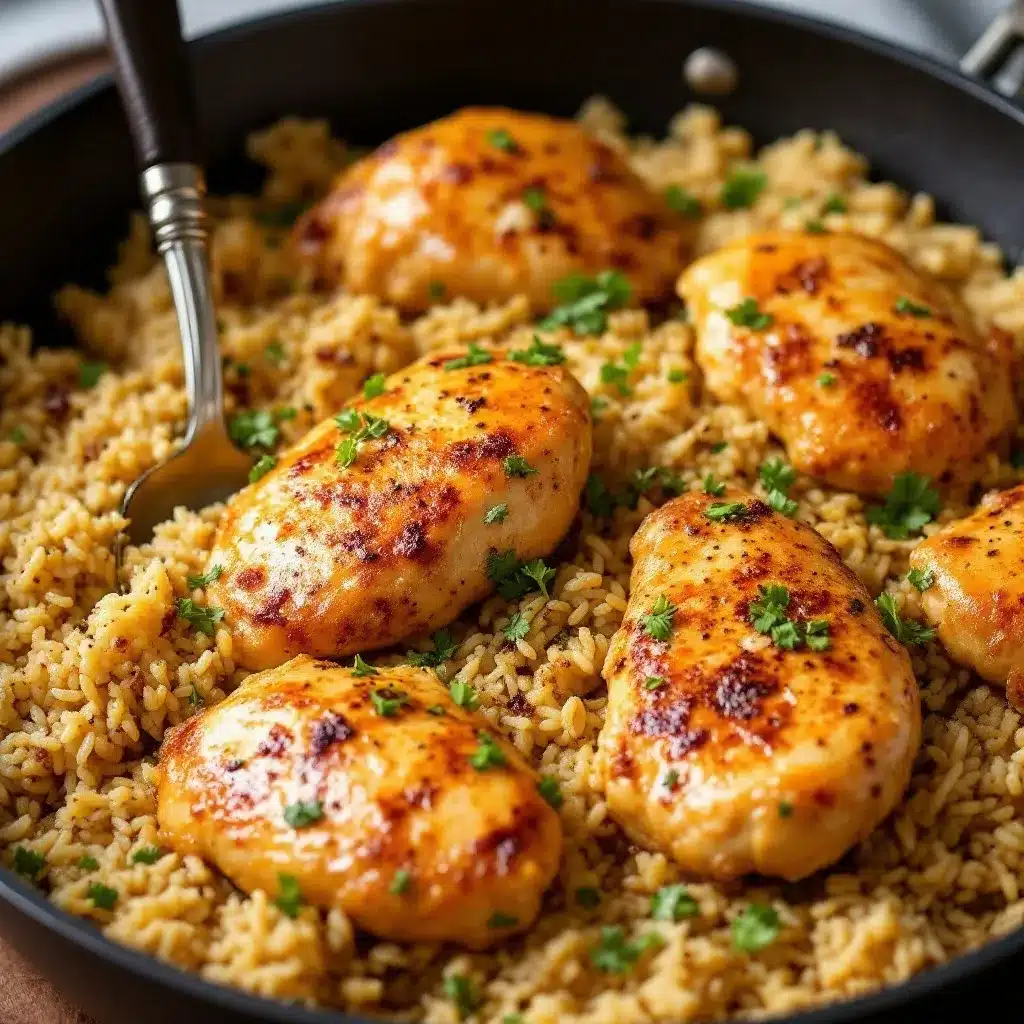
Alright, let’s get cooking. This whole process takes about 45 minutes from start to finish, and most of that is hands-off simmering time. Trust the process, and you’ll be rewarded with a fantastic meal.
- Prep Your Ingredients: Before you turn on the heat, get everything ready. Pat the chicken thighs dry with paper towels. This is a crucial step for getting a good sear. Season them generously on both sides with salt, pepper, and half of the paprika. Dice your onion and mince your garlic. Measure out your rice and broth. Having everything prepped makes the cooking process smooth and stress-free.
- Sear the Chicken: Place your skillet over medium-high heat and add the olive oil. Once the oil is shimmering, carefully place the chicken thighs in the pan, skin-side down (if using skin-on) or presentation-side down. Don’t overcrowd the pan. You might need to do this in two batches. Cook for 4-5 minutes per side, until the chicken is golden brown and has a nice crust. It doesn’t need to be cooked through at this point. Transfer the seared chicken to a clean plate and set it aside.
- Sauté the Aromatics: Reduce the heat to medium. Add 2 tablespoons of the butter to the pan. Once it’s melted, add the diced onion. Sauté for 3-4 minutes, scraping up any browned bits from the bottom of the pan with your wooden spoon. Those bits are pure flavor! Cook until the onion is soft and translucent.
- Toast the Rice and Garlic: Add the minced garlic and the remaining paprika to the pan. Cook for about 30 seconds, until it’s fragrant. Be careful not to burn the garlic. Now, add the uncooked rice. Stir it around in the butter and aromatics for 1-2 minutes. This toasting step is the secret to perfect, separate grains of rice that are full of flavor. The rice will start to look slightly opaque.
- Add the Liquid and Seasoning: Pour in the chicken broth and add the dried thyme. Give everything a good stir. Increase the heat to high and bring the broth to a gentle boil.
- Return the Chicken: Once the broth is boiling, nestle the seared chicken thighs back into the pan on top of the rice. They should be mostly submerged in the liquid. Pour in any juices that have collected on the plate. This is where the magic happens.
- Simmer and Cook: Once the liquid returns to a gentle boil, reduce the heat to low. Cover the skillet tightly with the lid. Let it simmer undisturbed for 20-25 minutes. Do not lift the lid during this time! The steam is what cooks the rice perfectly. Set a timer and walk away.
- Rest and Fluff: After 20-25 minutes, turn off the heat. Let the pan sit, covered, for another 5-10 minutes. This allows the rice to finish steaming and absorb any remaining liquid. After the rest, remove the lid and fluff the rice gently with a fork. Add the remaining 2 tablespoons of butter, cut into small pieces, and stir it into the rice until it melts. This creates that luxurious, silky texture.
- Garnish and Serve: Taste the rice and adjust the salt and pepper if needed. Sprinkle with fresh parsley for a pop of color. Serve the chicken and rice directly from the skillet for a beautiful, rustic presentation.
Cooking Tips & Techniques
Over the many times I’ve made this, I’ve learned a few things the hard way. Here are my best tips to make sure your first (and every) batch is perfect.
- Don’t Skip the Sear: I know it’s tempting to just throw everything in the pan and save a step, but don’t. Searing the chicken creates a deep, savory flavor through the Maillard reaction. It also creates those amazing browned bits on the bottom of the pan that we deglaze with the onion. This is the foundation of the dish’s flavor.
- Resist the Urge to Peek: This is the number one mistake people make. Every time you lift the lid, you let steam escape. This disrupts the cooking process and can lead to undercooked rice. Trust the timer. The steam trapped inside the pan is what perfectly cooks the rice. I learned this lesson after making a few batches of crunchy, sad rice.
- Toast the Rice: This might seem like a small, unnecessary step, but it’s a game-changer. Toasting the rice in the butter and garlic before adding the liquid helps the grains stay separate and gives them a slightly nutty flavor. It prevents the rice from turning into a sticky, mushy mess.
- Use Low Heat for Simmering: Once you add the broth and cover the pan, the heat should be on low. A vigorous boil will cook the liquid off too quickly and might burn the rice on the bottom before it’s cooked through. A gentle, lazy simmer is what you’re after.
- Let It Rest: That extra 5-10 minutes off the heat is not optional. It’s the final, crucial step for perfect rice texture. It allows the rice to absorb the last bit of steam and moisture, resulting in a fluffy, tender finish. Think of it as the rice taking a deep breath before you eat it.
Variations & Adaptations
This recipe is a fantastic base, and you can easily adapt it to your taste or what you have in the fridge. Here are a few of my favorite ways to change it up.
- Add Vegetables: This is an easy way to make it a complete meal in one pan. Add a cup of frozen peas and carrots during the last 5 minutes of cooking. Or, sauté some sliced mushrooms and bell peppers along with the onion. Chopped green beans or asparagus spears can also be tucked in around the chicken before you cover the pan.
- Make it Creamy: For an extra decadent version, stir in ¼ cup of heavy cream or full-fat coconut milk right before you add the lid. It will create a richer, creamier sauce that coats every grain of rice. I love doing this on a cold Sunday night.
- Spice It Up: If you like a little heat, add a pinch of red pepper flakes or a finely chopped jalapeño along with the garlic. You can also use a spicy paprika or add a dash of cayenne pepper to the chicken seasoning.
- Different Herbs: Thyme is classic, but this dish is very forgiving. Try using dried oregano, rosemary, or a teaspoon of Italian seasoning. A bay leaf added to the broth while it simmers adds a lovely subtle depth. Fresh dill or chives would also be a beautiful finishing touch.
- Lemon Garlic Butter: For a brighter, fresher flavor, add the zest of one lemon along with the garlic. After the rice is cooked, squeeze the juice of half a lemon over the top. It cuts through the richness of the butter beautifully. This is my go-to summer version.
I once made a version with some leftover andouille sausage I had in the fridge. I sliced it up and seared it with the chicken. It added this incredible smoky, spicy flavor that was totally unexpected but completely delicious. Don’t be afraid to experiment!
Serving & Storage Suggestions
This dish is a meal in itself, but it’s also wonderful with a few simple sides. Here’s how to serve it up and save any leftovers (if you have any!).
- Serving: Serve this dish hot, straight from the skillet. It’s a beautiful, rustic presentation. A simple side salad with a lemon vinaigrette is a perfect contrast to the richness of the chicken and rice. Steamed green beans or roasted asparagus also pair wonderfully. For a truly cozy meal, serve it with a side of crusty bread to soak up any extra buttery sauce from the bottom of the pan.
- Storage: Let any leftovers cool completely to room temperature. Transfer the chicken and rice to an airtight container. It will keep well in the refrigerator for up to 4 days. The flavors actually meld together and get even better overnight!
- Reheating: The best way to reheat this is in a skillet over medium-low heat. Add a splash of chicken broth or water to help rehydrate the rice. Cover the pan and heat for 5-7 minutes, stirring occasionally, until it’s warmed through. You can also reheat individual portions in the microwave. Sprinkle a few drops of water over the rice and cover the bowl with a damp paper towel to create steam.
- Freezing: This dish freezes surprisingly well. Place the cooled chicken and rice in a freezer-safe container or zip-top bag. It will keep for up to 3 months. To thaw, place it in the refrigerator overnight. Reheat it in a skillet as described above.
I find that the rice can become a little drier after being in the fridge, which is why adding a splash of liquid when reheating is so important. It brings it right back to life.
Nutritional Information & Benefits
This is a hearty, satisfying meal that also offers some great nutritional benefits. Here’s a rough breakdown for one serving (about 1 chicken thigh and ¾ cup of rice).
- Calories: Approximately 550-650 kcal
- Protein: 35-40g (Chicken thighs are a fantastic source of lean protein, which is essential for muscle repair and keeping you full.)
- Fat: 25-30g (Mostly from the healthy fats in butter and olive oil. These fats help with the absorption of fat-soluble vitamins.)
- Carbohydrates: 45-50g (From the rice, providing a good source of energy.)
- Fiber: 1-2g
This dish is naturally gluten-free, as long as you use a gluten-free chicken broth. It’s also a great source of iron from the chicken and B vitamins. The garlic is known for its immune-boosting properties, and the onions provide antioxidants. It’s a balanced meal that feels indulgent but is made from whole, real ingredients. I love that I can feel good about serving this to my family.
Conclusion
This Easy One-Pan Garlic Butter Chicken and Rice is the kind of recipe that makes you feel like a kitchen pro, even on a Tuesday night when you’re just trying to get dinner on the table. It’s simple, reliable, and delivers incredible flavor with very little effort. The chicken is always juicy, the rice is always fluffy, and the whole thing comes together in one pan, which is a win in my book any day of the week.
I really hope you give this one a try. It’s become a staple in my home, and I have a feeling it will become one in yours too. Feel free to play around with the variations and make it your own. Maybe add some spinach at the end, or squeeze in a little lemon. That’s the beauty of a good base recipe.
If you make this, I’d love to hear how it turns out! Leave a comment below and let me know if you added any fun twists. And if you’re looking for another incredibly easy and satisfying meal, you should definitely check out my best easy one-pot pasta recipe for another weeknight lifesaver. Happy cooking, friends!
Frequently Asked Questions
Can I use chicken breasts instead of thighs?
Yes, you can! Boneless, skinless chicken breasts will work, but they are leaner and can dry out more easily. To prevent this, sear them for about 3 minutes per side and check their internal temperature with a meat thermometer. They are done when they reach 165°F (74°C). You might need to remove them from the pan a few minutes before the rice is finished to prevent overcooking.
Why is my rice still crunchy after 25 minutes?
This usually happens for one of two reasons. First, the heat was too high, causing the liquid to evaporate before the rice could absorb it. Second, you might have lifted the lid during cooking, letting the steam escape. Always use low heat for simmering and resist the urge to peek. If your rice is still crunchy, add a few more tablespoons of broth, re-cover the pan, and cook for another 5 minutes on low heat.
Can I make this recipe in a rice cooker or Instant Pot?
Absolutely! For an Instant Pot, use the sauté function to sear the chicken and cook the aromatics. Add the rice, broth, and seasonings. Place the chicken on top. Pressure cook on high for 6 minutes, then let the pressure release naturally for 10 minutes. For a rice cooker, you can sauté the chicken and aromatics in a pan first, then add everything to the rice cooker and cook on the regular white rice setting.
How do I prevent the rice from burning on the bottom?
This is often a sign that the heat was too high. Make sure you are simmering the dish on low heat. A heavy-bottomed pan also helps distribute heat more evenly and prevents hot spots. Toasting the rice before adding the liquid can also help, as it creates a slight barrier on the grain. If you have a thin pan, you might need to use a heat diffuser.
Can I add cheese to this dish?
You absolutely can! For a cheesy garlic butter chicken and rice, stir in ½ cup of freshly grated Parmesan cheese right after you fluff the rice. You can also sprinkle some shredded mozzarella or provolone over the top during the last 5 minutes of cooking and let it melt. It adds a wonderful, gooey texture. If you love cheesy, comforting meals, you might also enjoy this quick dorm room ramen stir fry for another fast and satisfying option.
Pin This Recipe!
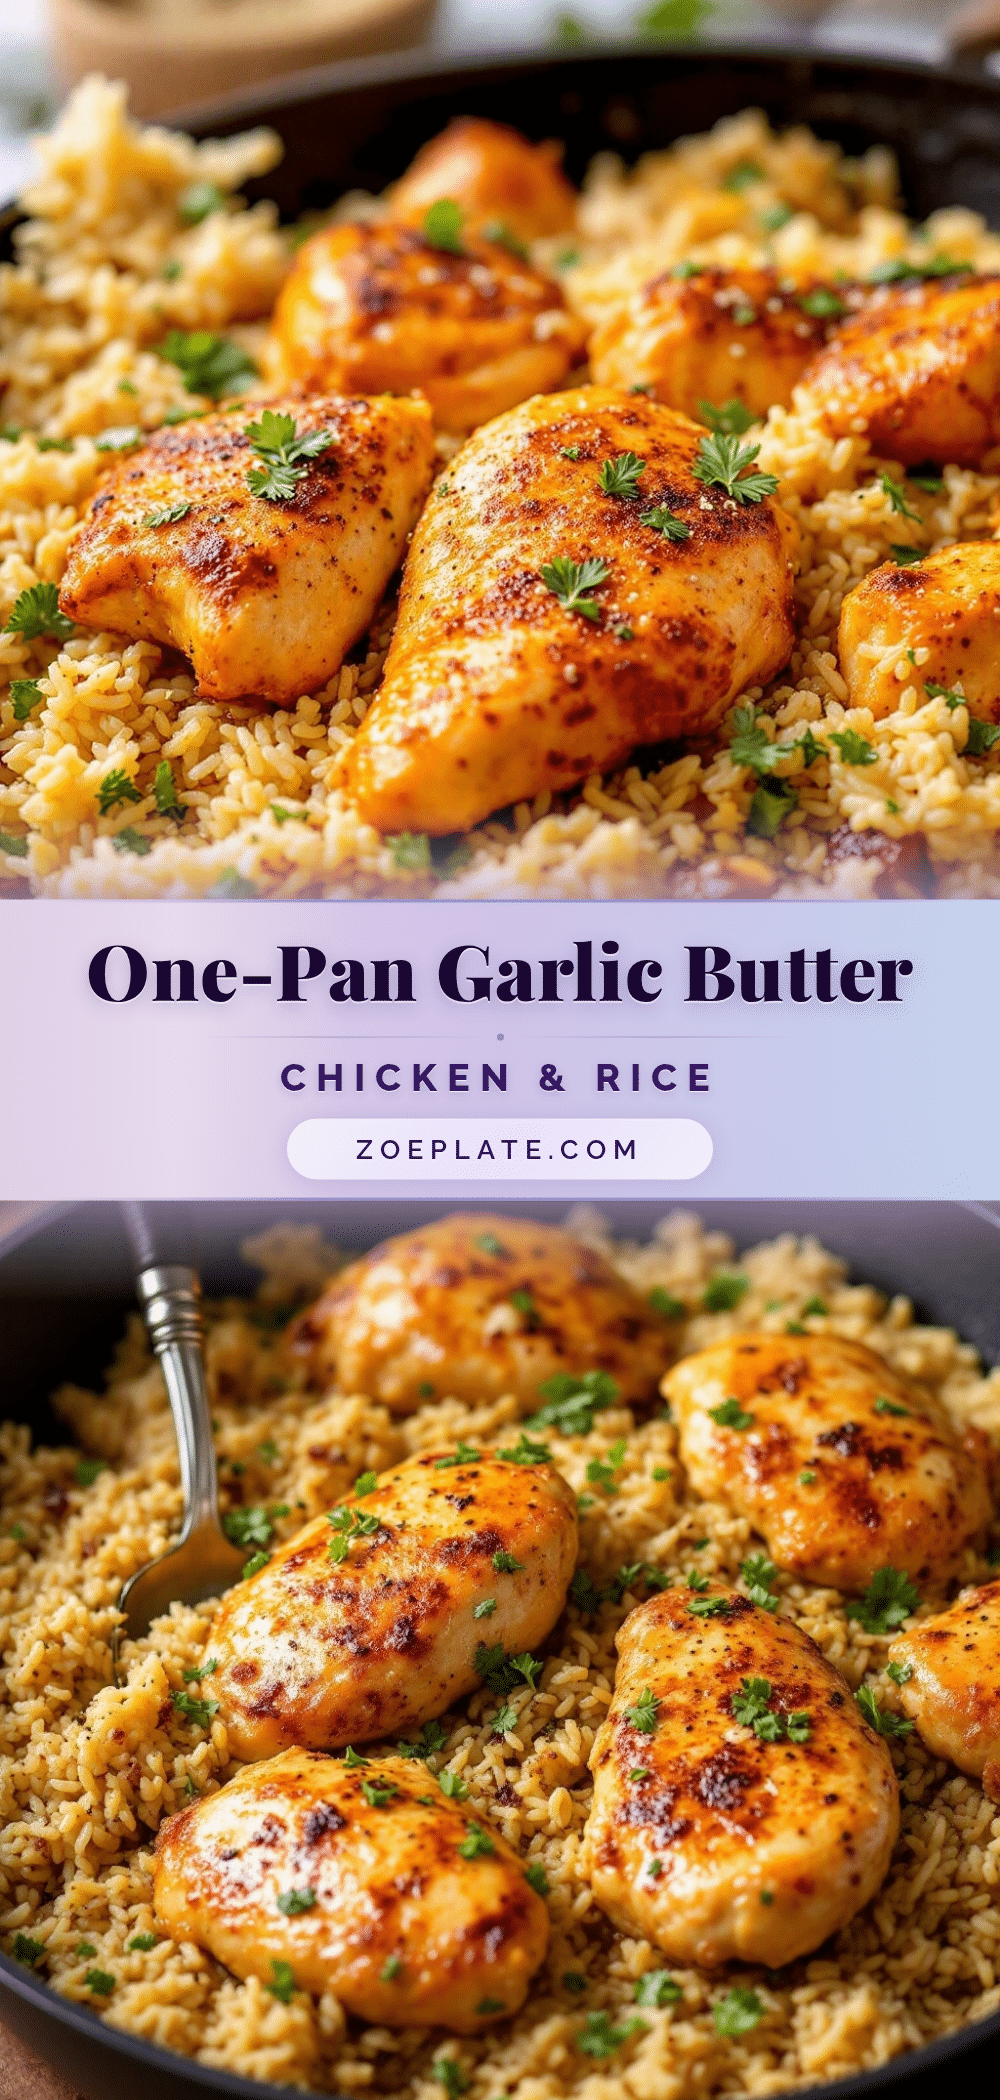
Easy One-Pan Garlic Butter Chicken and Rice Recipe

This one-pan garlic butter chicken and rice is a simple, flavorful weeknight dinner. Juicy chicken thighs and fluffy rice cook together in a rich, buttery garlic sauce, all in a single skillet for minimal cleanup.
- Prep Time: 15 minutes
- Cook Time: 30 minutes
- Total Time: 45 minutes
- Yield: 4 servings 1x
- Category: Main Course
- Cuisine: American
Ingredients
- 1.5 lbs (680g) boneless, skinless chicken thighs
- 4 tablespoons (56g) unsalted butter, divided
- 6–8 cloves garlic, minced
- 1 cup (200g) long-grain white rice (such as basmati or jasmine)
- 2 cups (480ml) low-sodium chicken broth
- 1 medium yellow onion, diced
- 1 tablespoon (15ml) olive oil
- 1 teaspoon dried thyme
- 1 teaspoon paprika
- Salt and black pepper, to taste
- Fresh parsley, for garnish (optional)
Instructions
- Prep your ingredients: Pat the chicken thighs dry with paper towels. Season generously on both sides with salt, pepper, and half of the paprika. Dice the onion and mince the garlic. Measure out the rice and broth.
- Sear the chicken: Place a large, heavy-bottomed skillet or Dutch oven over medium-high heat and add the olive oil. Once shimmering, carefully place the chicken thighs in the pan, presentation-side down. Cook for 4-5 minutes per side, until golden brown. Transfer to a clean plate and set aside.
- Sauté the aromatics: Reduce heat to medium. Add 2 tablespoons of butter to the pan. Once melted, add the diced onion. Sauté for 3-4 minutes, scraping up any browned bits from the bottom of the pan, until the onion is soft and translucent.
- Toast the rice and garlic: Add the minced garlic and remaining paprika to the pan. Cook for about 30 seconds until fragrant. Add the uncooked rice and stir for 1-2 minutes until the rice looks slightly opaque.
- Add the liquid and seasoning: Pour in the chicken broth and add the dried thyme. Stir well. Increase heat to high and bring to a gentle boil.
- Return the chicken: Once boiling, nestle the seared chicken thighs back into the pan on top of the rice. Pour in any accumulated juices from the plate.
- Simmer and cook: Once the liquid returns to a gentle boil, reduce heat to low. Cover the skillet tightly with a lid. Let simmer undisturbed for 20-25 minutes. Do not lift the lid.
- Rest and fluff: After 20-25 minutes, turn off the heat. Let the pan sit, covered, for another 5-10 minutes. Remove the lid and fluff the rice gently with a fork. Add the remaining 2 tablespoons of butter, cut into small pieces, and stir until melted.
- Garnish and serve: Taste and adjust salt and pepper if needed. Sprinkle with fresh parsley. Serve directly from the skillet.
Notes
For best results, do not skip searing the chicken or toasting the rice. Resist the urge to lift the lid during simmering. Let the dish rest for 5-10 minutes after cooking for perfect rice texture. If using chicken breasts, sear for 3 minutes per side and check internal temperature (165°F). For a creamier version, stir in 1/4 cup heavy cream before adding the lid.
Nutrition
- Serving Size: 1 chicken thigh and
- Calories: 600
- Sugar: 3
- Sodium: 650
- Fat: 28
- Saturated Fat: 12
- Carbohydrates: 48
- Fiber: 2
- Protein: 38
Keywords: one-pan chicken and rice, garlic butter chicken, easy weeknight dinner, skillet chicken and rice, creamy chicken and rice


