I burned my eyebrows off trying to make a Halloween fruit tray that didn’t look like a toddler’s art project gone wrong.
Let’s face it, I am not an artist. My hands shake when I try to squeeze orange segments into spider legs, and I usually end up with a mushy mess that slides off the plate. For years, I just bought those pre-cut fruit cups from the grocery store and called it a night. The kids hated it, and honestly, I felt like a failure as a host.
The problem wasn’t the fruit. It was the structure. I kept trying to pile it too high, and gravity always won. The yogurt dip would separate, the pieces would slide, and by the time guests arrived, the tray looked sad and messy. I even tried melting chocolate to glue things together, which resulted in a sticky disaster that took three hours to clean up.
It wasn’t until I stopped trying to be fancy and just focused on stability that everything clicked. I realized the secret wasn’t in the decoration, but in the base. A sturdy, creamy foundation changed everything. Once I got the ratio of yogurt to stabilizer right, the fruit stayed put. The dip didn’t weep. The spooky faces actually looked like faces.
Now, this is the go-to for every party. It’s not about perfection. It’s about making something that looks fun and tastes good without stressing me out. You know how it is. You want the holiday spirit, but you don’t want to spend your entire evening fixing a platter. This method finally gave me that balance.
Why You’ll Love This Recipe
This isn’t just another fruit platter. I’ve tested dozens of versions over the last five years, and this one stands out because it actually works for real life. Most fruit trays fall apart within an hour of being set out. This one holds its shape because of the thick yogurt base, which acts like mortar for your brick-and-mortar fruit construction.
- Quick & Easy: You can have this ready in under 20 minutes. That is perfect for busy weeknights or when the trick-or-treaters arrive unexpectedly and you need a healthy snack fast.
- Simple Ingredients: You likely already have everything in your kitchen. No fancy grocery trips needed. Just yogurt, honey, and some common fruits you probably already bought for the week.
- Perfect for Halloween Parties: It hits that sweet spot between healthy and festive. It’s great for trick-or-treaters who are tired of candy, or for office parties where people want something light.
- Crowd-Pleaser: Kids think the spider legs are cool, and adults appreciate that it isn’t just sugar. It always gets rave reviews because it tastes like dessert but feels like a snack.
- Unbelievably Delicious: The texture is creamy and cool, contrasting with the crisp fruit. It is next-level comfort food that doesn’t leave you feeling heavy.
What makes this different is the dip. I use a specific technique to keep the yogurt thick so it doesn’t turn watery. Whether you are making candy corn fruit skewers for a different vibe or just want a standalone tray, the dip is the star. It’s not just good—it is the kind of snack that makes you close your eyes after the first bite. It’s comfort food reimagined for Halloween.
What Ingredients You Will Need
This recipe uses simple, wholesome ingredients to deliver bold flavor and satisfying texture without the fuss. The key is freshness. Since the yogurt is the main flavor component, you want something high quality. I recommend using a thick Greek yogurt, like Fage or Chobani, for the best texture. Thinner yogurts will make the dip runny, and nobody wants a slippery fruit tray.
You don’t need exotic spices. Just a little sweetness and some basic fruit. Here is what you need to pull this off:
- Greek Yogurt: Plain, full-fat or 2%. Full-fat has a creamier mouthfeel, which helps it hold the fruit pieces better. (adds richness)
- Honey: About two tablespoons. This sweetens the dip and helps it bind slightly. You can substitute with maple syrup if needed.
- Vanilla Extract: A half teaspoon. This adds that familiar, comforting flavor profile that makes fruit feel like a treat.
- Oranges: One large navel orange. You will need to peel this and separate it into segments. Look for oranges that are firm and heavy for their size.
- Grapes: One cup of red or green seedless grapes. These will be used for the spider bodies. They need to be firm, not mushy.
- Strawberries: Half a cup, sliced. These work well for other shapes or just as a base layer.
- Blueberries: A small handful. These are perfect for the spider eyes because they are small and dark.
- Clementines: Optional. These are easier to peel than oranges for kids who want to help.
If you are watching sugar intake, you can skip the honey or use a sugar-free syrup. For a dairy-free option, coconut yogurt works, but it can be slightly more liquid, so you might need to chill it longer before serving. In summer, you can swap in fresh berries instead of grapes for variety, but grapes hold their shape better for the spider design.
Equipment Needed
You don’t need much for this, which is part of the charm. A large, flat platter is essential. A round cake stand works well because it has a slight lip to keep the dip contained. If you don’t have a fancy platter, a large baking sheet lined with parchment paper works too.
You will need a small bowl for mixing the dip and a spoon. A paring knife is helpful for slicing strawberries. I also recommend having a few paper towels handy. When you peel the oranges, your hands will get sticky. Wiping them down helps you handle the grapes without squishing them.
If you are making this for a big crowd, having two smaller trays is better than one giant one. It keeps the food fresh and makes it easier for guests to reach. I’ve learned the hard way that reaching across a huge platter often leads to knocking things over. Budget-friendly options are key here. You don’t need expensive tools. Just good knives and a clean surface.
Preparation Method
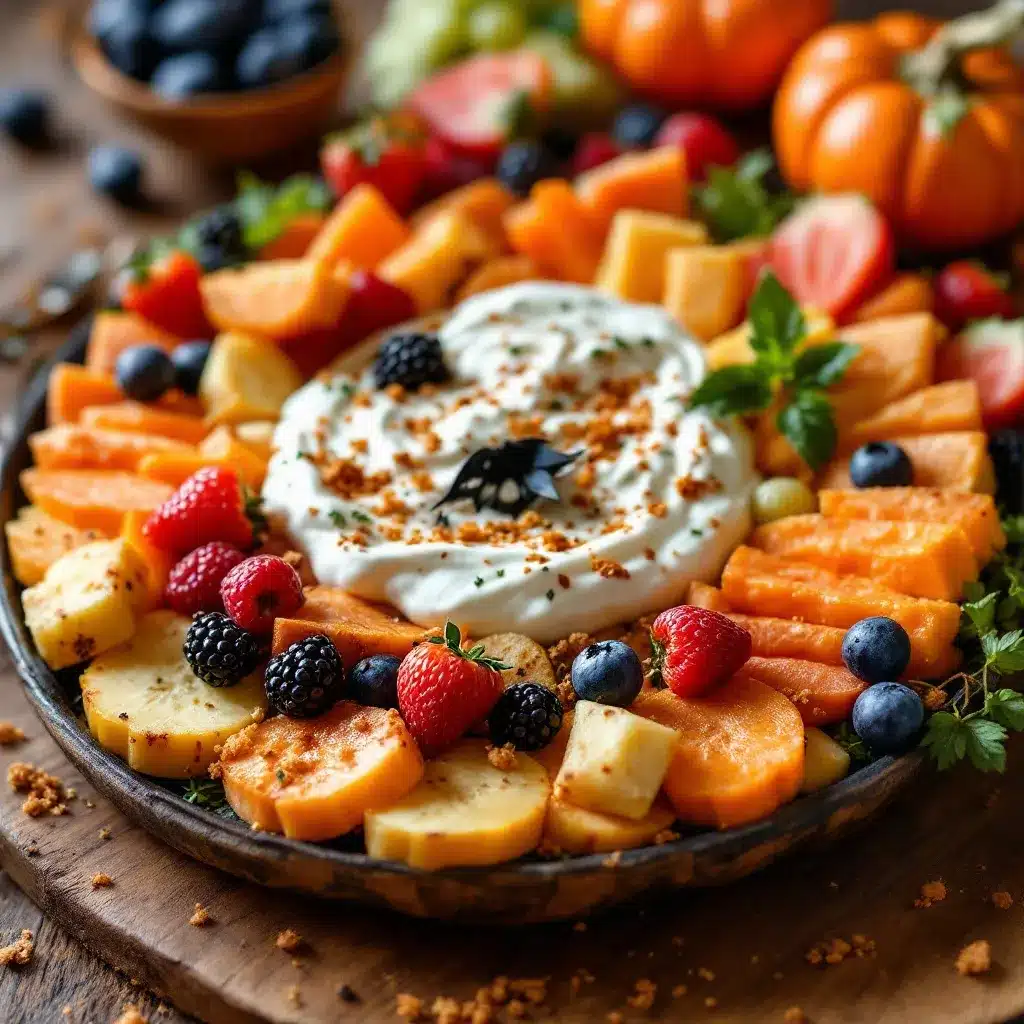
Let’s get into the steps. This is straightforward, but timing matters. You want to assemble this close to serving time so the fruit doesn’t get soggy.
- Prepare the Dip (5 minutes): In a small bowl, combine the Greek yogurt, honey, and vanilla extract. Whisk them together until smooth. If the yogurt seems too thick, add a teaspoon of milk. If it is too thin, add a bit more yogurt. You want a consistency that coats the back of a spoon but isn’t stiff. Chill this in the fridge while you prep the fruit. This step is crucial for keeping the dip cold and thick.
- Prep the Oranges (10 minutes): Peel the orange carefully. Try to keep the segments as whole as possible. If you break them, that’s okay. Use a paring knife to slice the segments into smaller pieces. For the spider legs, you want long, thin strips. Cut the segments lengthwise into strips. They should be about an inch long. Be careful with your fingers here. These pieces will be fragile.
- Prep the Grapes (2 minutes): Wash the grapes and pat them dry. Moisture is the enemy of a good presentation. If the grapes are wet, the dip will slide off. You need eight to ten grapes for the spider bodies. Keep them whole. These will be the main structure of your spiders.
- Assemble the Spiders (10 minutes): Take a grape and place it on your platter. Dip the bottom third of the grape into the yogurt mix. This acts as the glue. Now, take four orange strips and press them into the yogurt-covered part of the grape. Arrange them so they look like legs. You want two on each side, splayed out. It doesn’t have to be perfect. Nature isn’t perfect, and neither are my spiders. That’s the charm.
- Add the Eyes (2 minutes): Take two blueberries and press them into the top of the grape, just above the orange legs. These are the eyes. If you want a mouth, you can add a tiny sliver of strawberry, but it’s not necessary. The eyes are enough to make it spooky.
- Arrange the Tray (5 minutes): Place the spiders in the center of the platter. Surround them with the remaining fruit. You can pile the sliced strawberries around the base. Scatter some extra blueberries and grapes in the corners. Drizzle a little extra yogurt over the empty spaces to fill gaps. The goal is to make it look abundant, not sparse.
Work quickly once the dip is out of the fridge. The yogurt warms up fast, and you want to serve it cold. If you are making a large batch, do the spiders in groups so they don’t get warm in your hands.
Cooking Tips & Techniques
I learned this the hard way: dry your fruit. I once made this with wet grapes, and the spiders slid off the plate like they were on ice skates. It was embarrassing. Pat everything dry with a paper towel before you start assembling. It takes an extra minute, but it saves the presentation.
Another tip is to chill your platter beforehand. If you put a cold platter in the freezer for ten minutes before assembling, the yogurt stays colder longer. This is especially important if you are serving this outdoors at a party.
Don’t overmix the dip. If you whisk it too vigorously, you might incorporate too much air, which can make it fluffy but also unstable. Gentle folding is best. You want it dense and creamy.
Multitasking helps here. While the dip is chilling, you can peel the oranges. Just keep the orange segments in a bowl of cold water to prevent them from browning. It sounds weird, but it works. Drain them well before using.
Consistency is key. If your spiders are falling apart, your dip might be too thin. Add more yogurt. If the fruit is sliding off, your dip might be too thick. Add a drop of milk. Listen to the texture, not just the recipe.
Variations & Adaptations
This recipe is flexible. You can change it up based on what you have or what your guests prefer.
- Dairy-Free: Use coconut yogurt or almond yogurt. Keep in mind that plant-based yogurts can be thinner, so you may need to add a thickener like chia seeds or chill it for longer.
- Gluten-Free: This recipe is naturally gluten-free. Just check your yogurt label to ensure no additives contain gluten.
- Flavor Twist: Add a teaspoon of lemon zest to the yogurt for a brighter flavor. It pairs well with the oranges. Or use mint yogurt for a fresh twist.
- Seasonal Swap: In the fall, use apple slices instead of oranges. Apple wedges are sturdier and look like ghosts if you dip them halfway in yogurt.
- Kid-Friendly: Let the kids make the faces. Give them grapes and raisins. They can make smiley faces or monsters. It’s a fun activity for them.
I once tried using pineapple chunks for the bodies. They worked, but they were too juicy and made the dip watery. Stick to grapes or melon balls for better stability. I also tried using chocolate instead of yogurt for dipping. It was delicious, but it melted too fast in the heat. Yogurt is the safer bet for a party.
Serving & Storage Suggestions
Serve this immediately after assembling. It looks best when the colors are bright and the yogurt is cold. If you are making it for a party, set it out on a table with other snacks. It pairs well with spider web veggie trays for a balanced spread.
Leftovers can be stored in the refrigerator. Keep the fruit and dip separate if possible. The fruit will release juice over time, so if you mix them, it will get soupy. Store the dip in an airtight container and the fruit in another. They will last for two days.
To reheat? You don’t. This is a cold snack. If the yogurt has separated, give it a good stir before serving. It might not be as pretty, but it will still taste good. Avoid freezing this, as the texture of the yogurt changes when thawed. It becomes grainy.
Flavors develop over time. The honey sweetens the yogurt as it sits. So, if you make it ahead, let it sit for an hour in the fridge for better flavor integration. Just assemble the fruit right before serving to keep it crisp.
Nutritional Information & Benefits
This snack is lighter than most Halloween treats. Greek yogurt is high in protein, which helps keep you full. The fruit provides vitamins and fiber. It’s a great way to balance out the candy overload during Halloween.
Each serving has about 100-150 calories, depending on the amount of fruit and yogurt. It is low in saturated fat if you use low-fat yogurt. It is also a good source of calcium and probiotics.
For those with allergies, this is nut-free and dairy-free if you use plant yogurt. It is safe for most kids. I love this recipe because it makes me feel like a good host. I am feeding people healthy food that looks fun. It’s a win-win. Plus, it’s hydrating, which is good after a day of running around.
Conclusion
This Fun Halloween Fruit Tray with Yogurt Dip is worth trying because it solves the biggest problem with fruit platters: mess. It’s sturdy, tasty, and looks impressive without requiring artistic skills. You can customize it to fit your party theme or your dietary needs. I love this recipe because it takes the stress out of hosting. You can make it quickly, and everyone enjoys it.
Give it a try and see how it works for you. If you have questions, leave a comment below. I love hearing how people adapt these recipes. Share your photos on social media if you make it. I want to see your spooky spiders.
Happy Halloween! Make something fun and enjoy the season. This recipe is a great way to bring people together over good food. It’s simple, but it works. Trust me, I’ve tried the hard way so you don’t have to.
FAQs
Can I make this ahead of time?
You can prepare the dip and peel the fruit a few hours in advance. Store them separately in the fridge. Assemble the tray right before serving to keep the fruit crisp and the yogurt cold. This prevents sogginess.
What kind of yogurt is best?
Thick Greek yogurt is best. Brands like Fage or Chobani work well. Avoid thin yogurts as they will make the dip runny and cause the fruit to slide off.
Can I use other fruits?
Yes. Apples, melon, and strawberries work well. Just make sure they are firm enough to hold their shape. Avoid very juicy fruits like watermelon for the spider bodies.
Is this recipe gluten-free?
Yes, this recipe is naturally gluten-free. Just ensure your yogurt and any additional toppings are certified gluten-free if you have celiac disease.
How do I keep the spiders from falling apart?
The key is to dip the bottom of the grape in the yogurt before adding the legs. The yogurt acts as glue. Also, make sure your hands are dry and the fruit is dry to prevent slipping.
Pin This Recipe!
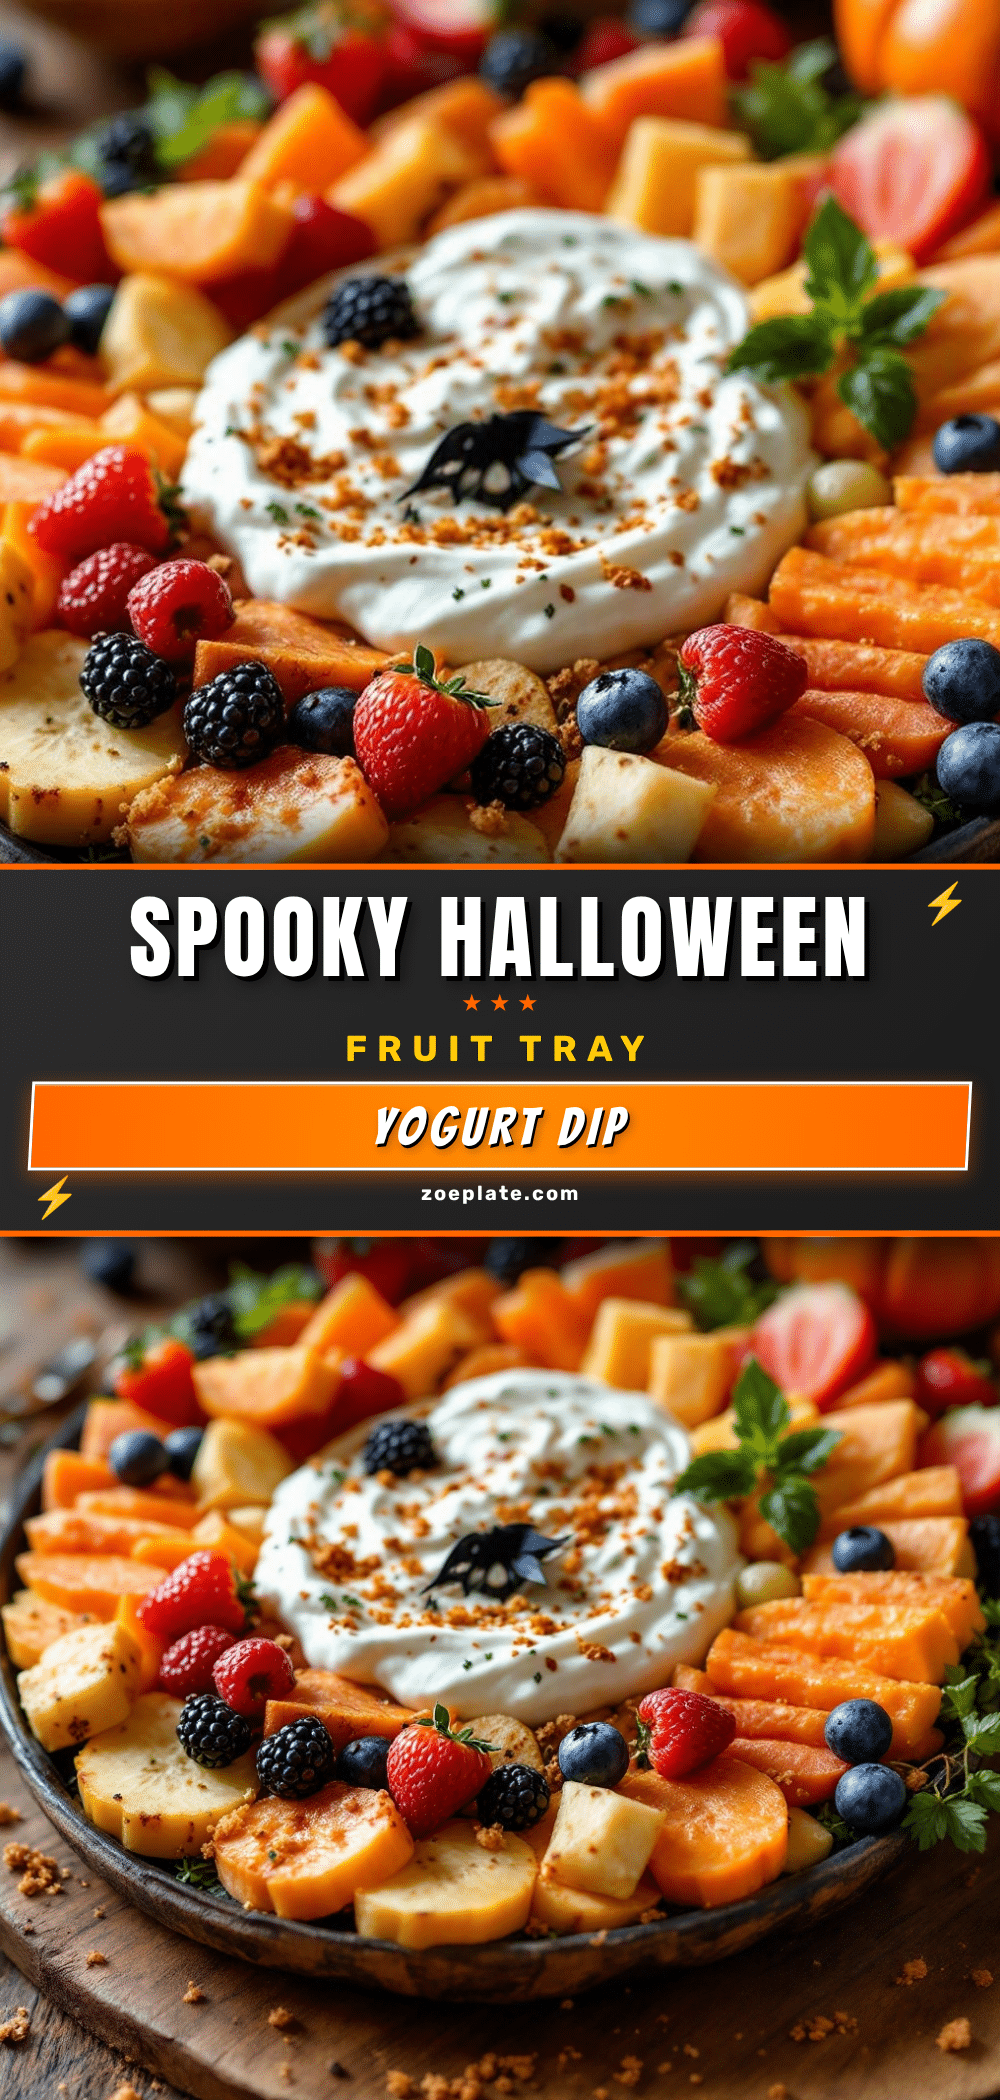
Fun Halloween Fruit Tray: 3-Step Easy Yogurt Dip

A sturdy and festive Halloween fruit tray featuring spooky spider designs made from grapes and orange segments, held together by a thick, creamy Greek yogurt dip.
- Prep Time: 20 minutes
- Cook Time: 0 minutes
- Total Time: 20 minutes
- Yield: 4 servings 1x
- Category: Snack
- Cuisine: American
Ingredients
- 1 cup plain Greek yogurt (full-fat or 2%)
- 2 tablespoons honey
- 1/2 teaspoon vanilla extract
- 1 large navel orange
- 1 cup red or green seedless grapes
- 1/2 cup strawberries, sliced
- A small handful of blueberries
- Optional: Clementines for easier peeling
Instructions
- In a small bowl, combine the Greek yogurt, honey, and vanilla extract. Whisk until smooth. If too thick, add a teaspoon of milk; if too thin, add more yogurt. Chill in the fridge while prepping fruit.
- Peel the orange and separate into segments. Slice segments lengthwise into thin strips (about 1 inch long) to serve as spider legs.
- Wash and thoroughly pat dry the grapes. Moisture will cause the dip to slide, so ensure they are completely dry.
- Take a grape and dip the bottom third into the yogurt mixture to act as glue. Press four orange strips into the yogurt-covered part to form spider legs.
- Press two blueberries into the top of the grape, just above the legs, to create spider eyes.
- Place the assembled spiders in the center of a large platter. Surround with sliced strawberries, extra blueberries, and grapes. Drizzle remaining yogurt over empty spaces to fill gaps.
- Serve immediately while the yogurt is cold and the fruit is crisp.
Notes
[‘Dry all fruit thoroughly before assembling to prevent slipping.’, ‘Chill the platter in the freezer for 10 minutes before assembling to keep the yogurt cold longer.’, ‘Keep orange segments in cold water while prepping to prevent browning, but drain well before use.’, ‘Store leftovers separately: keep dip and fruit in airtight containers in the fridge for up to 2 days. Do not freeze.’, ‘For dairy-free, use coconut yogurt but chill longer as it may be thinner.’]
Nutrition
- Serving Size: Approximately 1/4 of
- Calories: 125
- Sugar: 16
- Sodium: 15
- Fat: 3
- Saturated Fat: 2
- Carbohydrates: 20
- Fiber: 2
- Protein: 5
Keywords: Halloween snack, fruit tray, yogurt dip, healthy party food, spider fruit, Greek yogurt recipe, easy Halloween treats


