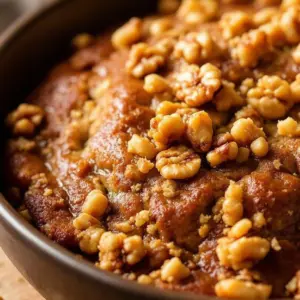
My husband stood in the kitchen doorway, holding a slice of banana bread that was slightly too thick, and asked if I could make the moist one-bowl banana bread with walnuts one more time. He didn’t even have to ask twice. I just nodded and pointed to the empty plate, knowing he’d be back for seconds before the coffee finished brewing. It’s funny how a simple loaf can turn a grumpy Tuesday morning into a surprisingly peaceful moment. We’ve tried dozens of recipes over the years, some from fancy cookbooks, others from random blogs, but this one sticks. It’s not because it’s complicated or requires twenty different bowls. It’s because it actually works every single time. The walnuts add that necessary crunch against the soft, sweet crumb, and the whole thing comes together without making a mess. I used to stress about overmixing the batter or finding the perfect ripe bananas, but now it’s just muscle memory. Watching him take that first bite, eyes closing like he’s in a commercial, is the only validation I really need. It’s not about perfection; it’s about consistency and comfort. Now that I’ve got the routine down, I’m happy to share the method. You don’t need to be a pro baker to get this right. You just need a bowl, a spoon, and a little patience.
Why You’ll Love This Moist One-Bowl Banana Bread with Walnuts
Let’s be real for a second. Most banana bread recipes promise the world but deliver a dense, dry brick that you have to soak in coffee just to chew. This recipe is different. It’s the kind of loaf that stays moist for days, maybe even a week, if you can keep your hands off it long enough. I’ve tested this method with everything from slightly green bananas to those black, mushy ones, and it comes out perfect either way. The secret isn’t fancy ingredients; it’s the ratio of wet to dry and the gentle hand you use when mixing.
Here is why this specific version of moist one-bowl banana bread with walnuts earns a permanent spot on your weekly rotation:
* **Quick & Easy**: You don’t need a stand mixer or a dozen bowls. Just one large bowl and a whisk (or fork) are all you need to get from start to finish in about 10 minutes of prep. It’s perfect for those chaotic weeknights or lazy weekend mornings when you want something homemade but don’t have hours to spare.
* **Simple Ingredients**: You likely have everything in your kitchen right now. Bananas, eggs, butter, sugar, flour, baking soda, and walnuts. No obscure flours or weird extracts. It’s pantry-friendly cooking at its best.
* **Perfect for Meal Prep**: This loaf freezes beautifully. You can make two batches on Sunday, wrap them tightly, and have fresh-tasting breakfasts ready to go all week long. It’s also great for gifting or bringing to a potluck where you want to impress without the stress.
* **Crowd-Pleaser**: Kids love it because it’s sweet and soft. Adults love it because it’s not overly sugary and has that nice nutty texture from the walnuts. It bridges the gap between a breakfast treat and a dessert.
* **Unbelievably Delicious**: The texture is the star here. It’s tender and crumbly, not gummy. The walnuts provide a bitter contrast to the sweet banana, creating a balanced flavor profile that feels sophisticated but tastes like home.
What makes this recipe stand out from the hundreds of others online is the emphasis on the “one-bowl” aspect without sacrificing quality. Many one-bowl recipes skip creaming the butter and sugar, which can lead to a flat, pancake-like texture. This method ensures you get that slight rise and a beautiful dome. It’s not just another banana bread; it’s the reliable, sturdy, comforting version that you can count on when you need a win in the kitchen. It’s the kind of recipe that makes you feel like you’ve mastered baking, even if you’ve burned toast before.
What Ingredients You Will Need
The beauty of this moist one-bowl banana bread with walnuts lies in its simplicity. You don’t need a trip to a specialty grocery store or a cart full of exotic items. The flavor comes from the natural sweetness of the fruit and the richness of the butter. However, quality matters, especially with so few components. Here is what you need to gather before you start mixing.
**The Wet Ingredients**
* **Ripe Bananas**: You’ll need about 3 large bananas, or roughly 1.5 cups of mashed bananas. The riper, the better. Look for bananas with lots of brown spots on the peel. They are sweeter and mash easier. If you can’t find them ripe enough, pop them in the oven at 300°F for 15 minutes to speed up the process.
* **Unsalted Butter**: Melted, about 1/3 cup (75g). Using melted butter adds moisture and helps create a denser, fudgier crumb. I prefer unsalted so I can control the sodium, but salted works if you reduce the added salt slightly.
* **Granulated Sugar**: 3/4 cup (150g). This provides sweetness and helps with browning. You can substitute with brown sugar for a deeper, molasses-like flavor, which pairs wonderfully with the walnuts.
* **Eggs**: 2 large eggs, at room temperature. Room temperature ingredients blend together more easily, creating a smoother batter.
* **Vanilla Extract**: 1 teaspoon. Pure vanilla is best here. It enhances the banana flavor without overpowering it.
**The Dry Ingredients**
* **All-Purpose Flour**: 1 1/2 cups (190g). Do not use self-rising flour unless you adjust the leavening agents. Spoon the flour into the measuring cup and level it off for accuracy.
* **Baking Soda**: 1 teaspoon. This is the primary leavening agent. Make sure it’s not expired, or your bread won’t rise properly.
* **Salt**: 1/2 teaspoon. Salt is crucial for balancing the sweetness. Don’t skip it.
* **Cinnamon**: 1/2 teaspoon. Optional, but it adds a warm, cozy note that complements the bananas perfectly.
**The Mix-Ins**
* **Walnuts**: 3/4 cup, roughly chopped. Toasting the walnuts in a dry pan for 3-4 minutes before adding them to the batter brings out their oils and intensifies the flavor. I highly recommend this step. It’s a small effort for a big payoff.
If you want to tweak this slightly, you can swap half the all-purpose flour for whole wheat flour for a heartier texture, though it will be slightly denser. For a nut-free version, simply omit the walnuts or substitute with sunflower seeds. The base recipe remains solid and delicious either way.
Equipment Needed
You really don’t need much to make this loaf, which is part of the appeal. Here is the basic toolkit required:
* **Large Mixing Bowl**: A bowl with a wide mouth makes whisking the wet ingredients much easier. A ceramic or glass bowl is nice because it’s sturdy and doesn’t slide around on the counter.
* **Whisk or Fork**: You don’t need an electric mixer. A simple whisk or a sturdy fork is perfect for blending the wet ingredients and incorporating the flour. Overmixing is the enemy, so a manual tool gives you more control.
* **Measuring Cups and Spoons**: Standard dry and liquid measuring sets will work fine. For the flour, I always recommend using a kitchen scale for the most accuracy, but volume measurements work if you’re careful.
* **9×5 Inch Loaf Pan**: This is the standard size for banana bread. Glass pans are great because they bake evenly and let you see the bottom browning. Metal pans conduct heat faster, so keep an eye on them.
* **Parchment Paper**: Lining your loaf pan with parchment paper is a game-changer. It prevents sticking and makes removing the cooled bread effortless. You can also use butter and flour, but parchment is foolproof.
* **Cooling Rack**: Essential for letting the bread cool properly. If you leave it in the hot pan, the bottom will steam and become soggy.
If you don’t have a scale, a set of standard measuring cups is fine. Just remember to fluff your flour before scooping. For the walnuts, a sharp chef’s knife is all you need for chopping. Keep your workspace clean; it makes the one-bowl process feel even more streamlined.
Preparation Method
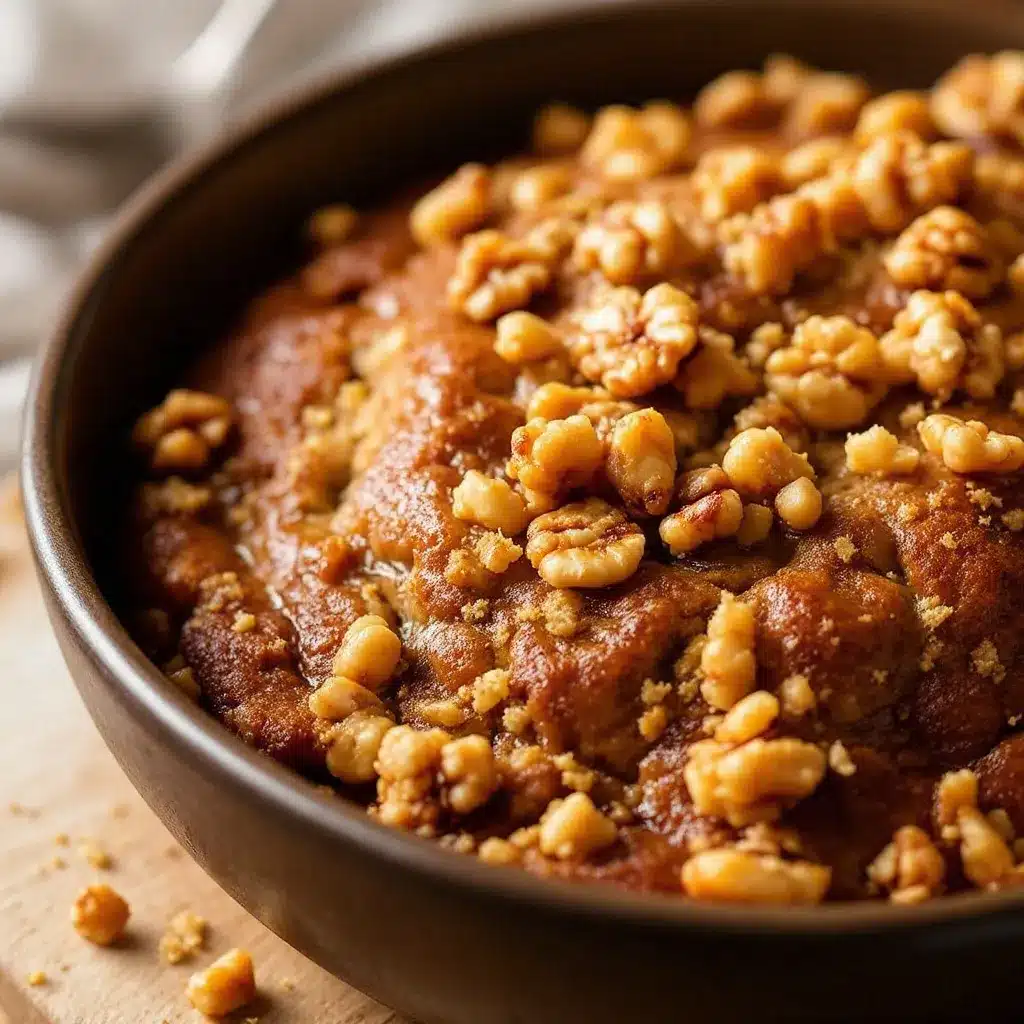
Making this moist one-bowl banana bread with walnuts is straightforward, but there are a few key steps to ensure success. Follow these instructions closely for the best results.
**1. Prep Your Pan and Oven (5 Minutes)**
Preheat your oven to 350°F (175°C). This temperature is crucial for baking the bread through without burning the top. While the oven heats, line your 9×5 inch loaf pan with parchment paper. Leave an overhang on the long sides so you can lift the bread out later. If you don’t have parchment, grease the pan generously with butter or non-stick spray.
**2. Mash the Bananas (2 Minutes)**
Peel your ripe bananas and place them in your large mixing bowl. Use a potato masher, a fork, or your hands to mash them until they are mostly smooth with a few small lumps remaining. You want about 1.5 cups of mash. Don’t over-process them into a liquid; a bit of texture is nice.
**3. Mix the Wet Ingredients (2 Minutes)**
To the mashed bananas, add the melted butter, granulated sugar, eggs, and vanilla extract. Whisk these together vigorously for about a minute. You want the sugar to dissolve slightly into the butter and eggs, creating a glossy, uniform mixture. This step ensures even sweetness and moisture distribution.
**4. Add the Dry Ingredients (1 Minute)**
Sprinkle the flour, baking soda, salt, and cinnamon over the wet mixture. Switch to a spatula or a fork. Gently fold the dry ingredients into the wet. Stop mixing as soon as you no longer see streaks of white flour. The batter will be thick and lumpy. This is normal. Overmixing develops gluten, which leads to tough bread. We want tender crumbs.
**5. Fold in the Walnuts (1 Minute)**
Gently fold in the chopped walnuts. Reserve a small handful to sprinkle on top for a pretty presentation. Distribute them evenly throughout the batter.
**6. Bake the Bread (55-65 Minutes)**
Pour the batter into your prepared loaf pan. Smooth the top with your spatula. Bake in the preheated oven for 55 to 65 minutes. The bread is done when the top is golden brown, the edges pull away slightly from the pan, and a toothpick inserted into the center comes out clean or with just a few moist crumbs. Do not rely solely on the timer; ovens vary. If the top is browning too quickly, tent it loosely with aluminum foil after 40 minutes.
**7. Cool the Bread (30 Minutes)**
Let the bread cool in the pan for 10 minutes, then lift it out using the parchment overhang and transfer it to a cooling rack. Let it cool completely before slicing. This allows the structure to set. Slicing it warm might cause it to crumble.
Cooking Tips & Techniques
Having baked this loaf dozens of times, I’ve learned a few tricks that separate the good banana bread from the great. The biggest mistake people make is using under-ripe bananas. Green bananas taste starchy and bland. You need those dark spots. If your bananas are still yellow, put them on a baking sheet and bake at 300°F for 15-20 minutes until the skins turn black. They’ll be soft and super sweet.
Another tip is to not overmix the batter. When you add the flour, it’s tempting to stir until it’s perfectly smooth. Resist that urge. A few small lumps are fine. Overmixing creates gluten strands, making the bread dense and chewy instead of tender. Fold until just combined.
Timing is everything. If your kitchen is very cold, your butter might solidify in the batter. Make sure your butter is melted but cooled slightly, not piping hot. Also, check your baking soda. If it’s been in the back of the cupboard for years, it might be inactive. Test it by dropping a little vinegar on it; if it doesn’t fizz, toss it.
For a extra moist loaf, some people add a tablespoon of sour cream or Greek yogurt. I haven’t found it necessary with this specific ratio, but if you live in a dry climate, it can help. Finally, let the bread cool completely. I know the smell is irresistible, but slicing it hot releases steam and dries out the interior. Patience pays off.
Variations & Adaptations
While the classic walnut version is my favorite, this recipe is a fantastic canvas for other flavors. Here are a few ways to adapt it to your tastes or dietary needs.
**Chocolate Chip Banana Bread**
Fold in 3/4 cup of semi-sweet chocolate chips instead of walnuts. The combination of banana and chocolate is rich and decadent. You can use dark chocolate for a less sweet option or milk chocolate for a kid-friendly treat.
**Peanut Butter Banana Bread**
Swirl 2 tablespoons of peanut butter into the batter before baking. You can also fold in 1/2 cup of crunchy peanut butter for extra texture. This adds protein and a savory depth that pairs well with the sweetness.
**Gluten-Free Option**
Substitute the all-purpose flour with a 1:1 gluten-free baking flour blend. Brands like Bob’s Red Mill or King Arthur work well. Be sure to check that your baking soda is certified gluten-free if you have celiac disease. The texture may be slightly more crumbly, so let it cool thoroughly before slicing.
**Nut-Free Version**
Simply omit the walnuts. If you want crunch, try adding toasted oats or pumpkin seeds. This makes the bread safe for school lunches or nut-allergy environments.
**Spiced Variation**
Add a pinch of nutmeg, ginger, and allspice along with the cinnamon. This gives the bread a warm, holiday-like flavor profile that’s perfect for autumn.
I’ve also tried adding a streusel topping made with flour, brown sugar, and cold butter. It adds a nice crunch on top, though it’s not strictly necessary. The base recipe is so good that any variation feels like an extra bonus.
Serving & Storage Suggestions
This moist one-bowl banana bread with walnuts is best served at room temperature. It’s perfect for breakfast with a cup of coffee or tea, or as a snack with lunch. You can also serve it lightly warmed for a cozy treat. To warm a slice, microwave it for 20-30 seconds.
For storage, wrap the cooled loaf tightly in plastic wrap or aluminum foil. It will keep at room temperature for up to 3 days. For longer storage, refrigerate it for up to a week. The bread actually gets moister after a day or two as the flavors meld.
If you want to keep it longer, freeze it. Wrap the whole loaf or individual slices in plastic wrap, then place them in a freezer-safe bag or container. It will last for up to 3 months. Thaw slices at room temperature or warm them in the toaster oven.
The walnuts might soften slightly over time, but the bread itself stays moist. Avoid storing it in an airtight container while it’s still warm, as condensation will make the crust soggy. Always let it cool completely first.
Nutritional Information & Benefits
Banana bread is a treat, but bananas do offer some nutritional benefits. They are a good source of potassium, vitamin B6, and fiber. Using whole eggs adds protein, and walnuts provide healthy omega-3 fatty acids and antioxidants. This recipe uses a moderate amount of sugar, making it a balanced indulgence.
One slice (assuming 10 slices per loaf) contains approximately 220 calories, 8g of fat, 35g of carbohydrates, and 3g of protein. These values are estimates and can vary based on exact ingredients and portion sizes. If you are watching your sugar intake, you can reduce the sugar to 1/2 cup without significantly affecting the texture, thanks to the natural sweetness of ripe bananas. This loaf is naturally free of dairy if you use a dairy-free butter alternative, though the recipe as written contains eggs and butter.
Conclusion
This moist one-bowl banana bread with walnuts is the kind of recipe that earns its keep. It’s simple, reliable, and delicious. I hope you try it and find it as comforting as we do. Feel free to adjust the sweetness or add your favorite mix-ins to make it your own. If you do make it, I’d love to hear how it turned out. Leave a comment below with your thoughts or share a photo. There’s nothing better than knowing this recipe helped make someone’s day a little sweeter. Happy baking!
Frequently Asked Questions
Can I use frozen bananas for this recipe?
Yes, frozen bananas work great. Just thaw them completely and drain any excess liquid before mashing. The texture will be even softer, which is perfect for this recipe.
Why is my banana bread dense?
Dense bread is usually caused by overmixing the batter or using old baking soda. Make sure to fold the ingredients gently until just combined and check that your leavening agents are fresh.
How do I know when the banana bread is done?
Insert a toothpick into the center of the loaf. If it comes out clean or with a few moist crumbs, it’s done. The top should be golden brown, and the edges should pull away from the pan.
Can I substitute walnuts with other nuts?
Absolutely. Pecans, hazelnuts, or macadamia nuts work well. Just chop them to a similar size and fold them in at the same step.
How long does banana bread last in the fridge?
It will stay fresh in the refrigerator for up to a week when wrapped tightly. However, it’s best enjoyed at room temperature for the best texture and flavor.
Pin This Recipe!
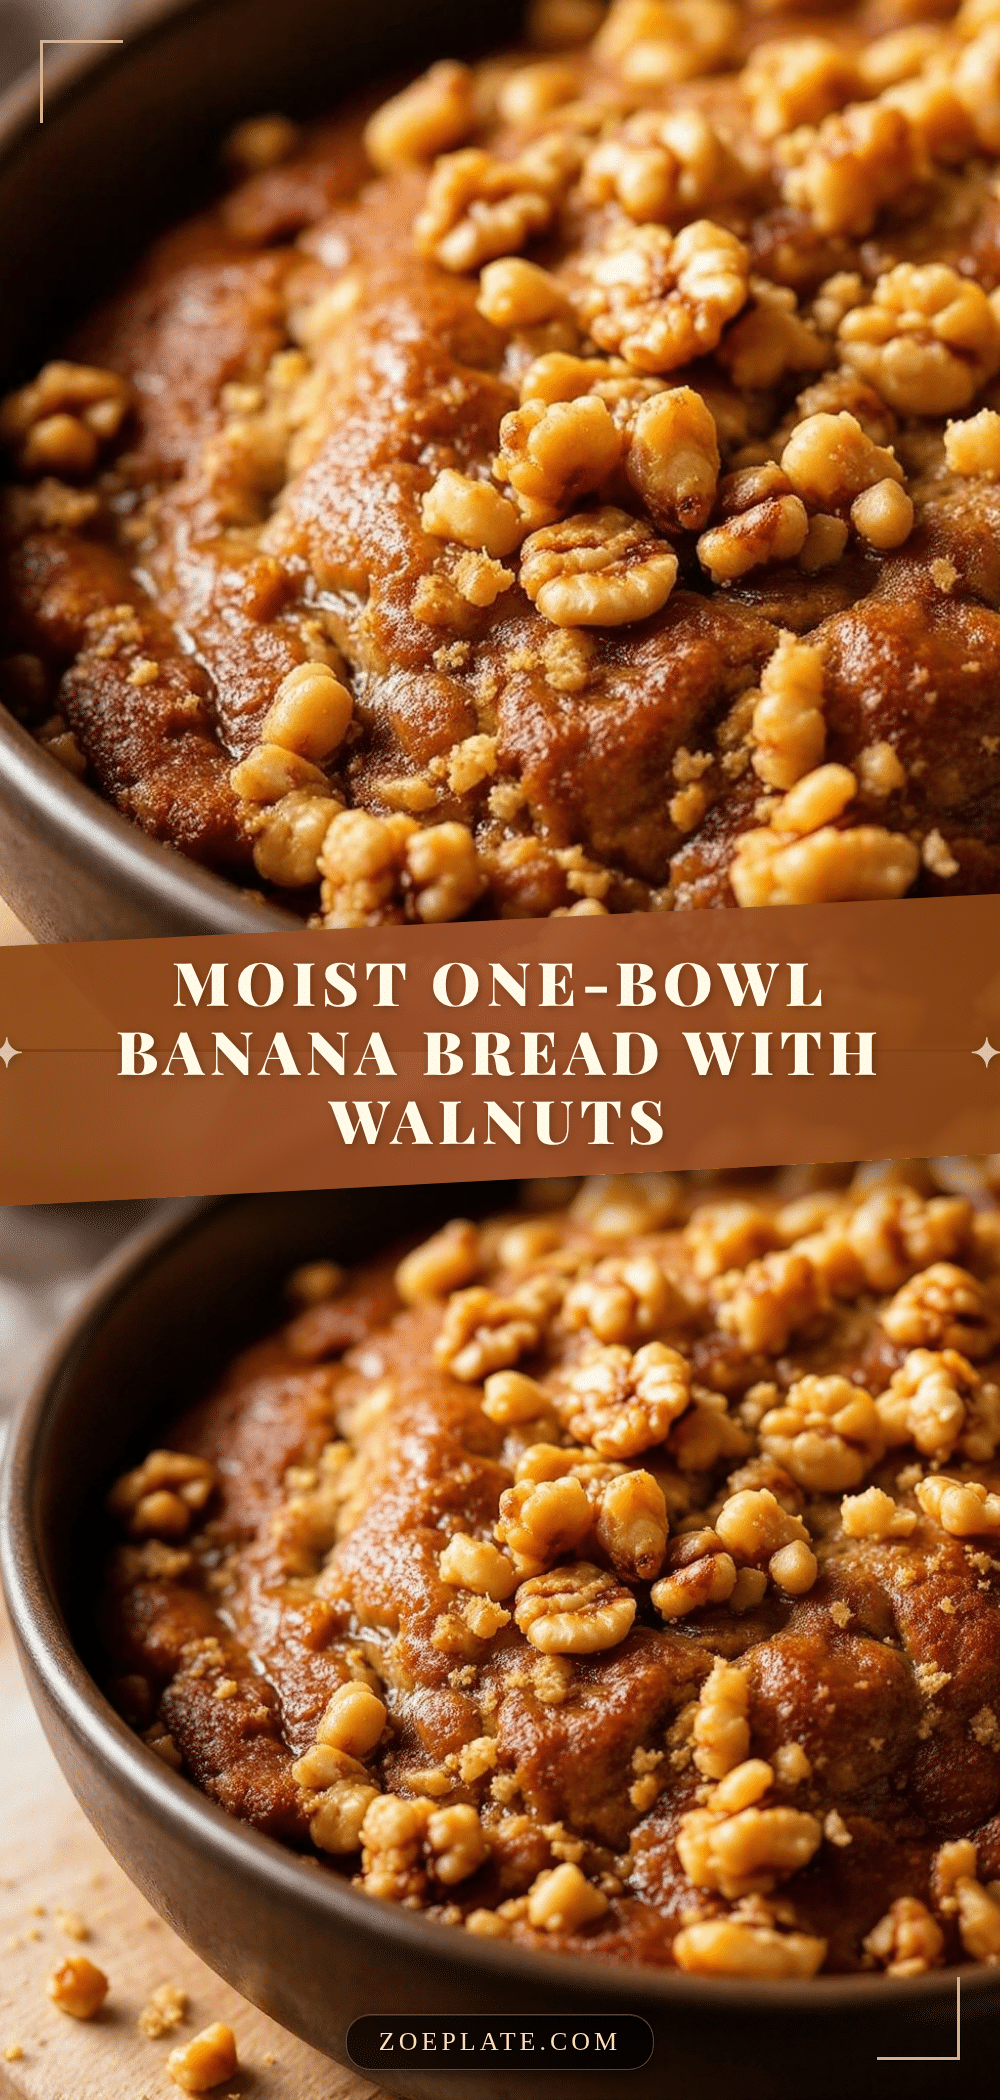
Moist One-Bowl Banana Bread with Walnuts
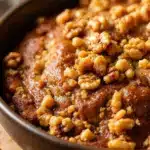
A simple, reliable banana bread recipe that requires only one bowl and basic pantry ingredients. It yields a moist, tender loaf with a perfect balance of sweet banana and crunchy walnuts.
- Prep Time: 10 minutes
- Cook Time: 55-65 minutes
- Total Time: 1 hour 15 minutes
- Yield: 10 servings 1x
- Category: Breakfast
- Cuisine: American
Ingredients
- 3 large ripe bananas (about 1.5 cups mashed)
- 1/3 cup (75g) unsalted butter, melted
- 3/4 cup (150g) granulated sugar
- 2 large eggs, room temperature
- 1 teaspoon vanilla extract
- 1 1/2 cups (190g) all-purpose flour
- 1 teaspoon baking soda
- 1/2 teaspoon salt
- 1/2 teaspoon cinnamon
- 3/4 cup walnuts, roughly chopped
Instructions
- Preheat oven to 350°F (175°C). Line a 9×5 inch loaf pan with parchment paper.
- Mash the ripe bananas in a large mixing bowl until mostly smooth with a few small lumps.
- Add the melted butter, sugar, eggs, and vanilla extract to the bananas. Whisk vigorously for about a minute until glossy and uniform.
- Sprinkle the flour, baking soda, salt, and cinnamon over the wet mixture. Gently fold in with a spatula or fork until just combined; do not overmix.
- Fold in the chopped walnuts, reserving a small handful for topping.
- Pour batter into the prepared pan, smooth the top, and sprinkle reserved walnuts on top.
- Bake for 55-65 minutes, or until a toothpick inserted into the center comes out clean. Tent with foil if browning too quickly.
- Cool in the pan for 10 minutes, then transfer to a cooling rack to cool completely before slicing.
Notes
Use very ripe bananas with brown spots for maximum sweetness and moisture. Do not overmix the batter to avoid a dense texture. Toasting walnuts before adding enhances their flavor. The bread keeps well at room temperature for 3 days or frozen for 3 months.
Nutrition
- Serving Size: 1 slice
- Calories: 220
- Sugar: 20
- Sodium: 180
- Fat: 8
- Saturated Fat: 3
- Carbohydrates: 35
- Fiber: 2
- Protein: 3
Keywords: banana bread, walnut bread, one-bowl recipe, moist banana bread, easy baking, breakfast bread, homemade banana bread