“Are these really just Oreos on a stick?” I remember someone asking during my first attempt at making these Perfect Graduation Cap Chocolate-Dipped Oreo Cookie Pops. Honestly, I was skeptical myself. I’d been scrambling to find a fun, fuss-free dessert for a last-minute graduation party, and somehow, these little pops stole the show. There was a moment when I thought, “This can’t be that easy,” but as soon as I dipped that Oreo in silky chocolate and carefully added the graduation cap decoration, I realized this was a winner. The way the chocolate sets with a glossy finish and the crisp snap of the cookie underneath? Pure magic.
That day, my kitchen was a bit of a mess—chocolate smudges everywhere, crumbs on the floor—but the smiles from my guests made it all worth it. I couldn’t stop making these cookie pops for a whole week after that party. They’re not just cute; they’re surprisingly delicious and perfect for celebrating milestones with a bit of whimsy. It’s funny how something so simple can become such a cherished tradition. And hey, if you’re juggling party prep like I was, these treats won’t add to your stress—they’ll add to the joy instead, and that’s the kind of recipe I’m all about.
These Perfect Graduation Cap Chocolate-Dipped Oreo Cookie Pops stuck with me because they’re effortless yet special, casual but classy, and honestly, just downright fun to make and eat. If you’re here, you probably have a graduation celebration coming up, or maybe you just want a sweet way to mark an achievement. Either way, these pops are ready to charm your guests and satisfy your sweet tooth without any drama.
Why You’ll Love This Recipe
After a handful of trial runs (and a few chocolate drips on the counter), I can say these cookie pops are a solid hit for any graduation event. Here’s what makes these Perfect Graduation Cap Chocolate-Dipped Oreo Cookie Pops stand out:
- Quick & Easy: From start to finish, you can have a batch ready in under 45 minutes—no complicated baking, just assembly and dipping.
- Simple Ingredients: You probably already have Oreos, chocolate, and a few basic decorating supplies in your pantry.
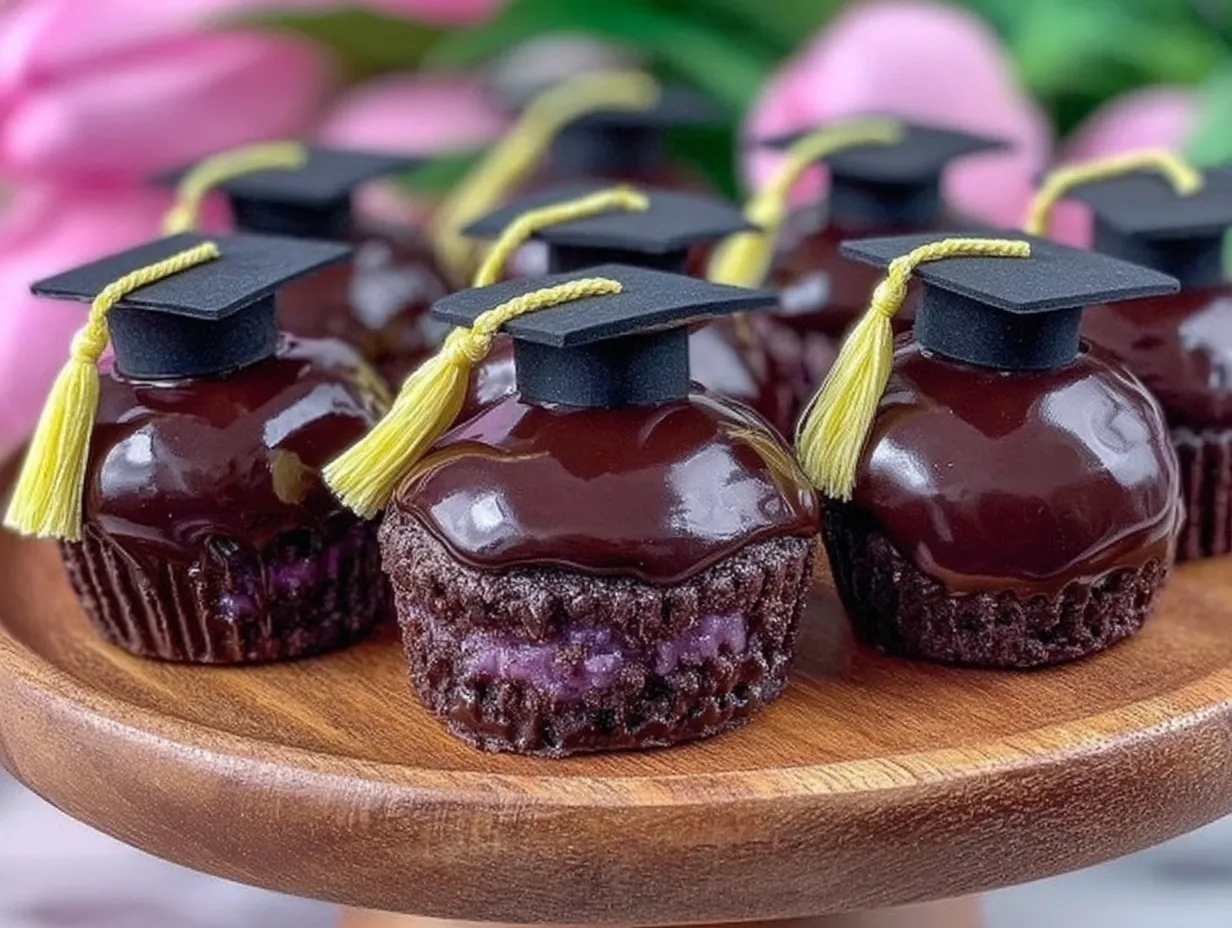
- Perfect for Graduation Parties: The little graduation caps instantly turn a classic cookie into a festive keepsake.
- Crowd-Pleaser: Kids, teens, and adults all love these; they’re fun to eat and look great on any dessert table.
- Unbelievably Delicious: The combination of crunchy cookie, smooth chocolate coating, and the sweet little candy toppings is pure comfort food with a celebratory twist.
What sets this recipe apart? It’s the way the chocolate coating melts just right to create a flawless shell that’s firm yet not brittle. Plus, the little handmade mortarboard caps add a charming touch that you won’t find in store-bought treats. I use a special technique to get the chocolate consistency just perfect — not too thick, so the Oreo’s flavor shines through, and not too thin to drip off everywhere.
Honestly, these cookie pops are the kind of treat that makes you pause and savor the moment. Whether you’re impressing guests or just want a sweet reminder of achievement, they deliver a little celebration in every bite.
What Ingredients You Will Need
This recipe uses simple, wholesome ingredients to deliver bold flavor and a satisfying texture without the fuss. Most are pantry staples, and substitutions are easy if you want to tweak things to your taste or dietary needs.
- Oreos: Classic sandwich cookies with cream filling. You can swap for gluten-free Oreos if needed.
- Chocolate for dipping: Use semi-sweet or milk chocolate chips or melting wafers. I recommend Ghirardelli or Callebaut for smooth melting.
- Black candy melts or black fondant: For creating the graduation caps. Black candy melts are easier for beginners.
- Mini marshmallows or small round candies: These become the “buttons” on the cap’s top.
- Lollipop sticks or sturdy wooden skewers: To hold your cookie pops upright.
- White royal icing or white gel icing pen: For drawing the tassel detail on the cap.
- Sprinkles or edible glitter (optional): Adds a bit of sparkle to the caps if you want to get fancy.
Tip: If you’re feeling adventurous, try swapping the Oreos for chocolate-covered sandwich cookies like these rice krispie treats for a fun twist on texture. Also, if you’re dairy-free, most chocolate melts and Oreos have suitable alternatives now, so no one has to miss out.
Equipment Needed
Gathering your tools ahead of time makes the process so much smoother. Here’s what you’ll want on hand:
- Microwave-safe bowls: For melting chocolate and candy melts gently.
- Baking sheet or tray: To place your cookie pops on while the chocolate sets.
- Parchment paper or silicone baking mat: Prevents sticking and makes cleanup easier.
- Small offset spatula or butter knife: Handy for smoothing chocolate coatings or adjusting decorations.
- Toothpicks or fine brushes: Useful for small icing details like drawing tassels.
- Cooling rack (optional): Great for letting excess chocolate drip off evenly.
If you don’t have lollipop sticks, wooden skewers cut down to size work just fine. I’ve made these pops on a shoestring budget before and found that silicone mats are a great investment for multiple recipes, including easy freezer meals and treats alike. Keeping your tools simple keeps the focus on the fun of decorating.
Preparation Method
- Prepare your workspace: Line a baking sheet with parchment paper or a silicone mat. Have all your ingredients and tools within reach. This step saves you from scrambling mid-process.
- Insert sticks into Oreos: Gently twist each Oreo apart and carefully insert a lollipop stick into the cream center, then sandwich the halves back together. If the cookie cracks, no worries, just press gently to hold it together. This usually takes about 10 minutes for a batch of 12 pops.
- Melt the chocolate: In a microwave-safe bowl, heat chocolate chips or candy melts in 30-second bursts, stirring well each time until smooth and glossy (about 1-2 minutes total). Avoid overheating to keep the chocolate from seizing.
- Dip the Oreos: Holding the stick, dip each cookie into the melted chocolate, turning to coat fully. Let excess chocolate drip back into the bowl. Place the dipped pop on the prepared baking sheet. This part requires a steady hand but gets easier with practice.
- Create the graduation caps: Melt the black candy melts separately. Using a small spoon or piping bag, form a flat square on parchment paper for the cap base. Let it set until firm but still slightly tacky (10-15 minutes).
- Attach the caps: Once the chocolate coating on the Oreos is just set, use a dab of melted black candy melts to stick the square cap on top of each cookie pop. Press gently to adhere.
- Add the tassel button: Place a mini marshmallow or round candy in the center of the cap to represent the button. Secure with a small dot of melted candy melts.
- Draw the tassels: Use white royal icing or a gel icing pen to draw the tassel strings extending from the button to the cap’s edge. This step adds the final festive touch and can be done while the caps set completely.
- Let everything set: Allow the pops to rest at room temperature or in the fridge for 30 minutes until fully firm. Avoid stacking to keep decorations intact.
Pro tip: If your chocolate thickens while dipping, warm it gently again for a few seconds. Also, when drawing tassels, patience is key — a steady wrist makes a big difference!
Cooking Tips & Techniques
Here’s what I learned after making these cookie pops a few times (and yes, a couple of chocolatey mishaps):
- Don’t overheat chocolate: Overheated chocolate becomes grainy and hard to work with. Stir often and heat in short bursts.
- Chill Oreos before dipping: Cold cookies help the chocolate set faster and reduce melting or sogginess.
- Use candy melts for decorations: They’re easier to shape and hold their form better than melted chocolate for the caps.
- Work in small batches: Melting smaller amounts of chocolate prevents waste and helps maintain smooth texture.
- Practice your piping: If you’re new to decorating, practice tassel lines on parchment paper first and keep a damp cloth handy to wipe mistakes.
- Multitask wisely: While waiting for caps to set, prep the next batch of Oreos or melt more chocolate to keep the assembly line flowing.
I’ve found that keeping a sense of humor helps — some pops will have wonky tassels or slightly uneven caps, and that’s okay. They still taste fantastic and look charmingly homemade. For a smooth coating, dip quickly but carefully, and don’t shake the stick too much or the chocolate will drip all over.
Variations & Adaptations
These cookie pops are pretty flexible, so feel free to switch things up:
- Flavor Swap: Use Golden Oreos or other sandwich cookies for a different taste and look.
- Chocolate Choice: Try white chocolate for a bright contrast—just tint with black or blue food coloring to match school colors.
- Dietary Needs: Gluten-free Oreos and dairy-free melts make these treats accessible without sacrificing flavor.
- Seasonal Twist: Add edible gold dust or glitter to match graduation themes or school colors.
- Alternative Decorations: Use small fondant pieces or candy shapes instead of marshmallows for the cap buttons.
One time, I swapped the Oreo for a homemade chocolate cookie to make funfetti cake-inspired pops. The crowd went wild, and it was a nice way to personalize the treat for a friend’s unique celebration.
Serving & Storage Suggestions
These cookie pops are best served at room temperature, so the chocolate has a nice snap but isn’t too hard. Arrange them standing upright in a decorated vase or foam block for a festive display. Pair with a cold glass of milk or a sparkling punch for a crowd-pleasing combo.
For storage, place the pops in an airtight container and keep them in a cool, dry place for up to 3 days. If your home is warm, storing them in the fridge is fine, but bring them to room temp before serving to avoid a waxy chocolate feel. They also freeze well—wrap individually in plastic wrap and place in a freezer-safe container for up to a month. Thaw gently in the fridge overnight.
Flavors actually meld a bit after a day, making the cream center taste even creamier. Just be mindful of condensation if moving from fridge to room temp — a quick wipe helps keep the chocolate shiny.
Nutritional Information & Benefits
Each Perfect Graduation Cap Chocolate-Dipped Oreo Cookie Pop contains roughly 150-180 calories, depending on the brand of Oreos and type of chocolate used. While these are definitely a treat, they’re portion-controlled and easy to share.
Oreos provide a satisfying crunch and the cream filling that kids and adults adore. Using dark or semi-sweet chocolate adds antioxidants compared to milk chocolate. Choosing dairy-free or gluten-free options means more people can enjoy them safely.
For those watching sugar intake, you can experiment with sugar-free chocolate melts or smaller portions. Overall, these pops offer a joyful way to celebrate without a sugar overload, especially when balanced with savory dishes like the ultimate one-pot freezer meal for the party main course.
Conclusion
These Perfect Graduation Cap Chocolate-Dipped Oreo Cookie Pops are a simple joy in cookie form. They bring a playful but polished touch to any celebration without requiring hours in the kitchen. Whether you’re making them for your kid’s big day or just craving a fun project, they’re flexible, forgiving, and downright delightful.
Feel free to customize the colors, decorations, and flavors to make them truly your own. I love how they turn a humble Oreo into a keepsake treat that sparks smiles and conversations. Next time you need a dessert that’s easy, festive, and irresistibly tasty, these pops will have your back.
Can’t wait to hear how your pops turn out — don’t hesitate to share your photos and tweaks in the comments below. Here’s to celebrating milestones deliciously!
FAQs
Can I make these cookie pops ahead of time?
Yes! They keep well for up to 3 days at room temperature or refrigerated for up to a week. Just store them in an airtight container.
What if I can’t find black candy melts?
You can use black fondant or pipe black royal icing to create the graduation caps. Alternatively, tint white candy melts with black food coloring suitable for chocolate.
How do I prevent the Oreos from falling apart when inserting sticks?
Twist the Oreos gently and insert the stick carefully into the cream filling. If the cookie cracks, press the halves back together firmly but gently. Chilling the Oreos beforehand helps them stay intact.
Can I use other cookies instead of Oreos?
Absolutely! Sandwich cookies like Golden Oreos or homemade chocolate sandwich cookies work well. Just make sure they’re sturdy enough to hold a stick.
What’s the best way to draw the tassels neatly?
Practice on parchment paper first. Use a fine-tipped royal icing bag or gel icing pen, and keep a damp cloth nearby to quickly fix mistakes.
Pin This Recipe!
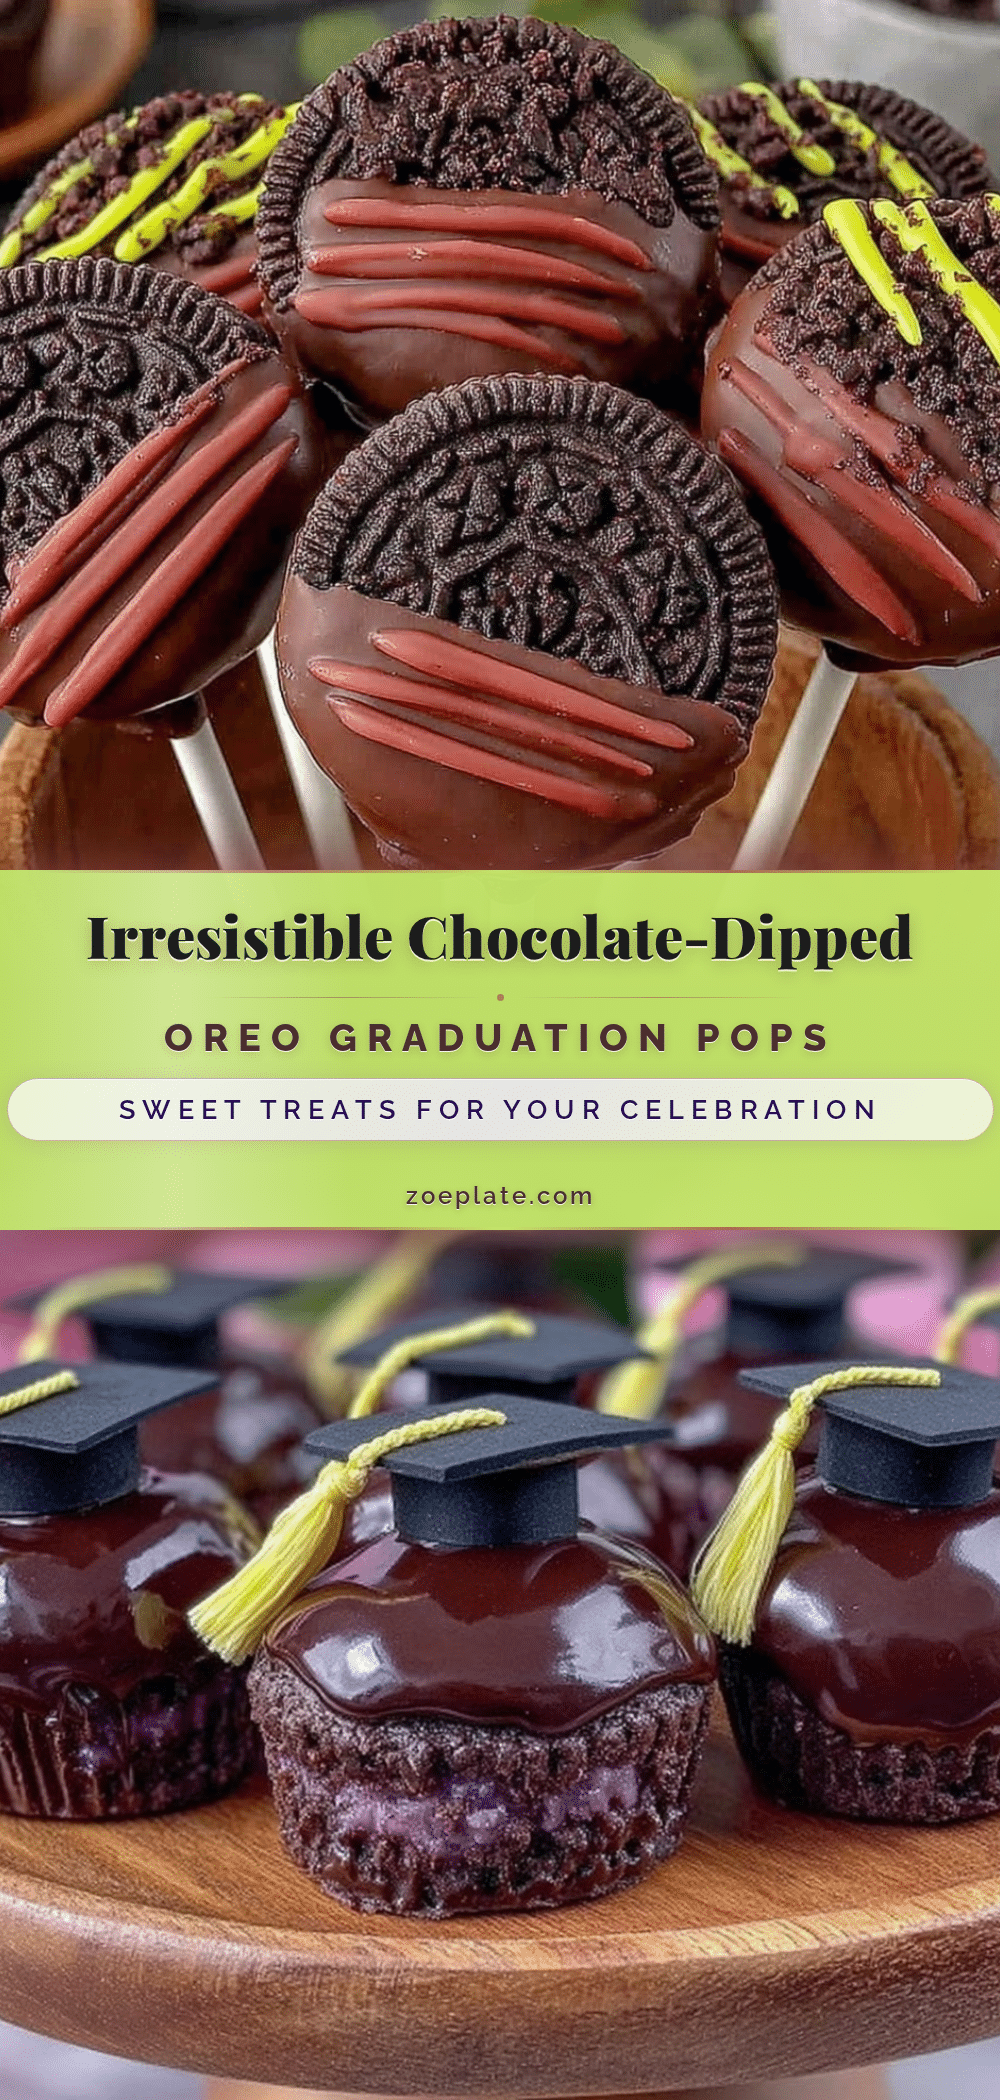
Perfect Graduation Cap Chocolate-Dipped Oreo Cookie Pops

These easy-to-make chocolate-dipped Oreo cookie pops are perfect for graduation parties, featuring a festive graduation cap decoration and a smooth chocolate coating.
- Prep Time: 15 minutes
- Cook Time: 15 minutes
- Total Time: 45 minutes
- Yield: 12 pops
- Category: Dessert
- Cuisine: American
Ingredients
- Oreos (classic sandwich cookies, or gluten-free Oreos as a substitute)
- Semi-sweet or milk chocolate chips or melting wafers
- Black candy melts or black fondant for graduation caps
- Mini marshmallows or small round candies for cap buttons
- Lollipop sticks or sturdy wooden skewers
- White royal icing or white gel icing pen for tassel details
- Sprinkles or edible glitter (optional)
Instructions
- Prepare your workspace by lining a baking sheet with parchment paper or a silicone mat and gather all ingredients and tools.
- Gently twist each Oreo apart and carefully insert a lollipop stick into the cream center, then sandwich the halves back together. Press gently if the cookie cracks.
- Melt the chocolate chips or candy melts in a microwave-safe bowl in 30-second bursts, stirring until smooth and glossy (about 1-2 minutes total).
- Dip each Oreo on a stick into the melted chocolate, coating fully. Let excess chocolate drip off and place on the prepared baking sheet.
- Melt the black candy melts separately and form flat squares on parchment paper for the graduation caps. Let set until firm but slightly tacky (10-15 minutes).
- Attach the graduation caps to the chocolate-coated Oreos using a dab of melted black candy melts. Press gently to adhere.
- Place a mini marshmallow or round candy in the center of each cap and secure with a small dot of melted candy melts.
- Use white royal icing or a gel icing pen to draw tassel strings extending from the button to the edge of the cap.
- Allow the pops to set at room temperature or in the fridge for 30 minutes until fully firm. Avoid stacking.
Notes
Do not overheat chocolate to avoid graininess. Chill Oreos before dipping to help chocolate set faster. Use candy melts for easier decoration shaping. Work in small batches to maintain smooth chocolate texture. Practice piping tassels on parchment paper first. If chocolate thickens, warm gently again. Store pops in airtight container up to 3 days at room temperature or refrigerated up to a week. Pops freeze well wrapped individually for up to a month.
Nutrition
- Serving Size: 1 cookie pop
- Calories: 165
- Sugar: 16
- Sodium: 120
- Fat: 9
- Saturated Fat: 5
- Carbohydrates: 22
- Fiber: 1
- Protein: 1
Keywords: Oreo cookie pops, graduation dessert, chocolate dipped Oreos, easy party treats, graduation party dessert, chocolate dipped cookie pops