The last cookie was gone before I even poured my coffee. My husband had swiped it off the cooling rack—still warm, still dusted with that cinnamon-sugar coating—and I caught him mid-bite with this look on his face. The look that says, “Don’t judge me, these are dangerous.” He texted me from work the next day. Just one word: “More.” That’s when I knew this recipe wasn’t staying in my kitchen.
I wasn’t trying to reinvent the snickerdoodle. Honestly, I was just staring at a half-can of pumpkin puree in my fridge, leftover from a batch of pumpkin cream cheese muffins, and I didn’t want it to go to waste. I’ve always loved the classic snickerdoodle—that soft, buttery chew with the tang from cream of tartar—but I wanted something that screamed fall without being a dense, cakey cookie. Something that stayed soft for days, not just the first hour out of the oven.
So I started playing. I swapped in pumpkin, dialed back the butter, added a little brown sugar for depth, and hoped for the best. The first batch came out a little flat. Second batch was better. Third batch? My kitchen smelled like a pumpkin spice candle had exploded in the best way possible, and the texture was exactly what I was after—pillowy, tender, with just enough chew to remind you it’s a cookie, not a muffin top. I knew I had something worth sharing when my neighbor, who “doesn’t really like pumpkin desserts,” ate four in one sitting.
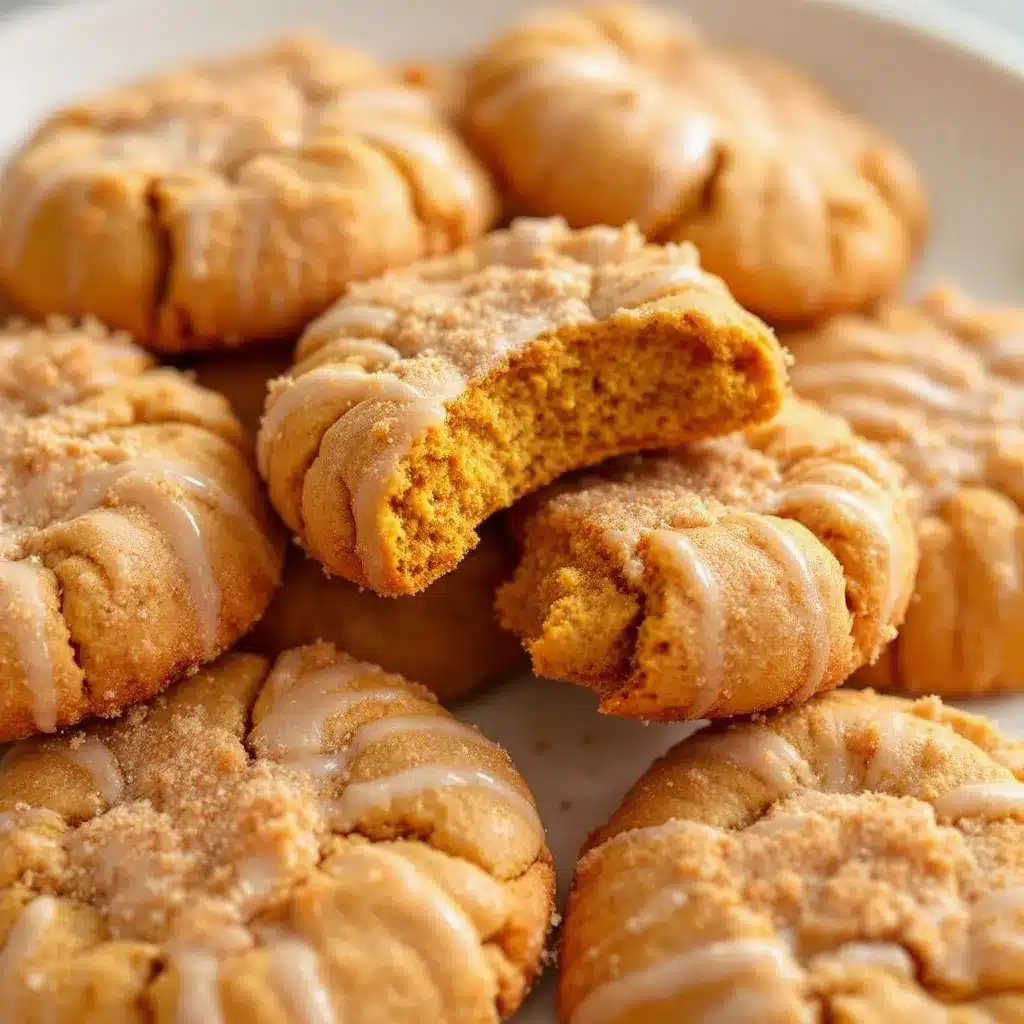
These soft baked pumpkin snickerdoodle cookies are the kind of cookie you make on a crisp October afternoon when you want the house to smell like comfort. They’re not overly sweet, not heavy, and that cinnamon-sugar coating gives them a little crunch on the outside while the inside stays impossibly soft. I think you’re going to love them as much as my husband does. Maybe more.
Why You’ll Love This Recipe
Let me tell you why these cookies have earned a permanent spot in my fall baking rotation. I’ve tested this recipe more times than I care to admit, and every single batch confirmed what I suspected from the start—this is the pumpkin cookie you’ve been looking for.
- Soft & Chewy Perfection: These aren’t cakey or dry. The pumpkin keeps them incredibly moist, and the combination of butter and brown sugar gives them that irresistible soft-baked texture that lasts for days. I’m talking day-three soft, people.
- Simple Pantry Ingredients: No weird flours, no specialty extracts, no trip to three different stores. You probably have everything except the pumpkin puree already in your pantry. I tested this with both canned pumpkin and homemade—both work beautifully.
- Perfect for Fall Gatherings: These cookies are the star of every Halloween party, Thanksgiving dessert table, or cozy weekend baking session. They’re also great for cookie swaps—everyone always asks for the recipe.
- Crowd-Pleasing Flavor: Even people who claim they “don’t like pumpkin” have been converted. The pumpkin flavor is subtle—it’s more about the warmth of the cinnamon, nutmeg, and that signature snickerdoodle tang.
- No Chilling Required: I know, I know—most cookie recipes tell you to chill the dough. Not this one. You can go from mixing bowl to oven in under 15 minutes. That’s my kind of baking.
What makes this recipe different from the dozens of other pumpkin snickerdoodles out there? It’s the texture, plain and simple. I spent a lot of time figuring out the right ratio of pumpkin to flour so the cookies don’t turn into puffy little cakes. The cream of tartar is non-negotiable here—it gives that classic snickerdoodle tang and helps keep the cookies soft without spreading too thin. And that cinnamon-sugar coating? I add a pinch of nutmeg to it, which makes all the difference.
This isn’t just another pumpkin cookie recipe. It’s the one you’ll come back to every single fall.
What Ingredients You Will Need
This recipe keeps things simple, but each ingredient plays an important role. Here’s what you’ll need and why I chose each one.
For the Cookies:
- Unsalted butter, softened to room temperature (1/2 cup, 1 stick) — I always use unsalted so I can control the salt level. Let it sit out for about 30 minutes before you start. If you’re in a hurry, you can microwave it for 10-second intervals, but be careful not to melt it.
- Granulated sugar (3/4 cup, 150g) — Adds sweetness and helps with that slightly crisp edge.
- Light brown sugar (1/4 cup, 50g), packed — This is my secret for extra moisture and a deeper, almost caramel-like flavor. Don’t skip it.
- Pumpkin puree (1/3 cup, 80g) — Not pumpkin pie filling! Make sure you grab 100% pure pumpkin puree. I like Libby’s, but any brand works. Pat the pumpkin with a paper towel to remove excess moisture—this prevents the cookies from being too wet.
- Large egg (1, at room temperature) — Binds everything together and adds structure.
- Vanilla extract (1 teaspoon) — Pure vanilla adds warmth. Imitation works in a pinch, but pure is better.
- All-purpose flour (1 and 3/4 cups, 220g) — Spoon and level your flour for the most accurate measurement. Scooping directly from the bag packs in too much flour and makes dry cookies.
- Cream of tartar (1 teaspoon) — The star ingredient for authentic snickerdoodle flavor. It gives that slight tang and helps stabilize the cookies.
- Baking soda (1/2 teaspoon) — Helps the cookies rise just enough.
- Ground cinnamon (1 teaspoon) — Warm, spicy, essential.
- Ground nutmeg (1/4 teaspoon) — Adds that classic pumpkin pie warmth. Freshly grated is amazing if you have it.
- Ground ginger (1/4 teaspoon) — Optional, but I love the little kick it adds.
- Salt (1/4 teaspoon) — Balances the sweetness and enhances all the flavors.
For the Cinnamon-Sugar Coating:
- Granulated sugar (1/4 cup, 50g)
- Ground cinnamon (1 and 1/2 teaspoons)
- Ground nutmeg (a pinch, about 1/8 teaspoon) — This little addition makes the coating extra special. Trust me.
Equipment Needed
You don’t need a fancy kitchen to make these cookies. Here’s what I use:
- Large mixing bowl — Any medium-to-large bowl works. I prefer glass or stainless steel.
- Hand mixer or stand mixer — A hand mixer is perfect here. You can also mix by hand with a wooden spoon, but it takes a bit more elbow grease.
- Measuring cups and spoons — For accuracy, especially with the flour and pumpkin.
- Baking sheets — Two standard half-sheet pans work great. Line them with parchment paper or a silicone baking mat.
- Cookie scoop (about 1.5 tablespoons) — This ensures all your cookies are the same size and bake evenly. I love my OXO scoop.
- Cooling rack — Lets the cookies cool without getting soggy bottoms.
- Small bowl — For mixing the cinnamon-sugar coating.
If you don’t have a cookie scoop, just use two spoons. And parchment paper is your best friend—it prevents sticking and makes cleanup a breeze. I’ve used both parchment and silicone mats, and both work perfectly.
Preparation Method
Alright, let’s get baking. I’ll walk you through every step so you get perfect cookies on your first try.
- Preheat your oven to 350°F (175°C). Line two baking sheets with parchment paper or silicone baking mats. This is important—don’t skip the lining, or the cookies might stick.
- Make the cinnamon-sugar coating. In a small bowl, whisk together 1/4 cup granulated sugar, 1 and 1/2 teaspoons cinnamon, and a pinch of nutmeg. Set aside for later.
- Cream the butter and sugars. In a large mixing bowl, beat the softened butter, 3/4 cup granulated sugar, and 1/4 cup packed brown sugar together on medium speed until light and fluffy. This takes about 2 minutes. You’ll see the mixture turn pale and increase in volume. Scrape down the sides of the bowl with a spatula halfway through.
- Add the wet ingredients. Beat in the pumpkin puree, egg, and vanilla extract until combined. The mixture might look a little curdled or separated at this point—don’t panic. That’s normal when you add pumpkin to butter and sugar. It will come together once you add the dry ingredients.
- Whisk the dry ingredients. In a separate medium bowl, whisk together the flour, cream of tartar, baking soda, cinnamon, nutmeg, ginger, and salt. Whisking ensures everything is evenly distributed. I’ve made the mistake of skipping this step and ended up with a pocket of baking soda in one cookie—not fun.
- Combine wet and dry. Gradually add the dry ingredients to the wet mixture, mixing on low speed just until combined. Do not overmix! Stop as soon as you no longer see streaks of flour. Overmixing develops gluten and makes the cookies tough. Use a spatula to fold in any remaining flour from the bottom of the bowl.
- Chill? No need! The dough will be soft and slightly sticky. That’s exactly what we want. If your kitchen is very warm, you can pop the dough in the fridge for 10 minutes, but it’s not required.
- Scoop and coat. Using a cookie scoop or two spoons, scoop out about 1.5 tablespoons of dough. Roll it into a ball between your palms. Drop the ball into the cinnamon-sugar mixture and roll it around until fully coated. Place on the prepared baking sheet, spacing the cookies about 2 inches apart. I fit about 12 cookies per sheet.
- Bake. Bake one sheet at a time in the center of the oven for 10-12 minutes. The cookies will look puffed and slightly underdone in the center when you take them out. That’s perfect—they continue baking on the hot pan. For softer cookies, bake for 10 minutes. For slightly firmer edges, go for 11-12 minutes. My sweet spot is 11 minutes.
- Cool. Let the cookies sit on the baking sheet for 5 minutes. This allows them to set without breaking. Then transfer them to a cooling rack to cool completely. If you try to move them too soon, they’ll fall apart. Trust me, I’ve learned the hard way.
Your kitchen should smell absolutely incredible right now. The combination of pumpkin, cinnamon, and nutmeg is pure fall magic.
Cooking Tips & Techniques
I’ve made a lot of mistakes so you don’t have to. Here are my best tips for perfect pumpkin snickerdoodles every time.
Pat your pumpkin dry. This is the most important tip I can give you. Pumpkin puree contains a lot of water. If you add it straight to the dough, your cookies will spread too much and turn out flat. Just spoon the pumpkin onto a paper towel, fold it over, and gently press to absorb some of the moisture. You don’t need to squeeze it dry—just remove the surface liquid. This one step changed everything for me.
Don’t overmix the dough. I know I said this already, but it bears repeating. Mix until the flour just disappears. Overmixing develops gluten and gives you tough, dense cookies instead of soft, tender ones. Use a gentle hand.
Use room temperature ingredients. Cold butter won’t cream properly with the sugar, and a cold egg can seize the batter. Let your butter and egg sit out for 30 minutes before you start. If you forgot to take the egg out, place it in a bowl of warm water for 5 minutes.
Bake one sheet at a time. I know it’s tempting to cram both sheets in the oven, but it leads to uneven baking. The cookies on the bottom rack will brown too quickly while the ones on top stay pale. Bake one sheet at a time in the center rack for the best results.
Watch the bake time. Every oven runs a little differently. Your cookies are done when the edges are set and lightly golden, but the centers still look soft and slightly underdone. They will continue to bake on the hot pan as they cool. If you wait until the centers look fully baked, you’ll end up with dry cookies.
Variations & Adaptations
One of the best things about this recipe is how adaptable it is. Here are some of my favorite variations.
Gluten-Free Version: Swap the all-purpose flour with a 1:1 gluten-free baking flour blend. I’ve tested this with Bob’s Red Mill 1:1 Baking Flour and Cup4Cup, and both worked beautifully. The texture is slightly more delicate, but still soft and delicious. Add an extra tablespoon of flour if the dough feels too sticky.
Vegan Option: Use vegan butter (I like Miyoko’s) and a flax egg (1 tablespoon ground flaxseed mixed with 3 tablespoons water, let sit for 5 minutes). The cookies will be a tiny bit less tender, but still really good. Make sure your sugar is vegan-friendly too.
Extra Spiced: If you love a bold pumpkin spice flavor, add 1/2 teaspoon of pumpkin pie spice to the dough and an extra 1/4 teaspoon of cinnamon to the coating. This version is perfect for those who want the full pumpkin experience.
Chocolate Chip Twist: Fold in 1/2 cup of white chocolate chips or semi-sweet chocolate chips after mixing the dough. The sweetness of white chocolate pairs beautifully with the warm spices. I tried this on a whim last Thanksgiving, and it was a hit.
Pumpkin Cream Cheese Filling: For an extra-special treat, sandwich two cookies with a simple cream cheese frosting. Beat together 4 ounces of cream cheese, 2 tablespoons of butter, 1 cup of powdered sugar, and 1/2 teaspoon of vanilla. It’s indulgent, but absolutely worth it for special occasions.
Serving & Storage Suggestions
These cookies are best enjoyed warm, when the cinnamon-sugar coating is still slightly crunchy and the inside is soft and tender. But they’re also fantastic at room temperature—the texture holds up beautifully.
How to Serve: Arrange them on a pretty plate with a dusting of extra cinnamon on top. They’re perfect alongside a cup of hot coffee, a chai latte, or a glass of cold milk. For a dessert board, pair them with pumpkin dump cake with pecan crumble for a full fall spread that will impress any guest.
Storing: Store the cookies in an airtight container at room temperature for up to 5 days. Place a slice of bread in the container to help keep them soft—the cookies will absorb the moisture from the bread. Replace the bread slice after 2 days if it gets stale.
Freezing: These cookies freeze beautifully. Place them in a single layer in a freezer-safe container or zip-top bag, separating layers with parchment paper. They’ll keep for up to 3 months. To thaw, just leave them at room temperature for about 30 minutes. You can also freeze the unbaked dough balls—just roll them in the cinnamon-sugar coating before freezing, then bake straight from frozen, adding 2-3 minutes to the baking time.
Reheating: Pop a cookie in the microwave for 10 seconds to bring back that fresh-from-the-oven softness. Or warm them in a 300°F oven for 5 minutes.
Nutritional Information & Benefits
Here’s the approximate nutritional breakdown for one cookie (based on 24 cookies):
- Calories: 125
- Fat: 5g
- Carbohydrates: 19g
- Fiber: 1g
- Sugar: 11g
- Protein: 2g
While these are definitely a treat, there are a few nutritional bright spots. Pumpkin puree is packed with vitamin A (great for eye health) and fiber. The cinnamon in the coating has anti-inflammatory properties and may help regulate blood sugar. And since these cookies are smaller than your average bakery cookie, it’s easier to enjoy one or two without overdoing it.
If you’re looking for a slightly healthier version, you can reduce the sugar to 1/2 cup total and use whole wheat pastry flour for half of the all-purpose flour. The texture will be a bit heartier, but still delicious.
These cookies are vegetarian and can easily be made dairy-free or vegan with the substitutions I mentioned earlier. They do contain gluten and eggs in their standard form, so keep that in mind for anyone with allergies.
Conclusion
Look, I’m not going to tell you these are the only pumpkin cookies you’ll ever need. But I will tell you that since I perfected this recipe, I haven’t made another one. They’re soft, they’re perfectly spiced, and that cinnamon-sugar coating is downright addictive. They’ve become my go-to for fall gatherings, lazy Sunday baking sessions, and even holiday cookie boxes.
What I love most about this recipe is how approachable it is. You don’t need to be a pastry chef or own a stand mixer. You just need a bowl, a spoon, and a little bit of patience while they bake. And the payoff? A kitchen that smells like autumn and a plate of cookies that will disappear before you’ve had a chance to sit down.
I’d love to hear how these turn out for you. Did you add chocolate chips? Try the gluten-free version? Bake them for a party? Drop a comment below and let me know—I read every single one, and your feedback helps me create better recipes for you. And if you loved them, share this recipe with a friend who needs a little fall comfort in their life.
Happy baking, friends. Enjoy every soft, cinnamon-y bite.
Frequently Asked Questions
Can I use pumpkin pie filling instead of pumpkin puree?
No, please don’t. Pumpkin pie filling is pre-sweetened and spiced, which will throw off the sugar and spice balance in this recipe. Always use 100% pure pumpkin puree. Libby’s is my go-to brand.
Why did my cookies turn out flat?
This usually happens for one of three reasons: your butter was too soft or melted, you didn’t pat the pumpkin dry enough, or your baking soda is old. Make sure your butter is softened but not greasy, pat that pumpkin dry, and check the date on your baking soda.
Can I make these cookies ahead of time?
Absolutely. You can make the dough up to 2 days in advance and keep it covered in the fridge. Let it sit at room temperature for 10 minutes before scooping and baking. You can also freeze the baked cookies or unbaked dough balls for up to 3 months.
Do I really need cream of tartar?
Yes, for the authentic snickerdoodle flavor and texture. Cream of tartar gives the cookies their signature tangy flavor and helps keep them soft and chewy. If you don’t have it, you can substitute with 2 teaspoons of lemon juice or white vinegar, but the flavor will be slightly different.
How do I know when the cookies are done baking?
Look for set edges and slightly puffed centers that still look soft and underdone. The centers will continue to set as the cookies cool on the baking sheet. If the centers look fully baked and firm when you take them out of the oven, they’ll be overbaked and dry once cooled.
Pin This Recipe!
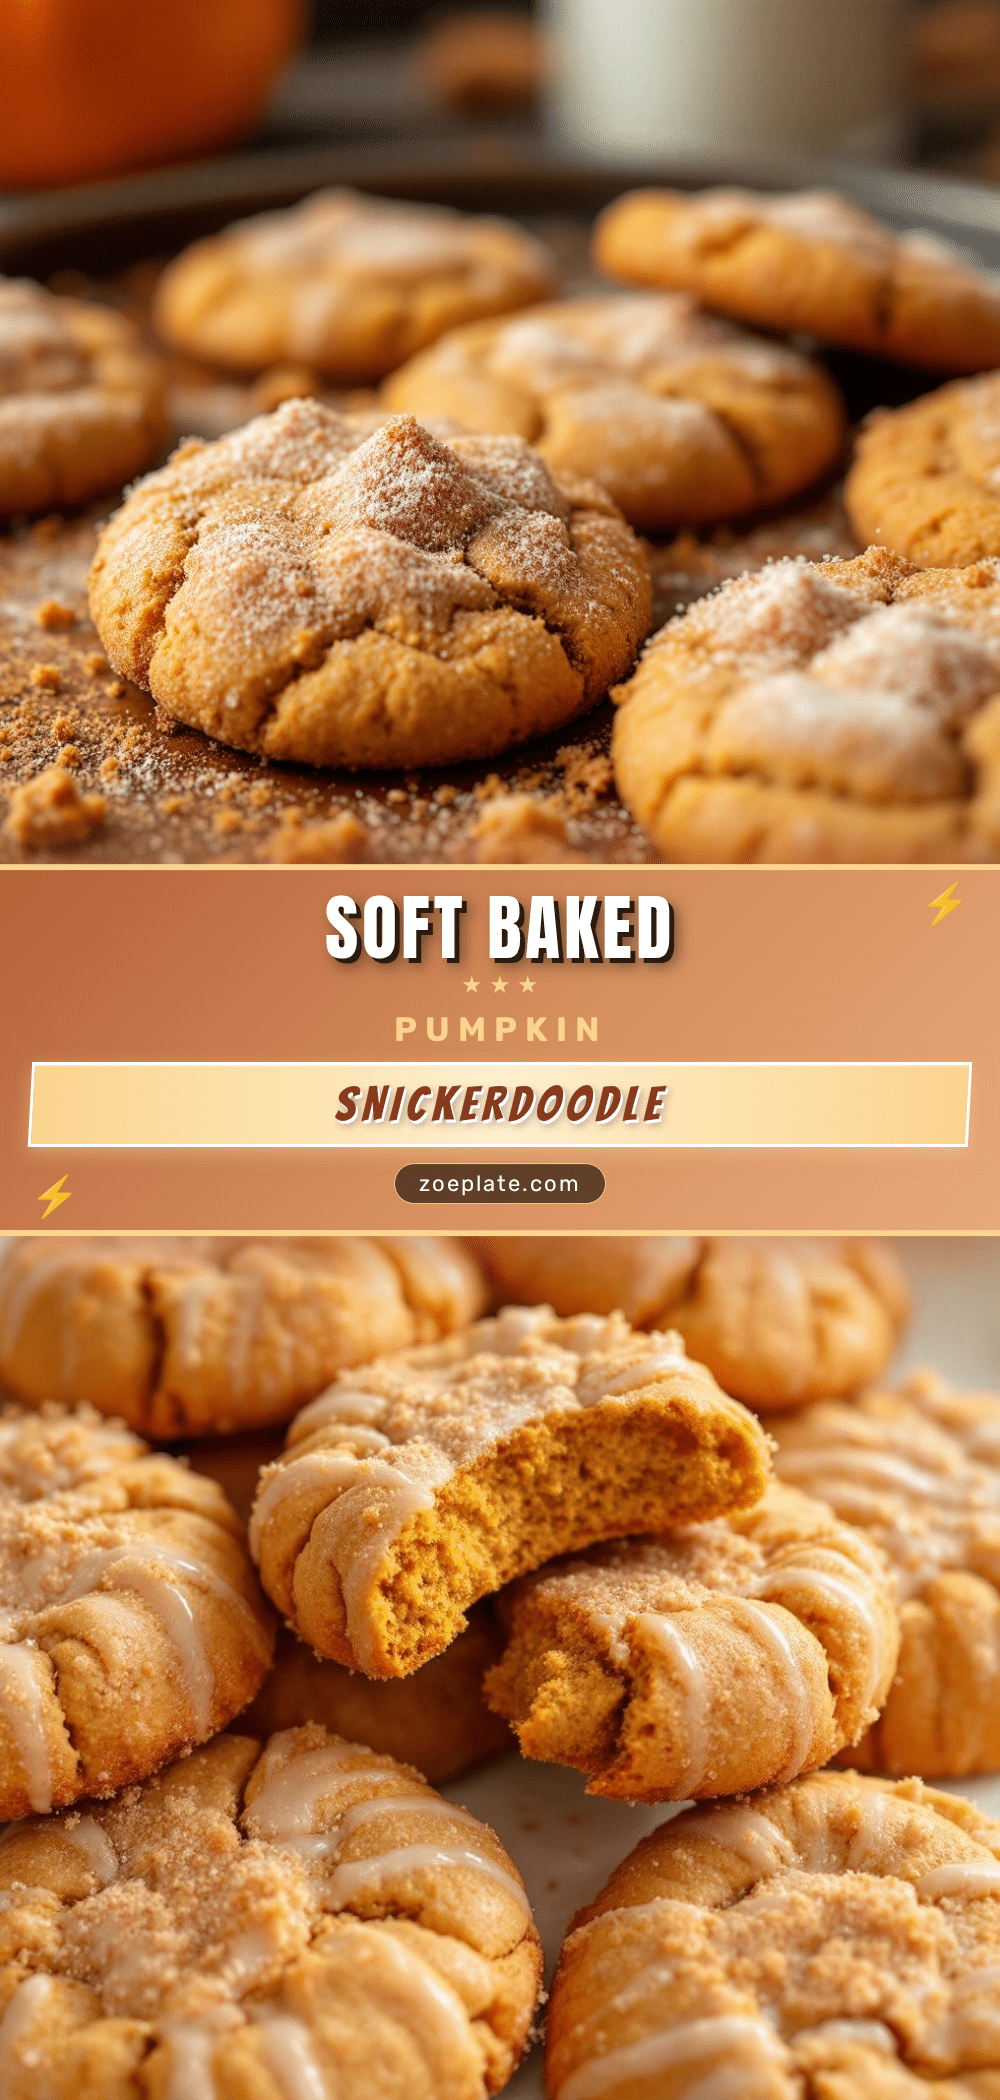
Soft Baked Pumpkin Snickerdoodle Cookies
These soft baked pumpkin snickerdoodle cookies are pillowy, tender, and perfectly spiced with cinnamon and nutmeg. They stay soft for days and are a crowd-pleasing fall treat.
- Prep Time: 15 minutes
- Cook Time: 11 minutes
- Total Time: 26 minutes
- Yield: 24 cookies 1x
- Category: Dessert
- Cuisine: American
Ingredients
- 1/2 cup (1 stick) unsalted butter, softened
- 3/4 cup (150g) granulated sugar
- 1/4 cup (50g) packed light brown sugar
- 1/3 cup (80g) pumpkin puree (not pumpkin pie filling), patted dry
- 1 large egg, at room temperature
- 1 teaspoon vanilla extract
- 1 and 3/4 cups (220g) all-purpose flour
- 1 teaspoon cream of tartar
- 1/2 teaspoon baking soda
- 1 teaspoon ground cinnamon
- 1/4 teaspoon ground nutmeg
- 1/4 teaspoon ground ginger (optional)
- 1/4 teaspoon salt
- For the coating:
- 1/4 cup (50g) granulated sugar
- 1 and 1/2 teaspoons ground cinnamon
- 1/8 teaspoon ground nutmeg
Instructions
- Preheat oven to 350°F (175°C). Line two baking sheets with parchment paper or silicone baking mats.
- In a small bowl, whisk together 1/4 cup granulated sugar, 1 and 1/2 teaspoons cinnamon, and a pinch of nutmeg for the coating. Set aside.
- In a large mixing bowl, beat softened butter, 3/4 cup granulated sugar, and 1/4 cup packed brown sugar on medium speed until light and fluffy, about 2 minutes. Scrape down the sides as needed.
- Beat in pumpkin puree, egg, and vanilla extract until combined. The mixture may look slightly curdled; this is normal.
- In a separate medium bowl, whisk together flour, cream of tartar, baking soda, cinnamon, nutmeg, ginger (if using), and salt.
- Gradually add the dry ingredients to the wet mixture, mixing on low speed just until combined. Do not overmix. Fold in any remaining flour with a spatula.
- The dough will be soft and slightly sticky. No chilling is required, but if your kitchen is very warm, you can refrigerate for 10 minutes.
- Using a cookie scoop (about 1.5 tablespoons), scoop dough and roll into balls. Roll each ball in the cinnamon-sugar coating until fully covered. Place on prepared baking sheets, spacing 2 inches apart.
- Bake one sheet at a time in the center of the oven for 10-12 minutes. Cookies should look puffed and slightly underdone in the center. For softer cookies, bake 10 minutes; for firmer edges, 11-12 minutes.
- Let cookies cool on the baking sheet for 5 minutes, then transfer to a cooling rack to cool completely.
Notes
Pat the pumpkin puree dry with a paper towel to remove excess moisture—this prevents flat cookies. Do not overmix the dough. For best results, bake one sheet at a time. Store in an airtight container at room temperature for up to 5 days; place a slice of bread in the container to keep them soft. Freeze baked cookies or unbaked dough balls for up to 3 months.
Nutrition
- Serving Size: 1 cookie
- Calories: 125
- Sugar: 11
- Sodium: 85
- Fat: 5
- Saturated Fat: 3
- Carbohydrates: 19
- Fiber: 1
- Protein: 2
Keywords: pumpkin snickerdoodle, soft baked cookies, fall cookies, pumpkin cookies, snickerdoodle recipe


