I spent years trying to make sugar cookies that held their shape like little soldiers. You know the type—the ones you cut into stars or trees with cookie cutters, hoping they don’t spread into sad, flat puddles in the oven. I tried chilling the dough for twenty-four hours. I tried using only egg whites. I even tried adding meringue powder like some professional pastry chefs swear by. But honestly? They were always tough. Like, rock-hard tough if you left them out too long, or crumbly if you underbaked them.
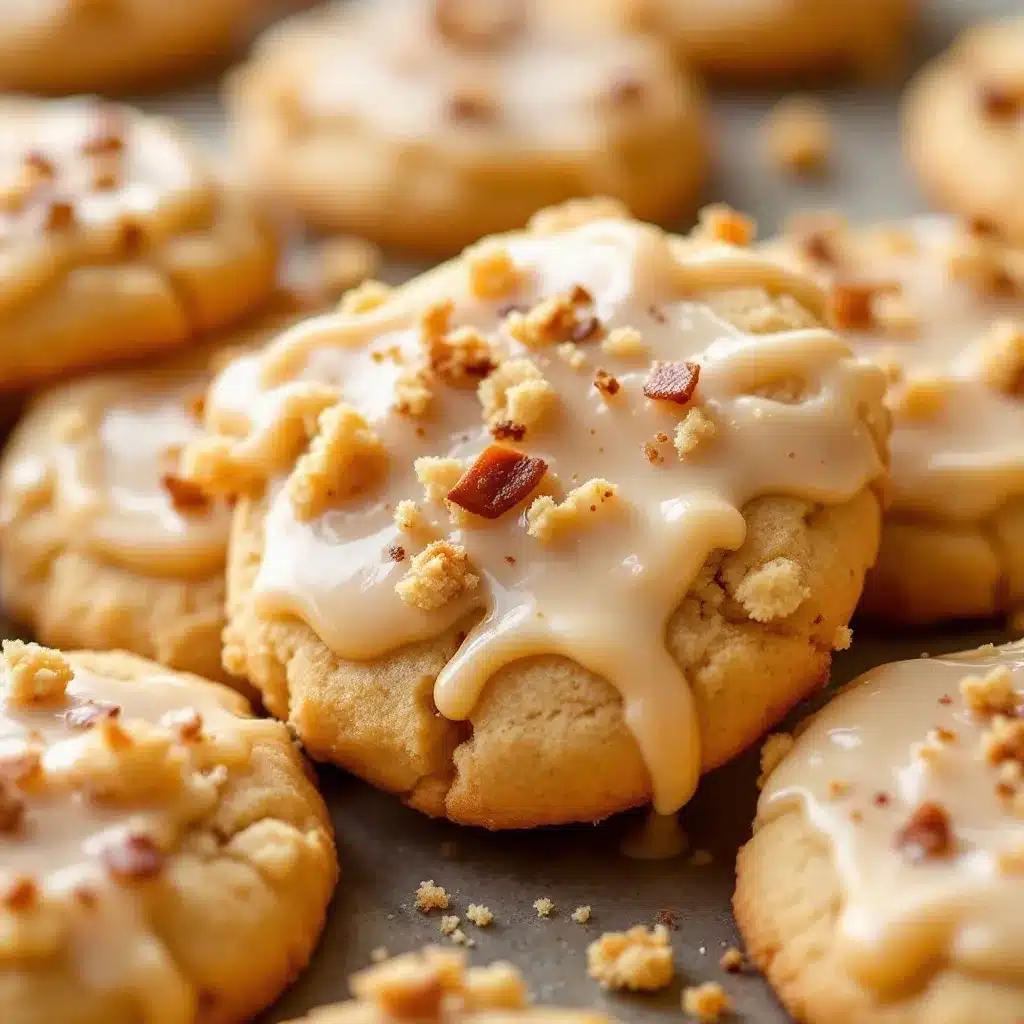
Then last Thanksgiving, my aunt brought a plate of these soft, pillowy cookies. They weren’t perfect. They had cracks on top from spreading just a little bit. The icing was thick and slightly uneven, pooled in the valleys of the dough. I took one bite and it just melted. No crunch. No chew. Just warm, buttery cake-like sweetness with a hit of maple that tasted like autumn leaves and woodsmoke. I asked for the recipe, and she laughed. She said she stopped trying to make them pretty years ago because the soft ones are the only ones her grandkids actually finish.
That was the moment I realized I was overcomplicating things. You don’t need structural integrity in a dessert that’s meant to be eaten with a cup of coffee while staring out a rainy window. You need softness. You need that tender crumb that gives way to your teeth without a fight. These soft Thanksgiving sugar cookies with maple icing are exactly that. They’re not fancy. They’re not Instagram-perfect. But they are the kind of cookie that reminds you of sitting at a crowded table, waiting for the turkey, just grabbing a sweet treat to keep your hands busy. It’s comfort in a circle.
Why You’ll Love This Recipe
There is a specific kind of magic in a cookie that stays soft for days. Most sugar cookie recipes promise softness, but then deliver a hard tack that breaks your molars. I’ve tested dozens of versions, adjusting the ratios of brown sugar to white sugar, playing with the type of flour, and even experimenting with different fats. This version is the result of that trial and error. It’s the one that actually works, every single time.
- Quick & Easy: You can have these from bowl to oven in under 30 minutes, not counting the chill time. It’s perfect for those frantic moments when you realize you forgot to buy dessert at the store.
- Simple Ingredients: You likely have everything in your pantry right now. Flour, sugar, butter, eggs, and a bit of maple syrup. No weird extracts or hard-to-find flours.
- Perfect for Holidays: Whether it’s Thanksgiving, Christmas, or just a Tuesday night craving, these cookies fit the bill. They pair beautifully with warm drinks.
- Crowd-Pleaser: I’ve served these to picky eaters and serious bakers alike. The maple icing bridges the gap between classic sweet and sophisticated fall flavor.
- Unbelievably Delicious: The texture is cake-like and tender, while the icing adds a rich, earthy sweetness that cuts through the butter. It’s next-level comfort food.
What makes this recipe different is the balance. I use a mix of brown and white sugar to keep them moist, and I add a touch of cornstarch to the flour. That’s the secret. It inhibits gluten formation just enough to keep the cookies soft rather than crisp. It’s a small tweak that makes a huge difference. This isn’t just another sugar cookie recipe; it’s the one you’ll make when you want to feel cozy. It’s the kind that makes you close your eyes after the first bite and forget about the dishes piling up in the sink.
What Ingredients You Will Need
This recipe relies on wholesome, standard pantry staples to deliver bold flavor and satisfying texture without the fuss. The beauty of soft sugar cookies is that they don’t require exotic ingredients. However, the quality of your butter and your maple syrup will shine through more than you might think. Here is what you need to gather before you start mixing.
For the Cookies
- All-purpose flour: 2 ¼ cups (280g). Don’t use cake flour; you need a little structure. Sift it if it’s lumpy.
- Unsalted butter: 1 cup (226g), softened to room temperature. I recommend using a high-quality butter like Kerrygold or Land O’Lakes for the best flavor. If your butter is too cold, the dough won’t cream properly.
- Granulated white sugar: 1 cup (200g). This helps with the spread.
- Packed brown sugar: ½ cup (100g). Light or dark works, but dark adds a deeper molasses note that pairs well with maple.
- Eggs: 2 large eggs, room temperature. Cold eggs can seize up your butter mixture.
- Vanilla extract: 1 tablespoon. Use real vanilla, not imitation. It makes a noticeable difference in the aroma.
- Baking powder: 1 ½ teaspoons. This gives them that lift and airy texture.
- Baking soda: ½ teaspoon. Helps them brown slightly.
- Cornstarch: 1 teaspoon. This is the secret weapon for softness. It tenderizes the crumb.
- Salt: 1 teaspoon. To balance the sweetness.
For the Maple Icing
- Confectioners’ sugar: 2 cups (240g). Sifted to remove lumps. You don’t want gritty icing.
- Unsalted butter: ¼ cup (56g), softened. Adds richness and helps the icing set.
- Real maple syrup: 2-3 tablespoons. Use Grade B or dark maple syrup for a stronger flavor. Light syrup is too subtle.
- Milk or cream: 1-2 tablespoons. Adjust for consistency. Dairy-free milk works here too if needed.
- Salt: A tiny pinch. To cut the sweetness.
If you are out of maple syrup, you can substitute with honey, but the flavor profile will shift toward floral rather than earthy. Also, if you need a gluten-free option, you can swap the all-purpose flour for a 1:1 gluten-free baking blend, though the texture might be slightly denser.
Equipment Needed
You don’t need much fancy gear for this, but having the right tools makes the process smoother. A large mixing bowl is essential—preferably one with a wide mouth so you can scrape the sides easily. An electric hand mixer or a stand mixer with a paddle attachment will save your arms. Creaming the butter and sugar by hand is possible, but it takes effort and can result in uneven mixing.
For baking, use standard half-sheet baking sheets. I prefer light-colored aluminum pans because dark pans conduct heat too aggressively and can burn the bottoms of the cookies before the centers are set. If you only have dark pans, lower your oven temperature by 25 degrees. Parchment paper or silicone baking mats are non-negotiable. They prevent sticking and ensure even browning. I’ve ruined cookies by trying to reuse parchment paper too many times; it loses its non-stick quality. Replace it often.
You’ll also need a whisk for the dry ingredients and a small saucepan or microwave-safe bowl for melting the icing butter if it’s too stiff. A rubber spatula is your best friend for scraping the bowl clean. Nothing wastes good dough like leaving it stuck to the side of the bowl.
Preparation Method
Getting the texture right starts with how you mix the dough. It’s easy to overwork it, which leads to tough cookies. Here is the step-by-step process to get those soft, tender results.
- Prep your oven and pans: Preheat your oven to 350°F (175°C). Line two large baking sheets with parchment paper. This takes about 5 minutes. Make sure your butter is softened. It should yield to gentle pressure but not be melted or greasy.
- Mix dry ingredients: In a medium bowl, whisk together the flour, cornstarch, baking powder, baking soda, and salt. Whisking ensures the leavening agents are evenly distributed. If you skip this, you might get pockets of baking soda that taste bitter. Set this aside for now.
- Cream the butter and sugars: In a large bowl, beat the softened butter, granulated sugar, and brown sugar on medium-high speed for about 3-4 minutes. This is crucial. You want the mixture to look pale, fluffy, and increased in volume. If you rush this step, your cookies will be dense. Scrape down the sides of the bowl with a spatula halfway through.
- Add wet ingredients: Beat in the eggs one at a time, mixing just until incorporated after each addition. Then add the vanilla extract. Mix on low speed until combined. Do not overmix here. The mixture should look smooth and creamy.
- Combine wet and dry: Gradually add the dry ingredients to the butter mixture on low speed. Mix until the flour *just* disappears. It’s okay if there are a few tiny streaks of flour left; overmixing develops gluten, which makes cookies hard. The dough will be soft and slightly sticky. This is normal. If it seems too wet, you can chill it for 15 minutes, but usually, it’s fine to scoop immediately.
- Scoop and bake: Scoop about 2 tablespoons of dough per cookie (a standard ice cream scoop works great for uniformity) and place them on the prepared baking sheets, spacing them about 2 inches apart. They will spread. Bake for 10-12 minutes. You want the edges to be just barely set and very lightly golden, but the centers should still look soft and puffy. They will firm up as they cool. Overbaking is the enemy of softness.
- Cool completely: Let the cookies sit on the baking sheet for 5 minutes to set, then transfer them to a wire rack to cool completely. If you try to ice them while they are warm, the icing will melt into a puddle. Patience is key here.
- Make the icing: While the cookies cool, make the maple icing. In a medium bowl, beat the softened butter until creamy. Add the sifted confectioners’ sugar, maple syrup, and a pinch of salt. Start mixing on low, then increase to medium speed. Add milk or cream one teaspoon at a time until you reach a drizzle-able consistency. The icing should be thick enough to coat the back of a spoon but thin enough to spread easily.
- Ice the cookies: Once the cookies are completely cool, spread a generous layer of icing on top. You don’t need to cover them completely; a rustic, uneven layer looks charming and tastes better. Let the icing set for about 15 minutes before stacking or storing.
Cooking Tips & Techniques
One of the most common mistakes I see is using cold butter. If your butter is cold, it won’t cream properly with the sugar. The sugar needs to cut into the fat to create air pockets. These air pockets are what make the cookies light and tender. If you’re in a hurry, you can soften butter in the microwave in 5-second bursts, but be careful not to melt it. Melted butter changes the chemistry of the dough, leading to flat, greasy cookies.
Another tip is to not overbake. Sugar cookies continue to cook on the hot pan after you take them out of the oven. If you wait until they look fully done in the oven, they will be hard by the time they cool. Pull them when the edges are just starting to turn a pale gold. The centers should still look slightly underbaked. This ensures that soft, cake-like texture we’re aiming for.
When making the icing, sift your powdered sugar. I know it’s annoying, but lumps in icing are a textural nightmare. They ruin the smooth mouthfeel. If you don’t have a sifter, you can pulse the sugar in a food processor or press it through a fine-mesh sieve. Also, taste your maple syrup before using it. Some brands are very mild, while others are bold and bitter. Adjust the amount accordingly to get the maple flavor you want.
If your dough is too sticky to handle, chill it for 20 minutes. But don’t go overboard with flour when scooping. Adding extra flour to the dough will make the cookies tough. It’s better to have slightly sticky dough that results in soft cookies than dry dough that results in hard ones.
Variations & Adaptations
While the classic maple icing is my favorite, there are plenty of ways to tweak this recipe. For a fall twist, add 1 teaspoon of pumpkin pie spice to the dry ingredients. It adds warmth without overpowering the sugar cookie base. If you want a more intense maple flavor, add 1 teaspoon of maple extract to the icing along with the syrup.
For a dairy-free version, use vegan butter sticks (not tubs, as they have higher water content) and dairy-free milk in the icing. The texture might be slightly less rich, but it will still be soft. If you are gluten-free, use a high-quality 1:1 gluten-free flour blend. Add a tiny bit more xanthan gum if your blend doesn’t already contain it, as this helps mimic the elasticity of gluten.
I also like to add a sprinkle of flaky sea salt on top of the wet icing. The salt crystals add a nice crunch and contrast to the sweet icing. It’s a small detail that makes the cookies feel more gourmet. You can also dip half the cookie in white chocolate for a visual contrast, though it’s not necessary for the flavor.
Serving & Storage Suggestions
These cookies are best served at room temperature. Cold cookies lose their soft texture and become chewy in an unpleasant way. Pair them with a hot cup of coffee, tea, or even a glass of cold milk. They also go well with a slice of salted caramel apple cheesecake bars if you’re serving a larger dessert spread.
To store, keep the cookies in an airtight container at room temperature for up to 5 days. Place a slice of bread in the container with the cookies. The bread will release moisture to the cookies, keeping them soft for longer. This is an old baker’s trick that really works. If you need to freeze them, freeze the un-iced cookies first. Once thawed, you can ice them. The icing does not freeze well as it can become sticky or crack.
If you have leftovers (unlikely, but possible), reheat a cookie in the microwave for 10 seconds to restore that warm, fresh-baked softness. The flavors actually meld and improve after a day, so they often taste better on day two.
Nutritional Information & Benefits
While these are definitely a treat, they are balanced with a bit of salt and maple syrup, which adds trace minerals. Each cookie contains approximately 180-200 calories, depending on size. They are naturally nut-free, making them safe for many school or office settings, though always check your specific ingredient brands for allergen warnings. They are not low-carb or keto-friendly due to the high sugar content, but they can be enjoyed as an occasional indulgence. The use of real butter and vanilla provides a richer flavor profile than artificial alternatives, which can sometimes have a chemical aftertaste.
Conclusion
These soft Thanksgiving sugar cookies with maple icing are simple, honest, and incredibly delicious. They don’t require perfectionism or expensive equipment. They just require a little patience and a willingness to let them be imperfect. I love this recipe because it brings people together. It’s the kind of cookie you share with a neighbor or keep in your pantry for a rainy afternoon. I encourage you to try it and maybe add your own twist, whether it’s a different spice or a different icing flavor.
Let me know in the comments how they turned out for you! Did you add pumpkin spice? Did you use Grade B maple syrup? I love hearing about your adaptations. And if you make them, take a photo and tag me—seeing your creations makes my day. Happy baking, and enjoy every soft, sweet bite.
Frequently Asked Questions
Can I freeze the cookie dough?
Yes, you can scoop the dough onto a baking sheet and freeze it solid. Once frozen, transfer the dough balls to a freezer bag. Bake them straight from frozen, adding 1-2 minutes to the bake time. This is great for meal prepping ahead of holidays.
Why did my cookies spread too much?
This usually happens if the butter was too warm or melted before mixing. It can also happen if the oven wasn’t preheated enough. Make sure your butter is softened, not greasy, and that your oven is at the correct temperature before putting the cookies in.
Can I use light maple syrup?
You can, but the flavor will be very mild. For the best maple taste, use Grade B or dark maple syrup. It has a stronger, more robust flavor that stands up to the sweet dough.
How do I keep the cookies soft for longer?
Store them in an airtight container with a slice of bread. The bread acts as a humidity buffer, keeping the cookies soft. Avoid refrigerating them, as the cold dries them out.
Can I make these gluten-free?
Yes, substitute the all-purpose flour with a 1:1 gluten-free baking blend. The texture may be slightly denser, but they will still be soft and tasty. Ensure your baking powder is certified gluten-free if you have celiac disease.
Pin This Recipe!
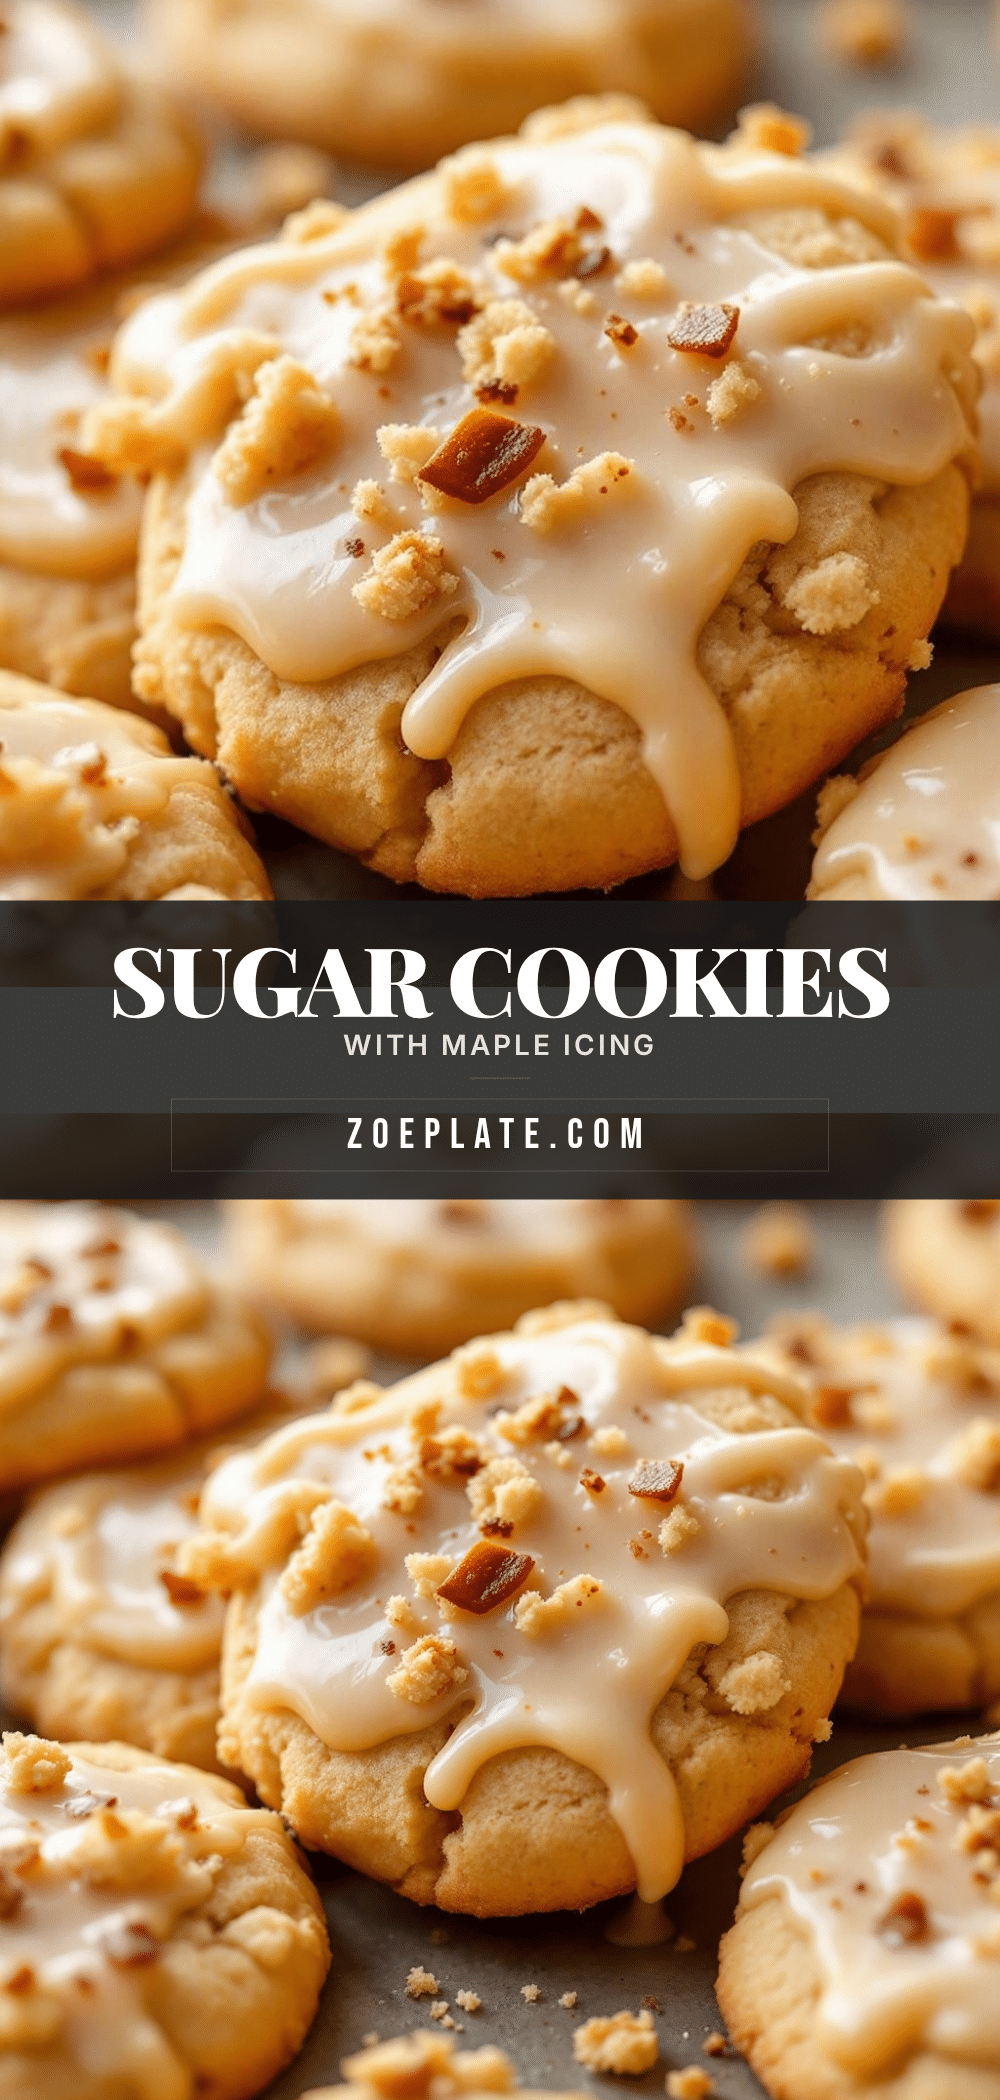
Soft Thanksgiving Sugar Cookies: 5-Step Maple Icing
Soft, pillowy sugar cookies with a tender cake-like crumb, topped with a rich and earthy maple icing. These cookies are easy to make, use simple pantry ingredients, and stay soft for days.
- Prep Time: 15 minutes
- Cook Time: 12 minutes
- Total Time: 27 minutes
- Yield: Approximately 24 cookies 1x
- Category: Dessert
- Cuisine: American
Ingredients
- 2 ¼ cups (280g) all-purpose flour
- 1 cup (226g) unsalted butter, softened to room temperature
- 1 cup (200g) granulated white sugar
- ½ cup (100g) packed brown sugar
- 2 large eggs, room temperature
- 1 tablespoon vanilla extract
- 1 ½ teaspoons baking powder
- ½ teaspoon baking soda
- 1 teaspoon cornstarch
- 1 teaspoon salt
- 2 cups (240g) confectioners’ sugar, sifted
- ¼ cup (56g) unsalted butter, softened
- 2–3 tablespoons real maple syrup
- 1–2 tablespoons milk or cream
- A tiny pinch of salt
Instructions
- Preheat oven to 350°F (175°C). Line two large baking sheets with parchment paper.
- In a medium bowl, whisk together the flour, cornstarch, baking powder, baking soda, and salt. Set aside.
- In a large bowl, beat the softened butter, granulated sugar, and brown sugar on medium-high speed for 3-4 minutes until pale and fluffy. Scrape down the sides of the bowl.
- Beat in the eggs one at a time, mixing just until incorporated. Add vanilla extract and mix on low speed until combined.
- Gradually add the dry ingredients to the butter mixture on low speed. Mix until the flour just disappears. Do not overmix.
- Scoop about 2 tablespoons of dough per cookie onto prepared baking sheets, spacing them 2 inches apart.
- Bake for 10-12 minutes until edges are barely set and lightly golden, but centers still look soft. Do not overbake.
- Let cookies sit on the baking sheet for 5 minutes, then transfer to a wire rack to cool completely.
- While cookies cool, make the icing: Beat softened butter until creamy. Add confectioners’ sugar, maple syrup, and a pinch of salt. Mix on low, then increase to medium. Add milk or cream one teaspoon at a time until drizzle-able consistency is reached.
- Spread a generous layer of icing on completely cooled cookies. Let icing set for 15 minutes before stacking or storing.
Notes
Use Grade B or dark maple syrup for stronger flavor. Sift confectioners’ sugar to avoid lumps. Do not overbake to maintain softness. Store in an airtight container with a slice of bread to keep cookies soft for up to 5 days. For gluten-free version, use a 1:1 gluten-free baking blend.
Nutrition
- Serving Size: 1 cookie
- Calories: 190
- Sugar: 18
- Sodium: 150
- Fat: 9
- Saturated Fat: 5
- Carbohydrates: 26
- Fiber: 0.5
- Protein: 2
Keywords: soft sugar cookies, maple icing, thanksgiving cookies, fall baking, easy cookies, holiday desserts


