The plate was empty before I even set the bowl of dip down. My six-year-old nephew had grabbed three before anyone else got to the table, and my sister just looked at me with that tired-parent expression that says, “You’ve done it now. They’re going to ask for these every day until Halloween.” She wasn’t wrong.
I wasn’t trying to create a viral Halloween snack. Honestly, I was just trying to use up a tube of crescent dough that had been sitting in my fridge since I made a half-hearted attempt at breakfast rolls last weekend. My kids were bouncing off the walls, it was raining outside, and I needed something—anything—that would keep them busy for twenty minutes and result in something edible. The mummy hot dogs happened because I looked at the dough, looked at the hot dogs, and thought, “Well, that’s creepy-looking enough for October.”
Here’s the thing about these easy mummy hot dogs with crescent dough: they look like you spent way more time on them than you actually did. The dough wraps around each hot dog in thin little strips, leaving a tiny gap for the “eyes” (just little dots of mustard or ketchup). They bake up golden and flaky, and the contrast between the buttery crescent dough and the salty snap of the hot dog is honestly perfect. I’ve made them three times since that rainy afternoon, and every single time, someone asks for the recipe.
These aren’t fancy. They’re not healthy. But they’re exactly what you need when you want to make Halloween fun without making yourself crazy. And honestly? That’s my favorite kind of recipe.
Why You’ll Love This Recipe
I’ve tested these mummy hot dogs more times than I care to admit—through undercooked dough disasters, over-wrapped mummies that looked like sad burritos, and one memorable batch where the “eyes” slid off completely. After all that trial and error, here’s what makes this version the one you’ll keep coming back to:
- Ready in 25 Minutes: From fridge to table, you’re looking at less than half an hour. That’s faster than ordering pizza, and way more fun.
- Only 3 Ingredients: Crescent dough, hot dogs, and something for the eyes. That’s it. No weird specialty items, no last-minute store runs.
- Kid-Friendly from Start to Finish: My kids help wrap the dough strips. It’s messy, it’s imperfect, and they love every second of it. The wrapped mummies never look the same twice, which is part of the charm.
- Perfect for Halloween Parties: These disappear at every gathering I’ve brought them to. Kids grab them by the handful, and adults pretend they’re just eating them for the kids.
- Endlessly Customizable: Use turkey dogs, vegan sausages, or even cheese sticks for a vegetarian twist. The dough works with pretty much anything you wrap it around.
What makes this recipe different from other mummy hot dogs you’ll find online? It’s the technique. I figured out that cutting the crescent dough into thin strips (not thick ones) gives you that authentic “mummy wrap” look without the dough being raw in the middle. Thick strips look like a kid wrapped a blanket around a hot dog. Thin strips? That’s where the magic happens.
And honestly? There’s something about pulling a tray of these out of the oven. The golden-brown dough, the little dot eyes staring back at you… it’s ridiculous and wonderful and exactly the kind of silly joy that makes Halloween special.
What Ingredients You Will Need
This recipe uses the simplest ingredients you can imagine. That’s the whole point. You don’t need a specialty grocery store or a trip to the craft shop for edible eyes. Everything comes from your regular kitchen.
- 1 can (8 oz) refrigerated crescent roll dough (I use Pillsbury, but any brand works. The key is getting the kind that comes in the perforated triangle sheets, not the seamless sheet dough—you want those pre-cut perforations to help guide your strip cutting.)
- 8 hot dogs (Standard-size beef hot dogs work best. I’ve tried jumbo dogs, and they take too long to cook through. Turkey dogs are fine, just check them a minute or two early. If you’re using vegan sausages, look for ones that are similar in size to regular hot dogs.)
- Mustard or ketchup for the eyes (Yellow mustard gives the best “mummy eye” look. Ketchup works too, but it blends in more. You can also use small dots of sriracha or even tiny pieces of black olive if you want something that stays put better.)
Optional but recommended:
- Cooking spray (For the baking sheet. Parchment paper works too, but spray is faster.)
- Everything bagel seasoning (I sprinkle this on top before baking for extra flavor. Totally optional, but my family loves it.)
- Ranch dressing or ketchup for dipping (These are good on their own, but dipping sauce makes them next-level.)
I want to be honest with you about the crescent dough situation. I’ve tried making my own dough for these, and it’s just not worth it. The store-bought stuff is flaky, buttery, and perfectly consistent. Homemade dough tends to be too thick or too fragile, and honestly, the whole point of this recipe is that it’s easy. Don’t overcomplicate it.
One thing I’ve learned: let your crescent dough sit at room temperature for about 5 minutes before you unroll it. Cold dough cracks when you try to separate the perforations. Room-temp dough separates cleanly and doesn’t fight you when you’re cutting strips.
Equipment Needed
You don’t need much for this recipe. That’s by design.
- Baking sheet (A standard half-sheet pan works perfectly. If you only have a dark nonstick pan, keep an eye on the bottoms—they can brown faster.)
- Parchment paper or silicone baking mat (Not strictly necessary, but cleanup is way easier. The dough can stick to bare pans, especially if any filling leaks out.)
- Sharp knife or pizza cutter (A pizza cutter makes cutting the dough strips so much easier than a knife. If you’re using a knife, make sure it’s sharp—dull blades drag through the dough and mess up the shape.)
- Small bowl for the “eyes” (Just something to hold your mustard or ketchup for dotting.)
- Toothpick or skewer (For applying the eye dots. You can also use the tip of a knife, but a toothpick gives you more control.)
- Cooling rack (Optional, but it keeps the bottoms from getting soggy if you’re making a big batch.)
I used a cheap pizza cutter from the grocery store for years, and it worked fine. Don’t feel like you need fancy equipment. A butter knife and a baking pan are truly all you need.
Preparation Method
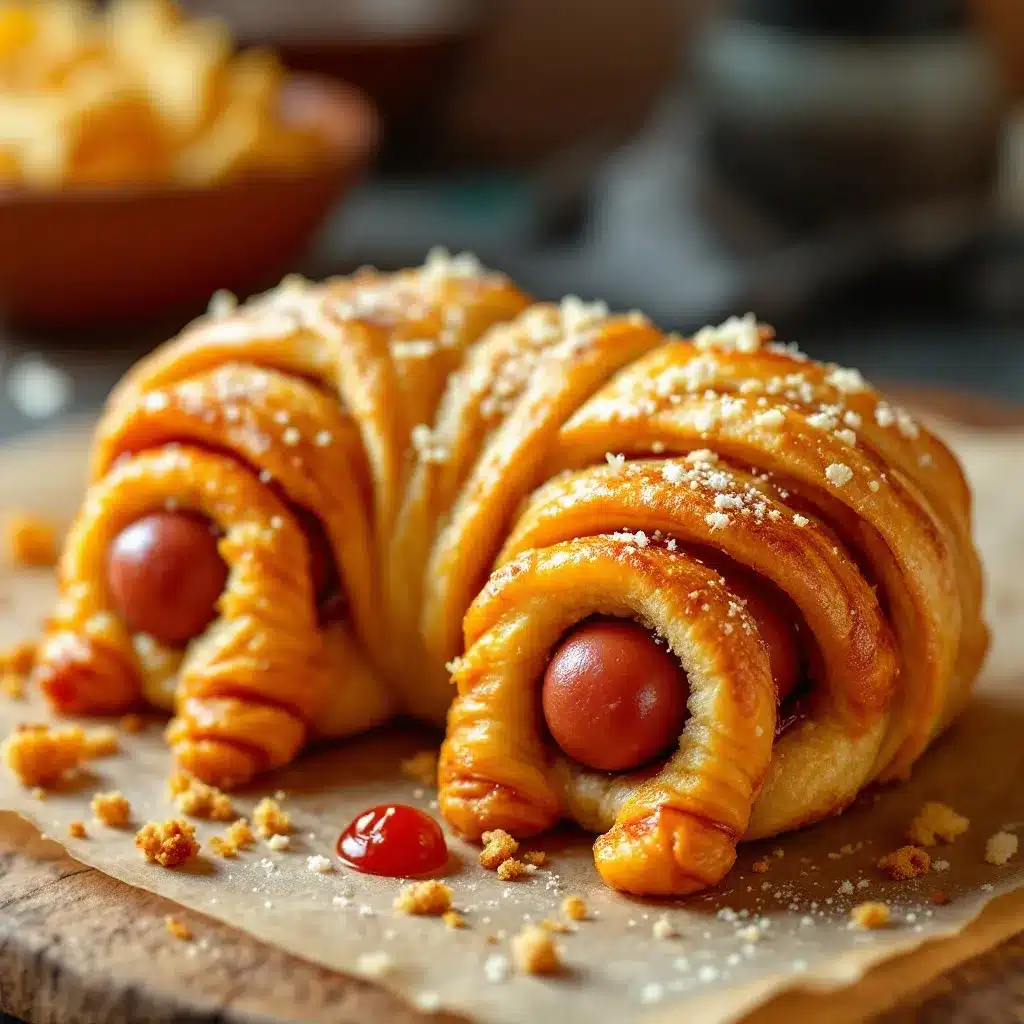
Let’s get into the actual making of these little guys. I’ve broken this down step by step, with all the little details I wish someone had told me the first time I made them.
- Preheat your oven to 375°F (190°C). Line a baking sheet with parchment paper or a silicone mat. If you don’t have either, give it a light spray with cooking spray. Don’t skip the lining—trust me, cleaning baked-on crescent dough off a pan is not fun.
- Unroll the crescent dough onto a clean cutting board or countertop. You’ll see it’s pre-perforated into 8 triangles. Press the perforated seams together gently with your fingers so the dough becomes one solid rectangle. Don’t press too hard—you just want to seal the seams, not compress the dough into a flat sheet.
- Cut the dough into thin strips. Using your pizza cutter or sharp knife, cut the rectangle lengthwise into 8 to 10 strips. Each strip should be about ¼ to ½ inch wide. Don’t stress about making them perfectly even—uneven strips actually look more authentic on the finished mummies. If a strip tears, just press it back together. The dough is forgiving.
- Prepare your hot dogs. Pat each hot dog dry with a paper towel. This helps the dough stick better. If your hot dogs are very long (some brands are), you can cut them in half crosswise to make mini mummies. I usually leave them whole for a more dramatic look.
- Wrap each hot dog. Take one dough strip and wrap it around a hot dog at a slight angle, leaving a small gap near the top for the “face.” The strip should overlap itself slightly as you go. Continue wrapping with more strips until the hot dog is covered, leaving about ½ inch of hot dog exposed at the top. Don’t wrap too tightly—the dough will expand as it bakes, and you want a little breathing room. I usually use 2-3 strips per hot dog, depending on how wide I cut them.
- Place the wrapped hot dogs on the baking sheet with the seam side down. Leave about an inch between each one—they’ll spread a little as they bake. If any strips look like they’re coming loose, just tuck the ends underneath.
- Bake for 12-15 minutes, or until the dough is golden brown and cooked through. The exact time depends on your oven and how thick your strips are. Start checking at 12 minutes. The dough should be puffed and golden, not pale and doughy. If the bottoms are browning too fast, move the pan to a higher rack for the last few minutes.
- Let them cool for 2-3 minutes on the pan. This is important—the dough is fragile right out of the oven, and moving them too soon can cause the strips to slide off. After a few minutes, transfer them to a cooling rack or serving platter.
- Add the eyes. Dip a toothpick into mustard or ketchup and dot two small eyes on the exposed hot dog section at the top. Don’t make the dots too big—they’ll spread slightly as they sit. If you’re using black olive pieces, press them gently into the hot dog so they stay put.
- Serve warm or at room temperature. These are best within an hour of baking, but they’re still good at room temperature for a few hours.
One thing I learned the hard way: don’t overwork the dough. The more you handle it, the tougher it gets. Cut your strips, wrap your mummies, and get them in the oven. Speed matters here.
Cooking Tips & Techniques
I’ve made enough mistakes with these mummy hot dogs to fill a small cookbook. Here are the lessons I actually learned through burned fingers and doughy centers:
The strip width matters more than you think. Too thick, and the dough doesn’t cook through before the hot dog is done. Too thin, and the strips break apart. Aim for about ¼ inch wide. If you’re unsure, err on the thinner side—thin strips cook faster and look more like real mummy wrappings.
Don’t pre-cook the hot dogs. I know some recipes suggest boiling or microwaving them first. Don’t. The hot dogs cook perfectly in the time it takes the dough to bake. Pre-cooking makes them mushy and harder to wrap.
Space them out on the pan. I once crammed 12 mummy hot dogs onto a single baking sheet. The ones in the middle came out pale and doughy because they were steaming instead of baking. Give them room to breathe.
If the dough starts to unroll during baking, you wrapped it too loosely. Next time, overlap the strips just a tiny bit more and tuck the ends underneath. A little pressure goes a long way.
Use the “finger test” for doneness. Gently press the side of a mummy hot dog with your finger. The dough should feel firm and spring back slightly. If it feels soft or squishy, give it another minute or two.
My biggest failure? I once used low-fat crescent dough thinking it would be healthier. It didn’t brown properly, the texture was weird, and my kids refused to eat them. Use the full-fat version. It’s Halloween. Live a little.
Variations & Adaptations
One of the best things about this recipe is how easy it is to change up. Here are some variations I’ve tried and loved:
Cheesy Mummy Hot Dogs: Before wrapping, cut a slit lengthwise down the center of each hot dog and stuff it with a thin strip of cheddar or mozzarella cheese. The cheese melts out slightly as it bakes, creating a gooey, delicious mess. Just be careful—the cheese gets hot.
Spicy Mummy Dogs: Brush the hot dogs with sriracha or your favorite hot sauce before wrapping. Or mix some chili flakes into the dough before cutting the strips. My brother-in-law loves these, and he’s the kind of guy who puts hot sauce on everything.
Breakfast Mummies: Swap the hot dogs for breakfast sausage links. Use pancake batter instead of crescent dough if you’re feeling ambitious (though that’s a whole different recipe). These are great for Halloween morning before school.
Vegetarian Version: Use vegan hot dogs or cheese sticks. For cheese sticks, wrap them the same way but bake for only 8-10 minutes—cheese melts faster than hot dogs heat up. I’ve also used carrot sticks (blanched first) for a healthier option, but honestly, they’re not as satisfying.
Gluten-Free Option: Use gluten-free crescent dough if you can find it. The texture is slightly different—a bit more crumbly—but the taste is still good. Just handle the dough gently; gluten-free dough is more fragile.
I personally love the cheesy version for holiday parties. They’re a little more indulgent, and the melted cheese adds a nice visual contrast to the golden dough.
Serving & Storage Suggestions
These mummy hot dogs are best served warm, right after the eyes go on. The dough is at its flakiest, the hot dog is still snappy, and the mustard eyes are fresh and bright.
Serving ideas:
- Arrange them on a platter with a bowl of ketchup or ranch dressing for dipping. I like to put the dip in a small pumpkin-shaped bowl for extra Halloween vibes.
- Serve alongside other spooky snacks like melting witch Halloween sugar cookies for a full themed spread. The contrast between savory and sweet is perfect for parties.
- Pair them with a simple side salad or veggie sticks if you’re serving them as a meal. They’re filling enough on their own, but a little greenery balances things out.
- For a Halloween movie night, serve them with mummy pumpkin cheesecake bars for dessert. The theme carries through without being too on-the-nose.
Storage:
Leftover mummy hot dogs (if you have any) can be stored in an airtight container in the refrigerator for up to 3 days. The dough will soften slightly, but they’re still tasty.
Reheating:
The best way to reheat them is in the oven or toaster oven at 350°F for 5-7 minutes. The microwave works in a pinch (30 seconds on high), but the dough will be soft, not crispy. If you’re reheating a large batch, spread them on a baking sheet and pop them in the oven.
Freezing:
You can freeze these before or after baking. To freeze before baking: wrap the hot dogs, place them on a baking sheet in the freezer for an hour, then transfer to a freezer bag. Bake from frozen at 375°F for 15-18 minutes. To freeze after baking: let them cool completely, then freeze in a single layer on a baking sheet before transferring to a bag. Reheat from frozen at 350°F for 8-10 minutes.
One thing I’ve noticed: the flavors actually meld together a bit if you let them sit for a few hours. They’re not as good as fresh, but they’re still pretty great for leftovers.
Nutritional Information & Benefits
Let’s be real—these are not health food. They’re a fun Halloween treat. But here’s the estimated breakdown for one mummy hot dog (using standard ingredients):
- Calories: Approximately 220-250 per serving
- Protein: 7-8 grams
- Carbohydrates: 18-20 grams
- Fat: 14-16 grams
- Sodium: 600-700 mg
Health considerations:
- These contain gluten (from the crescent dough) and dairy (the dough has butter). Not suitable for gluten-free or dairy-free diets unless you use alternative products.
- Hot dogs are processed meat, so if you’re watching sodium or preservatives, look for uncured or low-sodium options.
- For a slightly lighter version, use turkey hot dogs and light crescent dough. The calorie difference is about 50-60 calories per serving.
I personally see these as a once-in-a-while treat. They’re for parties, holidays, and rainy afternoons when you need something fun. Balance them with veggies and water, and you’re fine. Life is too short to stress about a mummy hot dog.
Conclusion
These easy mummy hot dogs with crescent dough have become a Halloween staple in my house, and I have a feeling they’ll become one in yours too. They’re silly, they’re simple, and they somehow make everyone at the party smile—including the adults who pretend they’re just there for the dip.
What I love most about this recipe is how forgiving it is. Your strips don’t have to be perfect. Your eyes don’t have to be even. Every mummy comes out looking a little different, and that’s exactly how it should be. My kids fight over who gets to wrap each one, and their mummies always look better than mine.
If you make these (and I really hope you do), I’d love to hear how they turn out. Did you add cheese? Use turkey dogs? Make them for a Halloween party? Drop a comment below and let me know. And if you’re looking for more spooky treats, don’t miss our black cat cupcakes or the ever-popular pumpkin spice syrup for your Halloween coffee.
Happy Halloween, friends. May your mummies be golden, your eyes stay put, and your kids eat something besides candy for at least one meal.
Frequently Asked Questions
Can I make these ahead of time?
Yes! You can wrap the hot dogs up to 24 hours in advance and keep them covered in the refrigerator. Bake them just before serving for the best texture. If you need to make them fully ahead, bake, cool, and reheat in the oven at 350°F for 5-7 minutes.
Can I use puff pastry instead of crescent dough?
Absolutely. Puff pastry will give you a flakier, more buttery result. Thaw the pastry according to package directions, cut it into thin strips, and wrap the same way. Bake at 400°F for 12-15 minutes, since puff pastry needs a slightly higher temperature to puff properly.
What’s the best way to keep the eyes from falling off?
Mustard and ketchup dots can slide off if the hot dog is too greasy. Pat the hot dogs dry before wrapping, and add the eyes just before serving (not before baking). If you want eyes that stay put, use tiny pieces of black olive or even mini chocolate chips pressed into the hot dog.
Can I make these in an air fryer?
Yes! Air fry at 350°F for 8-10 minutes, checking halfway through. The dough browns faster in an air fryer, so keep an eye on them. You might need to reduce the temperature to 325°F if your air fryer runs hot. No need to flip them halfway—the hot air circulates evenly.
Why did my crescent dough turn out doughy in the middle?
This usually happens when the strips are cut too thick or the mummies are packed too close together on the pan. Cut your strips thinner (about ¼ inch) and leave space between each mummy on the baking sheet. If they’re still doughy, try baking at 375°F for a few extra minutes, checking every minute until golden.
Pin This Recipe!
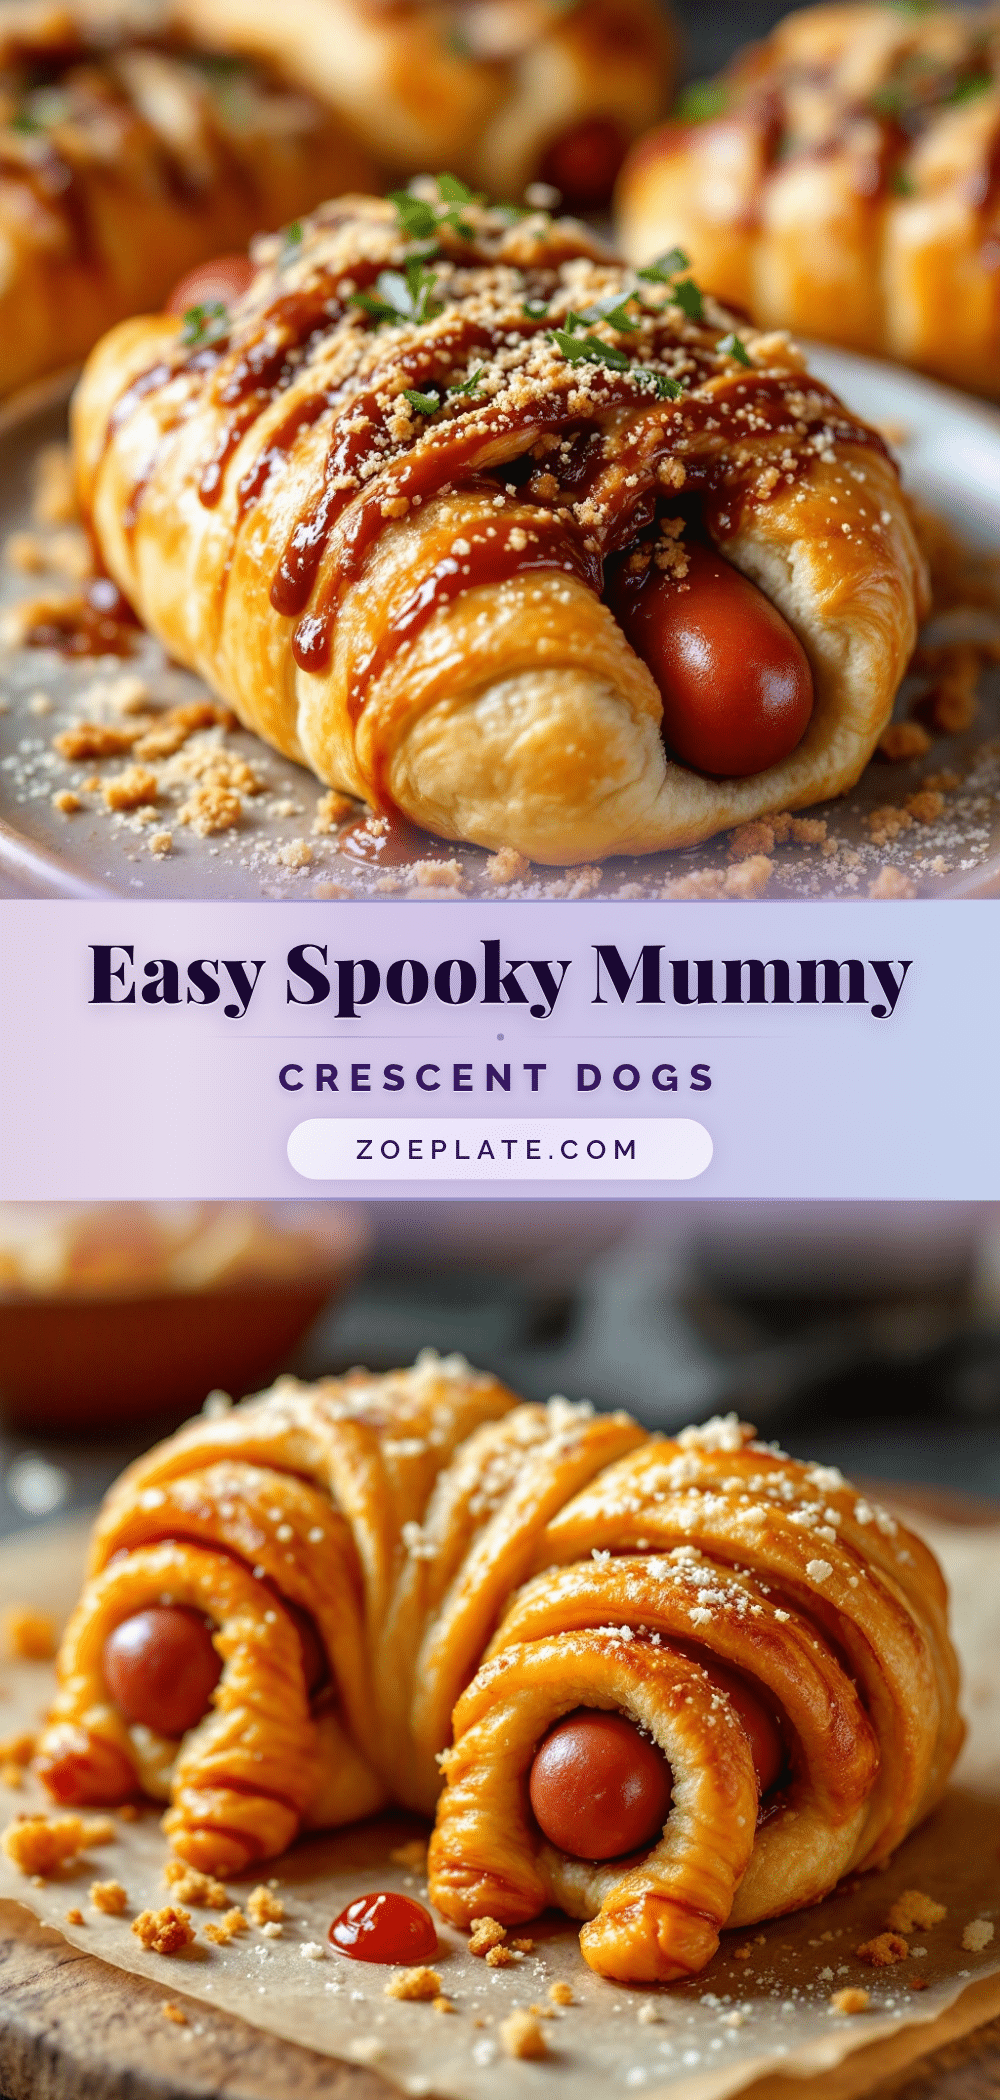
Best Easy Mummy Hot Dogs with Crescent Dough

These easy mummy hot dogs with crescent dough are a fun and simple Halloween snack that looks like you spent way more time on them than you actually did. Ready in 25 minutes with only 3 ingredients, they’re perfect for parties and kid-friendly from start to finish.
- Prep Time: 10 minutes
- Cook Time: 15 minutes
- Total Time: 25 minutes
- Yield: 8 servings 1x
- Category: Appetizer
- Cuisine: American
Ingredients
- 1 can (8 oz) refrigerated crescent roll dough
- 8 hot dogs (standard-size beef hot dogs work best)
- Mustard or ketchup for the eyes
- Cooking spray (optional, for the baking sheet)
- Everything bagel seasoning (optional, for extra flavor)
- Ranch dressing or ketchup for dipping (optional)
Instructions
- Preheat your oven to 375°F (190°C). Line a baking sheet with parchment paper or a silicone mat, or lightly spray with cooking spray.
- Unroll the crescent dough onto a clean cutting board or countertop. Press the perforated seams together gently with your fingers to form a solid rectangle.
- Cut the dough lengthwise into 8 to 10 thin strips, about ¼ to ½ inch wide, using a pizza cutter or sharp knife.
- Pat each hot dog dry with a paper towel to help the dough stick.
- Wrap each hot dog with 2-3 dough strips at a slight angle, leaving about ½ inch of hot dog exposed at the top for the face. Overlap the strips slightly and don’t wrap too tightly.
- Place the wrapped hot dogs on the prepared baking sheet with the seam side down, leaving about an inch between each.
- Bake for 12-15 minutes, or until the dough is golden brown and cooked through. Start checking at 12 minutes.
- Let them cool on the pan for 2-3 minutes, then transfer to a cooling rack or serving platter.
- Dip a toothpick into mustard or ketchup and dot two small eyes on the exposed hot dog section at the top.
- Serve warm or at room temperature.
Notes
Let crescent dough sit at room temperature for 5 minutes before unrolling to prevent cracking. Cut strips thin (about ¼ inch) for even cooking. Don’t pre-cook hot dogs. For best results, use full-fat crescent dough.
Nutrition
- Serving Size: 1 mummy hot dog
- Calories: 235
- Sugar: 4
- Sodium: 650
- Fat: 15
- Saturated Fat: 5
- Carbohydrates: 19
- Protein: 7
Keywords: mummy hot dogs, Halloween snack, crescent dough hot dogs, easy Halloween recipe, kid-friendly Halloween food


