Sunday evening, somewhere between 7 and 8 PM, when the weekend is already slipping away and the thought of Monday morning is starting to creep in. The kitchen is quiet except for the hum of the refrigerator and the soft click of the pantry door. And the only thing I want is something I can make without turning on the oven, without dirtying a mixer, without thinking too hard. Something that feels like a small act of preparation for the week ahead, not a production.
That’s how these no-bake peanut butter protein balls came to be a regular thing in my house. They weren’t born out of a recipe testing session or a grand plan. Honestly, they came from a desperate Wednesday when I needed a snack that wasn’t chips and wouldn’t leave a trail of crumbs in my car. I had a jar of peanut butter, a bag of old-fashioned oats, and a vague memory of something my friend had made once. I threw it all in a bowl, crossed my fingers, and rolled.
What came out of that little experiment was a snack that somehow ended up sticking around long after the desperation faded. It’s not fancy—it’s not trying to be. It’s the kind of recipe that lives in the back of your brain, reliable and uncomplicated. The kind you don’t have to look up because you’ve made it so many times you just know. And that’s exactly the point.
Why You’ll Love This Recipe
These no-bake peanut butter protein balls are the kind of recipe that earns a permanent spot in your weekly rotation. I’ve made dozens of versions over the years—some too dry, some too sticky, some that fell apart the second you looked at them—and this one finally got it right. After tweaking the ratios and testing different binders, I landed on a formula that holds together beautifully without being a chore to roll.
- Quick and Easy: From pantry to fridge in under 15 minutes. No oven, no stovetop, no special skills required.
- Simple Ingredients: You probably have everything you need right now. Oats, peanut butter, honey, and a few pantry staples.
- Perfect for Meal Prep: Make a batch on Sunday and grab them all week for breakfast, a post-workout refuel, or that 3 PM slump.
- Crowd-Pleaser: Kids love them, adults love them, and nobody has to know they’re actually packed with protein and fiber.
- Unbelievably Satisfying: The texture is soft and chewy, not dry or crumbly. One ball actually feels like enough, which is rare for a snack.
What makes this version different from the countless others out there? It’s the texture, really. I spent a long time getting the ratio of wet to dry ingredients just right so these balls stay tender without being greasy. And I swapped the usual protein powder for a combination that actually tastes good—because let’s be honest, some of those powders are rough. These are the kind of protein balls you actually look forward to eating, not the kind you force down because they’re “healthy.”
This is the snack that keeps me from buying overpriced granola bars that taste like cardboard. It’s comfort food that happens to be good for you, made in minutes with zero fuss. Perfect for busy mornings, long afternoons, or those moments when you need something real but don’t have time to cook.
What Ingredients You Will Need
This recipe uses simple, wholesome ingredients that come together to deliver a snack that’s both satisfying and nourishing. No weird powders or hard-to-find superfoods here—just real food that works.
- Old-Fashioned Rolled Oats (1 cup / 90g): These provide the base and the chew. I prefer old-fashioned oats over quick oats because they give a better texture—quick oats can turn mushy. Gluten-free certified oats work perfectly if you need them.
- Creamy Peanut Butter (½ cup / 130g): The main binder and flavor driver. Use a natural peanut butter that’s well-stirred, but avoid the super-runny kind that separates completely—it won’t hold the balls together. I like Skippy Natural or Jif Natural for consistency. If you’re using a brand with added sugar, you might want to reduce the honey slightly.
- Honey (⅓ cup / 110g): This adds sweetness and helps bind everything together. Maple syrup works as a substitute for a vegan version, though the texture will be slightly softer. If your honey is very thick, warm it for 10 seconds in the microwave to make it easier to mix.
- Vanilla Protein Powder (¼ cup / 25g): This boosts the protein content without altering the flavor too much. I recommend a vanilla whey or plant-based protein powder. If your powder is unsweetened, you might want to add an extra tablespoon of honey. Avoid using collagen powder here—it won’t absorb the same way and can make the balls sticky.
- Ground Flaxseed (2 tablespoons / 14g): This adds fiber and omega-3s, plus it helps absorb moisture and keeps the balls from being too wet. If you don’t have flax, chia seeds work, though they’ll add a little crunch.
- Mini Chocolate Chips (¼ cup / 45g): Because everything is better with chocolate. I use semi-sweet mini chips so you get chocolate in every bite without huge chunks. Dark chocolate chips work great too, or leave them out entirely if you want a less sweet snack.
- Pinch of Salt (¼ teaspoon): Even if your peanut butter is salted, a tiny extra pinch balances the sweetness and deepens the peanut butter flavor. Trust me on this one.
That’s it. Seven ingredients, most of which are probably in your pantry right now. The beauty of this recipe is how forgiving it is—you can swap in almond butter or sunflower seed butter, use maple syrup instead of honey, or add shredded coconut for texture. Just keep an eye on the moisture level and adjust as needed.
Equipment Needed
You don’t need much for this recipe, which is part of why I love it. Here’s what you’ll want to have on hand:
- Large Mixing Bowl: Any medium-to-large bowl works. I use a ceramic one because it doesn’t slide around on the counter.
- Wooden Spoon or Rubber Spatula: For mixing everything together. A spatula helps scrape the sides clean.
- Measuring Cups and Spoons: Standard set for dry and wet ingredients. For the peanut butter, I spray my measuring cup with nonstick spray first—it slides right out.
- Baking Sheet or Large Plate: To hold the rolled balls while they chill. Line it with parchment paper if you want easy cleanup.
- Cookie Scoop (Optional): A 1-tablespoon scoop makes perfectly uniform balls. If you don’t have one, just use your hands—they’ll be slightly different sizes, and that’s fine.
- Parchment Paper: Not strictly necessary, but it makes transferring the balls to a storage container much easier.
That’s really all you need. No food processor, no stand mixer, no special equipment. I’ve made these in a dorm room with a plastic bowl and a fork, and they turned out just as good.
Preparation Method
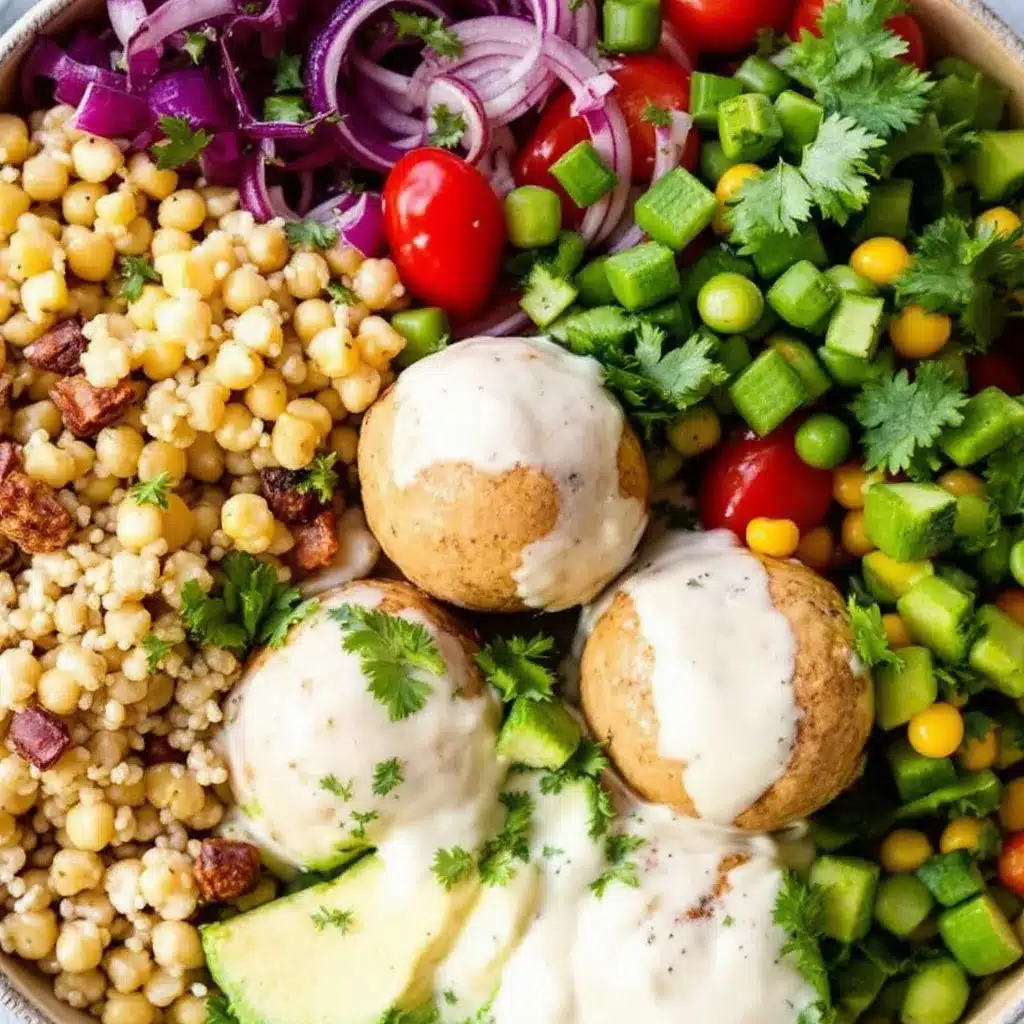
Making these no-bake peanut butter protein balls is almost embarrassingly simple. But there are a few little tricks I’ve picked up along the way that make the process smoother and the results more consistent.
- Start with the peanut butter and honey. In your large mixing bowl, measure out ½ cup of creamy peanut butter and ⅓ cup of honey. If your peanut butter is cold or stiff, give it a quick stir first—or microwave it for 10 seconds to loosen it up. Mix them together with your spatula until they’re fully combined. The mixture should look glossy and smooth, not separated. If it looks grainy, keep stirring—it’ll come together.
- Add the dry ingredients. Pour in 1 cup of old-fashioned oats, ¼ cup of vanilla protein powder, 2 tablespoons of ground flaxseed, and ¼ teaspoon of salt. Stir everything together until no dry patches remain. This will feel stiff at first, and that’s okay. You want the mixture to be thick enough to hold its shape when pressed. If it seems too dry and crumbly, add a teaspoon of water or a tiny bit more honey. If it seems too wet and sticky, add another tablespoon of oats.
- Fold in the chocolate chips. Add ¼ cup of mini chocolate chips and fold them in gently. Make sure they’re distributed evenly throughout the dough. If you’re using regular-sized chips, you might want to chop them roughly first so they don’t make the balls lumpy.
- Chill the mixture (optional but recommended). Pop the bowl in the fridge for 10-15 minutes. This step isn’t strictly necessary, but it makes the dough much easier to handle. The peanut butter firms up slightly, and the oats absorb some of the moisture, so the balls hold together better and are less sticky on your hands.
- Roll into balls. Using a 1-tablespoon cookie scoop or your hands, portion out the dough and roll it between your palms into smooth balls. If the dough sticks to your hands, lightly dampen your palms with water or rub a tiny bit of coconut oil on them. Place each ball on your prepared baking sheet or plate as you go. You should get about 18-20 balls, depending on how big you roll them.
- Chill to set. Place the baking sheet in the fridge for at least 30 minutes. This allows the balls to firm up completely. If you’re impatient (I get it), 15 minutes is usually enough for them to hold their shape, but they’ll be softer.
- Transfer and store. Once chilled, move the balls to an airtight container. I layer them between pieces of parchment paper so they don’t stick together.
A quick note: the mixture should feel like a thick, slightly sticky dough. If it crumbles when you squeeze it in your hand, add a teaspoon of honey or a splash of milk. If it feels greasy or too wet, add more oats or protein powder a tablespoon at a time. The texture can vary depending on your peanut butter brand and protein powder, so trust your hands more than the exact measurements.
Cooking Tips & Techniques
After making these no-bake peanut butter protein balls more times than I can count, I’ve learned a few things the hard way. Here’s what I wish someone had told me from the start.
Use room temperature ingredients. Cold peanut butter straight from the fridge is a nightmare to mix. Let it sit out for 15 minutes, or microwave it for 10 seconds. The honey should be warm and runny too—if it’s crystallized, give it a quick zap. Room temperature ingredients blend more smoothly and create a more uniform dough.
Don’t overmix. Once the dry ingredients are incorporated, stop. Overmixing can make the oats break down and release starch, which makes the balls dense and gummy. Stir just until everything comes together, then stop.
Wet your hands. This is the single best tip I can give you. If your hands are dry, the dough will stick to them like glue. Lightly dampen your palms with water before rolling each ball, and re-wet as needed. A tiny drop of coconut oil works too, but water is easier and doesn’t add extra fat.
Use a cookie scoop for consistency. I know it’s one more thing to wash, but a 1-tablespoon scoop makes perfectly even balls that all chill at the same rate. If you’re making these for meal prep, uniform size matters for portion control. If you’re just snacking, go ahead and use your hands—I won’t tell.
Chill the dough before rolling. This is one of those steps I skipped the first few times because I was impatient. Don’t be like me. Chilling the dough for even 10 minutes makes it significantly less sticky and much easier to handle. The balls come out rounder and smoother, and you won’t end up with peanut butter under your fingernails.
Test one ball before rolling all of them. Roll a single ball, then press it gently. If it holds its shape without cracking, you’re good to go. If it crumbles, add a little more honey or peanut butter. If it’s too soft and squishes flat, add more oats or protein powder. This saves you from rolling 20 balls only to realize they won’t hold together.
I once made a batch where I forgot the flaxseed entirely. The balls were so wet they practically melted on the plate. I added a few tablespoons of oats to salvage them, and they were fine—just a little denser than usual. So don’t panic if something goes wrong. These are forgiving little things.
Variations & Adaptations
This recipe is a template, not a rulebook. Here are some of my favorite ways to change it up, depending on what I have in the pantry or what I’m craving.
Vegan Version: Swap the honey for maple syrup or agave nectar. Use a plant-based protein powder instead of whey. Everything else stays the same. The texture will be slightly softer because maple syrup is thinner than honey, so you might need an extra tablespoon of oats to compensate.
Nut-Free Version: Use sunflower seed butter (sunbutter) instead of peanut butter. The color will turn a slightly greenish-brown after a few hours—that’s a natural reaction between sunflower seeds and baking soda, so don’t worry. Sunbutter is usually thinner, so you may need to add a bit more oats or flaxseed to thicken the dough.
Low-Carb / Keto Version: Replace the oats with unsweetened shredded coconut and almond flour (about ½ cup each). Use a sugar-free sweetener like monk fruit honey or allulose syrup. The texture will be different—more crumbly and less chewy—but still delicious. Add an extra tablespoon of coconut oil if the mixture seems too dry.
Add-In Variations: The base recipe is endlessly customizable. Try adding 2 tablespoons of cocoa powder for a chocolate version, or ¼ cup of shredded coconut for tropical vibes. Dried cranberries, chopped nuts, or a pinch of cinnamon all work beautifully. I once added a tablespoon of chia seeds and a splash of vanilla extract, and it was one of the best batches I’ve ever made.
No Protein Powder Version: If you don’t have protein powder on hand, replace it with an equal amount of oat flour (just blitz some oats in a blender) or additional oats. The balls will be slightly lower in protein but still perfectly satisfying. You might need to add an extra tablespoon of peanut butter to compensate for the lost binding power.
My personal favorite variation is a “tropical” version with shredded coconut, chopped dried mango, and a squeeze of lime zest. It’s weirdly good and tastes like vacation in a bite-sized ball. Don’t knock it till you try it.
Serving & Storage Suggestions
These no-bake peanut butter protein balls are best served cold, straight from the fridge. The texture is firmer, the chocolate chips are snappy, and the flavors taste more pronounced. If you let them sit at room temperature for too long, they soften up and can get a little sticky—still delicious, just messier.
How to Serve: Grab one or two as a quick breakfast on the go, a post-workout refuel, or an afternoon snack that actually keeps you full until dinner. I like to pack them in a small container with a handful of almonds and an apple for a balanced snack. They’re also great crumbled over yogurt or oatmeal for a little texture and sweetness.
Storage: Keep the balls in an airtight container in the refrigerator for up to two weeks. I layer them between sheets of parchment paper to prevent them from sticking together. If you’re stacking them, don’t pile them too high—the weight can squish the ones on the bottom.
Freezer Instructions: These freeze beautifully. Place the rolled balls on a baking sheet and freeze until solid (about 1-2 hours), then transfer them to a freezer-safe bag or container. They’ll keep for up to three months. To thaw, just move them to the fridge overnight, or let them sit at room temperature for 15 minutes. I often grab one straight from the freezer and eat it frozen—it’s like a peanut butter ice cream bite.
Flavor Development: Something interesting happens after the first day. The flavors meld together, the oats soften slightly, and the peanut butter becomes more pronounced. I actually think these are better on day two than day one. So if you can resist eating them all immediately, give them a day in the fridge and see what I mean.
If you’re looking for another make-ahead snack that travels well, you might enjoy these no-bake peanut butter oat energy bites—they’re a close cousin to this recipe and just as easy to throw together.
Nutritional Information & Benefits
These numbers are estimates based on the ingredients listed, using a standard vanilla whey protein powder. Your values may vary depending on the specific brands you use.
Per ball (based on 18 balls):
- Calories: 145
- Protein: 6g
- Fat: 8g
- Carbohydrates: 14g
- Fiber: 2g
- Sugar: 8g
These little balls pack a surprising amount of nutrition into a small package. The peanut butter provides healthy monounsaturated fats and a solid dose of protein, while the oats contribute complex carbohydrates and soluble fiber that helps keep blood sugar stable. The flaxseed adds omega-3 fatty acids and extra fiber, which supports digestion. And the protein powder—whether whey or plant-based—helps with muscle repair and keeps you feeling full longer.
If you’re watching your sugar intake, you can reduce the honey to ¼ cup and add an extra tablespoon of peanut butter to compensate. The chocolate chips add about 2g of sugar per ball, so you can leave them out or use sugar-free chips if you prefer.
This recipe is naturally gluten-free if you use certified gluten-free oats, and it can easily be made vegan and nut-free with the substitutions mentioned earlier. The only common allergen here is peanuts (and oats, for those with oat sensitivity), so keep that in mind if you’re sharing with others.
Conclusion
These no-bake peanut butter protein balls are the kind of recipe that proves you don’t need complicated techniques or fancy ingredients to eat well. They’re quick, forgiving, and endlessly adaptable—the perfect snack for anyone who wants something homemade without the hassle.
What I love most about this recipe is how it fits into real life. It doesn’t demand a clean kitchen or a free afternoon. It works on a Tuesday evening when you’re already tired, or on a Sunday when you’re trying to set yourself up for a good week. It’s the kind of thing you make without thinking, and then you’re grateful you did when hunger strikes at the worst possible moment.
I’d love to hear how these turn out for you. Did you add something unexpected? Swap an ingredient? Double the chocolate chips? (I fully support that decision.) Leave a comment below and let me know—I read every single one, and your ideas might end up in my next batch. If you’re looking for another quick snack idea, these sunbutter and jelly uncrustables are another favorite in my house, especially for lunchboxes.
Go ahead, make a batch. Your future self—the one staring into the pantry at 3 PM with nothing to eat—will thank you.
Frequently Asked Questions
Can I use quick oats instead of old-fashioned oats?
Yes, you can, but the texture will be different. Quick oats are more processed and absorb moisture faster, so the balls may turn out softer and less chewy. If you only have quick oats, reduce the honey by a tablespoon to compensate for the extra absorption. Old-fashioned oats give a better, more satisfying texture in my opinion.
Why are my protein balls too dry and crumbly?
This usually happens when the peanut butter is too thick or the protein powder is very absorbent. Try adding a tablespoon of honey or a splash of milk (dairy or plant-based) and mixing again. If that doesn’t help, add a little more peanut butter. The dough should feel like a thick cookie dough—not dry and not sticky.
Why are my protein balls too sticky to roll?
Sticky dough usually means too much liquid or not enough dry ingredients. Try adding more oats or protein powder, one tablespoon at a time, until the dough firms up. Chilling the dough for 15 minutes before rolling also helps tremendously. And don’t forget to dampen your hands with water before rolling—it’s a game changer.
Can I make these without protein powder?
Absolutely. Replace the protein powder with an equal amount of oat flour (just blend rolled oats in a blender until powdery) or additional rolled oats. The balls will be slightly lower in protein but still delicious and satisfying. You might need to add an extra tablespoon of peanut butter to help with binding.
How long do these last at room temperature?
These are best kept in the refrigerator, but they can sit at room temperature for a few hours without issue. If you’re taking them to work or on a hike, pack them in a cooler bag or eat them within 4-6 hours. After that, they start to soften and can become a little messy. For longer storage, always keep them chilled.
Pin This Recipe!
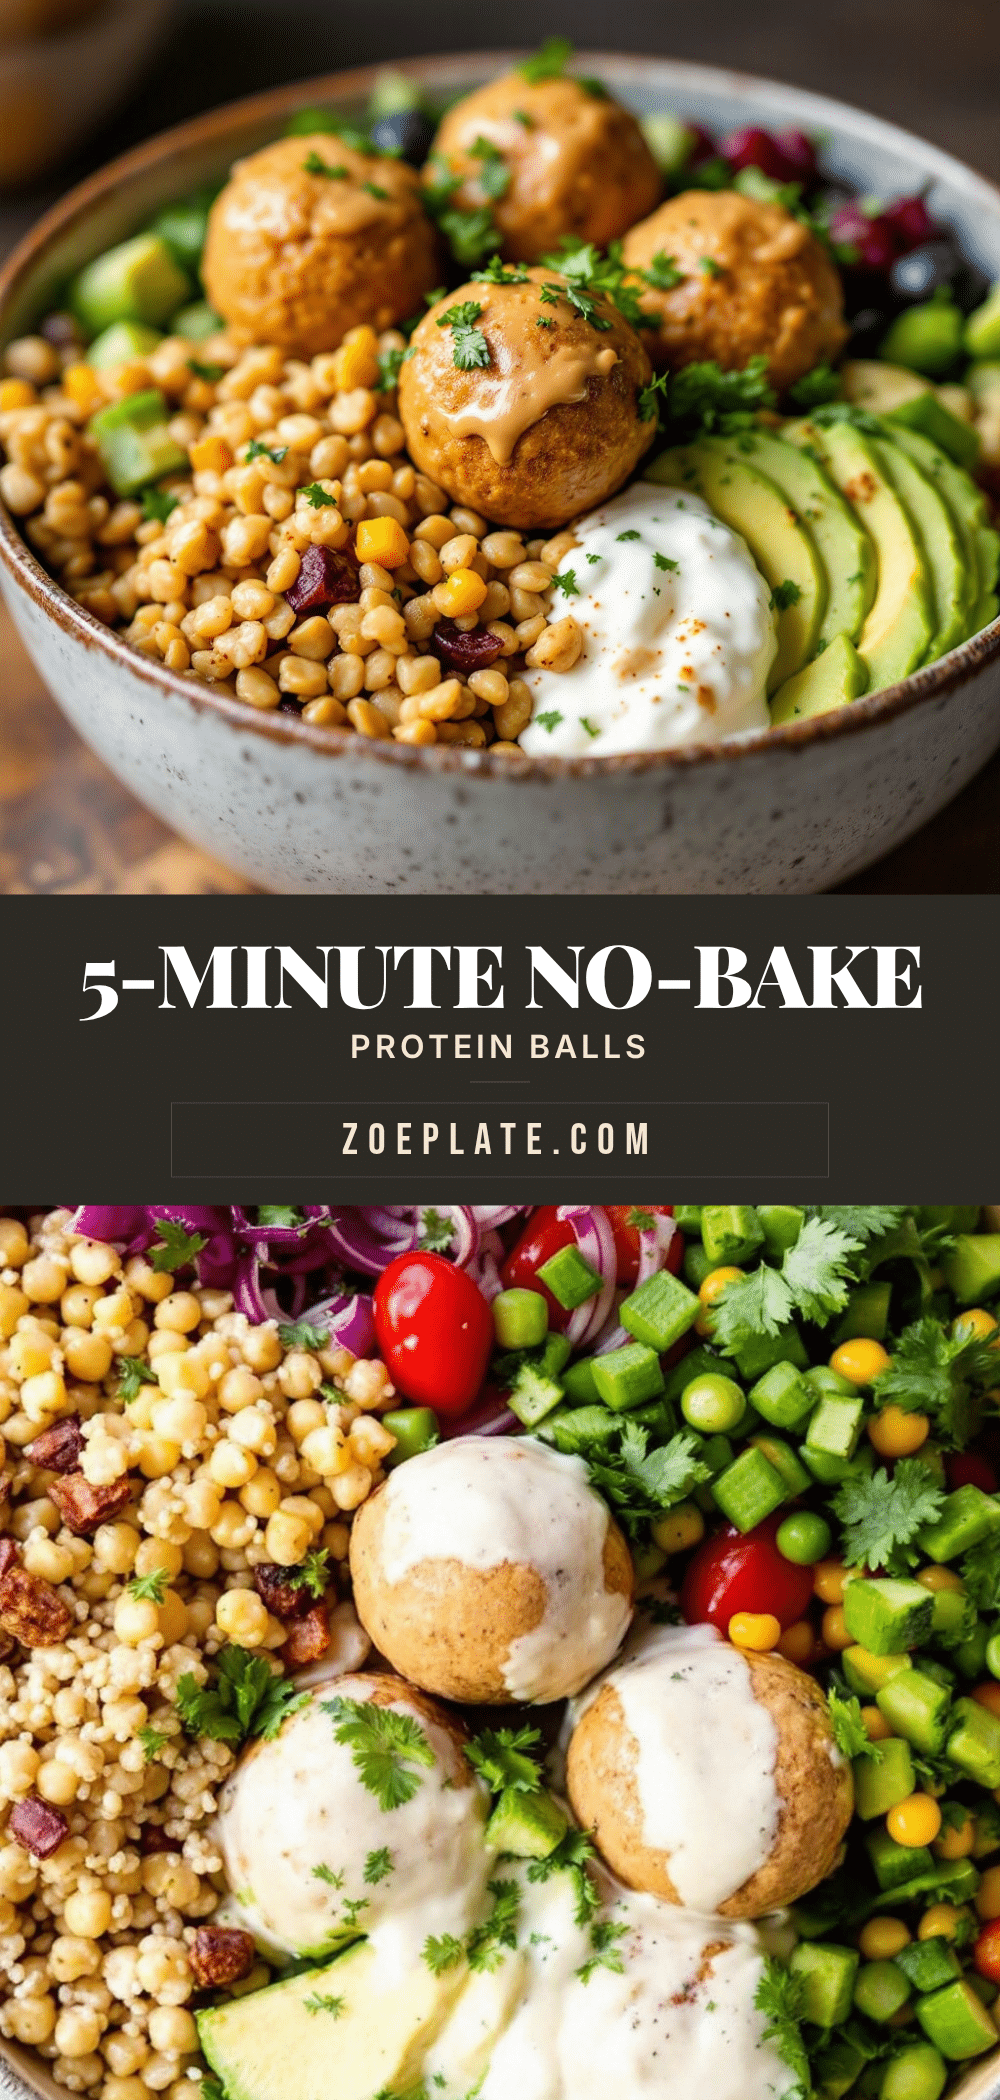
Best Easy No-Bake Peanut Butter Protein Balls Recipe
These no-bake peanut butter protein balls are quick, easy, and made with simple ingredients. Perfect for meal prep, they’re a satisfying snack packed with protein and fiber.
- Prep Time: 15 minutes
- Cook Time: 0 minutes
- Total Time: 45 minutes
- Yield: 18-20 balls 1x
- Category: Snack
- Cuisine: American
Ingredients
- 1 cup (90g) old-fashioned rolled oats
- ½ cup (130g) creamy peanut butter
- ⅓ cup (110g) honey
- ¼ cup (25g) vanilla protein powder
- 2 tablespoons (14g) ground flaxseed
- ¼ cup (45g) mini chocolate chips
- ¼ teaspoon salt
Instructions
- In a large mixing bowl, combine ½ cup creamy peanut butter and ⅓ cup honey. Mix until smooth and glossy.
- Add 1 cup old-fashioned oats, ¼ cup vanilla protein powder, 2 tablespoons ground flaxseed, and ¼ teaspoon salt. Stir until no dry patches remain. If too dry, add a teaspoon of water or more honey; if too wet, add more oats.
- Fold in ¼ cup mini chocolate chips until evenly distributed.
- Chill the mixture in the refrigerator for 10-15 minutes (optional but recommended for easier handling).
- Using a 1-tablespoon cookie scoop or your hands, roll the dough into smooth balls. Dampen hands with water if sticky. Place on a parchment-lined baking sheet or plate. Makes about 18-20 balls.
- Refrigerate for at least 30 minutes to set.
- Transfer to an airtight container, layering with parchment paper. Store in the refrigerator.
Notes
Use room temperature ingredients for easier mixing. Chill the dough before rolling to reduce stickiness. Wet hands with water to prevent sticking. Test one ball before rolling all to adjust consistency. These are better on day two after flavors meld.
Nutrition
- Serving Size: 1 ball
- Calories: 145
- Sugar: 8
- Sodium: 85
- Fat: 8
- Saturated Fat: 2
- Carbohydrates: 14
- Fiber: 2
- Protein: 6
Keywords: no-bake peanut butter protein balls, protein balls, no-bake snack, peanut butter snack, healthy snack, meal prep snack


