Third time in as many days and I still couldn’t stop staring at them on the plate before serving. The little olive slice eyes staring back at me, the tiny chive whiskers curling just so, the paprika-dusted ears perched on top like they might twitch at any moment. I had set out to make deviled eggs for a Halloween party, something fun but not fussy, and somehow ended up here, elbow-deep in egg salad, trying to get the angle of a cat ear just right.
It started with a Pinterest deep dive at 11 PM on a Tuesday, which is honestly how most of my good (and questionable) kitchen ideas begin. I saw a version of black cat deviled eggs and thought, “That’s cute, but I bet I could make them spookier. And cuter. At the same time.” So I did what any reasonable person would do, I hard-boiled a dozen eggs and started experimenting. The first batch looked more like sad, smudged raccoons than cats. The second batch, well, let’s just say the paprika ears kept sliding off.
By the third batch, something clicked. I figured out the trick to getting the ears to stay put (a tiny dab of filling works as glue, by the way), and I realized the eyes needed to be placed just slightly crossed to give them that mischievous black cat energy. These Spooky Cute Black Cat Deviled Eggs are the result of that obsessive spiral, and honestly, I’m not mad about it. They’re the kind of appetizer that makes people stop mid-conversation, point, and say, “Wait, are those cats?” And then they eat one and forget they’re supposed to be scary.
Why You’ll Love This Recipe
Let me tell you why these little guys are worth the extra effort. I tested this recipe on a group of skeptical friends (one of whom “doesn’t do themed food”), and even they went back for thirds.
- Spooky AND Cute : They toe the perfect line between Halloween creepy and adorable. Kids love them, adults can’t resist them, and everyone takes a photo before eating.
- Simple Ingredients : You probably already have everything you need in your fridge and pantry. No specialty food coloring, no weird candy melts, just eggs, mayo, olives, and a few pantry staples.
- Perfect for Halloween Parties : Whether it’s a spooky soiree, a classroom treat, or a pre-trick-or-treat snack, these fit right in. Pair them with my melting witch Halloween sugar cookies for a full spread that’ll steal the show.
- Crowd-Pleaser : Deviled eggs are already a universal favorite. Add a cat face, and suddenly they’re the star of the buffet table. I’ve seen grown adults giggle while picking one up.
- Make-Ahead Friendly : You can prep the eggs and filling a day in advance, then assemble the faces right before serving. Stress-free hosting, my favorite kind.
What makes this recipe different from every other deviled egg out there? It’s the little details. The way the olive eyes are positioned to give each cat its own personality. The chive whiskers that stay crisp and fresh. The paprika ears that actually stay put instead of sliding off onto the plate. I spent way too long perfecting these details so you don’t have to. This isn’t just another Halloween appetizer, it’s the one people will remember and ask you to bring every single year.
What Ingredients You Will Need
This recipe uses simple, everyday ingredients to create something that looks way more complicated than it actually is. Here’s what you’ll need to bring these spooky little cats to life.
For the Deviled Eggs
- 6 large eggs (look for eggs that are at least a week old, they peel easier after boiling)
- 3 tablespoons mayonnaise (I prefer Duke’s or Hellmann’s for that creamy tang)
- 1 teaspoon Dijon mustard (adds a subtle kick and helps with texture)
- 1/2 teaspoon white vinegar (balances the richness, trust me on this one)
- Salt and black pepper (to taste, but don’t skimp on the salt, it brings everything together)
- 1/4 teaspoon smoked paprika (for the cat ears and a little extra flavor)
For the Cat Faces
- 6 pitted black olives (large ones work best, look for jumbo or colossal sizes)
- 12 small fresh chives (for whiskers, about 2 inches long each)
- Extra smoked paprika (for dusting the ears)
Ingredient Tips and Substitutions
For the eggs, I always buy pasture-raised when I can. The yolks are a deeper, richer orange, which makes the filling look more vibrant. If you’re using standard grocery store eggs, that’s totally fine too, just know the color will be a bit paler. You can add a tiny pinch of turmeric to the filling if you want a more golden hue.
Mayonnaise is non-negotiable here for texture, but if you’re dairy-free or egg-free, there are good vegan mayo options out there. Just make sure it’s a thick, creamy one, not a watery dressing. For the mustard, yellow mustard works in a pinch, but Dijon has a smoother flavor that doesn’t overpower the eggs.
For the olive eyes, I’ve tried using sliced black olives and sliced green olives, and honestly, black olives look the most like cat eyes. If you can find the jumbo pitted ones, they’re perfect for slicing into rounds. For the whiskers, chives are ideal because they’re thin and flexible, but you can also use thin strips of green onion or even fresh cilantro stems if that’s what you have on hand.
Equipment Needed
You don’t need anything fancy to make these spooky cats, just a few basic kitchen tools you probably already own.
- Medium saucepan with lid (for boiling the eggs)
- Mixing bowl (medium size, for the filling)
- Fork or potato masher (for mashing the yolks to a smooth consistency)
- Piping bag or zip-top bag (for piping the filling neatly into the egg whites)
- Small sharp knife (for slicing olives and trimming chives)
- Cutting board (preferably small, for easy cleanup)
- Slotted spoon (for transferring eggs from boiling water to ice bath)
- Bowl of ice water (for the ice bath, essential for easy peeling)
If you don’t have a piping bag, don’t worry. A regular sandwich-sized zip-top bag works perfectly. Just spoon the filling into one corner, snip off the tip, and pipe away. I’ve done it a hundred times and it works like a charm. If you’re making a big batch, a DIY lunchable setup works great for storing the components separately before assembly.
Preparation Method
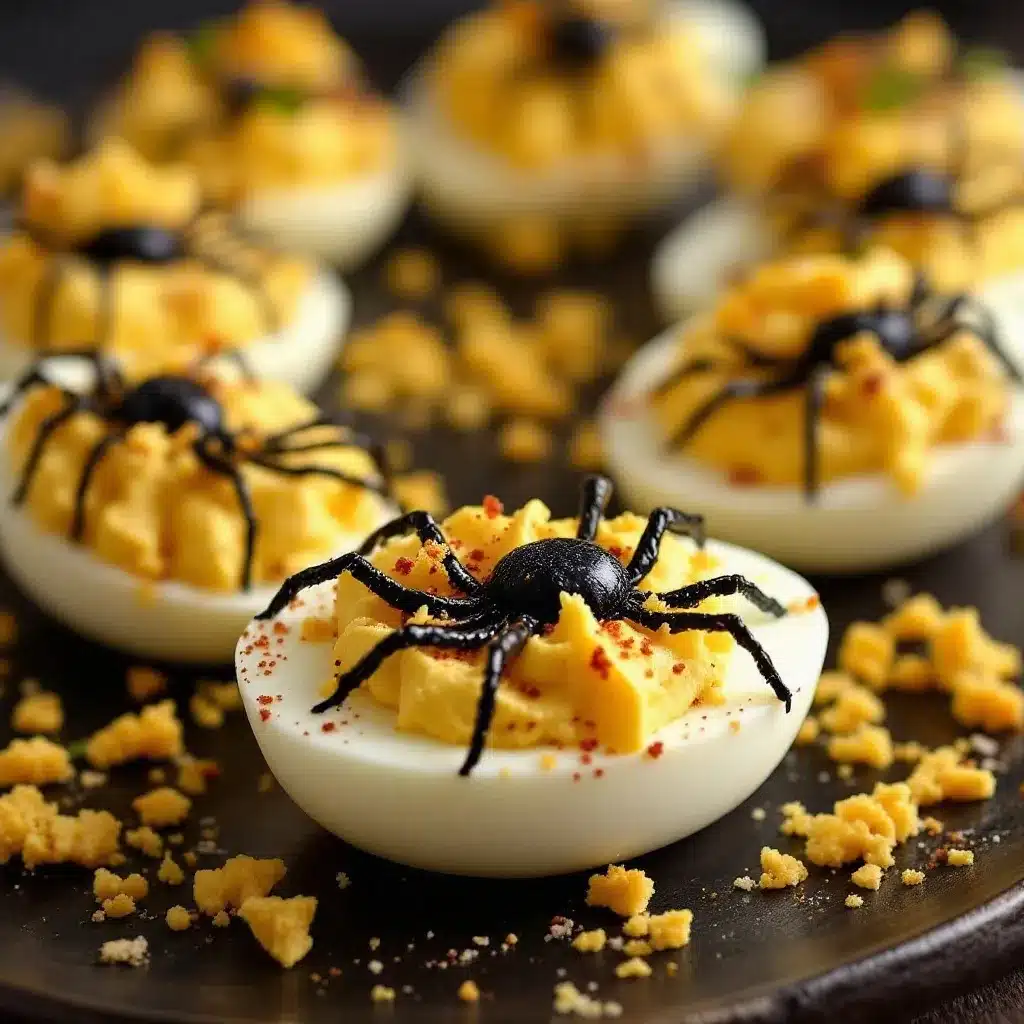
Alright, let’s make some spooky cats. I’ll walk you through every step so you get perfect results, even if it’s your first time making deviled eggs.
Step 1: Hard-Boil the Eggs
Place your eggs in a single layer in your saucepan and cover them with cold water by about an inch. Bring the water to a rolling boil over high heat. Once it’s boiling hard, cover the pot, turn off the heat, and let it sit for exactly 10 minutes. Set a timer, seriously, don’t guess. While the eggs are cooking, prepare your ice bath by filling a bowl with cold water and a generous handful of ice cubes.
Step 2: Ice Bath and Peeling
After 10 minutes, use your slotted spoon to transfer the eggs immediately into the ice bath. Let them chill out for at least 5 minutes, this stops the cooking and makes peeling so much easier. Once they’re cool enough to handle, gently tap each egg on the counter to crack the shell all over, then roll it between your palms to loosen the shell. Start peeling from the wider end where the air pocket is, and run the egg under cold water as you go to help the shell slide off.
Step 3: Slice and Scoop
Using a sharp knife, slice each peeled egg in half lengthwise. Gently pop out the yolks into your mixing bowl. Arrange the egg white halves on a serving platter, cut side up. Try to keep the whites intact, but if a few tear, don’t stress, you can hide the damage under the cat faces later.
Step 4: Make the Filling
Add the mayonnaise, Dijon mustard, white vinegar, a pinch of salt, and a few grinds of black pepper to the bowl with the yolks. Mash everything together with a fork until it’s smooth and creamy. Taste it and adjust the seasoning. I usually add a little more salt and another tiny splash of vinegar at this point. The filling should be rich, tangy, and well-seasoned.
Step 5: Pipe the Filling
Spoon the filling into your piping bag or zip-top bag. If using a zip-top bag, squeeze the filling into one corner and snip off about 1/4 inch from the tip. Pipe the filling into each egg white half, mounding it slightly in the center. You want a nice rounded dome, not a flat surface, because the cat face needs a little dimension to look right.
Step 6: Create the Cat Faces
Now for the fun part. Slice your black olives into rounds, you’ll need two rounds per egg for the eyes. Place the olive rounds on the filling, positioning them slightly toward the top of the dome so there’s room for the whiskers below. For the ears, cut small triangles from the remaining olive pieces or use a tiny pinch of smoked paprika dusted onto the filling in a triangular shape. I’ve found that paprika ears are easier and cuter than olive ears, so that’s my go-to. Lightly dust a tiny triangle shape above each eye with smoked paprika.
Step 7: Add Whiskers
Cut your chives into 1.5-inch pieces. Gently press three chive pieces into the filling on each side of the face, radiating outward like whiskers. They should stick in easily if the filling is soft enough. If they fall out, dab a tiny bit of filling on the end of the chive before inserting.
Step 8: Final Touch
Lightly dust the entire platter with a tiny pinch of smoked paprika for a spooky, rustic look. Serve immediately or refrigerate until ready to serve. These are best enjoyed within a few hours of assembly.
Cooking Tips & Techniques
I’ve made these black cat deviled eggs more times than I care to admit, and I’ve collected a few hard-won lessons along the way. Here’s what I wish I’d known from the start.
The Egg Peeling Struggle is Real
I used to dread peeling hard-boiled eggs because half the white would come off with the shell. The game-changer? Using older eggs. Eggs that are a week or two old have a higher pH level, which makes the shell separate from the white more easily. Also, shocking them in an ice bath immediately after boiling is non-negotiable. I learned this the hard way after a dozen eggs turned into a shredded mess.
Don’t Overmix the Filling
You want the filling smooth, but if you overmix it, it can become gluey and dense. Mash it just until it comes together, then taste and adjust. A little texture from the yolks is actually nice. If your filling seems too thick, add a tiny splash of pickle juice or another splash of vinegar. Too thin? Add another yolk if you have one, or a teaspoon of mayo.
The Eyes Have It
Positioning the olive eyes is the make-or-break moment. Place them too high and the cat looks surprised. Too low and it looks grumpy. I aim for the upper third of the filling dome, slightly angled toward each other for that mischievous cat expression. If you mess up, just scrape the filling back into the bag and try again. No one has to know.
Make Ahead Strategy
You can hard-boil and peel the eggs up to two days in advance. Store them in a sealed container in the fridge. You can also make the filling a day ahead and keep it in a piping bag in the fridge. Assemble the faces right before serving for the freshest look. The chive whiskers will wilt if left too long, so don’t assemble more than an hour ahead.
Variations & Adaptations
These spooky cats are fun as written, but they’re also a great base for customization. Here are a few variations I’ve tried and loved.
Spooky Ghost Deviled Eggs
Skip the cat faces and instead pipe the filling into a ghost shape, tall and wobbly. Use two tiny dots of black sesame seeds for eyes and a tiny sliver of roasted red pepper for a mouth. These are even easier and just as cute for a Halloween party.
Spider Deviled Eggs
Pipe the filling as usual, then place a whole black olive on top for the spider body. Use thin strips of black olive or chives for the legs, eight legs per spider, obviously. These are a little more fiddly but look amazing on a platter.
Clean Eating Version
Swap the mayonnaise for plain Greek yogurt and use a pinch of garlic powder instead of mustard. The filling will be slightly tangier and lighter. Add a teaspoon of finely chopped fresh dill for a herby twist. This version works great if you’re serving these as a healthier snack or appetizer.
Gluten-Free and Keto-Friendly
These are naturally gluten-free and keto-friendly as written. Just double-check your mayonnaise and mustard labels to make sure there’s no hidden gluten. For a lower-carb option, you can skip the chive whiskers and use very thin strips of cucumber peel instead.
Extra Spooky Presentation
Serve these on a black platter or a slate board for maximum Halloween vibes. Add a few edible flowers, a sprinkle of black sesame seeds, or a drizzle of balsamic glaze in a spiderweb pattern around the plate. I once served them alongside my black cat cupcakes for a full cat-themed Halloween spread, and it was a hit.
Serving & Storage Suggestions
These spooky cute deviled eggs are best served chilled or at room temperature, but not straight out of the fridge. Let them sit at room temperature for about 10 minutes before serving to take the chill off. The flavors are more pronounced when they’re not ice-cold.
For presentation, I love arranging them on a dark platter or a wooden board. The contrast between the white eggs and the dark surface makes the cat faces pop. Add a few sprigs of fresh dill or parsley around the edges for color, and maybe a few mini pumpkins or fake spiderwebs for extra Halloween flair.
These pair beautifully with other Halloween appetizers. I love serving them alongside my mummy pumpkin cheesecake bars for a sweet and savory combo. They also go great with a crisp green salad or a bowl of roasted pumpkin soup.
Storage
Store any leftover deviled eggs in an airtight container in the refrigerator for up to 2 days. The chive whiskers will wilt and the paprika ears may smudge a bit, so they won’t look as perfect as when you first made them, but they’ll still taste great. I don’t recommend freezing these, the texture of the egg whites becomes rubbery and unpleasant after thawing.
Reheating
These are served cold, so no reheating needed. If you’ve stored them and they seem a bit dry, you can refresh the filling by adding a tiny smear of mayonnaise on top before serving. The flavors actually meld together nicely after a day in the fridge, so leftovers can be even tastier.
Nutritional Information & Benefits
Each black cat deviled egg half contains approximately 70-80 calories, depending on the exact amount of mayonnaise you use. Here’s a rough breakdown per piece:
- Calories : 75
- Protein : 6g
- Fat : 5g
- Carbohydrates : 1g
- Fiber : 0g
- Sugar : 0g
Eggs are a fantastic source of high-quality protein and contain important nutrients like choline, which supports brain health, and lutein, which is good for your eyes. The healthy fats in the yolks help you absorb fat-soluble vitamins. This recipe is naturally low-carb, gluten-free, and keto-friendly, making it a great option for many different dietary needs.
If you’re watching your cholesterol, you can use a combination of whole eggs and egg whites. Use 3 whole eggs and 3 hard-boiled egg whites for the filling, and use all 12 egg white halves as the vessels. This cuts the fat and cholesterol while keeping the protein high.
Conclusion
These Spooky Cute Black Cat Deviled Eggs are more than just a Halloween appetizer, they’re a conversation starter, a photo op, and a genuinely delicious snack all rolled into one. I love how they bring a little bit of whimsy to the table without sacrificing flavor. The creamy, tangy filling is the same classic deviled egg you already love, just dressed up in a costume that’s way too cute to resist.
I’d love to see how your black cats turn out. Did you give them different expressions? Did you try the ghost or spider variations? Tag me in your photos or drop a comment below. And if you’re planning a full Halloween spread, don’t forget to check out my melting witch sugar cookies and candy corn layered jello cups for a complete menu that’ll have everyone talking.
Happy Halloween, and happy snacking. These little guys are waiting to steal the show, and maybe a few hearts along the way.
Frequently Asked Questions
Can I make these black cat deviled eggs a day ahead?
Yes, you can prep the hard-boiled eggs and the filling up to two days in advance. Store the peeled egg whites and the filling separately in the fridge. Assemble the cat faces no more than an hour before serving to keep the chive whiskers crisp and the paprika ears looking sharp.
How do I get the paprika ears to stay on without smudging?
The key is to pipe the filling into a nice rounded dome first. Then use a tiny dab of filling on your fingertip to lightly moisten the area where you want the ear. Dust the smoked paprika over that spot using a small fine-mesh strainer or your fingertip. The moisture helps the paprika stick without blowing away.
Can I use a different type of olive for the eyes?
Absolutely. While black olives give the most cat-like look, you can use sliced green olives with pimento for a different expression, or even capers for tiny eyes. If you want a spookier look, try using small slices of black truffle or even tiny dots of black sesame paste.
What if I don’t have chives for the whiskers?
No problem. You can use thin strips of green onion, fresh cilantro stems, or even very thin strips of roasted red pepper. For a non-vegetable option, thin strips of nori (seaweed) work great and add a subtle umami flavor that pairs surprisingly well with eggs.
How long will these keep at a party?
These deviled eggs can sit out at room temperature for up to 2 hours safely. After that, any leftovers should be refrigerated. If you’re serving them outdoors on a warm day, keep the platter on ice to maintain food safety. They’re best enjoyed within a few hours of assembly for the freshest appearance.
Pin This Recipe!
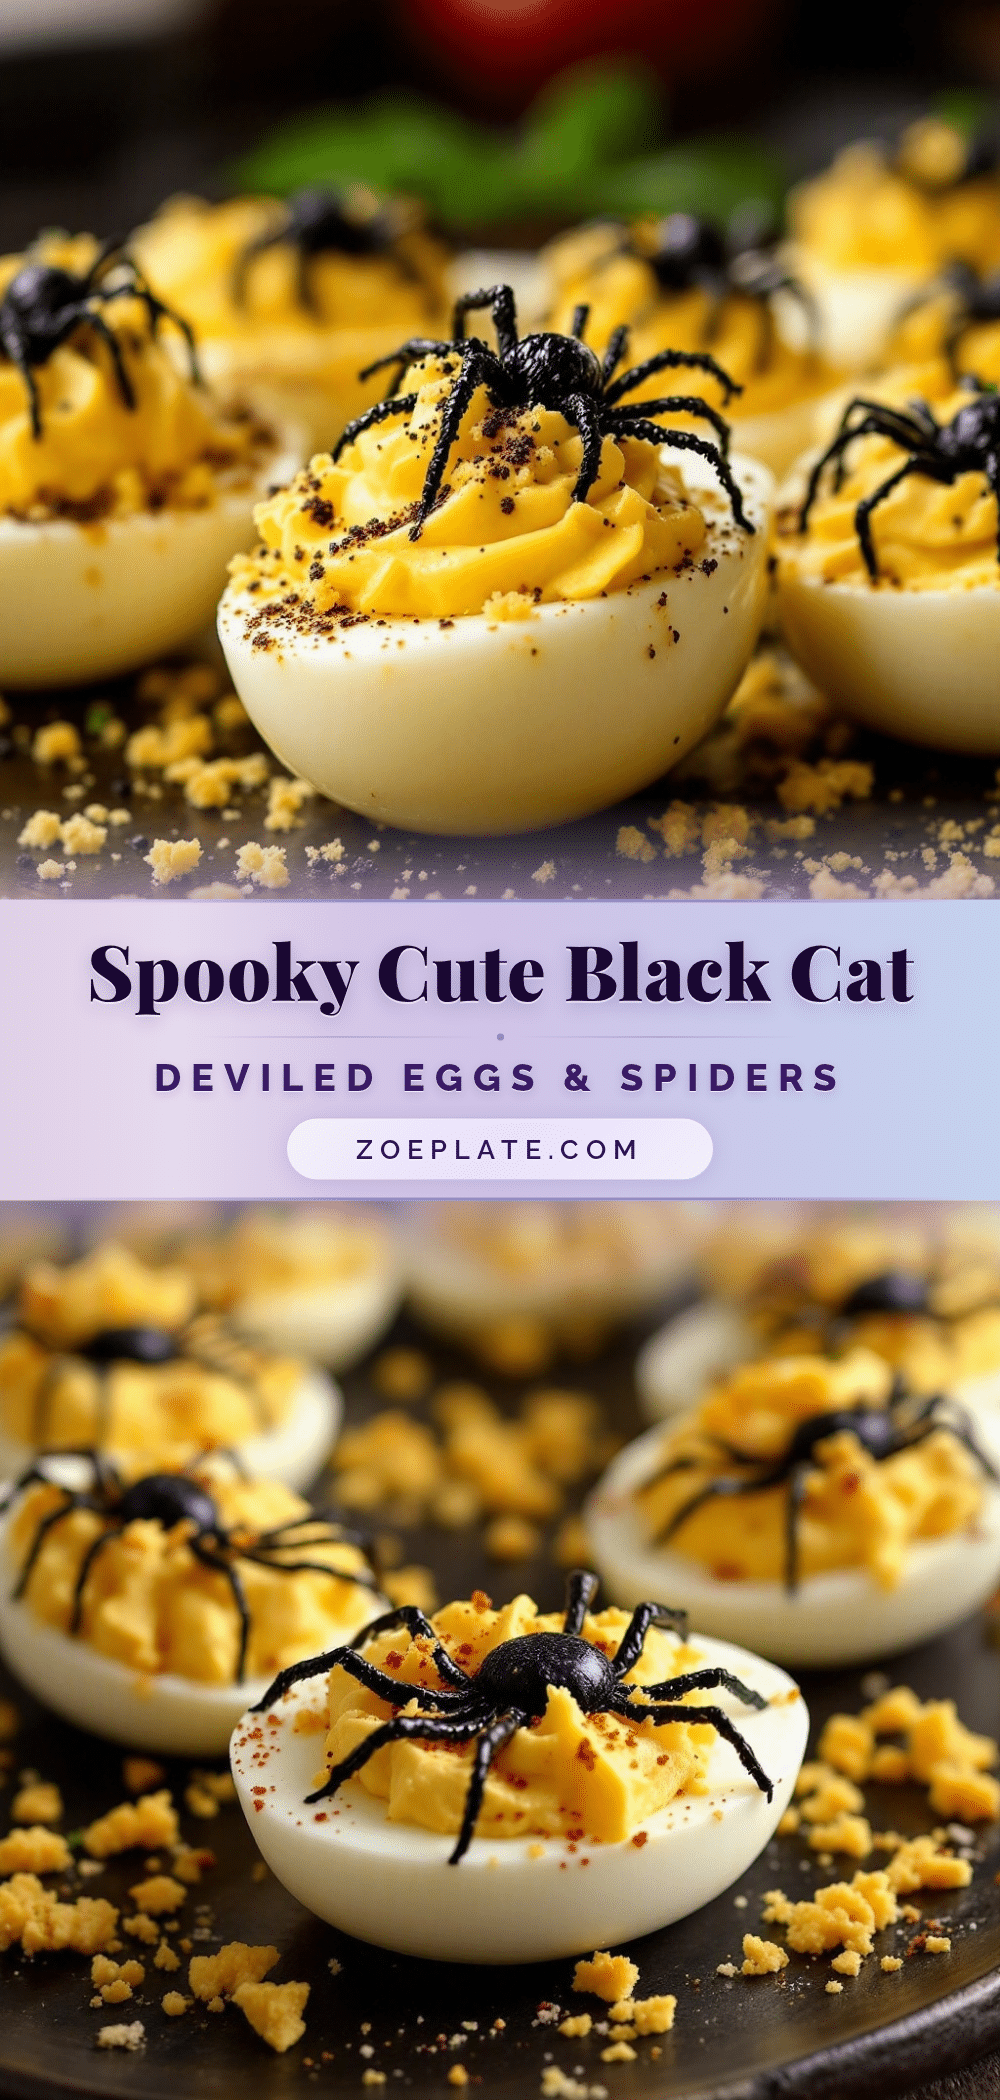
Best Spooky Cute Black Cat Deviled Eggs Recipe
These spooky cute black cat deviled eggs are the perfect Halloween appetizer, combining creamy deviled eggs with adorable cat faces made from olives, chives, and paprika. They’re a crowd-pleaser that’s both fun and delicious.
- Prep Time: 20 minutes
- Cook Time: 10 minutes
- Total Time: 30 minutes
- Yield: 12 deviled egg halves (6 servings of 2 halves each) 1x
- Category: Appetizer
- Cuisine: American
Ingredients
- 6 large eggs
- 3 tablespoons mayonnaise
- 1 teaspoon Dijon mustard
- 1/2 teaspoon white vinegar
- Salt and black pepper to taste
- 1/4 teaspoon smoked paprika
- 6 pitted black olives (jumbo or colossal)
- 12 small fresh chives (about 2 inches long each)
- Extra smoked paprika for dusting
Instructions
- Place eggs in a single layer in a saucepan and cover with cold water by about an inch. Bring to a rolling boil over high heat, then cover, turn off heat, and let sit for exactly 10 minutes.
- Prepare an ice bath with cold water and ice. Transfer eggs to the ice bath using a slotted spoon and let cool for at least 5 minutes.
- Peel the eggs under cold running water, starting from the wider end. Slice each egg in half lengthwise and gently pop out the yolks into a mixing bowl. Arrange the egg white halves on a serving platter, cut side up.
- Add mayonnaise, Dijon mustard, white vinegar, salt, and pepper to the yolks. Mash with a fork until smooth and creamy. Taste and adjust seasoning.
- Spoon the filling into a piping bag or zip-top bag. Snip off the tip and pipe the filling into each egg white half, mounding slightly in the center.
- Slice black olives into rounds. Place two olive rounds on each filled egg for eyes, positioned slightly toward the top of the dome and angled slightly inward.
- For ears, lightly dust a tiny triangle shape above each eye with smoked paprika using a fine-mesh strainer or fingertip.
- Cut chives into 1.5-inch pieces. Gently press three chive pieces into the filling on each side of the face for whiskers.
- Lightly dust the entire platter with a tiny pinch of smoked paprika. Serve immediately or refrigerate until ready to serve.
Notes
Use eggs that are at least a week old for easier peeling. For the paprika ears, lightly moisten the area with a dab of filling before dusting to help the paprika stick. Assemble the cat faces no more than an hour before serving to keep chive whiskers crisp. Store leftovers in an airtight container in the refrigerator for up to 2 days.
Nutrition
- Serving Size: 2 deviled egg halves
- Calories: 150
- Sodium: 250
- Fat: 10
- Saturated Fat: 2.5
- Carbohydrates: 2
- Protein: 12
Keywords: black cat deviled eggs, Halloween deviled eggs, spooky deviled eggs, cute deviled eggs, Halloween appetizer, deviled eggs recipe


