I ruined chicken teriyaki more times than I care to count before I figured out what actually works for meal prep. The first few attempts? Dry, rubbery chicken that tasted sad by Wednesday. The sauce was either too watery or turned into a sticky, burnt mess. Honestly, I almost gave up on the whole idea. But I kept coming back to it because, let’s face it, a good teriyaki bowl is the kind of weeknight dinner that makes you look forward to lunch the next day.
It wasn’t until I stopped trying to copy restaurant-style teriyaki that things clicked. I realized the secret wasn’t in some fancy technique or imported ingredient. It was about how the chicken rested in the sauce, how the rice held up after a few days in the fridge, and—most importantly—what temperature you reheat it at. That’s when these Easy Chicken Teriyaki Meal Prep Bowls with Brown Rice went from “meh” to “I’m actually excited to eat this cold at my desk.”
This recipe isn’t about perfection. It’s about having a genuinely good meal ready when you need it. No more sad desk lunches or scrambling for takeout. Just a bowl that tastes as good on day three as it did on day one. That’s the kind of cooking win I can get behind.
Why You’ll Love This Recipe
These bowls are my go-to for a reason. They solve the biggest meal prep problems without making you spend your whole Sunday in the kitchen. Here’s why they work so well:
- Quick & Easy: From start to finish, you’re looking at about 45 minutes. That’s four lunches sorted in less time than it takes to watch a movie.
- Simple Ingredients: You probably have soy sauce, honey, and garlic in your pantry right now. No weird ingredients that you’ll use once and forget about.
- Perfect for Busy Weeks: Whether you’re heading to the office, packing for a road trip, or just need grab-and-go lunches for the family, these bowls hold up beautifully.
- Crowd-Pleaser: My kids actually ask for these. The sauce is sweet enough for little palates but savory enough for adults. It’s a rare win-win.
- Unbelievably Delicious: The chicken stays juicy, the rice stays fluffy, and that homemade teriyaki glaze? It’s thick, glossy, and clings to every grain of rice. No comparison to the bottled stuff.
What makes this different from every other teriyaki recipe out there is the resting step. Letting the cooked chicken sit in the warm sauce for ten minutes before slicing changes everything. It absorbs flavor like a sponge without getting mushy. Plus, using brown rice instead of white adds a nutty depth that complements the sweet-savory sauce perfectly. It’s comfort food that works for your schedule.
What Ingredients You Will Need
This recipe uses simple, wholesome ingredients to deliver bold flavor and satisfying texture without the fuss. Most of these are pantry staples, which makes it easy to whip up on a whim.
- Boneless, skinless chicken thighs: I prefer thighs over breasts for meal prep. They stay juicier after reheating and have more flavor. About 1.5 pounds works perfectly.
- Soy sauce (or tamari): Use low-sodium if you can. Regular soy sauce works fine, but you might want to cut back on added salt later. I use Kikkoman most of the time.
- Honey: This gives the sauce its signature sweetness and helps create that glossy finish. Local honey adds a nice floral note if you have it.
- Rice vinegar: A tablespoon balances the sweetness with a gentle tang. Don’t skip it—it makes the flavors sing.
- Fresh garlic: Three cloves, minced. Pre-minced jarred garlic works in a pinch, but fresh really makes a difference here.
- Fresh ginger: About a one-inch piece, grated. I keep a knob in the freezer and grate it straight from frozen—no peeling needed.
- Cornstarch: A teaspoon mixed with water creates a slurry that thickens the sauce to that perfect glaze consistency.
- Sesame oil: Just a teaspoon for toasting the garlic and ginger. It adds a subtle nutty aroma that you’ll miss if you skip it.
- Brown rice: Long-grain or short-grain both work. I like short-grain for its chewy texture. Cook according to package directions, about 1 cup dry.
- Broccoli florets: About 2 cups. They steam beautifully in the microwave or alongside the chicken.
- Carrots: Two medium carrots, julienned or sliced into ribbons. They add color and crunch.
- Edamame (shelled): A half cup adds protein and a pop of green. Frozen works perfectly—just thaw and toss in.
- Sesame seeds: For garnish. Toasted white or black seeds add a nice finishing touch.
- Green onions: Two or three, sliced on the diagonal. They add freshness and color.
Ingredient Tips
For the best texture, look for chicken thighs that are evenly thick. If they’re uneven, pound them gently to about ¾-inch thickness. For the brown rice, rinsing it before cooking removes excess starch and prevents it from getting gummy. I use Lundberg brand brown rice—it holds up really well over several days.
If you’re gluten-free, swap the soy sauce for tamari or coconut aminos. Coconut aminos are slightly sweeter, so you might want to reduce the honey by a tablespoon. For a lower-sugar option, use half the honey and add a splash of orange juice for sweetness.
Equipment Needed
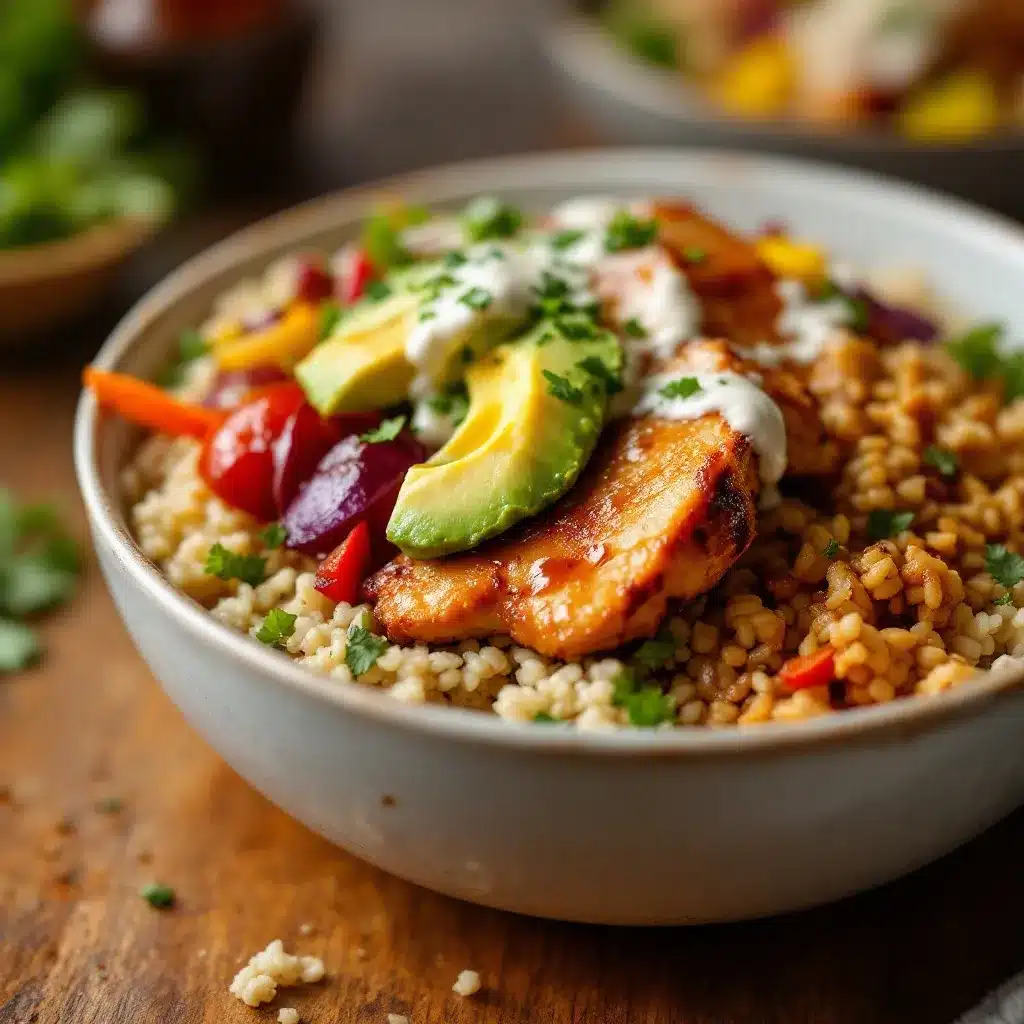
You don’t need a fancy kitchen to make these bowls. Here’s what you’ll need:
- Large skillet or wok: A 12-inch non-stick skillet works best. Cast iron works too, but watch the heat—it can burn the sauce faster.
- Medium saucepan: For cooking the brown rice. A pot with a tight-fitting lid is key.
- Cutting board and sharp knife: A good chef’s knife makes quick work of slicing chicken and veggies.
- Measuring cups and spoons: For accuracy, especially with the soy sauce and honey.
- Small bowl: For mixing the cornstarch slurry.
- Meal prep containers: Glass containers with airtight lids are my favorite. They don’t stain and reheat evenly.
- Steamer basket or microwave-safe bowl: For steaming the broccoli. A steamer basket gives better texture, but the microwave is faster.
If you don’t have a wok, a large non-stick skillet is a perfect substitute. I actually prefer my skillet for this recipe because the flat surface lets the sauce reduce more evenly. For a budget-friendly option, a basic non-stick pan from a local kitchen store works great. Just make sure it’s at least 10 inches wide.
Preparation Method
Let’s get cooking. This whole process takes about 45 minutes, and most of that is hands-off time while the rice cooks or the chicken rests.
- Start the brown rice: Rinse 1 cup of brown rice under cold water until the water runs clear. Add it to a medium saucepan with 2 cups of water and a pinch of salt. Bring to a boil, then reduce heat to low, cover, and simmer for 40-45 minutes. Don’t peek! Let it rest covered for 5 minutes after cooking, then fluff with a fork.
- Make the teriyaki sauce: While the rice cooks, whisk together ½ cup low-sodium soy sauce, ¼ cup honey, 2 tablespoons rice vinegar, 3 minced garlic cloves, and 1 tablespoon grated ginger in a small bowl. Set aside.
- Prep the chicken: Pat 1.5 pounds of chicken thighs dry with paper towels. Season both sides with a pinch of salt and black pepper. Heat 1 teaspoon sesame oil in a large skillet over medium-high heat.
- Sear the chicken: Place the chicken thighs in the hot skillet. Cook for 5-6 minutes per side, until golden brown and cooked through (internal temperature should reach 165°F). Don’t overcrowd the pan—work in batches if needed. Transfer to a plate and tent with foil.
- Make the glaze: Reduce heat to medium. Pour the teriyaki sauce into the same skillet. In a small bowl, mix 1 teaspoon cornstarch with 2 tablespoons cold water until smooth. Stir the slurry into the sauce. Let it simmer for 2-3 minutes, stirring constantly, until thickened and glossy.
- Rest the chicken in sauce: Slice the chicken into bite-sized pieces. Return them to the skillet with the sauce. Toss to coat, then let everything rest for 10 minutes off the heat. This step is non-negotiable—it’s what makes the chicken extra flavorful and juicy.
- Steam the veggies: While the chicken rests, steam the broccoli florets for 3-4 minutes until bright green and tender-crisp. You can do this in a steamer basket over boiling water or in the microwave with a tablespoon of water for 2 minutes.
- Assemble the bowls: Divide the brown rice among four meal prep containers. Top with an equal portion of the teriyaki chicken, broccoli, julienned carrots, and edamame. Drizzle any remaining sauce from the skillet over everything.
- Garnish and seal: Sprinkle with sesame seeds and sliced green onions. Let the bowls cool completely before sealing the lids. This prevents condensation from making the rice soggy.
Sensory Cues
When the chicken is searing, listen for that satisfying sizzle—if it’s too quiet, the pan isn’t hot enough. The sauce should bubble gently as it thickens, and you’ll see it coat the back of a spoon. When it’s ready, it should look like a glossy, amber syrup. The broccoli should be bright green, not olive-colored, which means it’s perfectly cooked.
Cooking Tips & Techniques
I learned most of these the hard way, so you don’t have to. Here are the tricks that made these bowls go from good to great.
Don’t skip the cornstarch slurry. I tried making the sauce without it once, thinking it would reduce on its own. It didn’t. The sauce was watery and ran right off the chicken. The slurry gives it that restaurant-quality thickness that clings to every bite. Just make sure you mix it thoroughly before adding it to the pan—no one wants a lump of raw cornstarch in their lunch.
Let the chicken rest twice. First, after searing, let it rest on the plate for a few minutes. This keeps the juices inside. Second, after slicing and tossing in the sauce, let it rest again for those crucial ten minutes. This double-rest method is the difference between juicy chicken and dry chicken, especially after reheating.
Toast your sesame seeds. I used to skip this step because I was impatient. Big mistake. Toasting sesame seeds in a dry pan over medium heat for 2-3 minutes brings out their nutty flavor and makes them crunchier. Watch them closely—they burn fast.
Batch cook your rice. Brown rice takes longer than white, so I often cook a double batch and freeze half. It reheats beautifully in the microwave with a damp paper towel on top. This cuts your prep time in half on busy Sundays.
Use a meat thermometer. Chicken thighs are forgiving, but I still check the temperature. 165°F is the magic number. Pull them off the heat right at that point—any higher and they start drying out.
Variations & Adaptations
This recipe is a great base for experimentation. Here are a few ways I’ve changed it up depending on what I have in the fridge.
Spicy Teriyaki: Add 1-2 teaspoons of sriracha or red pepper flakes to the sauce. I love this version when I need a little kick to wake up my taste buds. The heat balances the sweetness perfectly.
Vegetarian Version: Swap the chicken for extra-firm tofu or tempeh. Press the tofu for 30 minutes to remove excess moisture, then cube it and pan-fry until golden. Use the same sauce and cooking method. It’s just as satisfying.
Low-Carb Option: Skip the brown rice and serve the teriyaki chicken over cauliflower rice or a bed of mixed greens. I’ve done this for a lighter lunch, and it’s surprisingly filling. The sauce works great with veggies.
Different Veggies: Use whatever vegetables you have on hand. Snap peas, bell peppers, zucchini, or snow peas all work well. I once added roasted sweet potatoes, and the sweetness paired beautifully with the teriyaki sauce.
Change the Protein: Chicken thighs are my go-to, but chicken breasts, pork tenderloin, or even salmon work great. Adjust cooking times accordingly—salmon only needs about 4 minutes per side.
If you’re looking for another easy meal prep idea, these Easy Teriyaki Chicken Rice Balls use a similar flavor profile and are perfect for kids’ lunches. And for a completely different but equally satisfying bowl, try these Quick Korean Bulgogi Ground Beef Rice Bowls.
Serving & Storage Suggestions
These bowls are designed to be eaten cold or reheated, so they’re incredibly versatile.
Serving Temperature: I actually prefer these bowls cold, straight from the fridge. The flavors meld together overnight, and the cold rice has a nice chewy texture. If you prefer them warm, microwave for 2-3 minutes, stirring halfway through. Add a splash of water or extra soy sauce if the rice seems dry.
Presentation: When serving to guests, arrange the components in neat sections rather than mixing everything together. It looks more appealing and lets everyone customize their bites. A sprinkle of extra sesame seeds and green onions on top makes it look restaurant-worthy.
Complementary Dishes: A simple miso soup or a side of pickled vegetables pairs beautifully. I also love serving these bowls with a side of Fresh Creamy Cucumber Dill Greek Yogurt Salad for a cool, refreshing contrast.
Storage: Store in airtight glass containers in the refrigerator for up to 4 days. Do not freeze—the rice and vegetables will become mushy upon thawing. If you want to freeze, freeze the chicken and sauce separately from the rice and veggies.
Reheating Tips: For best results, remove the lid and microwave on medium power for 2 minutes, then stir and microwave for another minute. If the chicken seems dry, add a teaspoon of water or extra teriyaki sauce before reheating. The flavors actually deepen over time, so day-two bowls are often even better than day-one.
Nutritional Information & Benefits
Here’s an estimated breakdown per serving (one bowl, assuming four servings):
- Calories: ~480
- Protein: 35g
- Carbohydrates: 52g
- Fat: 14g
- Fiber: 6g
- Sugar: 18g
Health Benefits: Brown rice is a whole grain that provides sustained energy thanks to its fiber content. Chicken thighs offer a good dose of protein and essential B vitamins. Broccoli and carrots add vitamins A, C, and K, plus antioxidants. Edamame brings plant-based protein and fiber. This bowl is a balanced meal that keeps you full and focused.
Dietary Considerations: This recipe is dairy-free and nut-free. For a gluten-free version, use tamari or coconut aminos. For a lower-sugar option, reduce the honey to 2 tablespoons and add a splash of orange juice. It’s not low-carb, but it’s a satisfying, nutrient-dense meal that fits into most balanced eating plans.
Allergens: Contains soy (from soy sauce) and sesame (from sesame oil and seeds). If you have a soy allergy, use coconut aminos and skip the sesame oil—use avocado oil instead.
For another balanced, healthy meal option, check out these Healthy Diabetes-Friendly Sheet Pan Chicken recipes. They’re equally easy and great for meal prep.
Conclusion
These Easy Chicken Teriyaki Meal Prep Bowls with Brown Rice are proof that meal prep doesn’t have to be boring or complicated. They’re flavorful, filling, and actually get better as the week goes on. The sauce is perfectly balanced—sweet, savory, and just a little tangy—and the chicken stays juicy even after a few days in the fridge.
I love how versatile this recipe is. You can swap in whatever vegetables you have, adjust the spice level, or change up the protein. It’s a template for good eating, not a rigid set of rules. And honestly, knowing I have a delicious lunch waiting for me makes the workweek feel a little lighter.
If you try these bowls, I’d love to hear how they turned out. Drop a comment below and let me know what variations you tried. Did you add extra spice? Swap in tofu? Share your creations—I’m always looking for new ideas! And if you’re looking for more easy meal prep inspiration, don’t miss these Best Mini Turkey Meatball Subs—they’re another freezer-friendly winner.
Happy cooking, and here’s to never having a sad desk lunch again!
Frequently Asked Questions
Can I use chicken breasts instead of thighs?
Absolutely. Chicken breasts work fine, but they can dry out more easily. To keep them juicy, pound them to an even thickness and cook to exactly 165°F. Let them rest in the sauce for the full 10 minutes—this helps keep them moist.
How long do these bowls last in the fridge?
They stay fresh for up to 4 days in airtight glass containers. The flavors actually improve after a day or two as the sauce soaks into the rice. After day 4, the vegetables start to lose their texture, so I recommend eating them within that window.
Can I freeze these meal prep bowls?
I don’t recommend freezing the assembled bowls because the rice and vegetables become mushy. However, you can freeze the chicken and sauce separately for up to 3 months. Thaw overnight in the fridge, then reheat and serve with freshly cooked rice and veggies.
How do I reheat the bowls without drying out the chicken?
The key is to add a splash of water or extra teriyaki sauce before microwaving. Cover the bowl with a damp paper towel and microwave on medium power for 2-3 minutes, stirring halfway. This creates steam that keeps the chicken moist.
Can I make this recipe gluten-free?
Yes! Simply swap the soy sauce for tamari or coconut aminos. Both are gluten-free and work beautifully in this recipe. Just note that coconut aminos are slightly sweeter, so you might want to reduce the honey by a tablespoon.
Pin This Recipe!
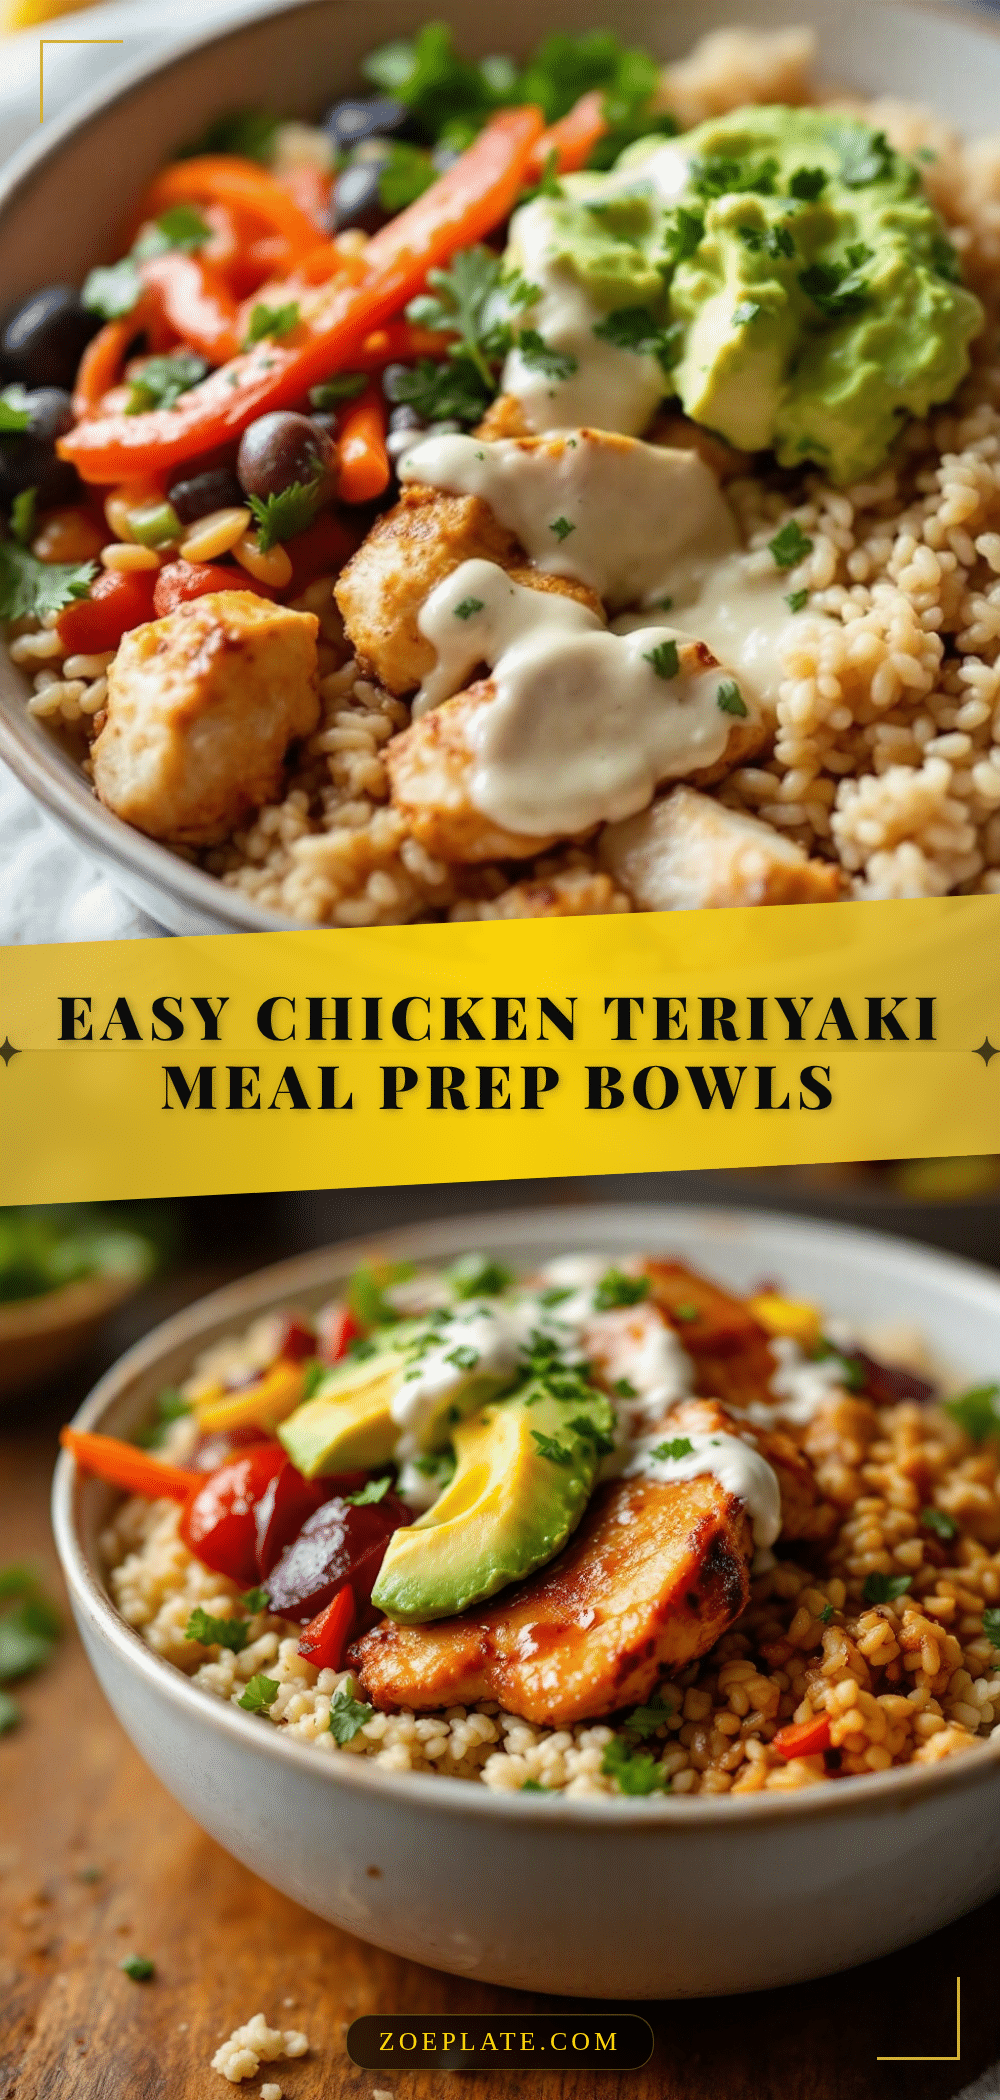
Easy Chicken Teriyaki Meal Prep Bowls with Brown Rice
These Easy Chicken Teriyaki Meal Prep Bowls with Brown Rice are flavorful, filling, and actually get better as the week goes on. The sauce is perfectly balanced—sweet, savory, and just a little tangy—and the chicken stays juicy even after a few days in the fridge.
- Prep Time: 15 minutes
- Cook Time: 30 minutes
- Total Time: 45 minutes
- Yield: 4 servings 1x
- Category: Main Course
- Cuisine: Japanese
Ingredients
- 1.5 pounds boneless, skinless chicken thighs
- 1/2 cup low-sodium soy sauce (or tamari)
- 1/4 cup honey
- 2 tablespoons rice vinegar
- 3 cloves fresh garlic, minced
- 1 tablespoon fresh ginger, grated
- 1 teaspoon cornstarch
- 2 tablespoons cold water
- 1 teaspoon sesame oil
- 1 cup brown rice (dry)
- 2 cups broccoli florets
- 2 medium carrots, julienned
- 1/2 cup shelled edamame (frozen, thawed)
- 1 tablespoon sesame seeds (for garnish)
- 2–3 green onions, sliced (for garnish)
- Salt and black pepper to taste
Instructions
- Start the brown rice: Rinse 1 cup of brown rice under cold water until the water runs clear. Add it to a medium saucepan with 2 cups of water and a pinch of salt. Bring to a boil, then reduce heat to low, cover, and simmer for 40-45 minutes. Don’t peek! Let it rest covered for 5 minutes after cooking, then fluff with a fork.
- Make the teriyaki sauce: While the rice cooks, whisk together 1/2 cup low-sodium soy sauce, 1/4 cup honey, 2 tablespoons rice vinegar, 3 minced garlic cloves, and 1 tablespoon grated ginger in a small bowl. Set aside.
- Prep the chicken: Pat 1.5 pounds of chicken thighs dry with paper towels. Season both sides with a pinch of salt and black pepper. Heat 1 teaspoon sesame oil in a large skillet over medium-high heat.
- Sear the chicken: Place the chicken thighs in the hot skillet. Cook for 5-6 minutes per side, until golden brown and cooked through (internal temperature should reach 165°F). Don’t overcrowd the pan—work in batches if needed. Transfer to a plate and tent with foil.
- Make the glaze: Reduce heat to medium. Pour the teriyaki sauce into the same skillet. In a small bowl, mix 1 teaspoon cornstarch with 2 tablespoons cold water until smooth. Stir the slurry into the sauce. Let it simmer for 2-3 minutes, stirring constantly, until thickened and glossy.
- Rest the chicken in sauce: Slice the chicken into bite-sized pieces. Return them to the skillet with the sauce. Toss to coat, then let everything rest for 10 minutes off the heat. This step is non-negotiable—it’s what makes the chicken extra flavorful and juicy.
- Steam the veggies: While the chicken rests, steam the broccoli florets for 3-4 minutes until bright green and tender-crisp. You can do this in a steamer basket over boiling water or in the microwave with a tablespoon of water for 2 minutes.
- Assemble the bowls: Divide the brown rice among four meal prep containers. Top with an equal portion of the teriyaki chicken, broccoli, julienned carrots, and edamame. Drizzle any remaining sauce from the skillet over everything.
- Garnish and seal: Sprinkle with sesame seeds and sliced green onions. Let the bowls cool completely before sealing the lids. This prevents condensation from making the rice soggy.
Notes
Let the chicken rest twice: first after searing, then after tossing in sauce for 10 minutes. This keeps it juicy. For gluten-free, use tamari or coconut aminos. For lower sugar, reduce honey to 2 tablespoons and add a splash of orange juice. Toasted sesame seeds add extra flavor.
Nutrition
- Serving Size: 1 bowl
- Calories: 480
- Sugar: 18
- Sodium: 800
- Fat: 14
- Saturated Fat: 3
- Carbohydrates: 52
- Fiber: 6
- Protein: 35
Keywords: chicken teriyaki, meal prep bowls, brown rice, easy dinner, healthy lunch, teriyaki chicken, meal prep


