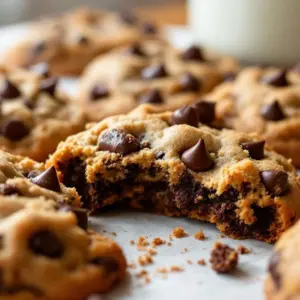
I was standing there in my pajamas, barefoot on the cold kitchen tile, staring at a bowl of cookie dough that looked suspiciously dry. The clock said 7:15 PM. Dinner was a mess, the kids were asking for snacks, and I had forgotten to buy chocolate chips. I rummaged through the pantry, finding a half-empty bag of semi-sweet chunks and a jar of peanut butter that had separated into oil and solid. It was a disaster waiting to happen, but honestly? It turned into the best thing I made all week.
That was the birth of my no-chill chocolate chip cookies. I didn’t have time to chill the dough. I didn’t have the energy to wait. So I improvised. I added a splash of milk to rehydrate the flour and tossed in the peanut butter for richness. The result? Cookies that were crispy on the edges, soft in the middle, and chewy enough to make my husband ask for seconds before he even sat down at the table. You know how it is when you’re running on fumes and bad decisions. This recipe saves you from that exact scenario.
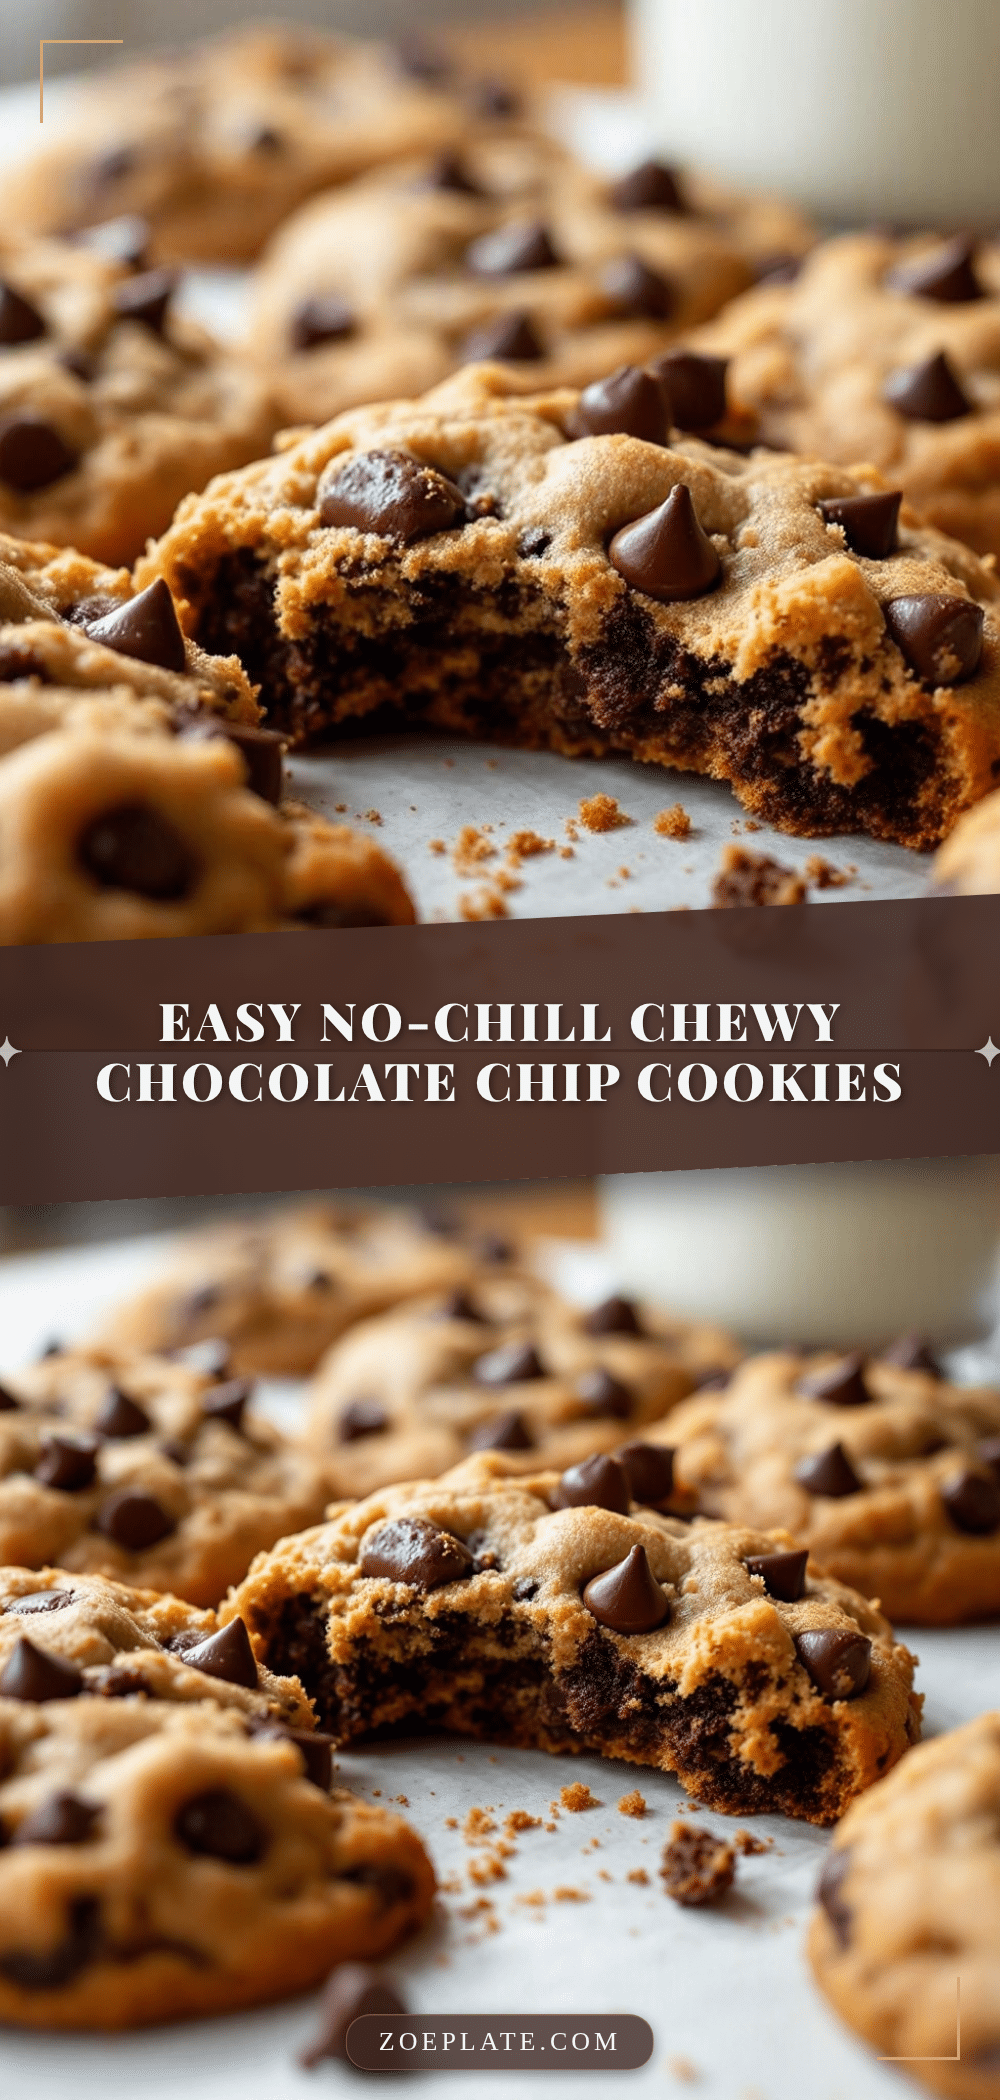
Now, I make these every other week. Not because I’m lazy, but because they are genuinely good. They have that perfect snap when you break them open, followed by that gooey center that sticks to your teeth in the best way possible. It’s not fancy. It’s not complicated. It’s just real food made by a real person who sometimes forgets to buy ingredients. But let’s face it, that’s when the best cooking happens. You’re forced to get creative, and sometimes, you stumble onto a new favorite.
I still remember the first batch. They spread more than I wanted, creating these lacy, crispy edges that were unlike any standard cookie. I was worried they’d be too thin, but they held up. The texture was dense and chewy, not cakey. That’s the secret. By skipping the chill, you’re allowing the butter to coat the flour differently, creating a denser crumb. It’s a small change with a huge impact. And now, I can’t imagine making cookies any other way.
Why You’ll Love This Recipe
Let’s be honest for a second. Most cookie recipes demand too much of your time. You need to soften butter, chill dough for hours, and worry about precise temperatures. This recipe is different. It’s built for real life. I’ve tested this version over dozens of batches, tweaking the ratios until the texture was perfect. It’s not just a quick fix; it’s a genuinely delicious treat that rivals anything you’d buy at a bakery.
- Quick & Easy: This comes together in under 15 minutes. No chilling required. You can go from pantry to plate in about 25 minutes total, making it perfect for those unexpected after-school snack rushes or late-night cravings.
- Simple Ingredients: You likely already have everything in your kitchen. Flour, sugar, butter, eggs, and chocolate chips. No fancy flours or hard-to-find extracts. Just honest, wholesome ingredients that work together beautifully.
- Perfect for Impromptu Gatherings: Whether it’s a last-minute playdate, a sudden guest arrival, or just a cozy night in, these cookies fit the bill. They’re also great for meal prep if you bake a double batch and freeze them.
- Crowd-Pleaser: I’ve served these to picky eaters, chocolate lovers, and health-conscious friends (who didn’t even realize they were until I told them). They always get rave reviews because the flavor is balanced and satisfying.
- Unbelievably Delicious: The texture is next-level. Crispy edges that shatter slightly, a soft center that’s chewy rather than cakey, and pockets of melted chocolate. It’s comfort food reimagined for speed.
What makes this recipe stand out is the technique. By using a mix of brown and white sugar, you get that chewiness that comes from the molasses in the brown sugar. Skipping the chill allows the cookies to spread more, creating those beautiful lacy edges. It’s a simple tweak, but it changes everything. This isn’t just another version of a classic; it’s the version that works when you’re busy, tired, or just want something good right now.
I’ve had friends tell me they stopped buying store-bought cookies because of this recipe. It’s that good. It taps into that deep, soul-soothing satisfaction of warm, sweet comfort. It’s perfect for impressing guests without stress, or just turning a simple Tuesday evening into something memorable. You’ll find yourself making these repeatedly, not out of obligation, but because you genuinely look forward to them.
What Ingredients You Will Need
This recipe relies on simple, wholesome ingredients to deliver bold flavor and satisfying texture without the fuss. The key is quality over quantity. Since there are fewer ingredients, each one plays a critical role. I recommend using unsalted butter so you can control the saltiness, and high-quality chocolate chips make a huge difference in the final taste. You don’t need anything fancy, but you do need the basics done right.
For the Dough
- Unsalted butter, softened: ½ cup (1 stick or 113g). Softened means it yields to gentle pressure but isn’t melted. This helps create the right texture.
- Granulated white sugar: ½ cup (100g). Provides structure and crispness to the edges.
- Light brown sugar, packed: ½ cup (100g). Adds moisture and chewiness due to the molasses content.
- Large egg: 1 large egg, room temperature. Helps bind the dough together.
- Vanilla extract: 1 teaspoon. Pure vanilla is best here; imitation can taste chemical.
- All-purpose flour: 1 ½ cups (190g). Don’t use cake flour; you need the protein in AP flour for chew.
- Baking soda: ½ teaspoon. Essential for browning and spread.
- Salt: ½ teaspoon. Balances the sweetness and enhances flavor.
For the Mix-Ins
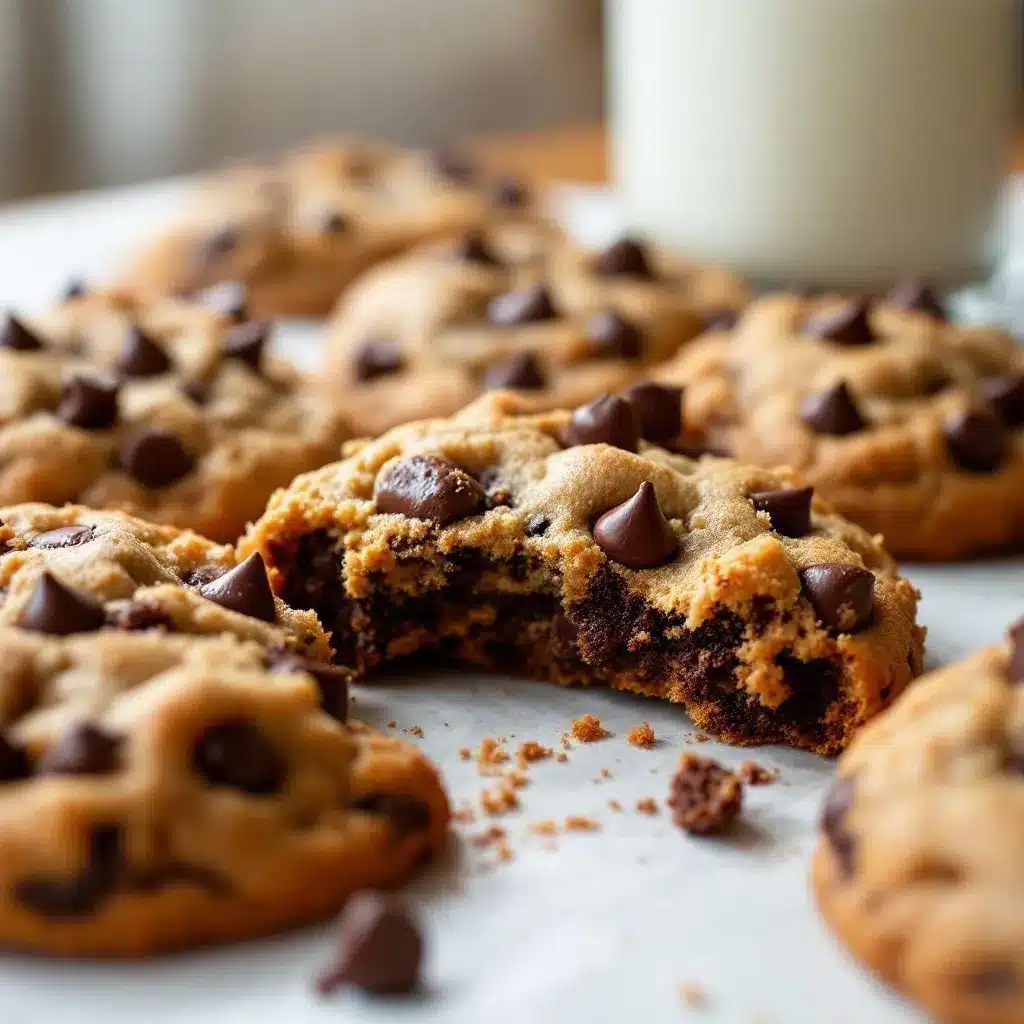
- Semi-sweet chocolate chips: 1 cup (170g). I prefer Guittard or Ghirardelli for their rich cocoa flavor and consistent melt.
- Optional: Sea salt flakes: For sprinkling on top after baking. Adds a nice contrast.
Tip: If you’re out of brown sugar, you can make a substitute by mixing white sugar with a teaspoon of molasses, though the texture might be slightly less chewy. Also, ensure your egg is room temperature; cold eggs can shock the butter and make the dough grainy.
Equipment Needed
You don’t need much to make these cookies, which is part of their charm. A large mixing bowl is essential—I use a glass one because I can see through it and ensure all the sugar is creamed properly. A hand mixer or a sturdy spoon works fine for mixing; I prefer a spoon for this recipe because it prevents overmixing, which can lead to tough cookies.
A baking sheet is necessary. I use rimless half-sheet pans because they distribute heat evenly. If you only have rimmed pans, just make sure you aren’t overcrowding them. Parchment paper is your best friend here. It prevents sticking and makes cleanup a breeze. I never bake these directly on the metal, as the bottoms can burn easily.
A cookie scoop is optional but highly recommended for uniform size. If you don’t have one, use a tablespoon. Uniformity ensures they bake evenly. Finally, a cooling rack is important. Letting them cool on the pan can cause them to continue cooking and become dry. A wire rack allows air to circulate, keeping them chewy.
Preparation Method
Getting started is the easiest part. First, preheat your oven to 350°F (175°C). Line your baking sheets with parchment paper. This step is non-negotiable for easy cleanup and even baking.
In a large bowl, combine the softened butter, granulated sugar, and brown sugar. If you’re using a spoon, mix vigorously for about 2-3 minutes until the mixture looks pale and creamy. If you’re using a mixer, beat on medium speed for 2 minutes. This creaming process incorporates air, which helps the cookies rise slightly.
Add the egg and vanilla extract to the butter mixture. Mix until just combined. Do not overmix here; you want it smooth but not fluffy. Overmixing at this stage can lead to tough cookies. Scrape down the sides of the bowl with a spatula to ensure everything is incorporated.
In a separate small bowl, whisk together the flour, baking soda, and salt. This ensures the leavening agent is evenly distributed. Now, add the dry ingredients to the wet ingredients. Stir gently with a spoon or mix on low speed until the flour disappears. It’s okay if there are small streaks of flour at this point; they will disappear as you add the chocolate chips.
Fold in the chocolate chips. Use a spatula and gently lift the dough from the bottom, turning it over until the chips are evenly distributed. Be careful not to crush the chips. Once mixed, the dough should be soft and slightly sticky.
Scoop tablespoon-sized portions of dough onto the prepared baking sheets, spacing them about 2 inches apart. They will spread, so give them room. Bake for 9-11 minutes. You want the edges to be golden brown but the centers to still look slightly underbaked. They will continue to cook on the hot pan after you remove them.
Remove from the oven and let them cool on the baking sheet for 5 minutes. This resting period allows them to set. Then, transfer them to a wire rack to cool completely. Enjoy warm for the best texture!
How do I know when they are done?
The edges should be firm and golden, but the center should still look soft and slightly shiny. If they look fully set in the middle, they will be overbaked. Trust your eyes, not the clock.
Why does my dough spread so much?
Since this is a no-chill recipe, the butter is softer, leading to more spread. This is normal and desired for this specific texture. If you prefer thicker cookies, chill the dough for 30 minutes before baking, but expect a slightly different texture.
Cooking Tips & Techniques
One of the biggest mistakes people make with cookies is overmixing the flour. Once you add the dry ingredients, mix only until you no longer see streaks of flour. Overmixing develops gluten, which leads to tough, dense cookies rather than chewy ones. I’ve learned this the hard way after a batch that tasted like rubber.
Another tip is to use room temperature ingredients. Cold eggs or butter can cause the mixture to separate, resulting in a grainy texture. If you forget to take the butter out, you can soften it quickly by microwaving it in 5-second bursts, but be careful not to melt it.
Timing is everything. Ovens vary, so start checking your cookies at 9 minutes. If your oven runs hot, you might need to reduce the time slightly. It’s better to underbake slightly than overbake. The residual heat will finish the cooking process.
For consistent results, use a cookie scoop. It ensures each cookie is the same size, so they bake evenly. If you scoop by hand, try to make them uniform. Also, don’t overcrowd the pan. Cookies need space to spread. If they touch, they’ll bake into one giant cookie.
Finally, let them cool on the pan for at least 5 minutes. This allows the structure to set. If you move them too soon, they might break. Patience pays off in chewy, perfect cookies.
Variations & Adaptations
While the classic chocolate chip version is my go-to, this dough is versatile. You can easily adapt it to suit different tastes or dietary needs. Here are a few variations I’ve tried and loved.
For a nutty twist, add ½ cup of chopped walnuts or pecans. The crunch complements the chewiness perfectly. If you’re allergic to nuts, you can skip them or add toasted oats for texture. I often add a handful of oats to make them heartier.
For a chocolate lover’s dream, swap half of the chocolate chips for chopped chocolate bars. The irregular chunks create pockets of intense chocolate flavor. You can also add a tablespoon of cocoa powder to the dry ingredients for a double-chocolate version, though you may need to add a splash of milk to adjust the consistency.
If you’re looking for a festive twist, add 1 teaspoon of pumpkin pie spice and ½ cup of white chocolate chips. It’s like a pumpkin cookie in cookie form. For a savory-sweet option, try adding chopped rosemary and dark chocolate. It’s an unusual combination that works surprisingly well.
For a gluten-free option, use a 1:1 gluten-free flour blend. The texture might be slightly more crumbly, but it’s still delicious. Just ensure the blend contains xanthan gum for structure.
Serving & Storage Suggestions
These cookies are best served warm, right out of the oven. They pair beautifully with a cold glass of milk or a hot cup of coffee. For a more sophisticated pairing, try them with a spiced cider or a robust espresso. The richness of the coffee complements the chocolate perfectly.
If you have leftovers, store them in an airtight container at room temperature for up to 5 days. To keep them soft, add a slice of bread to the container. The cookies will absorb moisture from the bread, staying fresh longer. For longer storage, freeze the baked cookies in a freezer-safe bag for up to 3 months. Thaw at room temperature before serving.
You can also freeze the dough. Scoop the dough onto a baking sheet and freeze until solid, then transfer to a bag. Bake directly from frozen, adding 1-2 minutes to the baking time. This is great for having fresh cookies on demand.
Reheating is simple. Microwave a cookie for 10-15 seconds to restore its softness. The center will become gooey and warm, perfect for a quick snack.
Nutritional Information & Benefits
While these cookies are a treat, they’re not entirely devoid of nutrition. Butter provides fat-soluble vitamins, and eggs offer protein and choline. Chocolate contains antioxidants, especially dark chocolate. However, they are still high in sugar and calories, so enjoy in moderation.
Each cookie contains approximately 150-180 calories, depending on size. They are not gluten-free unless you use gluten-free flour. They contain dairy and eggs, so they are not suitable for vegans or those with allergies. Always check labels if you have specific dietary needs.
I view these as a comfort food, not a health food. They bring joy and satisfaction, which is important for mental well-being. Balance is key. Enjoy them as part of a balanced diet, and don’t feel guilty about it. Life is short; eat the cookie.
Conclusion
This no-chill chocolate chip cookie recipe is a game-changer for busy cooks. It’s simple, delicious, and reliable. I love it because it fits into my chaotic life without adding stress. It’s proof that you don’t need perfection to make something amazing.
I encourage you to try this recipe and make it your own. Add your favorite mix-ins, adjust the sweetness, or share them with friends. Cooking is about experimentation and joy. I hope these cookies bring you the same happiness they’ve brought me.
Please leave a comment below with your results or variations. I love hearing from you! Share your photos on social media and tag me. I’d love to see your creations. Thanks for reading, and happy baking!
Frequently Asked Questions
Can I use margarine instead of butter?
It’s not recommended. Butter provides flavor and the right fat content for texture. Margarine has higher water content, which can lead to spread and less flavor.
Why are my cookies flat?
This is normal for a no-chill recipe. If they are too flat, ensure you aren’t over-creaming the butter and sugar, and check that your baking soda is fresh. Chilling the dough for 30 minutes can also help reduce spread.
Can I double the recipe?
Yes, you can double the recipe. Just ensure you have enough baking sheet space. Bake in batches to avoid overcrowding.
How do I store the dough?
Store the dough in an airtight container in the refrigerator for up to 3 days. You can also freeze it for up to 3 months. Bake directly from frozen, adding 1-2 minutes to the baking time.
Can I use dark chocolate chips?
Absolutely. Dark chocolate chips will provide a richer, less sweet flavor. You can also use a mix of dark and semi-sweet chips for balance.
Pin This Recipe!
Easy No-Chewy Chocolate Chip Cookies: No-Chill Recipe
A quick, no-chill chocolate chip cookie recipe that comes together in under 15 minutes. These cookies feature crispy edges, a soft chewy center, and require simple pantry ingredients.
- Prep Time: 15 minutes
- Cook Time: 10 minutes
- Total Time: 25 minutes
- Yield: Approximately 12-15 cookies 1x
- Category: Dessert
- Cuisine: American
Ingredients
- 1/2 cup (1 stick or 113g) unsalted butter, softened
- 1/2 cup (100g) granulated white sugar
- 1/2 cup (100g) light brown sugar, packed
- 1 large egg, room temperature
- 1 teaspoon vanilla extract
- 1 1/2 cups (190g) all-purpose flour
- 1/2 teaspoon baking soda
- 1/2 teaspoon salt
- 1 cup (170g) semi-sweet chocolate chips
Instructions
- Preheat oven to 350°F (175°C) and line baking sheets with parchment paper.
- In a large bowl, combine softened butter, granulated sugar, and brown sugar. Mix vigorously for 2-3 minutes until pale and creamy.
- Add the egg and vanilla extract to the butter mixture. Mix until just combined, scraping down the sides of the bowl.
- In a separate small bowl, whisk together flour, baking soda, and salt.
- Add dry ingredients to wet ingredients and stir gently until flour disappears.
- Fold in chocolate chips using a spatula until evenly distributed.
- Scoop tablespoon-sized portions of dough onto prepared baking sheets, spacing them 2 inches apart.
- Bake for 9-11 minutes, until edges are golden brown but centers look slightly underbaked.
- Remove from oven and let cool on the baking sheet for 5 minutes.
- Transfer cookies to a wire rack to cool completely.
Notes
Ensure butter is softened but not melted. Use room temperature eggs to prevent grainy texture. Do not overmix the dough once flour is added to avoid tough cookies. Cookies continue to cook on the hot pan after removal from the oven.
Nutrition
- Serving Size: 1 cookie
- Calories: 165
- Sugar: 15
- Sodium: 120
- Fat: 8
- Saturated Fat: 5
- Carbohydrates: 22
- Fiber: 1
- Protein: 2
Keywords: chocolate chip cookies, no chill cookies, easy cookies, quick dessert, homemade cookies, chewy cookies