Third time in six days, and I finally stopped overthinking it. The first batch came out too wet in the center—I’d added an extra egg thinking it would help the cake mix topping crisp up. Second time, I used pumpkin pie filling instead of pure pumpkin, and the whole thing was so sweet it practically hummed. By the third attempt, I just let the ingredients do what they already wanted to do. And that’s when this easy pumpkin dump cake finally clicked.
There’s something almost embarrassing about how simple this is. You dump canned pumpkin into a dish, sprinkle a box of yellow cake mix over the top, pour melted butter over that, and bake. That’s it. No creaming butter and sugar. No sifting flour. No stand mixer to wash. But here’s the thing—the first time I made it, I stood over the pan with a fork, picking at the edges while it was still warm, and I couldn’t stop. That buttery, crumbly topping against the silky, spiced pumpkin underneath? It gets you.
I brought the third batch to a neighbor’s casual dinner, and someone asked if it was from a bakery. I didn’t know whether to be proud or embarrassed. I told her the truth: It’s three ingredients and a box of cake mix. She didn’t believe me until I sent her the photo of the box. That’s the kind of recipe this is—it feels like a secret you’re not supposed to share, but you do anyway because it’s too good to keep to yourself.
Why You’ll Love This Recipe
This isn’t just another pumpkin dessert. It’s the one that disappears fastest at gatherings, and honestly, it’s the one I keep in my back pocket for when I need something impressive without the stress.
- Three Main Ingredients: Canned pumpkin, yellow cake mix, and butter. That’s it. You probably already have the butter and cake mix in your pantry right now.
- No Mixing Bowls Required: You layer everything directly in the baking dish. The only thing you stir is the pumpkin filling, and even that takes thirty seconds.
- Perfect for Fall Gatherings: Thanksgiving, Friendsgiving, potlucks, or just a Tuesday when you need something warm and spiced. This easy pumpkin dump cake fits every occasion.
- Crowd-Pleaser Across Generations: Kids love the sweet, crunchy topping. Adults love that it’s not overly rich. Everyone goes back for seconds.
- Unbelievably Foolproof: I’ve made this with different cake mix brands, different butter amounts, and even forgotten to stir the pumpkin layer properly. It still turned out delicious every single time.
What makes this recipe different from other pumpkin desserts is the texture contrast. The yellow cake mix topping bakes into this golden, buttery crust that’s slightly crisp on top and soft underneath—almost like a streusel, but easier. The pumpkin layer stays silky and custard-like, with just enough spice to feel cozy without being heavy. It’s comfort food that doesn’t require a nap afterward.
This is the kind of dessert that makes people close their eyes after the first bite. Not because it’s fancy, but because it tastes like home in the best possible way.
What Ingredients You Will Need
This recipe uses simple, humble ingredients to create something that tastes far more complex than its parts. No fancy grocery store trips required—everything here is a pantry staple during fall.
- Canned Pumpkin Puree (15 oz can): Make sure you buy pumpkin puree, not pumpkin pie filling. The pie filling already has sugar and spices added, which will throw off the sweetness and texture. I prefer Libby’s brand for consistent thickness, but store brands work fine too. If your puree looks watery, let it sit in a fine-mesh strainer for ten minutes before using.
- Evaporated Milk (12 oz can): This adds richness without making the pumpkin layer too heavy. Don’t substitute with sweetened condensed milk—it’s much sweeter and thicker, and it will change the texture completely. Regular whole milk can work in a pinch, but the filling will be slightly less creamy.
- Granulated Sugar (¾ cup): Just enough to sweeten the pumpkin layer without overpowering the natural pumpkin flavor. You can reduce this to ½ cup if you prefer a less sweet dessert, or if your cake mix is particularly sugary.
- Large Eggs (3): These help set the pumpkin custard layer. Room-temperature eggs blend more smoothly into the filling. If you forgot to take them out ahead of time, place them in a bowl of warm water for five minutes.
- Pumpkin Pie Spice (2 teaspoons): You can use store-bought or make your own blend with 1 teaspoon cinnamon, ½ teaspoon nutmeg, ¼ teaspoon ginger, and ¼ teaspoon cloves. If you only have cinnamon, use 2 teaspoons of that alone—it’ll still taste great.
- Vanilla Extract (1 teaspoon): A small addition that rounds out the flavors. Pure vanilla extract is best, but imitation vanilla works fine here since it’s baked.
- Yellow Cake Mix (15.25 oz box): This is the star of the topping. Use a standard-size box of yellow cake mix—not the larger “super moist” size, and definitely not a sugar-free or gluten-free version unless you’ve tested it. Duncan Hines and Betty Crocker both work beautifully. The cake mix should be dry and sprinkled directly over the pumpkin layer.
- Unsalted Butter (¾ cup, melted): Melted butter gets poured evenly over the dry cake mix. It soaks into the powder and bakes into that golden, buttery crust. If you only have salted butter, reduce the salt in the pumpkin filling slightly, or just use it as is—the difference is minimal.
Optional but highly recommended: a pinch of salt sprinkled over the cake mix before adding the butter. It balances the sweetness and makes the topping taste even more buttery.
Equipment Needed
The beauty of this recipe is that it barely uses any equipment. Here’s what you’ll need:
- 9×13-inch Baking Dish: A glass or ceramic dish works best for even baking. Metal pans can work too, but they conduct heat faster, so check the cake five minutes early. I use a Pyrex dish and it’s never let me down.
- Large Mixing Bowl: For whisking the pumpkin filling. Any medium-to-large bowl will do.
- Whisk or Fork: You only need one tool to mix the filling. A whisk makes it faster, but a fork works perfectly fine.
- Measuring Cups and Spoons: For the sugar, spice, and vanilla. If you’re using a standard 15 oz can of pumpkin, you don’t even need to measure that.
- Spatula: For scraping every last bit of the pumpkin filling into the dish. Waste not, want not.
- Small Bowl or Liquid Measuring Cup: For melting the butter. You can melt it in the microwave in 30-second bursts, or on the stovetop in a small saucepan.
That’s genuinely it. No stand mixer, no hand mixer, no sifter, no piping bag. This is the kind of recipe that makes you feel like a kitchen genius with almost zero cleanup.
Preparation Method
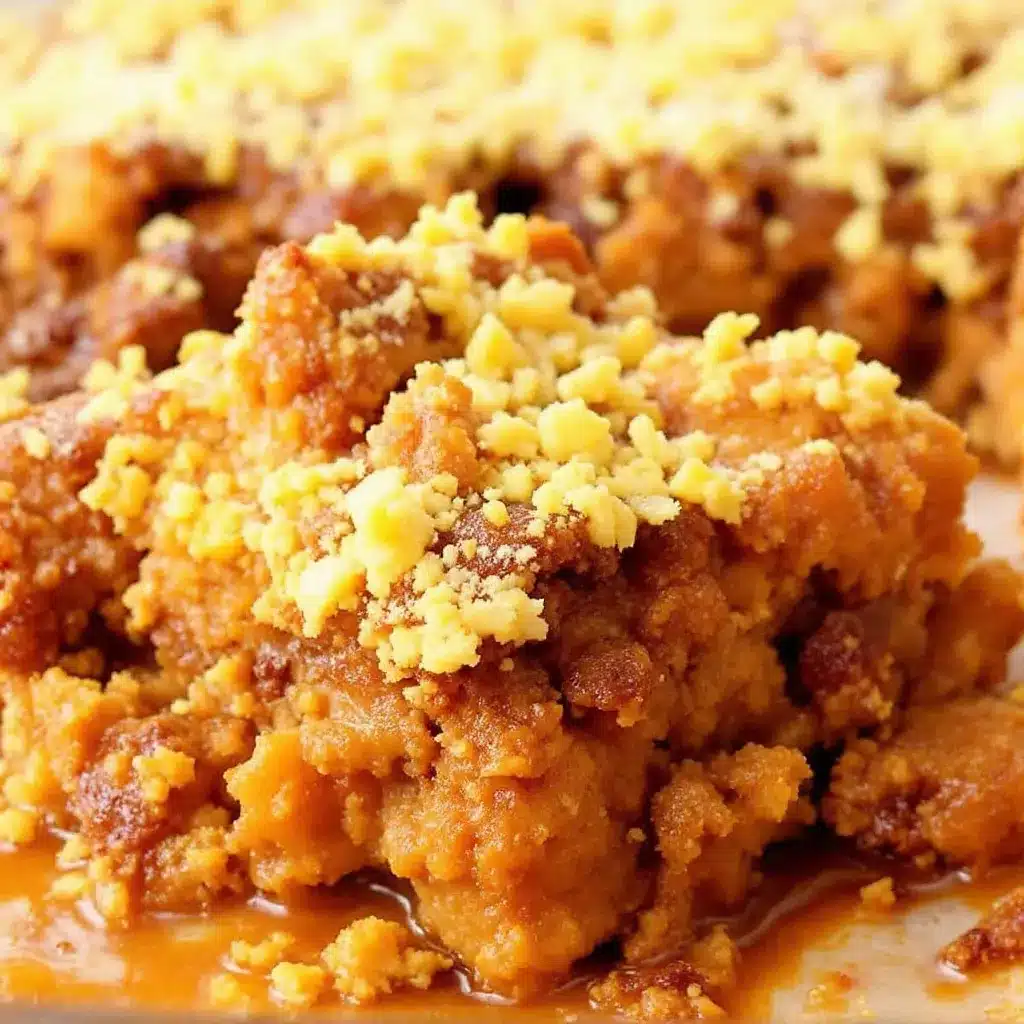
This easy pumpkin dump cake comes together in about ten minutes of active work. The oven does the rest.
- Preheat your oven to 350°F (175°C). Position the rack in the center of the oven. While it heats, lightly grease your 9×13-inch baking dish with butter or nonstick spray. You don’t need to go overboard—just a thin coating so nothing sticks.
- Make the pumpkin filling. In a large mixing bowl, combine the 15 oz can of pumpkin puree, 12 oz can of evaporated milk, ¾ cup granulated sugar, 3 large eggs, 2 teaspoons pumpkin pie spice, and 1 teaspoon vanilla extract. Whisk until smooth and fully combined. The mixture should be thick but pourable, like a loose pudding. If there are small lumps, keep whisking—they’ll smooth out.
- Pour the filling into the dish. Scrape every bit of the pumpkin mixture into the prepared baking dish. Use your spatula to spread it evenly across the bottom. Don’t worry if it doesn’t look perfectly level—the cake mix will cover everything anyway.
- Sprinkle the dry cake mix. Open the box of yellow cake mix and sprinkle it evenly over the pumpkin filling. Do not stir it in. Do not mix it. Just let it sit on top in an even layer. This is what creates that magical crumbly crust. If the cake mix clumps, break up the clumps with your fingers as you go.
- Pour the melted butter over the top. Melt ¾ cup (1½ sticks) of unsalted butter. Drizzle it as evenly as possible over the dry cake mix. Try to cover the entire surface—if you miss a spot, that area will remain powdery after baking. Don’t stir it in. The butter will sink down through the cake mix as it bakes, creating that golden, buttery topping.
- Bake for 45–50 minutes. Place the dish in the preheated oven and bake until the top is golden brown and the edges are bubbly. The center should be set but still slightly jiggly—it will firm up as it cools. If you insert a toothpick into the topping, it should come out with moist crumbs, not wet batter. If the top is browning too quickly around the 40-minute mark, tent loosely with foil for the remaining time.
- Cool for at least 15 minutes. Let the dump cake rest on a wire rack. This allows the pumpkin layer to set properly. If you cut into it immediately, it will be too loose and soupy. Fifteen minutes is the minimum, but thirty is better if you can wait.
Pro tip from my second failed batch: If you want extra crunch on top, sprinkle ½ cup of chopped pecans or walnuts over the cake mix before adding the butter. It adds texture and makes it look even more impressive.
Cooking Tips & Techniques
After making this easy pumpkin dump cake three times in one week, I learned a few things the hard way. Here are the tips that made the difference.
Don’t overmix the pumpkin filling. Whisk just until the ingredients are combined. Overmixing can incorporate too much air, which makes the filling puff up in the oven and then collapse as it cools. A few small lumps are totally fine—they disappear during baking.
Use room-temperature eggs. Cold eggs can make the filling seize slightly, leading to a less smooth texture. If you forgot to take them out early, place them in a bowl of warm (not hot) water for five minutes. This small step makes a noticeable difference in how silky the pumpkin layer turns out.
Spread the cake mix evenly. This is the most important step for a consistent topping. If you dump the cake mix in one spot and try to spread it, you’ll end up with thick patches and thin patches. Instead, sprinkle it slowly and evenly across the entire surface, like you’re seasoning a dish with flour. Take your time here—it’s worth it.
Melt the butter completely but don’t let it brown. Melted butter that’s still hot can start cooking the cake mix before it even hits the oven. Let it cool for a minute or two before drizzling. And if you accidentally brown the butter? Honestly, that’s not a disaster—it adds a nutty flavor that works beautifully with pumpkin. But if you want a neutral buttery topping, keep the heat low and pull it off as soon as it melts.
Let it cool before serving. I know, I know—you want to dig in immediately. But the pumpkin layer needs time to set. Cutting into it too early releases steam and makes the filling runny. If you can wait 30 minutes, you’ll be rewarded with clean slices that hold their shape. If you can’t wait (no judgment), just serve it in a bowl with a spoon.
My biggest failure: The first time I made this, I used a 9×9-inch dish because I thought it would make the cake thicker. The filling bubbled over, the topping didn’t cook through, and I had to scrape burnt pumpkin off the bottom of my oven. Stick with the 9×13-inch dish. It’s the right size for this recipe.
Variations & Adaptations
This recipe is endlessly adaptable. Here are some variations I’ve tried and loved.
- Pumpkin Dump Cake with Pecan Crumble: This is my personal favorite twist. Add ½ cup chopped pecans and ¼ cup brown sugar to the dry cake mix before pouring the butter. The nuts toast in the oven and add incredible crunch. If you want a full recipe for this version, check out my easy pumpkin dump cake with pecan crumble—it’s a slightly different approach with a nutty, caramelized topping.
- Gluten-Free Version: Use a gluten-free yellow cake mix. I’ve tested this with King Arthur’s gluten-free yellow cake mix, and it works perfectly. Just make sure your pumpkin puree and evaporated milk are also certified gluten-free if needed.
- Dairy-Free Version: Substitute the butter with melted coconut oil or a plant-based butter stick (I like Miyoko’s). Use full-fat coconut milk instead of evaporated milk. The texture will be slightly less creamy, but the flavor is still fantastic.
- Spice It Up: Add ¼ teaspoon of cayenne pepper or a pinch of black pepper to the pumpkin filling. The heat contrasts beautifully with the sweet topping. It sounds weird, but trust me—it works.
- Chocolate Pumpkin Dump Cake: Swap the yellow cake mix for a chocolate cake mix. The chocolate and pumpkin combination is surprisingly good, especially if you add a handful of chocolate chips on top before baking.
- Apple Pumpkin Dump Cake: Layer 2 cups of thinly sliced apples (Granny Smith or Honeycrisp work well) on top of the pumpkin filling before adding the cake mix. The apples soften during baking and add a tart contrast to the sweet pumpkin.
Serving & Storage Suggestions
This easy pumpkin dump cake is incredibly versatile when it comes to serving. Here’s how I like to enjoy it.
Serving Temperature: Warm is the way to go. The topping is at its crispiest, and the pumpkin layer is soft and luscious. If you’re serving it at room temperature, it’s still delicious—just less dramatic.
Toppings: A scoop of vanilla ice cream is the classic pairing. The cold, creamy ice cream against the warm, buttery cake is pure comfort. Whipped cream works beautifully too, especially if you add a pinch of cinnamon to it. For a richer option, drizzle caramel sauce over each serving. If you’re feeling extra indulgent, try it with a dollop of creamy banana pudding cheesecake-style whipped cream—it sounds unconventional, but the flavors complement each other surprisingly well.
Complementary Dishes: This dump cake pairs wonderfully with a cup of hot coffee or spiced chai. For a full fall spread, serve it alongside perfect pumpkin cream cheese muffins for a dessert table that covers all the bases. If you’re hosting a brunch, it works just as well as a sweet ending to a savory meal.
Storage: Cover the baking dish tightly with foil or plastic wrap and store it in the refrigerator for up to 5 days. The topping will soften over time, but it’s still delicious. I actually love it cold straight from the fridge—it firms up and almost becomes like a pumpkin custard bar.
Freezing: This dump cake freezes beautifully. Let it cool completely, then wrap the entire dish (or individual portions) in plastic wrap, followed by a layer of foil. Freeze for up to 3 months. To reheat, thaw in the refrigerator overnight, then warm individual portions in the microwave for 30-45 seconds, or reheat the whole dish in a 300°F oven for about 15 minutes.
Reheating: The microwave is the fastest option, but it will soften the topping. If you want to restore some of that crispiness, reheat slices in a 350°F oven for 5-7 minutes. The topping won’t be as crunchy as fresh, but it’ll be close.
Flavor Development: Honestly, this dump cake tastes even better the next day. The pumpkin layer sets completely, and the flavors meld together overnight. If you can resist eating it all in one sitting, save some for the next day—you won’t regret it.
Nutritional Information & Benefits
Let’s be real—this is a dessert, not a health food. But it does have some redeeming qualities worth mentioning.
Estimated Nutritional Values (per serving, based on 12 servings):
| Nutrient | Amount |
|---|---|
| Calories | 380 |
| Total Fat | 18g |
| Saturated Fat | 10g |
| Carbohydrates | 52g |
| Fiber | 3g |
| Sugar | 35g |
| Protein | 5g |
| Vitamin A | 180% DV |
| Iron | 10% DV |
Health Benefits: Pumpkin is packed with vitamin A (one serving provides nearly double your daily needs), which supports eye health and immune function. It’s also a good source of fiber, which helps with digestion and keeps you feeling full. The eggs add protein, and the evaporated milk provides calcium. Is it a superfood? No. But it’s not empty calories either.
Dietary Considerations: This recipe contains gluten, dairy, and eggs. For a gluten-free version, use a gluten-free cake mix. For dairy-free, substitute the butter and evaporated milk as noted in the variations section. This recipe is not suitable for vegans in its current form, but you could experiment with egg replacers and plant-based milk alternatives.
My personal perspective: I don’t believe in guilt when it comes to dessert. This easy pumpkin dump cake is a treat, and that’s okay. It uses real ingredients, it’s made from scratch (mostly), and it brings people together. That’s a win in my book.
Conclusion
This easy pumpkin dump cake is the dessert I turn to when I want something that feels special without any of the fuss. It’s the recipe I make for friends who claim they can’t bake, for holidays when I’m short on time, and for quiet evenings when I just want a warm, buttery slice of fall.
The best part? You can customize it endlessly. Add nuts, swap the cake mix, throw in some chocolate chips—it’s forgiving enough to handle whatever you throw at it. That’s the kind of recipe worth keeping in your back pocket.
I genuinely love this recipe because it reminds me that good food doesn’t have to be complicated. Sometimes the simplest things—pumpkin, cake mix, butter—come together to create something truly memorable. It’s honest cooking, and it never fails to deliver.
If you make this easy pumpkin dump cake, I’d love to hear about it. Leave a comment below and let me know how it turned out, or share your own twist on it. Did you add nuts? Swap the spice blend? Serve it with something unexpected? Tell me all about it. And if you took a photo, tag me—I want to see your beautiful, buttery creation.
Happy baking, friend. You’ve got this.
Frequently Asked Questions
Can I use pumpkin pie filling instead of pumpkin puree?
I don’t recommend it. Pumpkin pie filling already has sugar and spices added, which will make the dessert overly sweet and throw off the texture. The filling will also be denser and less custard-like. Stick with 100% pumpkin puree for the best results.
Why is my dump cake soupy in the middle?
This usually happens for one of three reasons: the dish is too small (use a 9×13-inch), the cake wasn’t baked long enough (check it at 45 minutes, but it may need 50-55), or it wasn’t cooled enough before cutting. Let it rest for at least 15-20 minutes after baking—the pumpkin layer needs time to set.
Can I make this in a slow cooker or Instant Pot?
I’ve tested the slow cooker method, and it works but the topping won’t get as crispy. Cook on low for 3-4 hours with the lid slightly vented to release steam. For the Instant Pot, I haven’t had success—the topping stays soggy. The oven really is the best method here.
Can I use a different flavor of cake mix?
Absolutely! Spice cake mix is a natural pairing with pumpkin. White cake mix works well too, and chocolate cake mix creates a fun flavor combination. Just avoid sugar-free or gluten-free mixes unless you’ve tested them—they behave differently during baking.
How do I know when the dump cake is done?
The top should be golden brown and slightly crispy to the touch. The edges will be bubbly and pulling away from the sides of the dish. The center should be set but still slightly jiggly—it will firm up as it cools. If a toothpick inserted into the topping comes out with moist crumbs (not wet batter), it’s ready.
Pin This Recipe!
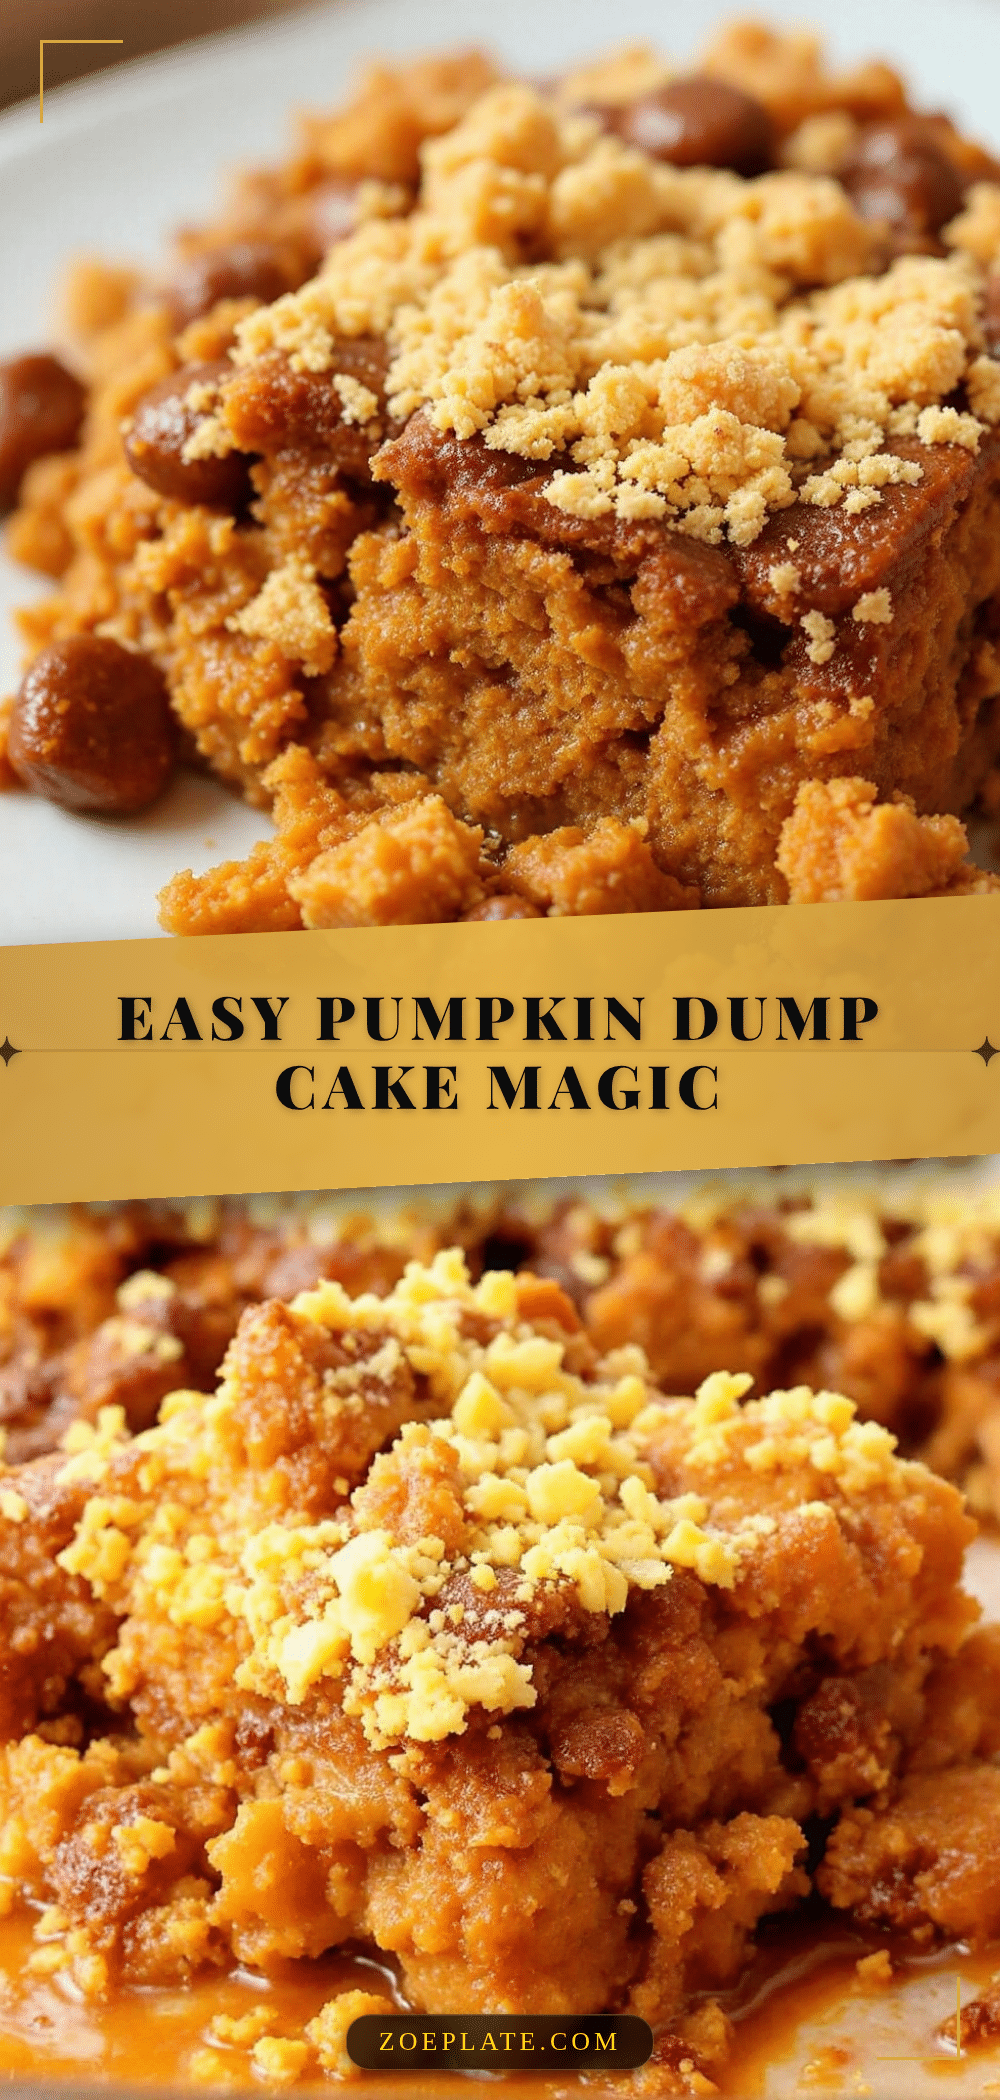
Easy Pumpkin Dump Cake: Best 3-Ingredient Dessert
This easy pumpkin dump cake is a simple, foolproof dessert made with just three main ingredients: canned pumpkin, yellow cake mix, and butter. It features a buttery, crumbly topping over a silky, spiced pumpkin layer, perfect for fall gatherings.
- Prep Time: 10 minutes
- Cook Time: 45 minutes
- Total Time: 55 minutes
- Yield: 12 servings 1x
- Category: Dessert
- Cuisine: American
Ingredients
- 1 (15 oz) can pumpkin puree
- 1 (12 oz) can evaporated milk
- ¾ cup granulated sugar
- 3 large eggs
- 2 teaspoons pumpkin pie spice
- 1 teaspoon vanilla extract
- 1 (15.25 oz) box yellow cake mix
- ¾ cup unsalted butter, melted
Instructions
- Preheat oven to 350°F (175°C). Lightly grease a 9×13-inch baking dish.
- In a large bowl, whisk together pumpkin puree, evaporated milk, sugar, eggs, pumpkin pie spice, and vanilla until smooth.
- Pour the pumpkin mixture into the prepared dish and spread evenly.
- Sprinkle the dry cake mix evenly over the pumpkin layer. Do not stir.
- Drizzle melted butter evenly over the cake mix. Do not stir.
- Bake for 45–50 minutes, until golden brown and edges are bubbly. Center should be set but slightly jiggly.
- Cool for at least 15 minutes before serving.
Notes
For extra crunch, sprinkle ½ cup chopped pecans or walnuts over the cake mix before adding butter. Let cool at least 15 minutes before cutting to allow the pumpkin layer to set. Store covered in the refrigerator for up to 5 days.
Nutrition
- Serving Size: 1 slice
- Calories: 380
- Sugar: 35
- Fat: 18
- Saturated Fat: 10
- Carbohydrates: 52
- Fiber: 3
- Protein: 5
Keywords: pumpkin dump cake, easy pumpkin dessert, 3-ingredient dessert, fall dessert, pumpkin cake


