Easy Pumpkin Dump Cake with Yellow Cake Mix
The pan came out of the oven and the whole kitchen just stopped. My roommate, who had been half-asleep on the couch, sat straight up and asked, “What is that smell?” I didn’t even have an answer yet—I was too busy staring at the golden, craggy top bubbling with deep orange filling underneath. It looked like fall had decided to move into my tiny apartment and I wasn’t mad about it.
This wasn’t some complicated project. I had a can of pumpkin puree leftover from a pie I never got around to making, a box of yellow cake mix I’d grabbed on a whim, and butter. That’s it. Three ingredients. I dumped them in a pan, because let’s face it, that’s what you do when you’re tired and craving something sweet without the fuss. And somehow, it turned into the dessert everyone kept asking about.
I’ve made this Easy Pumpkin Dump Cake more times than I can count since that first night. It’s the kind of recipe that feels like cheating—because honestly, it kind of is. You don’t need a mixer, you don’t need a pastry cutter, and you definitely don’t need any fancy techniques. You just need a 9×13 pan, a can of pumpkin, a box of cake mix, and about ten minutes of hands-on time. The oven does the rest.
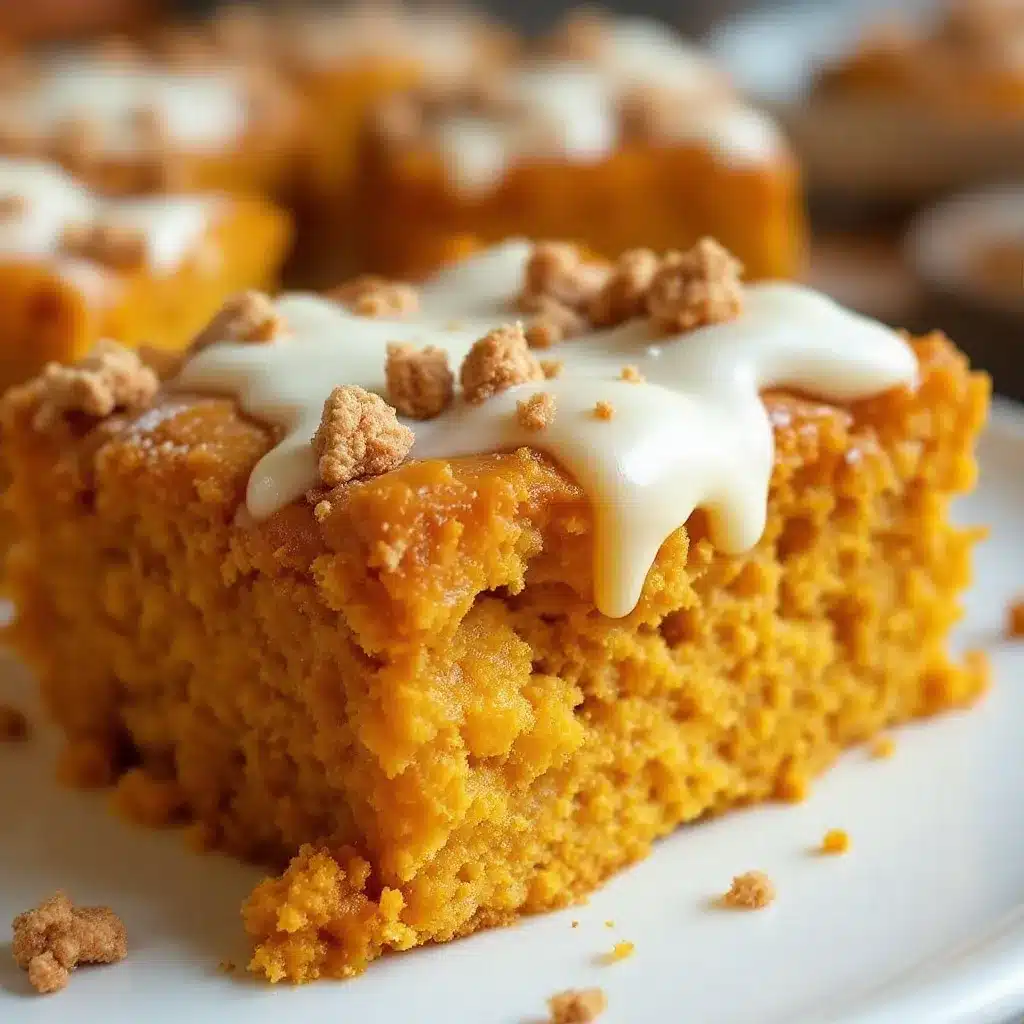
There’s something deeply satisfying about watching butter melt into dry cake mix, forming a buttery, crunchy crust that contrasts with the soft, spiced pumpkin underneath. Every bite has texture, warmth, and that unmistakable cozy feeling that only a fall dessert can bring. And the best part? People will think you spent hours on it. Let them wonder.
Why You’ll Love This Recipe
I’ve tested this recipe more times than I care to admit—partly for science, partly because I kept eating it before I could take notes. After all those trials (and trust me, they were delicious trials), I can confidently say this is the easiest, most forgiving pumpkin dessert you’ll ever make.
- Three Simple Ingredients: Pumpkin puree, yellow cake mix, and butter. That’s it. No eggs, no milk, no extra sugar. The magic happens in the oven.
- No Mixing Bowls Required: You literally dump everything into the baking dish. Less dishes, more time for sipping cider or watching the leaves fall.
- Perfect for Fall Gatherings: Whether it’s Thanksgiving, a Friendsgiving, or just a random Tuesday, this cake shows up and steals the show. I’ve brought it to potlucks and watched it disappear before the main course even hit the table.
- Incredibly Forgiving: Forgot to set a timer? This cake has a wide window of doneness. It stays moist and delicious even if you get distracted. I speak from experience.
- Crowd-Pleaser: Kids love the sweet, buttery top. Adults love the warm pumpkin spice underneath. Everyone loves that it takes almost zero effort.
What sets this recipe apart from other pumpkin dump cakes is the texture. Using yellow cake mix creates a lighter, more delicate crumb on top compared to spice cake mix, which can be a bit dense. The butter soaks through the dry mix unevenly, leaving some parts crunchy and others soft and almost pudding-like. It’s not uniform—and that’s exactly what makes it so good.
This isn’t just another version of pumpkin dump cake. It’s the one you’ll make again and again because it works every single time, no matter how distracted or tired you are. And honestly, isn’t that the kind of recipe we all need?
What Ingredients You Will Need
This recipe uses simple, pantry-friendly ingredients to deliver big flavor without any fuss. Here’s what you’ll need:
- 1 can (15 oz) pumpkin puree — Not pumpkin pie filling, just pure pumpkin. I prefer Libby’s for consistent texture, but store brands work fine too. Look for 100% pumpkin with no added spices or sugar.
- 1 box (15.25 oz) yellow cake mix — Betty Crocker or Duncan Hines both work beautifully. The yellow cake mix adds a subtle vanilla flavor and creates that signature golden crust. You can use any brand you like, just make sure it’s the standard size box.
- 1 cup (2 sticks) unsalted butter, melted — Salted butter works too, just reduce any added salt if you’re including extras. The butter is what creates that magical crunchy top layer, so don’t skimp here.
Optional Add-Ins (not required, but nice to have):
- 1 teaspoon pumpkin pie spice — sprinkle over the pumpkin layer for extra warmth
- 1/2 cup chopped pecans or walnuts — add them on top before baking for crunch
- Whipped cream or vanilla ice cream for serving
The beauty of this recipe is its simplicity. You don’t need any special ingredients or a trip to a specialty store. Chances are, you already have everything in your pantry right now. If you’re looking for another easy dessert that uses simple ingredients, my Easy No-Bake S’mores Icebox Cake is another 10-minute wonder that delivers big on flavor with minimal effort.
One note on the pumpkin puree: Make sure you’re buying the 15-ounce can, not the larger 29-ounce one. The larger can will throw off the ratios and make the filling too thin. If you have extra pumpkin leftover, you can use it in my Easy One-Bowl Pumpkin Banana Bread—it’s the perfect way to use up that last bit of pumpkin.
Equipment Needed
You don’t need a fancy kitchen to make this recipe work. Here’s what you’ll need:
- 9×13-inch baking dish — Glass or metal both work. I use a glass dish because I like being able to see the bottom layer bubbling. If you use metal, just keep an eye on the baking time—it may cook a few minutes faster.
- Measuring cups — For the butter. A liquid measuring cup makes melting easier.
- Small saucepan or microwave-safe bowl — For melting the butter. I usually use the microwave because it’s faster, but a saucepan on low heat works just as well.
- Spatula or spoon — For spreading the pumpkin layer. You don’t need anything fancy here.
- Cooling rack — Optional but helpful for even cooling.
That’s it. No mixer, no special pans, no complicated gadgets. This is the kind of recipe that proves you don’t need a fully stocked kitchen to make something amazing.
Preparation Method
Preheat your oven to 350°F (175°C). While it’s heating up, grab your 9×13 baking dish—no need to grease it, the butter will handle that.
- Spread the pumpkin puree — Dump the entire 15-ounce can of pumpkin puree into the baking dish. Use a spatula to spread it into an even layer, covering the entire bottom of the dish. Don’t worry if it seems thin—it will puff up as it bakes. This layer is the foundation of your cake, so make sure it’s evenly distributed.
- Sprinkle the cake mix — Open the box of yellow cake mix and sprinkle the dry powder evenly over the pumpkin layer. Don’t stir it, don’t mix it, just let it sit on top. You want an even, consistent layer of dry mix covering all the pumpkin. Some people like to tap the pan gently to settle the mix into the pumpkin slightly—that’s fine, just don’t press it down.
- Pour the melted butter — Melt your 1 cup (2 sticks) of unsalted butter in the microwave or on the stovetop. Pour it slowly and evenly over the top of the cake mix. Try to cover as much of the dry mix as possible. Some spots will get more butter than others, and that’s okay—it creates those lovely crunchy bits. Don’t stir the butter in; just let it soak through naturally.
- Add optional toppings — If you’re using chopped pecans, walnuts, or a sprinkle of pumpkin pie spice, now’s the time. Scatter them evenly over the top. The nuts will toast as the cake bakes, adding extra crunch and flavor.
- Bake — Place the dish in the preheated oven and bake for 40 to 45 minutes. The top should be golden brown and the edges should be bubbling with pumpkin filling. You’ll know it’s done when the center is set and a toothpick inserted into the cake layer comes out mostly clean (a few crumbs are fine).
- Cool slightly — Let the cake cool on a wire rack for at least 15 minutes before serving. This allows the filling to set up a bit. If you cut into it too soon, it will be runny. Trust me on this—I’ve made that mistake and ended up with more of a pumpkin soup situation.
The whole process takes about 10 minutes of active time. The rest is just waiting for the oven to work its magic. While it bakes, your kitchen will fill with the most incredible smell—warm pumpkin, buttery cake, and a hint of spice if you added it.
If you’re serving this at a gathering, you can easily make it ahead of time. It actually tastes even better the next day after the flavors have had time to meld together. Just reheat individual portions in the microwave for about 15 seconds before serving.
Cooking Tips & Techniques
After making this Easy Pumpkin Dump Cake more times than I can count, I’ve picked up a few tricks that make a real difference. Here are the ones worth knowing:
Don’t overmix or stir. The whole point of a dump cake is that you dump the ingredients in layers and let the oven do the work. If you stir everything together, you’ll end up with a dense, soggy mess instead of that beautiful layered texture. Resist the urge to mix—I promise it works.
Melt the butter completely. Some recipes tell you to slice cold butter and lay it over the top, but I’ve found that melted butter gives you a much more even, consistent crust. The dry cake mix absorbs the butter more thoroughly, creating that signature crunchy top. Cold butter slices leave dry patches that never quite bake through.
Watch your oven temperature. Every oven runs a little differently. If your cake is browning too quickly on top but the center isn’t set yet, tent it loosely with aluminum foil for the last 10 minutes of baking. This prevents the top from burning while the filling finishes cooking.
Let it rest. I know it’s tempting to dig in right away, but giving the cake at least 15 minutes to cool is crucial. The pumpkin filling needs time to set up, otherwise it will be too runny to hold its shape. If you’re serving it with ice cream, the warm cake will melt the ice cream into a sweet, creamy sauce—which honestly isn’t a bad thing.
Use room temperature pumpkin. If your pumpkin puree is cold from the fridge, it will take longer to heat through in the oven. Let it sit on the counter for about 20 minutes before you start. This helps everything bake more evenly.
One mistake I made early on was using a dark metal pan. Dark pans absorb more heat and can cause the bottom to burn before the top is done. If you only have a dark pan, reduce the oven temperature to 325°F and check for doneness a few minutes early.
Variations & Adaptations
This recipe is incredibly adaptable—I’ve tried several variations over the years and they’ve all been winners. Here are some of my favorites:
Pumpkin Dump Cake with Pecan Crumble — If you love a nutty, crunchy topping, this is the version for you. I have a dedicated post for Easy Pumpkin Dump Cake with Pecan Crumble that takes this basic recipe and adds a buttery pecan topping that takes it over the top. The pecans toast in the oven and add the most incredible texture.
Spice Cake Mix Version — Swap the yellow cake mix for a box of spice cake mix for an even more autumnal flavor. The spice cake mix already has cinnamon, nutmeg, and cloves built in, so you don’t need to add any extra spices. This version is especially good if you’re short on time and want maximum flavor with zero effort.
Gluten-Free Option — Use a gluten-free yellow cake mix. Most brands work well in this recipe. Just make sure the box is the same size (15.25 oz) as a standard cake mix. The texture will be slightly different—a bit more crumbly—but still absolutely delicious.
Dairy-Free Version — Substitute the butter with a plant-based butter or coconut oil. I’ve used Miyoko’s vegan butter with great results. The crust won’t be quite as golden, but it will still be delicious and satisfying.
Pumpkin Chocolate Chip Dump Cake — Sprinkle 1/2 cup of semi-sweet chocolate chips over the cake mix before adding the butter. The chocolate melts into the pumpkin layer, creating pockets of gooey goodness. This is my personal favorite variation when I’m craving something extra indulgent.
Low-Sugar Option — Use a sugar-free yellow cake mix. The texture will be slightly different, but the pumpkin flavor shines through beautifully. You can also skip any optional toppings to keep the sugar content lower.
I’ve also made this with a can of pumpkin pie filling instead of plain pumpkin puree, and it worked surprisingly well. The filling already has sugar and spices mixed in, so the cake comes out sweeter and more intensely spiced. Just be aware that the texture will be slightly denser because of the added sugar and thickeners in the pie filling.
Serving & Storage Suggestions
This Easy Pumpkin Dump Cake is incredibly versatile when it comes to serving. Here’s how I like to do it:
Serving Temperature: Serve warm, not piping hot. The cake needs a few minutes to set after coming out of the oven. Warm cake with a scoop of vanilla ice cream is the classic combination, and for good reason—the cold, creamy ice cream contrasts perfectly with the warm, buttery cake and soft pumpkin filling.
Presentation: Spoon portions directly from the baking dish into bowls or onto plates. This isn’t a cake that slices cleanly—it’s meant to be scooped and enjoyed. Top with a dollop of whipped cream, a drizzle of caramel sauce, or a sprinkle of cinnamon for a finished look.
Complementary Dishes: This cake pairs beautifully with a hot cup of coffee or a Cozy Pumpkin Chai Latte with Oat Milk. The warm spices in the chai complement the pumpkin perfectly. If you’re serving it for a fall brunch, it goes great with a simple green salad or roasted vegetables to balance out the sweetness.
Storage: Cover the baking dish tightly with foil or plastic wrap and store at room temperature for up to 2 days, or in the refrigerator for up to 5 days. The cake actually gets better after a day in the fridge as the flavors meld together. Just let it come to room temperature or reheat before serving.
Reheating: Microwave individual portions for 20-30 seconds, or reheat the entire dish in a 300°F oven for about 10 minutes. The top will crisp up again in the oven, which is nice if you like that crunchy texture.
Freezing: This cake freezes surprisingly well. Let it cool completely, then wrap the entire dish tightly in plastic wrap and then foil. Freeze for up to 3 months. Thaw overnight in the refrigerator and reheat before serving. The texture might be slightly softer after freezing, but the flavor is still fantastic.
One thing I’ve noticed is that the flavors develop and deepen overnight. The pumpkin absorbs more of the buttery cake mix, and the spices become more pronounced. If you can resist eating it all the first day, you’ll be rewarded with an even better dessert the next day.
Nutritional Information & Benefits
Here’s the nutritional breakdown for one serving of this Easy Pumpkin Dump Cake (based on 12 servings, without optional toppings):
| Nutrient | Amount Per Serving |
|---|---|
| Calories | 285 |
| Total Fat | 16g |
| Saturated Fat | 10g |
| Cholesterol | 41mg |
| Sodium | 340mg |
| Total Carbohydrates | 34g |
| Dietary Fiber | 2g |
| Sugars | 18g |
| Protein | 2g |
| Vitamin A | 120% DV |
Pumpkin is packed with vitamin A, which supports eye health and immune function. It’s also a good source of fiber, which helps with digestion and keeps you feeling full longer. The yellow cake mix and butter add calories and fat, but this is a treat—meant to be enjoyed in moderation.
Dietary Considerations: This recipe is vegetarian. For a gluten-free version, use a gluten-free cake mix. For a dairy-free version, substitute the butter with plant-based butter. This recipe is not suitable for vegans in its current form, but a vegan cake mix and plant-based butter could work with some experimentation.
Potential Allergens: This recipe contains wheat (gluten) and dairy. If you’re adding nuts, those are also potential allergens. Always check your cake mix label for specific allergen information, as formulations can vary by brand.
I personally love that this dessert feels indulgent but still has some nutritional value from the pumpkin. It’s not health food by any means, but it’s a treat that makes you feel good about eating it—especially on a crisp fall evening.
Conclusion
This Easy Pumpkin Dump Cake with Yellow Cake Mix is the kind of recipe that makes you look like a hero without actually having to do much work. It’s warm, comforting, and tastes like fall in every single bite. The buttery crunchy top, the soft spiced pumpkin underneath, and the way it fills your kitchen with that incredible aroma—it’s everything you want in a fall dessert and nothing you don’t.
I love this recipe because it reminds me that you don’t need fancy ingredients or complicated techniques to make something truly special. Sometimes the simplest things are the best. And honestly, after a long day, who has the energy for a multi-step dessert? This cake meets you where you are and delivers every single time.
I’d love to hear how yours turns out! Did you add any fun toppings? Try a different cake mix flavor? Share your creations in the comments below—I read every single one and I’m always looking for new variations to try. And if you loved this recipe, don’t forget to pin it for later and share it with a friend who needs a little fall comfort in their life.
Happy baking, and enjoy every warm, buttery bite!
Frequently Asked Questions
Can I use pumpkin pie filling instead of pumpkin puree?
Yes, you can! Pumpkin pie filling already has sugar and spices mixed in, so your cake will be sweeter and more intensely spiced. Just be aware that the texture will be slightly denser. If you use pie filling, you might want to reduce or skip any additional sugar or spices you were planning to add.
Do I need to grease the baking dish?
Nope! The melted butter that you pour over the top will soak down and prevent the cake from sticking. I’ve never greased my dish and I’ve never had a problem. If you’re really worried about it, you can give it a quick spray of non-stick cooking spray, but it’s not necessary.
Can I make this in a smaller pan?
You can, but you’ll need to adjust the baking time. An 8×8 or 9×9 pan will work, but the layers will be thicker and the cake will need more time in the oven—probably 50 to 55 minutes. Just keep an eye on it and check for doneness with a toothpick. The top should be golden brown and the edges should be bubbling.
Why is my dump cake runny in the middle?
This usually happens for one of two reasons: either the cake wasn’t baked long enough, or it wasn’t allowed to cool before serving. The pumpkin filling needs time to set up. Make sure you’re baking until the center is set and let it cool for at least 15 minutes before cutting into it. If it’s still runny after cooling, pop it back in the oven for another 5-10 minutes.
Can I add eggs or milk to this recipe?
You can, but it changes the texture significantly. Adding an egg or some milk to the pumpkin layer will make it more custard-like and less soft. If you want a firmer, more traditional cake texture, go ahead and add one beaten egg to the pumpkin puree before spreading it in the pan. Just know that it’s not necessary for the recipe to work beautifully.
Pin This Recipe!
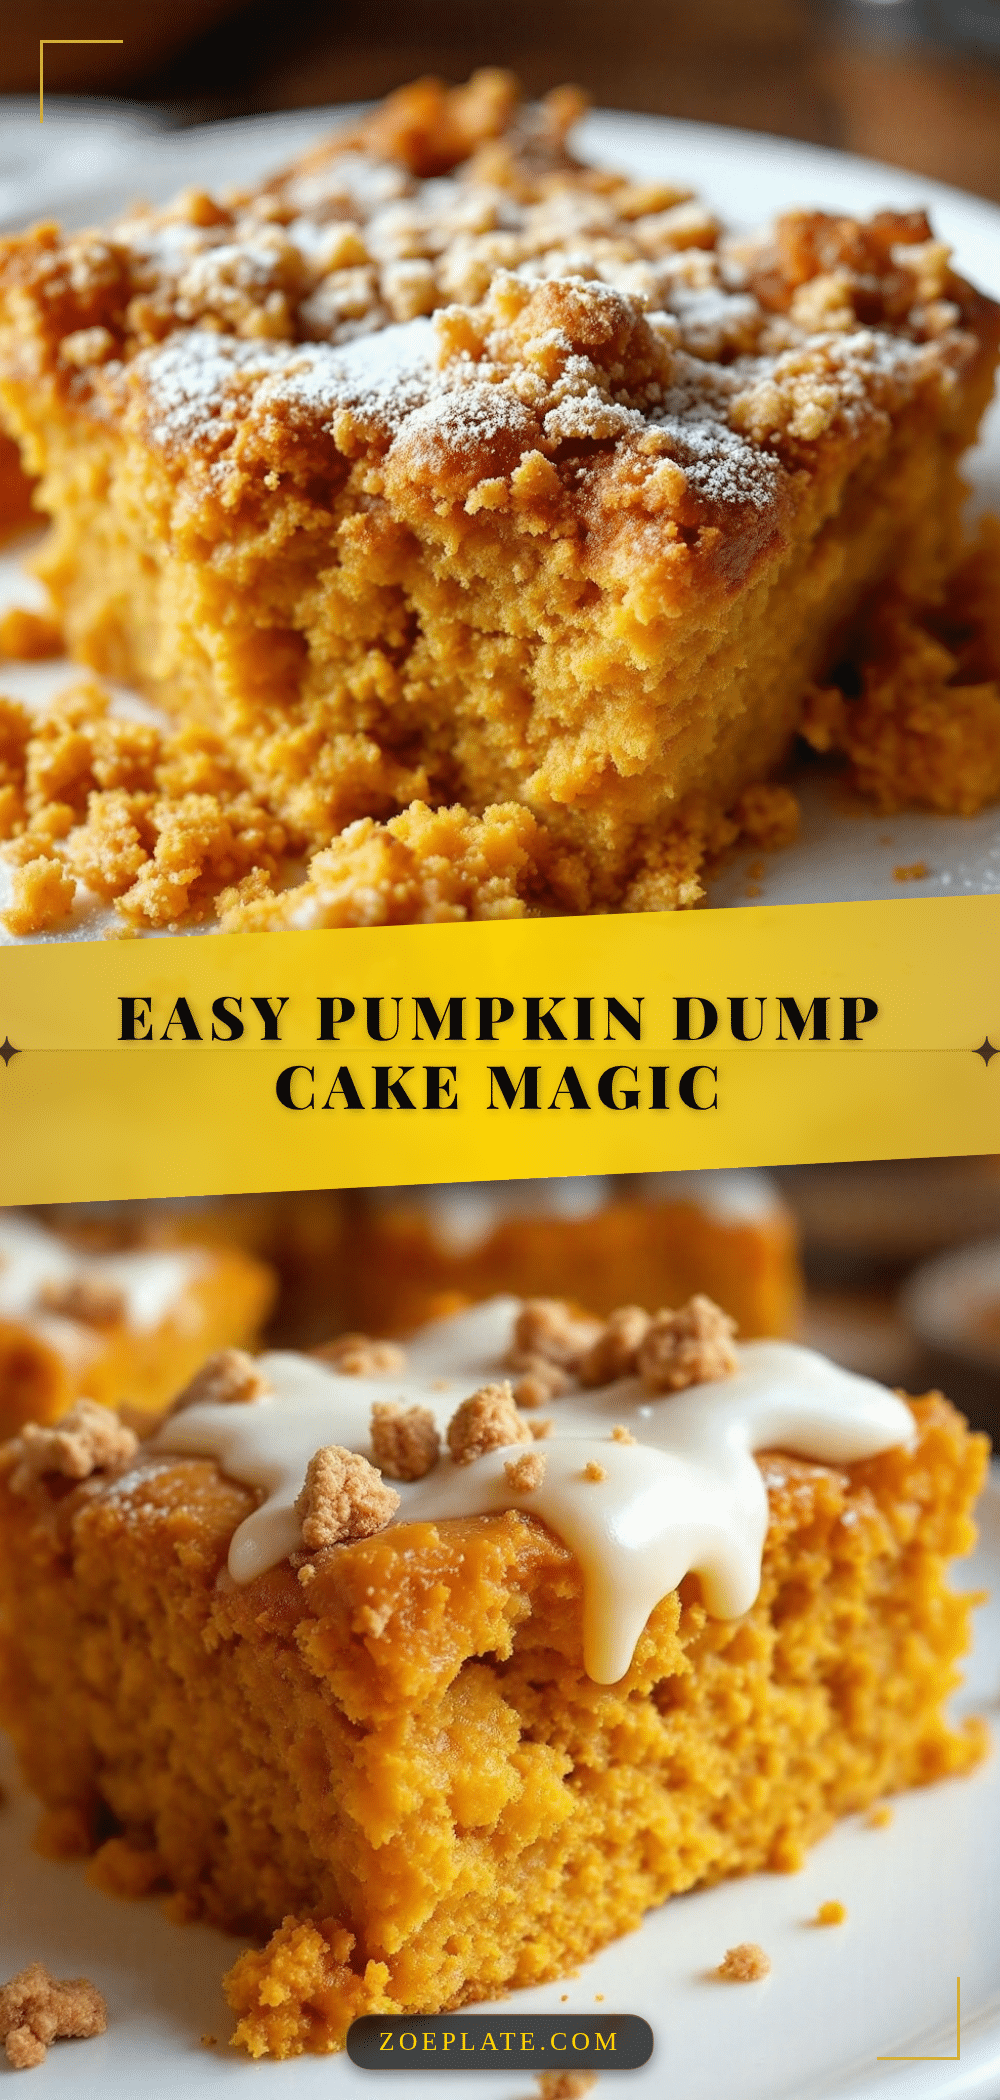
Easy Pumpkin Dump Cake with Yellow Cake Mix
This Easy Pumpkin Dump Cake is a simple 3-ingredient fall dessert that comes together in minutes. With a buttery, crunchy top and soft spiced pumpkin underneath, it’s the perfect treat for any autumn gathering.
- Prep Time: 10 minutes
- Cook Time: 40 minutes
- Total Time: 50 minutes
- Yield: 12 servings 1x
- Category: Dessert
- Cuisine: American
Ingredients
- 1 can (15 oz) pumpkin puree
- 1 box (15.25 oz) yellow cake mix
- 1 cup (2 sticks) unsalted butter, melted
- 1 teaspoon pumpkin pie spice (optional)
- 1/2 cup chopped pecans or walnuts (optional)
- Whipped cream or vanilla ice cream for serving (optional)
Instructions
- Preheat your oven to 350°F (175°C).
- Spread the entire 15-ounce can of pumpkin puree into a 9×13-inch baking dish in an even layer.
- Sprinkle the yellow cake mix evenly over the pumpkin layer. Do not stir.
- Pour the melted butter slowly and evenly over the cake mix. Do not stir.
- If using, sprinkle optional toppings (pumpkin pie spice, chopped nuts) over the top.
- Bake for 40 to 45 minutes, until the top is golden brown and the edges are bubbling.
- Let the cake cool on a wire rack for at least 15 minutes before serving.
Notes
Don’t overmix or stir the layers. Melt the butter completely for a more even crust. Let the cake rest for at least 15 minutes before serving to allow the filling to set. For a gluten-free version, use a gluten-free yellow cake mix. For a dairy-free version, substitute the butter with plant-based butter.
Nutrition
- Serving Size: 1 serving
- Calories: 285
- Sugar: 18
- Sodium: 340
- Fat: 16
- Saturated Fat: 10
- Carbohydrates: 34
- Fiber: 2
- Protein: 2
Keywords: pumpkin dump cake, easy pumpkin dessert, 3-ingredient dessert, fall dessert, yellow cake mix pumpkin cake


