The knobby, tapered shape of the pretzel rod is what matters most — the way the dough is pinched at one end to form that distinct, fleshy fingertip, and the dark, glossy almond sliver pressed into the tip to mimic a dirty, jagged nail. It looks almost too real, like something you’d pull from a cauldron rather than a baking sheet, and honestly, that’s the whole point. I remember the first time I made these, it was late October, and the house was already cold. The kids were running around with plastic swords, screaming at shadows that weren’t even there. I wanted a snack that fit the mood — something that looked like it came from a witch’s pantry but tasted like comfort food.
Let’s face it, Halloween treats usually fall into two camps: either they’re sugary junk food that leaves everyone hyperactive, or they’re “healthy” options that taste like cardboard and disappointment. These witch fingers sit perfectly in the middle. They’re salty, chewy, and just spooky enough to make your guests pause before they take a bite. You know that moment when you serve something and the room goes quiet for a second because people are too distracted by the presentation to eat? That’s what happens here. The texture is key — you want that soft, bread-like interior with a slightly crisp exterior, not a hard, rock-like pretzel that chips a tooth.
I’ve tried using store-bought dough, but it never gets the right shape. The homemade dough gives you that control, letting you twist and pinch each finger individually. It’s a bit of work, sure, but it’s the kind of work that feels like play when you’re wearing an apron and listening to spooky playlists. Plus, the smell of baking bread mixes with the faint scent of yeast, filling the house with warmth while the outside world gets darker and chillier. It’s a small ritual, really. One that turns a simple snack into a memory.
There’s something satisfying about shaping dough with your hands. It’s tactile, messy, and forgiving. If a finger looks a little crooked, well, maybe it’s a zombie finger. Maybe it’s just tired. The imperfections are part of the charm. And when they come out of the oven, golden brown and shiny from the egg wash, you realize you’ve created something that looks eerie but tastes like home. That’s the magic of cooking — turning simple ingredients into something that feels slightly supernatural.
Why You’ll Love This Recipe
Why These Pretzel Rods Stand Out
You might be wondering why you should bother making these when you can just grab a bag of pretzels at the store. Here’s the thing: store-bought pretzels are hard, salty, and lack soul. These homemade witch fingers are soft, chewy, and loaded with character. I’ve tested this recipe dozens of times, tweaking the dough hydration and baking times, and I’m confident this is the best version. It’s not just about the look; it’s about the experience.
- Quick & Easy: Despite the spooky look, these come together in under 30 minutes of active prep. The dough comes together fast, and shaping is intuitive. Perfect for busy weeknights or last-minute Halloween parties.
- Simple Ingredients: No fancy grocery trips needed. You likely already have flour, yeast, butter, and almonds in your kitchen. This is pantry-friendly cooking at its finest.
- Perfect for Halloween: Great for trick-or-treaters, classroom parties, or cozy dinners. They’re a hit with kids who love a little scare with their snack.
- Crowd-Pleaser: Always gets rave reviews from kids and adults alike. Even the picky eaters can’t resist the familiar pretzel flavor.
- Unbelievably Delicious: The texture and flavor combo is next-level comfort food. Soft, salty, and slightly sweet from the dough.
What makes this recipe different is the attention to detail in the shaping. Most recipes tell you to just roll dough into ropes. I tell you to pinch, twist, and press. That extra step creates the illusion of a finger. It’s a small technique, but it makes all the difference. Whether you’re a seasoned baker or a novice, this recipe is forgiving. You can’t really mess it up.
This recipe isn’t just good—it’s the kind that makes you close your eyes after the first bite. It’s comfort food reimagined for the spookiest night of the year. Healthier than candy, faster than a full meal, but with the same soul-soothing satisfaction. Perfect for impressing guests without stress, or turning a simple snack into something memorable.
What Ingredients You Will Need
For the Pretzel Dough
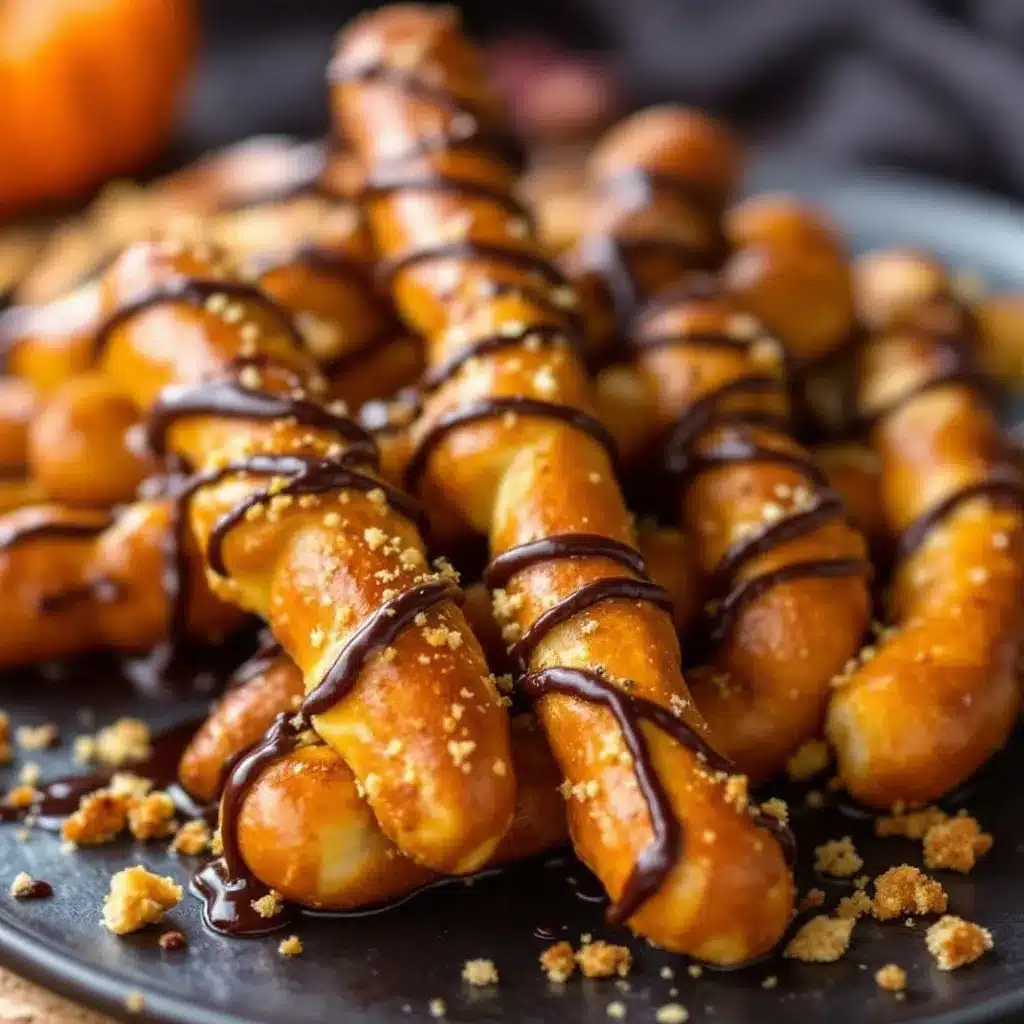
This recipe uses simple, wholesome ingredients to deliver bold flavor and satisfying texture without the fuss. The dough is the foundation, so quality matters. I recommend using bread flour for that chewy, pretzel-like texture, but all-purpose flour works in a pinch. The key is getting the hydration right—enough water to make the dough elastic, but not so much that it’s sticky.
- Bread Flour: 3 cups (360g). High protein content ensures a chewy texture. (I prefer King Arthur Brand for consistent results)
- Warm Water: 1 cup (240ml). Must be around 110°F (43°C). Too hot kills the yeast; too cold won’t activate it.
- Active Dry Yeast: 2 teaspoons (7g). Standard packet size. Check expiration date for best rise.
- Sugar: 2 tablespoons. Feeds the yeast and adds slight sweetness.
- Salt: 1 teaspoon. Balances the flavor and strengthens gluten.
- Unsalted Butter: 2 tablespoons, melted. Adds richness and tenderness.
For the Boiling Bath
Boiling the dough before baking is what gives pretzels their signature brown crust and distinct flavor. It’s a non-negotiable step for authenticity.
- Water: 8 cups (2 liters). For boiling.
- Baking Soda: 1/2 cup (60g). Creates the alkaline bath that browns the crust. (Do not use baking powder; it won’t work)
For the Topping
This is where the spooky magic happens. The almond acts as the fingernail, and the poppy seed adds the nail bed detail.
- Egg Yolk: 1 large. Mixed with 1 tablespoon of water for an egg wash. Creates a shiny, golden crust.
- Almond Slivers: 12-15 pieces. Pressed into the tip of each finger to look like a nail. (Use raw or blanched slivers)
- Poppy Seeds: 1-2 teaspoons. Optional, but adds a nice visual detail for the nail bed.
- Salt Flakes: Optional. For extra crunch and visual contrast.
Equipment Needed
You don’t need much to make these witch fingers, but having the right tools makes the process smoother. A large baking sheet is essential. I use a half-sheet pan, which fits about 6-8 fingers comfortably. Make sure to line it with parchment paper. Parchment paper is your best friend here. It prevents sticking and makes cleanup a breeze. You can use a silicone mat, but parchment is cheaper and easier to replace if it gets messy.
A large pot is needed for boiling the dough. A 6-quart stockpot works well. It needs to be deep enough to submerge the dough without spilling. If you’re making a large batch, you might need to boil in batches. Don’t overcrowd the pot. Give each finger room to move.
A pastry brush is helpful for applying the egg wash. It ensures an even coat without tearing the delicate dough. If you don’t have one, you can use your fingers, but be gentle. A sharp knife or pizza cutter is useful for scoring the dough if you want to add more detail, like wrinkles or cuts. I usually just press the almond in, but feel free to get creative.
Finally, a kitchen thermometer is useful for checking the water temperature for the yeast. If you don’t have one, just touch the water. It should feel warm, like a baby’s bath. Not hot, not cold. Just right.
Preparation Method
Step 1: Activate the Yeast
Start by warming the water. Heat it in a saucepan or microwave until it reaches 110°F (43°C). Pour it into a large mixing bowl. Add the sugar and yeast. Stir gently and let it sit for 5-10 minutes. You’ll see it foam and bubble. This means the yeast is alive and ready. If it doesn’t foam, your yeast might be old, or the water was too hot. Start over with fresh yeast.
Step 2: Make the Dough
Add the melted butter and salt to the yeast mixture. Stir to combine. Gradually add the flour, one cup at a time. Mix with a wooden spoon or dough hook until the dough starts to come together. It will look shaggy and sticky at first. Don’t add all the flour at once. You might not need it all. Once the dough is too thick to stir, turn it out onto a floured surface.
Knead the dough for 8-10 minutes. Push it away with the heel of your hand, fold it back, and turn it. Repeat. The dough should become smooth and elastic. If it’s too sticky, add a little more flour. If it’s too dry, add a little more water. It’s a balance. Test it by pressing a finger into the dough. It should spring back slowly.
Place the dough in a lightly oiled bowl. Cover with plastic wrap or a damp towel. Let it rise in a warm place for 45-60 minutes. It should double in size. Don’t rush this step. Proper rising is key for texture.
Step 3: Shape the Witch Fingers
Preheat your oven to 400°F (200°C). Line two baking sheets with parchment paper. Punch down the risen dough to release air. Divide the dough into 12 equal pieces. Roll each piece into a long rope, about 10-12 inches long. Taper one end to a point. This will be the fingertip.
Take the tapered end and pinch it gently to create a “nail” shape. It should look like a finger with a knuckle. Press an almond sliver into the tip to form the nail. Add a tiny poppy seed below the almond for detail. Place the shaped fingers on the baking sheet, leaving space between them. They will expand slightly.
Step 4: Boil the Dough
Bring the water and baking soda to a boil in a large pot. Reduce heat to a simmer. Carefully drop 3-4 witch fingers into the water. Boil for 30 seconds. Flip them over and boil for another 30 seconds. Use a slotted spoon to remove them. Place them back on the baking sheet. Boil in batches.
Step 5: Bake
Whisk the egg yolk with water. Brush the boiled witch fingers generously with the egg wash. This ensures a shiny, golden crust. Bake for 12-15 minutes. They should be deep golden brown. Remove from the oven and let cool on the pan for 5 minutes. Transfer to a wire rack to cool completely.
Cooking Tips & Techniques
Getting the Dough Right
The texture of the dough is crucial. If it’s too wet, the fingers will lose their shape during boiling. If it’s too dry, they’ll be hard and crumbly. Aim for a soft, pliable dough. It should stick to your hand slightly but not leave residue. Kneading is essential. It develops gluten, which gives the pretzel its chew. Don’t skip it.
Boiling Tips
The baking soda bath is what makes a pretzel a pretzel. It raises the pH of the dough, allowing it to brown faster and develop that distinct flavor. Make sure the water is simmering, not boiling vigorously. Vigorous boiling can tear the dough. Also, don’t boil them too long. 30 seconds per side is enough. Over-boiling makes them dense.
Shaping Secrets
Practice makes perfect. Your first few fingers might not look perfect. That’s okay. They’ll still taste great. Use the heel of your hand to taper the dough. Roll it back and forth on the counter. Press the almond in firmly so it doesn’t fall off during baking. If you’re worried, you can brush a little egg wash under the almond to act as glue.
Baking for Color
Watch them closely in the oven. Pretzels can go from golden to burnt very quickly. If they’re browning too fast, cover them loosely with foil. Rotate the pans halfway through for even baking. The goal is a deep, mahogany brown. That’s the color of a well-made pretzel.
Variations & Adaptations
Dietary Adjustments
For a gluten-free option, use a 1:1 gluten-free flour blend. Add xanthan gum if your blend doesn’t include it. The dough might be stickier, so handle with care. For a vegan version, use plant-based butter and an egg wash made from aquafaba or plant milk with a little maple syrup. The result will be slightly less shiny, but still delicious.
Flavor Variations
Add garlic powder or onion powder to the dough for a savory twist. These are great with cheese dip. For a sweet version, add cinnamon and sugar to the dough. Skip the almond and use a chocolate chip or raisin to look like a different kind of finger. You can also add herbs like rosemary or thyme for an earthy flavor.
Seasonal Twists
In the fall, add a pinch of pumpkin spice to the dough. It adds a nice seasonal aroma. For Christmas, shape them into candy canes instead of fingers. Use red and white icing for decoration. The dough is versatile. Adapt it to any holiday.
Serving & Storage Suggestions
Serving Ideas
Serve these witch fingers warm. They’re best enjoyed fresh out of the oven. Pair them with a spicy mustard dip or a creamy cheese sauce. They’re also great with ranch dressing. For a spooky presentation, serve them on a black platter with “blood” (strawberry jam) for dipping. Add some plastic spiders or ghosts for extra flair.
Storage
Store leftovers in an airtight container at room temperature for up to 2 days. They will lose some chewiness over time. To refresh, warm them in the oven at 350°F for 5 minutes. They can also be frozen. Freeze them on a baking sheet, then transfer to a freezer bag. Reheat from frozen in the oven.
Make Ahead
You can shape the dough and refrigerate it overnight. Let it come to room temperature before boiling and baking. This is great for party prep. Just boil and bake right before serving.
Nutritional Information & Benefits
These witch fingers are a moderate-calorie treat. Each pretzel rod contains approximately 150-200 calories, depending on size. They are a source of carbohydrates from the flour and provide some protein from the yeast and almond. The almond adds healthy fats and vitamin E. While not a health food, they’re better than sugary candies. They offer a savory alternative that’s less likely to cause a sugar crash. Use whole wheat flour for added fiber. The baking soda bath adds sodium, so be mindful if you’re watching your salt intake. Overall, they’re a fun, occasional treat that fits into a balanced diet.
Conclusion
These Easy Spooky Witch Finger Pretzel Rods are more than just a snack. They’re a fun, interactive experience that brings people together. Whether you’re making them for a party or just a quiet night in, they add a touch of magic to your kitchen. I love how simple they are to make, yet how impressive they look. It’s the perfect balance of spooky and delicious.
I encourage you to try this recipe. Customize it with your own twists. Add your favorite dips. Share them with friends and family. The joy of cooking is in the sharing. If you make these, I’d love to see your creations. Tag me on social media or leave a comment below. Let me know how they turned out. Did the kids love them? Did the adults laugh? I want to hear it all.
Happy Halloween, and happy baking. May your kitchen be filled with laughter and your plates be filled with love.
FAQs
Can I use store-bought pretzel dough?
Yes, you can use store-bought pretzel dough to save time. However, homemade dough gives you better control over the shape and texture. Store-bought dough might be thicker and harder to shape into fingers. If you use it, roll it thin and pinch carefully.
Why did my pretzels turn out pale?
If your pretzels are pale, you might have skipped the baking soda bath or boiled them for too short a time. The baking soda is essential for browning. Also, make sure your oven is preheated correctly. An oven thermometer can help verify the temperature.
Can I freeze the raw dough?
Yes, you can freeze the shaped dough. Place them on a baking sheet and freeze until solid. Then transfer to a freezer bag. When ready to bake, boil them directly from frozen. Add 10-15 seconds to the boiling time.
What can I use instead of almonds?
You can use slivered almonds, hazelnuts, or even chocolate chips for a sweet version. The key is to use something flat and thin that can be pressed into the dough. A slice of almond is ideal for the “fingernail” look.
How do I keep the almonds from falling off?
Press the almond firmly into the dough. You can also brush a little egg wash under the almond before pressing it in. This acts as a glue. Make sure the dough is soft enough to accept the almond but firm enough to hold it.
Pin This Recipe!
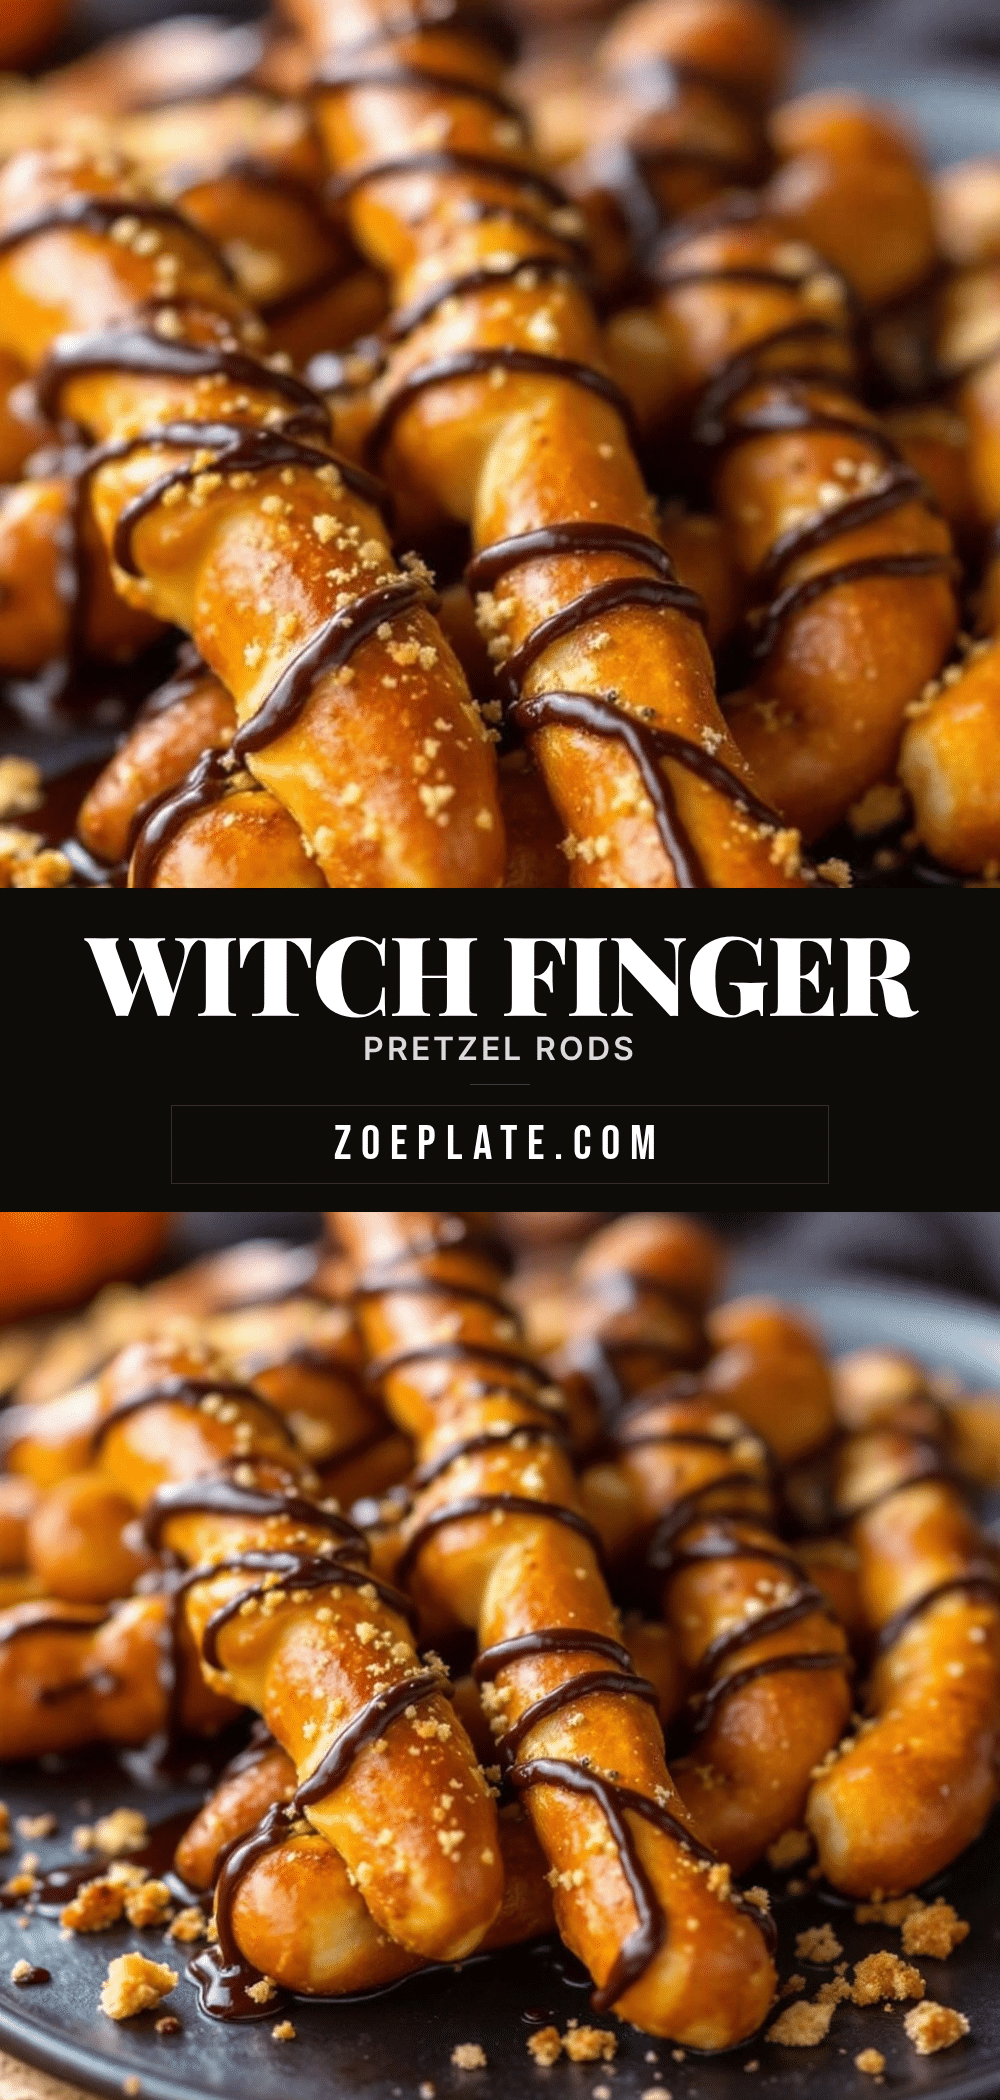
Easy Spooky Witch Finger Pretzel Rods: 5-Min Halloween Treat

Homemade pretzel rods shaped like spooky witch fingers with almond sliver nails. These salty, chewy treats are perfect for Halloween parties and offer a fun, interactive baking experience.
- Prep Time: 30 minutes
- Cook Time: 15 minutes
- Total Time: 45 minutes
- Yield: 12 servings 1x
- Category: Snack
- Cuisine: American
Ingredients
- 3 cups (360g) Bread Flour
- 1 cup (240ml) Warm Water (110°F/43°C)
- 2 teaspoons (7g) Active Dry Yeast
- 2 tablespoons Sugar
- 1 teaspoon Salt
- 2 tablespoons Unsalted Butter, melted
- 8 cups (2 liters) Water (for boiling)
- 1/2 cup (60g) Baking Soda
- 1 large Egg Yolk mixed with 1 tablespoon water
- 12–15 Almond Slivers
- 1–2 teaspoons Poppy Seeds (optional)
- Salt Flakes (optional)
Instructions
- Heat water to 110°F (43°C). In a large bowl, combine water, sugar, and yeast. Let sit for 5-10 minutes until foamy.
- Add melted butter and salt to the yeast mixture. Gradually add flour, mixing until a shaggy dough forms.
- Knead dough on a floured surface for 8-10 minutes until smooth and elastic.
- Place dough in an oiled bowl, cover, and let rise in a warm place for 45-60 minutes until doubled.
- Preheat oven to 400°F (200°C). Line baking sheets with parchment paper.
- Punch down dough and divide into 12 equal pieces. Roll each into a 10-12 inch rope, tapering one end.
- Pinch the tapered end to create a knuckle shape. Press an almond sliver into the tip and add a poppy seed below for detail.
- Bring water and baking soda to a simmer in a large pot. Boil 3-4 fingers for 30 seconds per side.
- Remove with a slotted spoon and place back on the baking sheet.
- Brush boiled fingers with egg wash. Bake for 12-15 minutes until deep golden brown.
- Cool on the pan for 5 minutes, then transfer to a wire rack to cool completely.
Notes
Ensure water is not too hot when activating yeast. Do not use baking powder instead of baking soda for the boiling bath. If dough is too sticky, add a little flour; if too dry, add water. Boiling time should be strictly 30 seconds per side to prevent dense texture.
Nutrition
- Serving Size: 1 pretzel rod
- Calories: 175
- Sugar: 3
- Sodium: 350
- Fat: 4
- Saturated Fat: 1.5
- Carbohydrates: 30
- Fiber: 1.5
- Protein: 5
Keywords: Halloween, Pretzel Rods, Witch Fingers, Easy Recipe, Kids Snack, Party Food, Pretzel Recipe, Spooky Treats


