My first batch of pumpkin snickerdoodles was, honestly, a disaster. The cookies spread into flat, greasy puddles that tasted more like baking soda than pumpkin spice. I was ready to write off the whole idea—pumpkin and snickerdoodles just didn’t seem meant to be. Pumpkin adds too much moisture, and snickerdoodles need that specific, crackly, chewy texture. It felt like a lost cause.
But I kept coming back to the idea. The thought of that warm cinnamon-sugar coating meeting the soft, almost cake-like interior of a pumpkin cookie haunted me. So, I went back to the kitchen, determined to figure it out. I tested different flour ratios, tried blotting the pumpkin, and even played with chilling times. It took about six more batches (and a lot of taste-testing by my very willing neighbors) before I nailed it.
These cookies are the result of all that trial and error. They have that classic snickerdoodle chew, a tender crumb from the pumpkin, and a spice blend that makes your whole kitchen smell like autumn. They don’t spread into a mess, and they stay soft for days. Honestly, I think these are the only pumpkin cookies you’ll ever need.
Why You’ll Love This Recipe
Look, I know there are a million pumpkin cookie recipes out there. But these are different. I spent a lot of time figuring out how to get the texture just right, and I think you’ll really appreciate the result. Here’s why this recipe is a keeper:
- Perfectly Chewy Texture: No cakey, fluffy pumpkin cookies here. These have that dense, satisfying chew that a good snickerdoodle is known for. The secret is a specific flour-to-pumpkin ratio and a little cornstarch.
- Simple, Real Ingredients: You don’t need any weird additives or specialty flours. These are made with pantry staples you probably already have on hand. This isn’t one of those recipes that requires a trip to three different stores.
- That Classic Cinnamon-Sugar Coating: The best part of a snickerdoodle is the crackly, crunchy cinnamon-sugar crust. These cookies have it in spades. The coating provides a lovely textural contrast to the soft, chewy cookie inside.
- Fall Flavors, Done Right: The pumpkin is there, but it’s balanced. It adds moisture and a subtle earthiness that lets the warm spices—cinnamon, nutmeg, cloves, and ginger—shine. It tastes like a cozy sweater feels.
- Foolproof for Bakers of Any Level: I’ve tested this recipe with beginner bakers, and it works every time. The dough is easy to handle, and as long as you follow the chill time, you’ll get beautiful, perfectly round cookies.
This isn’t just another pumpkin cookie. It’s the one that makes you close your eyes after the first bite. It’s the kind of treat you can bring to a potluck and watch disappear, or just make for a quiet Sunday afternoon when you need a little comfort.
What Ingredients You Will Need
This recipe uses simple, wholesome ingredients to create a cookie that’s both flavorful and has the perfect texture. Most of these are pantry staples, but a few key choices make all the difference. Let’s break down what you’ll need and why each ingredient matters.
For the Cookies
- 2 ¾ cups (345g) all-purpose flour: This is the structure of your cookie. I recommend unbleached flour for the best texture. Spoon and level it into your measuring cup—don’t scoop directly from the bag, or you’ll end up with too much flour and dry cookies.
- 1 teaspoon cornstarch: This is my secret weapon for a soft, chewy texture. It tenderizes the gluten, preventing the cookies from becoming tough. Don’t skip it!
- 2 teaspoons cream of tartar: This is the classic snickerdoodle ingredient. It reacts with the baking soda to give the cookies their signature tangy flavor and helps with that perfect, puffy shape.
- 1 teaspoon baking soda: This is our leavening agent, helping the cookies rise and spread just the right amount.
- ½ teaspoon salt: Salt balances the sweetness and enhances all the other flavors. I use fine sea salt.
- 2 teaspoons ground cinnamon: The star of the show! Use a good quality cinnamon for the best flavor. I love Vietnamese cinnamon for its intense sweetness.
- 1 teaspoon ground ginger: Adds a little warmth and zing that pairs beautifully with the pumpkin.
- ½ teaspoon ground nutmeg: Freshly grated is always best, but pre-ground works perfectly well. It adds that classic, cozy fall flavor.
- ¼ teaspoon ground cloves: A little goes a long way. It adds depth and a hint of spice that rounds out the blend.
- ¾ cup (1 ½ sticks, 170g) unsalted butter, softened: Make sure your butter is at room temperature—soft to the touch but not melted. This is crucial for proper creaming. I always use unsalted so I can control the salt level.
- 1 cup (200g) packed light brown sugar: Brown sugar adds moisture and a deeper, more complex sweetness than white sugar, thanks to the molasses. This is key for a chewy cookie.
- ½ cup (100g) granulated sugar: This adds a bit of crunch and helps the cookies spread.
- 1 large egg, at room temperature: A room-temperature egg emulsifies into the butter-sugar mixture much better, creating a smoother, more uniform dough.
- ½ cup (120g) pumpkin puree: Use 100% pure pumpkin puree, not pumpkin pie filling. I recommend blotting the puree with a paper towel to remove some of the excess moisture—this is the key to preventing flat cookies.
- 1 teaspoon vanilla extract: Pure vanilla extract adds warmth and depth. Imitation will work, but the real stuff is worth it here.
For the Cinnamon-Sugar Coating
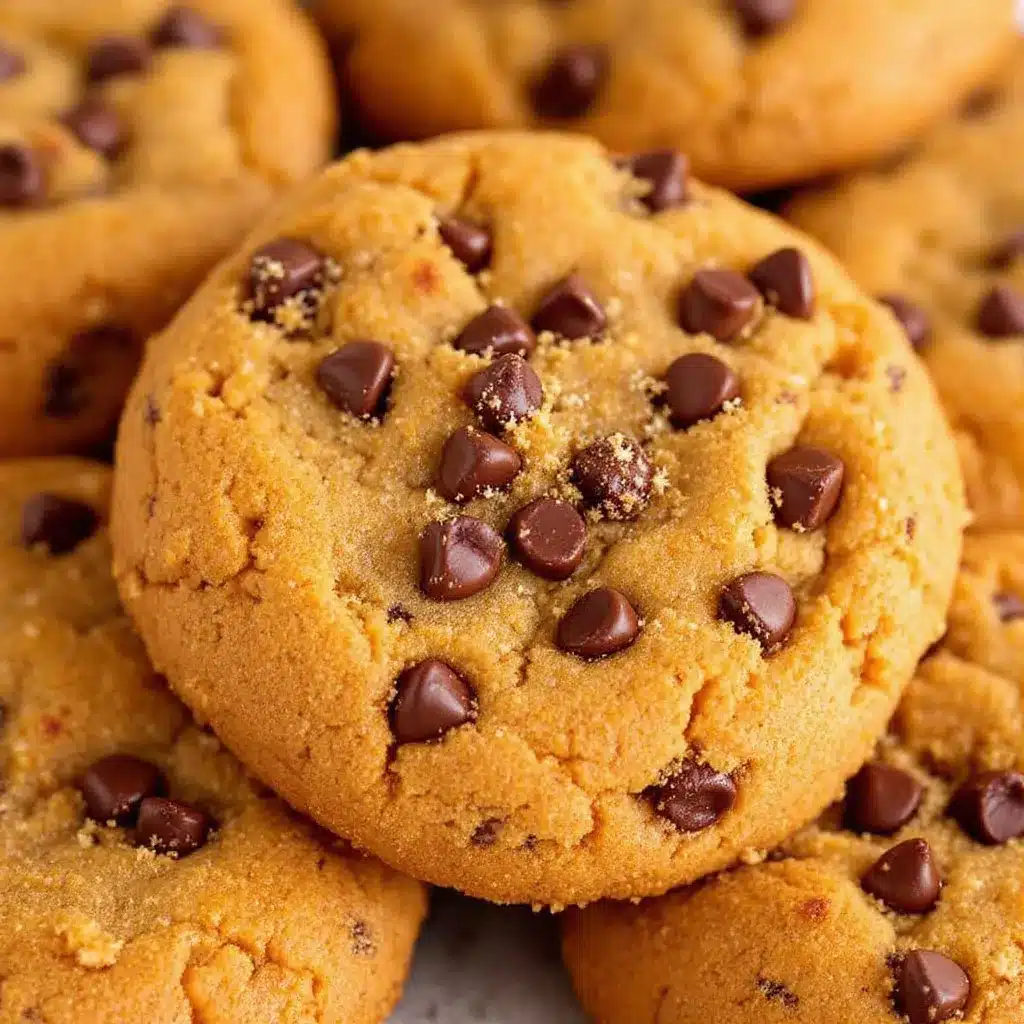
- ¼ cup (50g) granulated sugar: This forms the crunchy, sparkly exterior.
- 1 ½ tablespoons ground cinnamon: Don’t be shy with the coating—it’s the signature of a snickerdoodle.
Ingredient Tip: For the best results, I recommend using a brand like Libby’s for the pumpkin puree. It has a consistently thick, not watery, texture. If you’re using a different brand, you might need to blot the puree a little more.
Equipment Needed
You don’t need a professional bakery setup for these, but a few key tools will make the process much smoother. Here’s what I use:
- Large Mixing Bowls: You’ll need one for the dry ingredients and one for the wet. I love a good set of nesting glass bowls.
- Electric Hand Mixer or Stand Mixer: While you can do this by hand with a whisk and some elbow grease, a mixer makes creaming the butter and sugar much easier and faster. A stand mixer with the paddle attachment is my go-to.
- Whisk: For combining the dry ingredients and ensuring the spices are evenly distributed.
- Rubber Spatula: Essential for scraping down the sides of the bowl and folding in the final bits of flour.
- Measuring Cups and Spoons: For accuracy. A kitchen scale is even better for the flour, but cups work fine if you use the spoon-and-level method.
- Baking Sheets: I recommend using light-colored, heavy-duty baking sheets. Dark pans can cause cookies to brown too quickly on the bottom.
- Parchment Paper or Silicone Baking Mat: This is non-negotiable. It prevents sticking and ensures even baking. I prefer parchment for easy cleanup.
- Medium Cookie Scoop (about 1.5 tablespoons): This ensures all your cookies are the same size, so they bake evenly. It’s a small investment that makes a huge difference.
- Cooling Rack: Allows air to circulate around the cookies so they cool completely without getting soggy on the bottom.
Preparation Method
Alright, let’s get baking! This process is straightforward, but paying attention to a few key steps will guarantee perfect cookies every time. Take your time, and don’t rush the chill.
- Prep the Pumpkin (Crucial Step!): Measure out your ½ cup of pumpkin puree. Place it on a plate lined with a few layers of paper towels. Spread it out into a thin layer and place another paper towel on top. Gently press to absorb as much excess liquid as possible. Let it sit for about 5 minutes while you prepare the other ingredients. This step is the single most important thing you can do to prevent flat, greasy cookies.
- Whisk Dry Ingredients: In a medium bowl, whisk together the all-purpose flour, cornstarch, cream of tartar, baking soda, salt, cinnamon, ginger, nutmeg, and cloves. Set this aside. Make sure there are no lumps.
- Cream Butter and Sugars: In a large bowl (or the bowl of your stand mixer), beat the softened butter, brown sugar, and granulated sugar together on medium speed for about 2-3 minutes. You want the mixture to be light, fluffy, and pale in color. Scrape down the sides and bottom of the bowl with your spatula.
- Add Wet Ingredients: Beat in the egg and vanilla extract until well combined. The mixture might look a little curdled at this point—that’s okay. Now, add the blotted pumpkin puree and beat on low speed until it’s just incorporated. Don’t overmix here; we just want it to come together.
- Combine Wet and Dry: With the mixer on low speed, gradually add the dry ingredient mixture to the wet ingredients. Mix until just combined. You’ll see a few streaks of flour—that’s fine. Use your rubber spatula to fold the dough a few times from the bottom up, ensuring everything is incorporated. The dough will be very soft and a little sticky.
- Chill the Dough (Non-Negotiable!): Cover the bowl with plastic wrap and refrigerate the dough for at least 2 hours, or up to 3 days. Chilling is essential. It solidifies the butter, which prevents the cookies from spreading too much in the oven. It also allows the flavors of the spices to meld and deepen. Don’t skip this step, or you will be disappointed.
- Preheat and Prep: When you’re ready to bake, preheat your oven to 350°F (175°C). Line your baking sheets with parchment paper or silicone mats.
- Make the Cinnamon-Sugar Coating: In a small, shallow bowl, whisk together the ¼ cup of granulated sugar and 1 ½ tablespoons of cinnamon until combined.
- Scoop and Roll: Using your cookie scoop (about 1.5 tablespoons), scoop out a portion of the chilled dough. Roll it between your palms to form a smooth ball. Then, roll the dough ball generously in the cinnamon-sugar mixture, making sure it’s completely coated. Place the coated dough balls on the prepared baking sheet, leaving about 2 inches of space between each one.
- Bake: Bake for 10-12 minutes, or until the edges are set and lightly golden. The centers will still look a little soft and puffy. That’s exactly what you want. For a chewier cookie, bake for the shorter time. For a slightly crisper edge, go for the longer time.
- Cool on the Pan: This is another crucial step. Let the cookies cool on the baking sheet for at least 5 minutes. They will continue to bake from the residual heat and set up properly. If you try to move them too soon, they will fall apart. After 5 minutes, transfer them to a wire rack to cool completely.
Pro Tip: If you want perfectly round cookies, right after they come out of the oven, take a round cookie cutter or a glass that’s slightly larger than the cookie and gently swirl it around the edges of the hot cookies. This pushes any uneven edges back into a perfect circle.
Cooking Tips & Techniques
I’ve made a lot of mistakes so you don’t have to. Here are the most important lessons I learned while perfecting this recipe:
- The Blotting is Everything: I can’t stress this enough. Pumpkin is full of water. If you don’t remove some of that moisture, it will turn your cookie dough into a puddle. Blotting the puree with paper towels is a simple, effective trick that makes all the difference between a flat cookie and a perfectly puffy one.
- Don’t Overmix the Dough: Once you add the flour, mix only until it disappears. Overmixing develops the gluten, which will make your cookies tough and dense instead of tender and chewy. A few flour streaks are your friend.
- Respect the Chill Time: I know it’s tempting to skip this, especially when you’re craving cookies. But the chill time is not just for flavor—it’s for structure. Cold butter doesn’t spread as fast, giving the cookies time to set their edges before they flatten out. If you bake this dough right away, you will get thin, greasy cookies.
- Use a Cookie Scoop for Uniformity: This isn’t just about aesthetics. Cookies that are the same size will bake at the same rate. If you have one big cookie and one small cookie on the same tray, the small one will burn before the big one is done. A simple scoop solves this problem.
- Underbake Slightly: Pull the cookies out when the edges are set but the centers still look soft and slightly underdone. They will continue to cook on the hot baking sheet. This is the secret to a soft, chewy center.
I once forgot to chill the dough and ended up with a single giant, flat, greasy cookie that covered the entire baking sheet. It was still tasty (I ate it with a spoon), but it was not a snickerdoodle. Learn from my mistakes!
Variations & Adaptations
This recipe is a fantastic base that’s easy to adapt to your tastes or dietary needs. Here are a few of my favorite variations:
- Gluten-Free Option: Substitute the all-purpose flour with a high-quality 1:1 gluten-free baking flour blend that contains xanthan gum. I’ve had great success with Bob’s Red Mill 1-to-1 Baking Flour. Do not use almond or coconut flour, as they will change the texture completely. The rest of the recipe remains the same.
- Spice it Up: If you love a more intense spice kick, add ¼ teaspoon of cardamom or allspice to the dry ingredient mix. You can also use a store-bought pumpkin pie spice blend in place of the individual spices. Use 2 teaspoons of pumpkin pie spice in the dough and 1 teaspoon in the coating.
- Add Some Crunch: For a delightful texture, fold in ½ cup of chopped pecans or walnuts after the flour is just incorporated. Toast the nuts first in a dry pan for a few minutes to deepen their flavor. This adds a lovely nutty crunch to the soft cookie.
- Chocolate Chip Pumpkin Snickerdoodles: Because chocolate makes everything better! After mixing the dough, gently fold in ¾ cup of semi-sweet or dark chocolate chips. The combination of warm pumpkin spice and rich chocolate is absolutely divine.
- Frosted Version: For an extra-special treat, let the cookies cool completely and then drizzle them with a simple cream cheese glaze. Mix 2 ounces of softened cream cheese with 1 cup of powdered sugar and 2-3 tablespoons of milk until smooth and pourable. It takes these cookies from “great” to “show-stopping.”
My personal favorite is the chocolate chip version. The melty chocolate chips against the soft, spiced cookie and crunchy cinnamon-sugar coating is a textural and flavor dream. It’s a little more indulgent, but perfect for a special occasion.
Serving & Storage Suggestions
These cookies are wonderful at room temperature, but they’re also fantastic warm from the oven. Here’s how to serve and store them for the best experience.
- Serving Temperature: They are perfect at room temperature. For a special treat, you can warm them in a 300°F oven for 3-5 minutes before serving. This softens the center and makes them taste freshly baked.
- Perfect Pairings: These cookies are a natural match for a cold glass of milk, a warm mug of coffee, or a cozy cup of chai. For a festive fall dessert, serve them alongside a scoop of vanilla bean ice cream or a dollop of whipped cream. If you’re looking for a perfect drink pairing, you might love our cozy pumpkin chai latte with oat milk.
- Storage: Store the cooled cookies in an airtight container at room temperature. They will stay soft and chewy for up to 4 days. To keep them extra soft, add a slice of plain bread to the container. The cookies will absorb the moisture from the bread.
- Freezing Instructions: These cookies freeze beautifully. You can freeze the baked cookies in a freezer-safe bag for up to 3 months. Thaw at room temperature. For the best results, freeze the unbaked cookie dough balls. After scooping and rolling in the cinnamon-sugar, place them on a baking sheet and freeze until solid. Then, transfer the frozen dough balls to a freezer bag. You can bake them directly from frozen, adding 1-2 minutes to the baking time.
- Flavor Development: Like many cookies, these actually taste even better the next day. The spices have time to meld and mellow out, creating a more complex and harmonious flavor. So, don’t be afraid to make them a day ahead!
Nutritional Information & Benefits
While these are definitely a treat, they do have a few redeeming qualities thanks to the star ingredient. Here’s a quick look at the estimated nutritional values.
| Nutrient | Per Cookie (approx.) |
|---|---|
| Calories | 180 |
| Fat | 8g |
| Saturated Fat | 5g |
| Carbohydrates | 26g |
| Sugar | 15g |
| Protein | 2g |
| Fiber | 1g |
| Vitamin A | 35% DV |
Pin This Recipe!
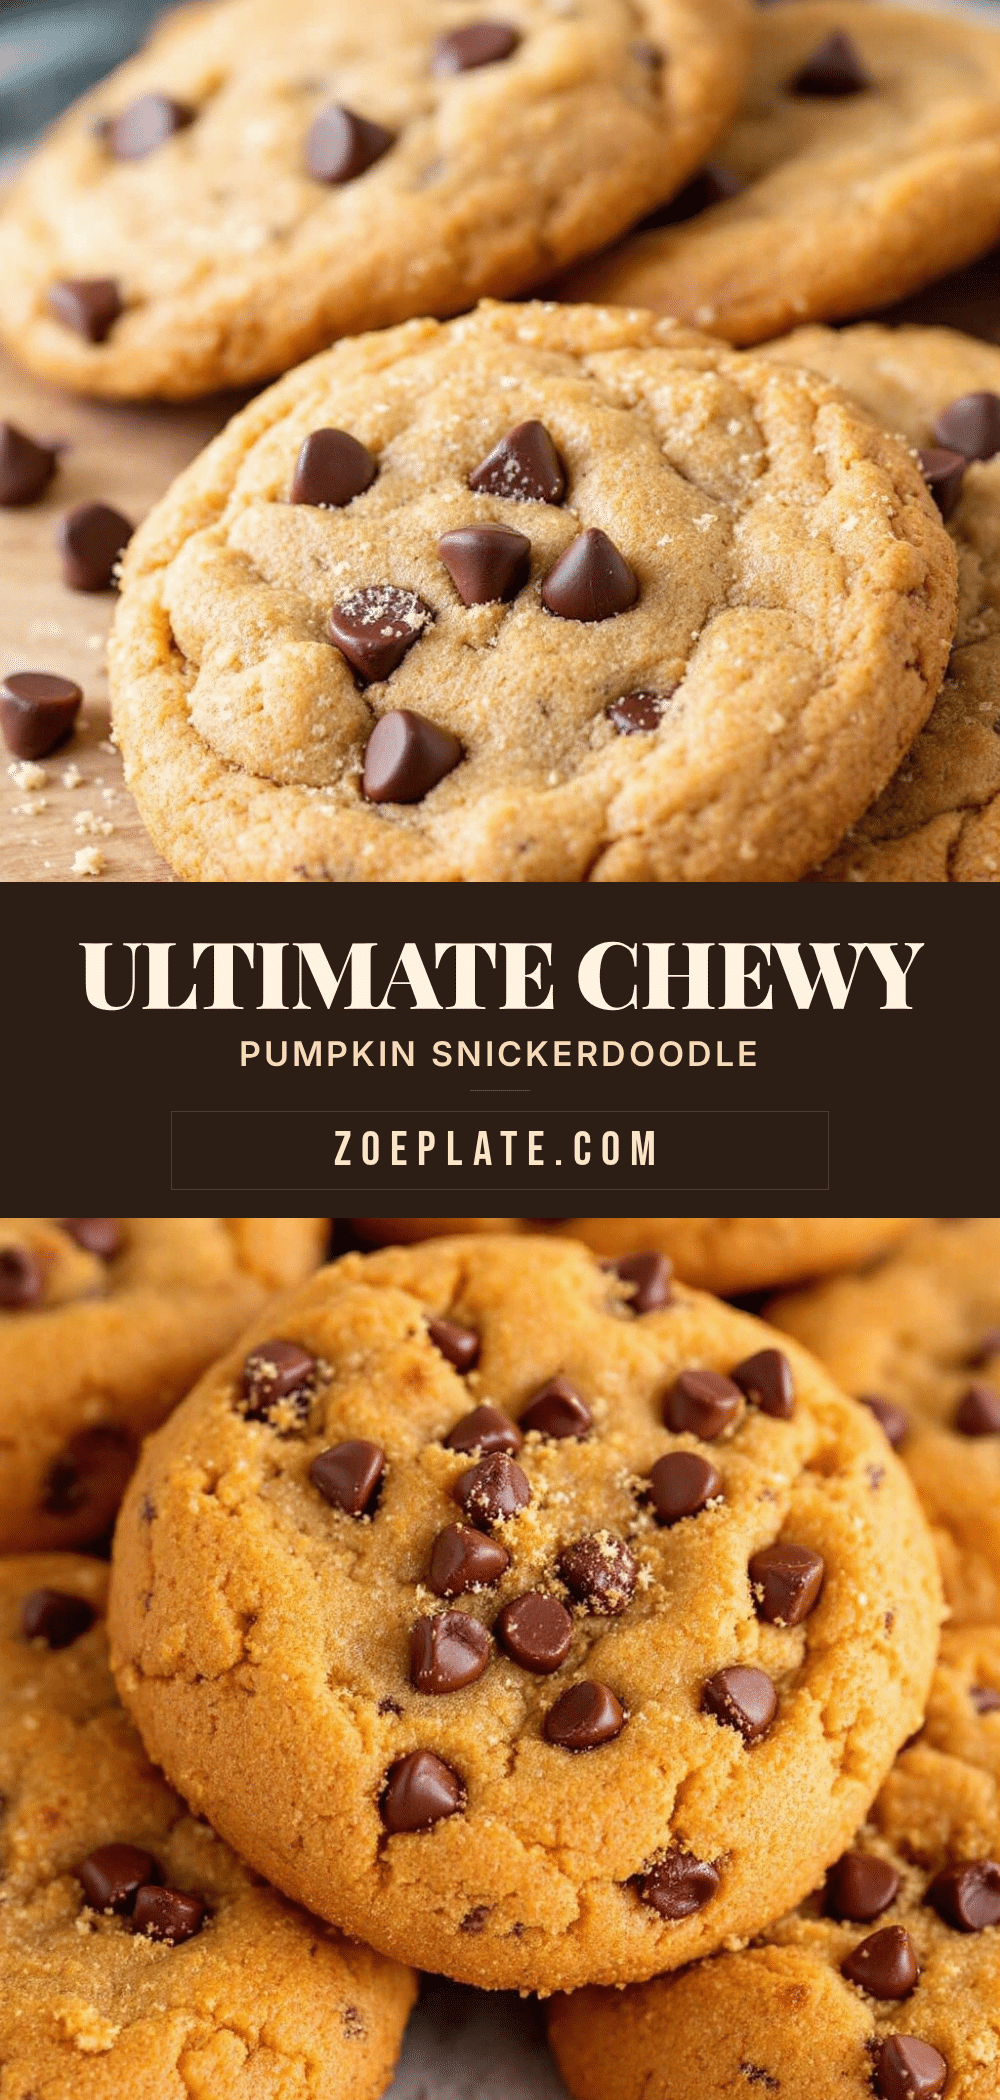
Easy Ultimate Chewy Pumpkin Snickerdoodle Cookies Recipe
These Ultimate Chewy Pumpkin Snickerdoodle Cookies are the perfect fall treat—a cookie that’s both familiar and new, with a texture that’s just right. They have that classic snickerdoodle chew, a tender crumb from the pumpkin, and a spice blend that makes your whole kitchen smell like autumn.
- Prep Time: 20 minutes
- Cook Time: 12 minutes
- Total Time: 2 hours 32 minutes (includes chilling)
- Yield: 24 servings 1x
- Category: Dessert
- Cuisine: American
Ingredients
- 2 ¾ cups (345g) all-purpose flour
- 1 teaspoon cornstarch
- 2 teaspoons cream of tartar
- 1 teaspoon baking soda
- ½ teaspoon salt
- 2 teaspoons ground cinnamon
- 1 teaspoon ground ginger
- ½ teaspoon ground nutmeg
- ¼ teaspoon ground cloves
- ¾ cup (1 ½ sticks, 170g) unsalted butter, softened
- 1 cup (200g) packed light brown sugar
- ½ cup (100g) granulated sugar
- 1 large egg, at room temperature
- ½ cup (120g) pumpkin puree
- 1 teaspoon vanilla extract
- ¼ cup (50g) granulated sugar (for coating)
- 1 ½ tablespoons ground cinnamon (for coating)
Instructions
- Prep the Pumpkin: Measure out ½ cup of pumpkin puree. Place it on a plate lined with paper towels, spread into a thin layer, and press with another paper towel to absorb excess liquid. Let sit for 5 minutes.
- Whisk Dry Ingredients: In a medium bowl, whisk together flour, cornstarch, cream of tartar, baking soda, salt, cinnamon, ginger, nutmeg, and cloves. Set aside.
- Cream Butter and Sugars: In a large bowl, beat softened butter, brown sugar, and granulated sugar on medium speed for 2-3 minutes until light and fluffy. Scrape down the bowl.
- Add Wet Ingredients: Beat in egg and vanilla extract until combined. Add blotted pumpkin puree and beat on low until just incorporated.
- Combine Wet and Dry: With mixer on low, gradually add dry ingredients to wet ingredients. Mix until just combined. Fold a few times with a spatula to ensure everything is incorporated. Dough will be soft and sticky.
- Chill the Dough: Cover bowl with plastic wrap and refrigerate for at least 2 hours, or up to 3 days.
- Preheat and Prep: When ready to bake, preheat oven to 350°F (175°C). Line baking sheets with parchment paper or silicone mats.
- Make Cinnamon-Sugar Coating: In a small bowl, whisk together ¼ cup granulated sugar and 1 ½ tablespoons cinnamon.
- Scoop and Roll: Using a cookie scoop (about 1.5 tablespoons), scoop dough and roll into smooth balls. Roll each ball in cinnamon-sugar mixture until completely coated. Place on prepared baking sheets, 2 inches apart.
- Bake: Bake for 10-12 minutes, until edges are set and lightly golden. Centers will still look soft and puffy.
- Cool on Pan: Let cookies cool on baking sheet for at least 5 minutes, then transfer to a wire rack to cool completely.
Notes
Blotting the pumpkin puree is crucial to prevent flat cookies. Chilling the dough for at least 2 hours is non-negotiable for proper texture. For perfectly round cookies, gently swirl a round cookie cutter around the edges of hot cookies right out of the oven.
Nutrition
- Serving Size: 1 cookie
- Calories: 180
- Sugar: 15
- Sodium: 120
- Fat: 8
- Saturated Fat: 5
- Carbohydrates: 26
- Fiber: 1
- Protein: 2
Keywords: pumpkin snickerdoodle, chewy pumpkin cookies, fall cookies, snickerdoodle recipe, pumpkin spice cookies


