My grandmother did not trust pears in preserves. She was a strawberry-and-raspberry woman through and through, and she’d wave her hand dismissively whenever someone mentioned canning anything that wasn’t a bright red berry. “Pears are too finicky,” she’d say. “They get mealy or they turn to mush, and you’re left with something that looks like baby food.” I heard that speech for years. So when I found myself staring down a bushel of Bosc pears from my neighbor’s overloaded tree, I almost gave them away. But the smell of them—sweet and almost floral, with that soft, earthy undertone—was too good to ignore. I decided to prove her wrong.
I started with a simple idea: keep the pear flavor honest, but give it a backbone of warmth. Cinnamon was a no-brainer, but I wanted something that would round out the edges without screaming “holiday spice.” Vanilla. Real vanilla, not the imitation stuff. The first batch was a little too runny, and I’ll admit I was frustrated. (My grandmother’s voice was in my head, you know?) But the second batch? That was the one. The pears softened into these translucent, golden chunks suspended in a syrup that tasted like fall in a jar. It wasn’t jam, it wasn’t jelly—it was preserves, exactly as they should be.
This recipe is my quiet victory over that old skepticism. It uses just five ingredients, no pectin required, and it comes together in under an hour. The pears hold their shape if you treat them right, and the vanilla and cinnamon work together like they’ve been doing this their whole lives. I make a batch every year now, and I always tuck a jar into my grandmother’s Christmas basket. She still hasn’t admitted I was right, but the empty jar she sends back says enough. If you’ve ever been hesitant about preserving pears, trust me on this one—it’s worth the try.
Why You’ll Love This Recipe
You know how some recipes feel like they require a culinary degree and a pantry full of specialty equipment? This is not one of those. This homemade cinnamon vanilla pear preserves is the kind of recipe that makes you feel like a kitchen genius with almost no effort. Here is why it works so well:
- Only 5 Ingredients: Pears, sugar, lemon juice, cinnamon, and vanilla. That is it. No pectin, no weird additives, no trips to a specialty store.
- Quick Cooking Time: From prep to jar, you are looking at about 45 minutes. Most of that is just letting the fruit do its thing on the stove while you sip your coffee or clean up the kitchen.
- No Canning Experience Needed: This is a small-batch recipe designed for refrigerator storage. You do not need a water bath canner or any of that intimidating equipment. Just a pot and a clean jar.
- Perfect for Gifting: Tie a ribbon around a jar of these preserves, and you have a gift that says “I put thought into this” without spending a fortune. I have given these as hostess gifts, holiday presents, and even “just because” treats.
- Incredibly Versatile: Spoon it over yogurt, swirl it into oatmeal, spread it on a warm buttermilk biscuit, or use it as a filling for thumbprint cookies. It is a multitasker that never disappoints.
What makes this recipe different from other pear preserves you might find online is the technique. Most recipes either cook the pears into a uniform mush or leave them too firm. I found a sweet spot where the pears soften but keep their shape, creating those gorgeous, jewel-toned chunks suspended in a silky syrup. The vanilla adds a layer of complexity that makes the cinnamon feel warm rather than aggressive. Honestly, the first time I opened a jar in January and smelled those summer pears, I almost teared up. It is that kind of recipe—the one that captures a moment and lets you taste it months later.
What Ingredients You Will Need
This recipe relies on simple, whole ingredients that work together to create something far greater than the sum of their parts. Here is what you need and why each one matters.
- Pears (3 pounds, about 6 medium): The star of the show. You want pears that are ripe but still firm—think just past the “crunch” stage but not yet soft and squishy. Bosc pears are my favorite for this because they hold their shape beautifully and have a rich, honeyed flavor. Bartlett pears work too, but they tend to break down more. Anjou pears are a solid middle ground. Avoid overly ripe pears that feel mushy at the stem; they will turn to mush during cooking. Peel them, core them, and cut them into ½-inch chunks. (I leave the peels on sometimes for a more rustic texture, but that is a personal choice.)
- Granulated Sugar (2 cups): This is not just for sweetness—sugar acts as a preservative and helps the fruit release its natural pectin. Do not be tempted to reduce the sugar drastically; it is essential for the texture and shelf life. You can use organic cane sugar if you prefer, but standard white sugar works perfectly. I have tried coconut sugar once, and honestly, the color turned muddy and the flavor was off. Stick with the white stuff here.
- Fresh Lemon Juice (3 tablespoons): Acidity balances the sweetness and helps the preserves set. It also prevents the pears from oxidizing and turning brown during cooking. Freshly squeezed is non-negotiable—bottled lemon juice has a flat, metallic taste that will ruin the delicate pear flavor. Roll the lemon on the counter before juicing to get the most out of it.
- Ground Cinnamon (1½ teaspoons): Warm, aromatic, and comforting. Cinnamon pairs beautifully with pears without overpowering them. I prefer Ceylon cinnamon for its milder, more complex flavor, but standard cassia cinnamon works fine too. If you have a cinnamon stick, you can simmer it with the fruit and remove it before jarring—this gives a more subtle infusion.
- Pure Vanilla Extract (1 tablespoon): This is where the magic happens. Real vanilla extract adds a floral, creamy depth that makes the preserves taste luxurious. Do not use imitation vanilla; it will leave a chemical aftertaste that cheapens the whole batch. If you are feeling fancy, scrape the seeds from half a vanilla bean and add both the seeds and the pod to the pot. The speckled look is gorgeous.
That is it. Five ingredients, and you probably already have most of them in your kitchen. The pears are the only thing you might need to pick up, and they are everywhere in the fall. I like to grab a mix of slightly different pear varieties when I can—it gives the preserves a more interesting texture and flavor profile.
Equipment Needed
You do not need a fancy kitchen to make these preserves. Here is what you will need:
- Large Heavy-Bottomed Pot or Dutch Oven: A 4- to 5-quart pot is ideal. Heavy-bottomed pots distribute heat evenly, which prevents the sugar from burning before the pears release their juice. I use my enameled cast iron Dutch oven for this, and it works like a dream. If you only have a stainless steel pot, just keep the heat on the lower side and stir more frequently.
- Wooden Spoon or Silicone Spatula: You need something sturdy to stir the fruit as it cooks. Metal spoons can react with the acid and leave a metallic taste, so stick with wood or silicone.
- Sharp Knife and Cutting Board: For peeling and chopping the pears. A good chef’s knife makes the job much easier.
- Vegetable Peeler: A standard Y-peeler or swivel peeler works fine. If your pears are really ripe, you can sometimes rub the skin off with your fingers, but a peeler is faster.
- Measuring Cups and Spoons: For accurate ingredient measurements. Precision matters in preserves.
- Glass Jar(s) with Lids: One 24-ounce jar or two 12-ounce jars. Make sure the jars are clean and sterilized. I run mine through the dishwasher on the sanitize cycle, or I boil them in water for 10 minutes. Do not skip this step—it prevents mold.
- Canning Funnel (Optional but Helpful): A wide-mouth funnel makes pouring the hot preserves into jars much less messy. If you do not have one, you can use a ladle and a steady hand.
I have made this recipe with a cheap nonstick pot and a flimsy spatula, and it still turned out delicious. Do not let equipment hold you back. If you have a pot and a spoon, you are good to go.
Preparation Method
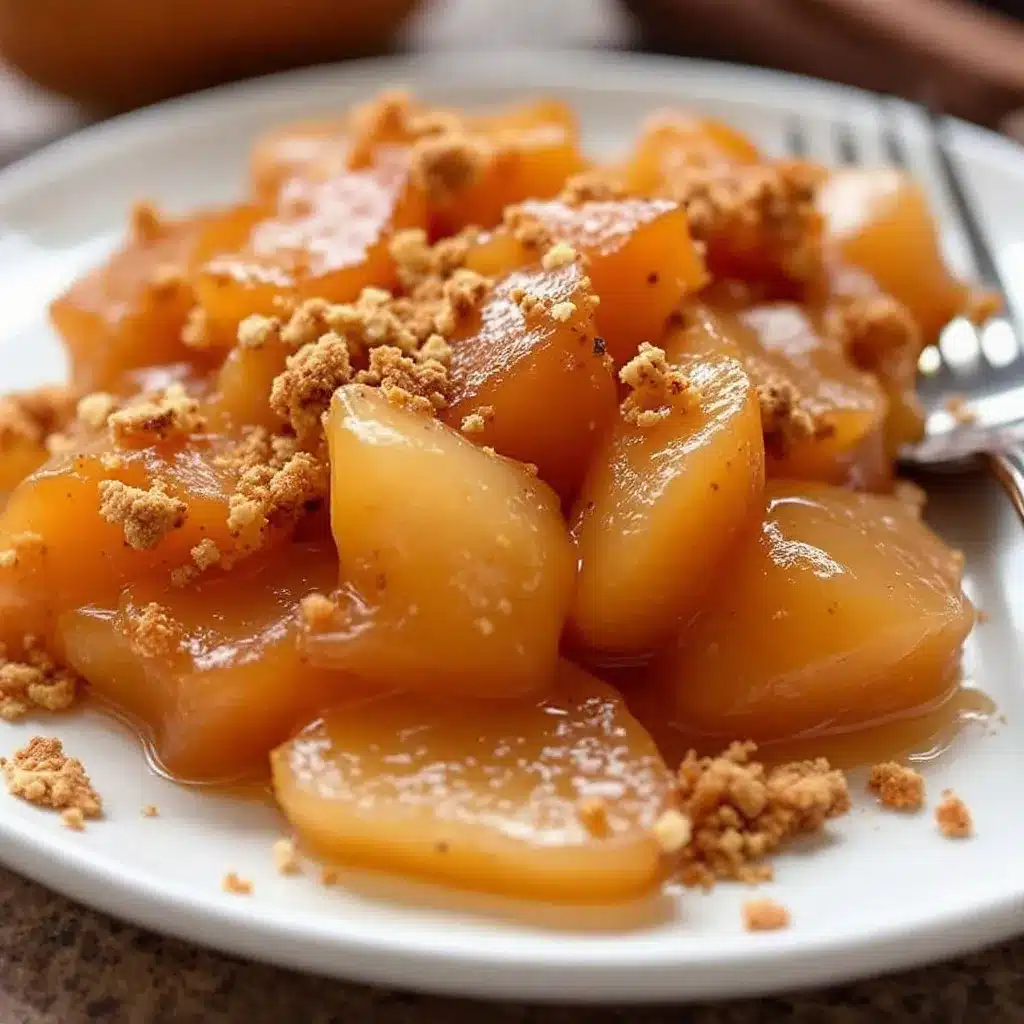
Let me walk you through this step by step. I have made this recipe more times than I can count, so I will share all the little tricks I have learned along the way.
- Prep the pears (10 minutes): Wash the pears under cool water. Using a vegetable peeler, remove the skin. (I like to leave a few strips of peel on for color and texture, but that is optional.) Cut each pear in half lengthwise, then use a melon baller or small spoon to scoop out the core and seeds. Cut the pears into ½-inch chunks. Do not worry about making them perfect—slightly uneven pieces add rustic charm to the final preserves. Place the chopped pears in a large bowl and toss with the lemon juice to prevent browning.
- Maceration (15 minutes): Transfer the pears to your heavy-bottomed pot. Add the sugar and stir gently to coat all the fruit. Let this sit at room temperature for 15 minutes. During this time, the sugar will draw out the natural juices from the pears, creating a syrupy liquid that will help the fruit cook evenly. Do not skip this step—it is the secret to preserves that are not scorched on the bottom.
- First cook (15 minutes): Place the pot over medium heat. Stir occasionally as the sugar dissolves and the mixture comes to a gentle boil. You will see the pears start to soften and the liquid become clearer. Once it reaches a boil, reduce the heat to medium-low so it maintains a steady simmer. Cook for 15 minutes, stirring every 2 to 3 minutes. The pears will release more liquid and start to look translucent at the edges.
- Add the flavorings (5 minutes): Stir in the ground cinnamon and vanilla extract. The kitchen will smell incredible at this point—like a cozy autumn afternoon. Continue simmering for another 5 minutes. The liquid will thicken slightly, but it will still be fairly runny. Do not worry; it will thicken more as it cools.
- Test for doneness (2 minutes): Here is the trick I learned from a friend who runs a small-batch jam business. Place a small plate in the freezer before you start cooking. When you think the preserves are ready, spoon a small amount onto the cold plate. Let it sit for 30 seconds, then run your finger through it. If the preserves hold their shape and do not immediately flood back together, they are done. If they are still too runny, cook for another 2 to 3 minutes and test again.
- Cool slightly (5 minutes): Remove the pot from the heat and let the preserves cool for 5 minutes. This allows the fruit to settle and the syrup to thicken a bit more. Do not let it cool completely, or it will be too thick to pour into jars.
- Jar the preserves (5 minutes): Using a ladle or canning funnel, carefully pour the hot preserves into your sterilized jar(s). Leave about ¼ inch of headspace at the top. Wipe the rim of the jar with a clean, damp cloth to remove any sticky residue. Seal with the lid and let the jar cool to room temperature on the counter. You will hear a soft “pop” as the lid seals—that is the sound of success.
- Refrigerate (overnight): Once the jar is cool, transfer it to the refrigerator. The preserves will continue to thicken as they chill. For the best texture and flavor, let them sit overnight before using. I know it is hard to wait, but trust me—it is worth it.
One more thing: If you see any foam forming on top of the preserves during cooking, skim it off with a spoon. It is harmless, but it can make the final product look cloudy. I usually just stir it back in because I am not that fussy, but if presentation matters to you, skim it away.
Cooking Tips & Techniques
Over the years, I have made every mistake you can imagine with preserves. Here is what I have learned so you do not have to repeat my errors.
Do not overcook the pears. This is the number one mistake I see. People think they need to cook the preserves until the fruit is completely broken down, but that is jam, not preserves. Preserves should have distinct pieces of fruit suspended in syrup. Cook just until the pears are tender and translucent—about 15 to 20 minutes total after the sugar is added. If you cook them too long, they will turn into pear butter (which is delicious, but not what we are going for here).
Watch the heat. Sugar burns easily, and burnt sugar tastes bitter and acrid. Keep your heat at medium-low once the mixture comes to a boil. If you see dark spots forming on the bottom of the pot, you are cooking too hot. Stir more frequently and lower the heat immediately. I speak from experience when I say that a batch of burnt preserves is heartbreaking.
Use the cold plate test. I mentioned this in the method, but it bears repeating. The cold plate test is more reliable than timing alone because different pears have different water content. Some batches will thicken in 15 minutes; others might take 20. The cold plate test takes the guesswork out of it.
Let the flavors meld. The preserves taste good right after cooking, but they taste amazing after a day or two in the fridge. The vanilla and cinnamon have time to mingle with the pear flavor, and the texture firms up beautifully. Do not judge the final result based on a taste test right out of the pot. Give it time.
Double the batch if you want. This recipe doubles easily, but do not triple it unless you have a very large pot. Too much fruit in the pot at once will steam rather than simmer, and you will end up with mushy pears and thin syrup. Stick with a single or double batch for best results.
Variations & Adaptations
One of the best things about this recipe is how easily it adapts to different tastes and dietary needs. Here are some variations I have tried and loved.
Spiced Pear Preserves: Add ¼ teaspoon of ground cardamom and a pinch of ground cloves along with the cinnamon. The cardamom adds a floral, slightly citrusy note that pairs beautifully with the vanilla. I made this version for a holiday gift exchange, and it was the first jar to disappear.
Ginger-Pear Preserves: Add 2 tablespoons of finely grated fresh ginger when you add the cinnamon and vanilla. The ginger adds a bright, zesty kick that cuts through the sweetness. This version is incredible spooned over creamy Greek lemon orzo soup for a sweet-savory contrast that sounds weird but works beautifully.
Low-Sugar Version: Reduce the sugar to 1 cup and add 1 tablespoon of calcium water and 1 teaspoon of Pomona’s pectin (a low-sugar pectin). Follow the instructions on the pectin package for best results. The flavor will be tarter and the texture slightly softer, but it is still delicious. I have made this for a friend who is watching her sugar intake, and she raved about it.
Honey-Sweetened Version: Replace the granulated sugar with 1½ cups of honey. Use a mild honey like clover or orange blossom so it does not overpower the pears. The cooking time will be slightly longer because honey contains more moisture than sugar. The flavor is more complex, with floral undertones that complement the vanilla.
Bourbon-Pear Preserves: Add 2 tablespoons of good bourbon along with the vanilla. The bourbon adds warmth and a hint of oak that makes these preserves feel grown-up and sophisticated. I like to serve this version on a cheese board with sharp cheddar and crispy garlic parmesan smashed potatoes for an unexpected flavor combination that guests always ask about.
Serving & Storage Suggestions
These preserves are incredibly versatile, and I have found about a dozen ways to use them. Here are my favorites.
On toast or biscuits: This is the classic use, and for good reason. Spread a generous spoonful on warm fluffy Japanese Hokkaido milk bread or a flaky buttermilk biscuit, and you have a breakfast that feels like a hug. The preserves are thick enough to stay put without dripping down your chin.
Over yogurt or oatmeal: Swirl a spoonful into Greek yogurt or a bowl of warm oatmeal for an instant upgrade. The sweetness of the preserves means you can skip any additional sweetener. I eat this for breakfast at least three times a week during pear season.
With cheese: Pear preserves and cheese are a match made in heaven. Serve them alongside brie, goat cheese, or sharp cheddar on a cheese board. The sweetness of the preserves balances the saltiness of the cheese perfectly. I have even used these preserves as a topping for fig and goat cheese jam crostini when I ran out of fig jam—it worked beautifully.
As a filling: Use these preserves as a filling for thumbprint cookies, layer cakes, or crepes. The thick, chunky texture holds up well in baked goods without making them soggy. I have used them in a pear and cream cheese tart that was absolutely divine.
Storage: Store the preserves in an airtight jar in the refrigerator for up to 3 months. The flavor actually improves after a week or two as the spices continue to meld. I do not recommend freezing these preserves because the texture can become watery upon thawing. If you want to make a larger batch for long-term storage, you can process the jars in a water bath canner for 10 minutes, which will make them shelf-stable for up to a year.
Nutritional Information & Benefits
Here is the honest truth: preserves are not health food. They contain sugar, and I am not going to pretend otherwise. But they do offer some nutritional benefits, especially when made with whole fruit.
| Nutrient | Per 2-Tablespoon Serving |
|---|---|
| Calories | 55 |
| Total Fat | 0g |
| Sodium | 1mg |
| Total Carbohydrates | 14g |
| Dietary Fiber | 1g |
| Sugars | 12g |
| Vitamin C | 4% DV |
Pears are a good source of dietary fiber, which supports digestion and helps you feel full longer. They also contain vitamin C, which supports immune health. The cinnamon in this recipe has anti-inflammatory properties and may help regulate blood sugar levels. The vanilla adds antioxidants and a sense of comfort that is hard to quantify but very real.
If you are watching your sugar intake, use the low-sugar variation I mentioned earlier. You can also reduce the serving size—a little goes a long way. I find that a single tablespoon is enough to add plenty of flavor to a bowl of yogurt or oatmeal.
Conclusion
This homemade cinnamon vanilla pear preserves recipe is my quiet little triumph over kitchen skepticism. It proves that you do not need complicated techniques or a dozen ingredients to make something truly special. Just five simple components, a little patience, and a willingness to trust the process.
I love this recipe because it captures the essence of fall in a jar. Every time I open a jar in the middle of winter, I am transported back to that crisp autumn afternoon when the pears were perfect and the kitchen smelled like cinnamon and possibility. It is a small moment of joy that costs almost nothing to create but pays dividends in comfort and flavor.
I would love to hear how your batch turns out. Did you try any of the variations? Did you come up with a new way to use the preserves? Drop a comment below and let me know—I read every single one, and I love hearing about your kitchen adventures. And if you share a photo on social media, tag me so I can see your beautiful jars. Happy preserving, friends.
Frequently Asked Questions
Can I use canned pears instead of fresh?
I do not recommend it. Canned pears are already cooked and packed in syrup, so they will break down too quickly and the texture will be mushy. Fresh pears give you control over the texture and flavor. If fresh pears are not available, wait until they are in season—it is worth the wait.
Why did my preserves turn out too runny?
This usually happens when the pears are very ripe and have released too much water, or when the preserves were not cooked long enough. Next time, let the mixture simmer a few minutes longer and use the cold plate test to check for doneness. You can also cook the preserves without the lid to allow more moisture to evaporate.
Can I reduce the sugar in this recipe?
Yes, but the texture will be softer and the preserves will not last as long in the refrigerator. Sugar acts as a preservative and helps the fruit hold its shape. If you reduce the sugar, plan to use the preserves within 2 to 3 weeks. For a low-sugar option, follow the variation I provided using Pomona’s pectin.
Do I need to sterilize the jars?
Yes, absolutely. Sterilizing the jars prevents mold and bacteria from growing in your preserves. Wash the jars and lids in hot, soapy water, then boil them in water for 10 minutes or run them through the dishwasher on the sanitize cycle. Let them dry completely before filling.
How long do these preserves last?
Stored in the refrigerator in a sterilized, airtight jar, these preserves will last for up to 3 months. If you process the jars in a water bath canner for 10 minutes, they will be shelf-stable for up to a year. Always check for signs of mold or off smells before using, especially if the jar has been opened for a while.
Pin This Recipe!
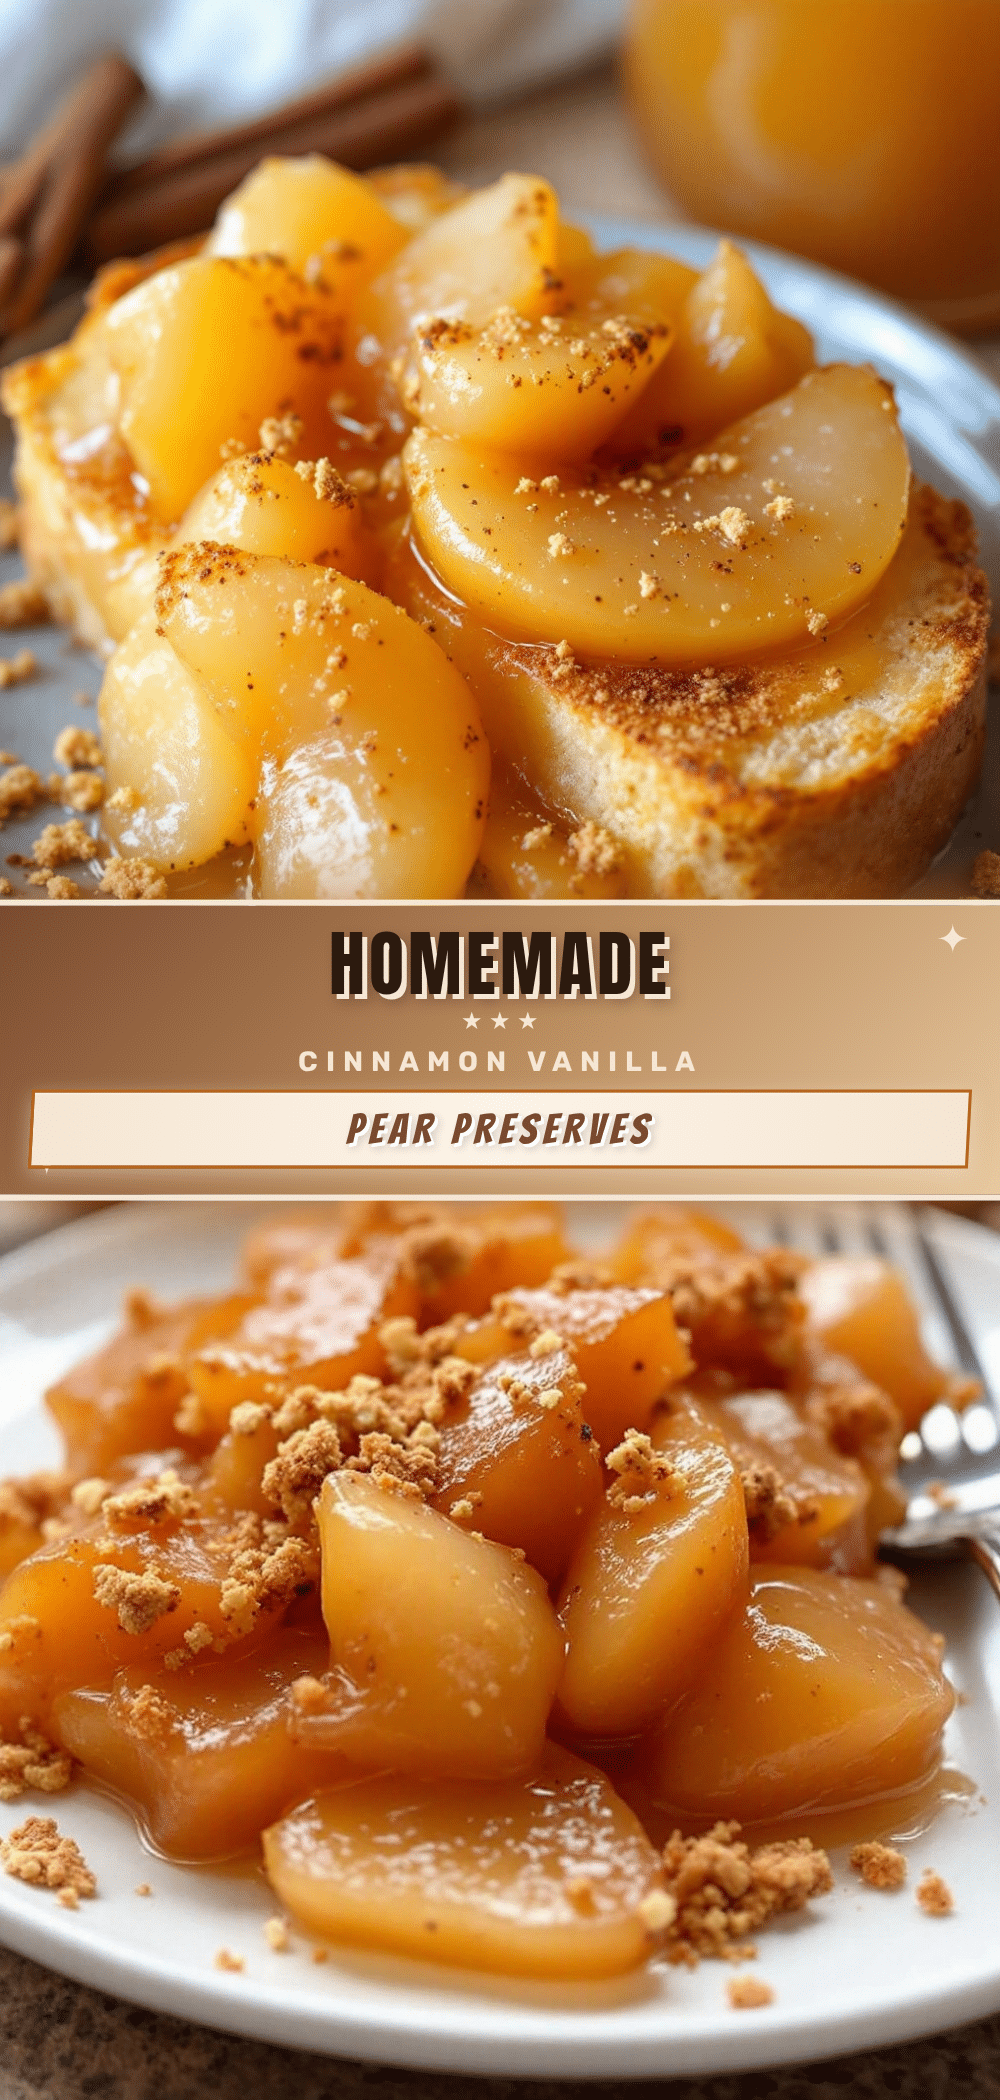
Homemade Cinnamon Vanilla Pear Preserves (Easy 5-Ingredient Recipe)
This easy 5-ingredient pear preserves recipe uses ripe pears, sugar, lemon juice, cinnamon, and vanilla to create a chunky, flavorful preserve that captures the essence of fall. No pectin required, and it comes together in under an hour.
- Prep Time: 10 minutes
- Cook Time: 25 minutes
- Total Time: 45 minutes
- Yield: 4 servings 1x
- Category: Preserves
- Cuisine: American
Ingredients
- 3 pounds (about 6 medium) ripe but firm pears (Bosc, Bartlett, or Anjou), peeled, cored, and cut into ½-inch chunks
- 2 cups granulated sugar
- 3 tablespoons fresh lemon juice
- 1½ teaspoons ground cinnamon (Ceylon or cassia)
- 1 tablespoon pure vanilla extract
Instructions
- Prep the pears: Wash, peel, and core the pears. Cut into ½-inch chunks. Toss with lemon juice to prevent browning.
- Maceration: Transfer pears to a heavy-bottomed pot. Add sugar and stir gently. Let sit at room temperature for 15 minutes to draw out juices.
- First cook: Place pot over medium heat. Stir occasionally until sugar dissolves and mixture comes to a gentle boil. Reduce heat to medium-low and simmer for 15 minutes, stirring every 2-3 minutes.
- Add flavorings: Stir in cinnamon and vanilla extract. Continue simmering for 5 minutes.
- Test for doneness: Place a small plate in the freezer before cooking. Spoon a small amount of preserves onto the cold plate. Let sit for 30 seconds, then run your finger through. If it holds its shape, it’s done. If too runny, cook 2-3 more minutes and test again.
- Cool slightly: Remove pot from heat and let cool for 5 minutes.
- Jar the preserves: Pour hot preserves into sterilized jar(s), leaving ¼ inch headspace. Wipe rim, seal with lid, and let cool to room temperature.
- Refrigerate: Transfer jar to refrigerator and let sit overnight for best texture and flavor.
Notes
Do not overcook the pears; preserves should have distinct fruit pieces. Use the cold plate test for doneness. Let preserves sit overnight in the refrigerator for best flavor. For long-term storage, process jars in a water bath canner for 10 minutes.
Nutrition
- Serving Size: 2 tablespoons
- Calories: 55
- Sugar: 12
- Sodium: 1
- Carbohydrates: 14
- Fiber: 1
Keywords: pear preserves, cinnamon vanilla pear preserves, easy pear preserves, 5-ingredient pear preserves, homemade preserves, no pectin preserves, fall preserves, pear jam, vanilla pear preserves


