I did not trust cheese to look like dirt. Honestly, I thought crushing crackers into a mound of sharp cheddar sounded like a culinary mistake until I saw the first guest stare at it with genuine hesitation. My husband, a man who appreciates structural integrity in his food, laughed when I unpacked the bag of Ritz crackers and the block of extra-sharp cheddar. He asked if we were feeding a construction crew or a horde of zombies. I didn’t have a good answer for him at the time.
The idea came to me while scrolling through Pinterest late one October night. I saw those perfect, mossy-looking mounds of cheese surrounded by black olives that looked like tombstones. I assumed it was just fancy cheese and some green food coloring. That was my first mistake. The second mistake was underestimating how much work it takes to make it look vaguely terrifying rather than just messy. I spent an hour crumbling crackers and mixing them with cream cheese, wondering if I had lost my mind.
Then, I added the green. Not neon green, but a subtle blend of parsley and chives that gave it that mossy, overgrown graveyard vibe. I placed the cracker “tombstones” upright in the cheese hills and arranged the black olives around them like headstones. The room went quiet when I brought it out. No one laughed. They just stared. One friend actually poked a tombstone with her finger to check if it was real.
It wasn’t just a joke. It was delicious. The salty crunch of the crackers mixed with the tangy cheese and the briny olive created a flavor profile that worked surprisingly well. I realized then that the fear factor wasn’t just about the look. It was about the surprise of finding comfort food disguised as something creepy. That night, the board disappeared faster than any other dish. I stopped worrying about the “dirt” looking real and started worrying about making enough for everyone. The conversion was complete.
Why You’ll Love This Recipe
Let’s face it, planning a Halloween party usually involves a lot of stress and very little sleep. You want something that looks impressive but doesn’t require you to stand over a stove for hours. This spooky graveyard charcuterie board hits that sweet spot perfectly. It is the kind of dish that lets you be creative without needing a culinary degree.
Here is why this recipe stands out from the usual party snacks:
- Quick & Easy: You can assemble the entire board in under 20 minutes. This is perfect for busy weeknights or last-minute Halloween gatherings where you just want to show up and look like a hero.
- Simple Ingredients: No fancy grocery trips needed. You likely already have cheddar, crackers, olives, and cream cheese in your kitchen. It uses pantry staples to deliver a bold, spooky look.
- Perfect for Parties: Great for Halloween parties, school events, or cozy autumn nights. It serves as both a snack and a conversation starter.
- Crowd-Pleaser: Always gets rave reviews from kids and adults alike. The kids love the “tombstones,” and the adults appreciate the actual good taste.
- Unbelievably Delicious: The texture and flavor combo is next-level comfort food. The crunch of the cracker against the creamy cheese is addictive.
What makes this recipe different from the rest is the technique. Most people just pile cheese on a plate. We are building a landscape. By using a binder like cream cheese, the “moss” stays put, and the cracker tombstones stand upright without sliding into the cheese. It’s a small detail that makes all the difference in presentation.
I remember making a similar board last year using just sliced cheese, and it looked like a sad sandwich waiting to happen. This version is different because it engages the senses. You can see the “graveyard,” you can smell the sharp cheddar, and you can taste the surprise of the salty olive. It’s comfort food reimagined—spooky, fun, but with the same soul-soothing satisfaction as a bowl of chili. It’s perfect for impressing guests without stress, or turning a simple meal into something memorable. If you are looking for other easy treats, you might also enjoy our perfect black cat brownies for a sweet finish to your spooky spread.
What Ingredients You Will Need
This recipe uses simple, wholesome ingredients to deliver bold flavor and satisfying texture without the fuss. The magic here is in the combination of textures. You want crunch, creaminess, and brine. Most of these items are likely already in your pantry or refrigerator, which makes this an incredibly accessible project for any home cook.
Here is what you need to gather for your spooky scene:
- Extra-Sharp Cheddar Cheese (1 block, about 8 oz): This is your main earth. Sharp cheddar provides a stronger flavor that stands up to the other ingredients. I recommend using a block and grating it yourself rather than buying pre-shredded cheese. Pre-shredded cheese has anti-caking agents that prevent it from melting or binding properly, which ruins the “moss” effect.
- Cream Cheese (1 package, 8 oz, softened): This acts as the mortar for your graveyard. It helps bind the cracker crumbs and cheese together so the landscape holds its shape. Use full-fat cream cheese for the best texture.
- Ritz Crackers (1 sleeve, about 40 crackers): These are your tombstones and dirt. Ritz crackers are buttery and round, making them look like natural stones. You will need some whole for the upright stones and some crushed for the ground cover.
- Black Olives (1 jar, pitted and halved): These become the tombstones and the creepy eyes. The dark color contrasts beautifully with the orange and white elements. Look for high-quality kalamata olives for a richer taste.
- Fresh Parsley and Chives (1 bunch each, finely chopped): These provide the “moss” color. Fresh herbs give a vibrant, natural green that looks much better than artificial food coloring. If you can’t find fresh herbs, dried parsley works, but the flavor will be less fresh.
- White Cheddar or Provolone Cheese (1 cup, sliced thinly): Used to create the ghost shapes. White cheddar is preferred for its mild flavor and bright white color.
- Butter (2 tablespoons, melted): Brushing the crackers with melted butter helps them hold their shape and adds a savory richness.
- Garlic Powder (1 teaspoon): A secret weapon. Adding a pinch of garlic powder to the cheese mixture adds a savory depth that mimics the earthiness of soil.
For the best results, I personally prefer organic butter for its clean flavor, though any unsalted butter works fine. When selecting your cheese, look for a firm block of cheddar that grates easily. If you are making this for children, you might want to swap the sharp cheddar for a milder mild cheddar to reduce the tang. In summer, you could swap the olives for grape tomatoes, but for Halloween, the black olives are non-negotiable for the spooky aesthetic.
Equipment Needed
You don’t need a lot of fancy gear to pull this off. In fact, keeping the equipment simple helps keep the stress low. Here is what you will need:
- Large Platter or Wooden Board: This is your canvas. A large wooden board gives a rustic, earthy feel that fits the graveyard theme perfectly. A large white platter also works well for contrast.
- Food Processor or Ziplock Bags: You need to crush the crackers. A food processor is the fastest way to get fine crumbs. If you don’t have one, put the crackers in a heavy-duty ziplock bag and crush them with a rolling pin. It’s good for stress relief, honestly.
- Microplane or Box Grater: For grating the cheddar cheese. A microplane gives you finer shreds that look more like dirt, while a box grater gives you chunkier pieces. I prefer the microplane for the moss effect.
- Small Mixing Bowls: You will need a couple of bowls for mixing the cream cheese, herbs, and garlic powder.
- Piping Bag or Ziplock Bag (with corner cut off): Optional, but helpful for piping the cheese mixture into neat mounds. If you don’t have one, just use a spoon.
If you don’t have a food processor, don’t worry. The manual crushing method works just as well and gives you a chance to listen to some spooky music. Just be careful not to over-process the crackers into dust; you want some texture. Also, make sure your cream cheese is truly softened. If it’s cold, it will be lumpy and hard to mix with the herbs. Let it sit on the counter for at least 30 minutes before you start.
Preparation Method
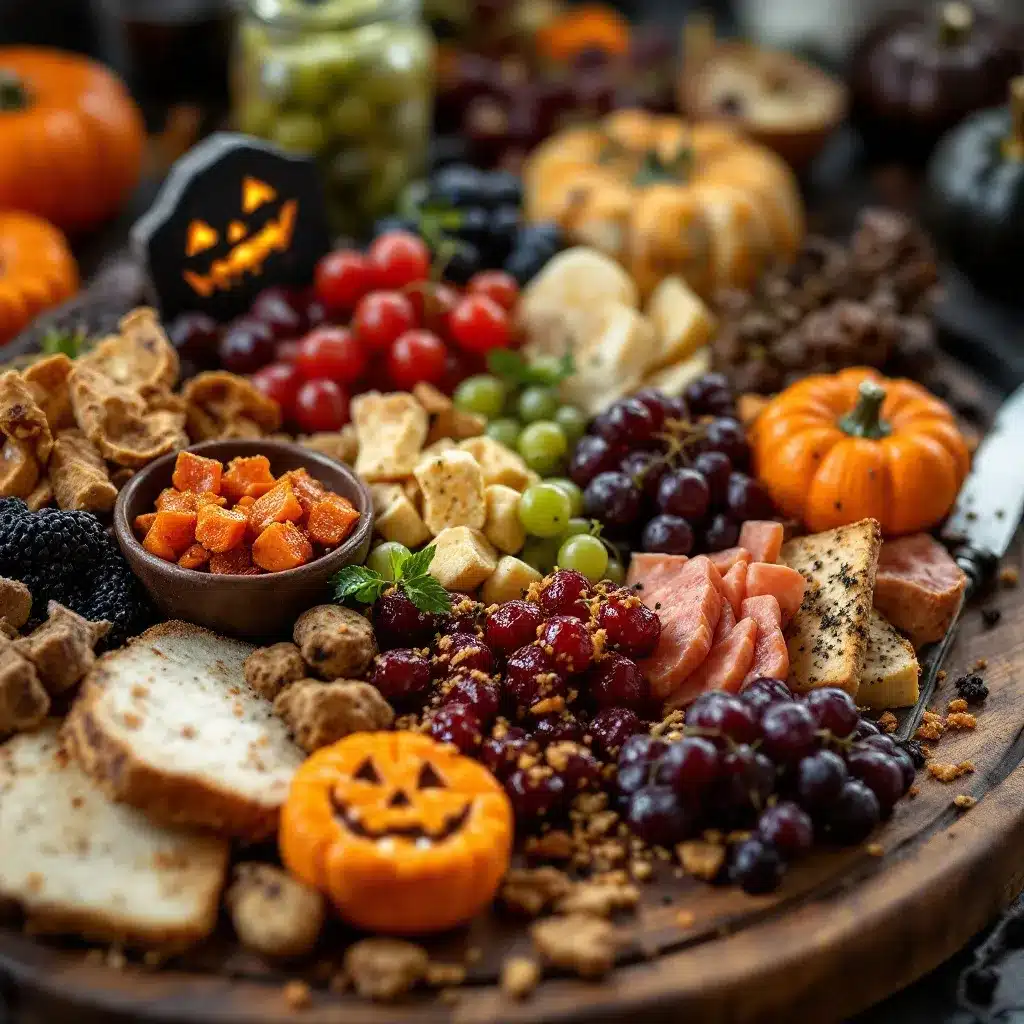
Getting the graveyard ready is easier than you think. Follow these steps to build your spooky masterpiece.
- Prepare the “Dirt” Mixture (10 minutes): In a medium bowl, combine the softened cream cheese, finely chopped parsley, chopped chives, and garlic powder. Mix until the herbs are evenly distributed and the mixture is a vibrant green color. This is your mossy earth. Set it aside.
Tip: If the mixture is too stiff, add a teaspoon of milk to loosen it up. - Grate the Cheese (5 minutes): Grate the block of extra-sharp cheddar cheese. You want fine shreds for the best “dirt” appearance. Place the grated cheese in a separate bowl.
Tip: If you are short on time, you can buy pre-grated cheese, but the flavor and binding will not be as good. - Prepare the Tombstones (5 minutes): Take your Ritz crackers and brush one side lightly with melted butter. This helps them crisp up and stay upright. You don’t need to cook them, just brush them.
Warning: Be gentle with the butter application. Too much butter will make the crackers soggy before they even hit the board. - Build the Mounds (10 minutes): On your platter, scoop large mounds of the green cream cheese mixture. Use your hands or a spoon to shape them into rolling hills. They should look uneven and natural, not perfect circles.
Sensory Cue: The mixture should feel cool and slightly sticky. It should hold its shape when you pull your hand away. - Add the “Dirt” (5 minutes): Sprinkle the grated cheddar cheese generously over the green mounds. Press it in slightly so it sticks. This layer represents the dry earth covering the moss.
Tip: Don’t be shy with the cheese. The more coverage, the more realistic the dirt effect. - Insert the Tombstones (5 minutes): Take the buttered Ritz crackers and push them into the sides of the cheese mounds. Stand them upright like tombstones. You can write “RIP” on them with a black marker if you want to get fancy, but it’s not necessary.
Tip: Tilt them slightly for a more weathered, old look. - Add the Details (5 minutes): Place the black olive halves around the base of the mounds and between the tombstones. These look like dark, eerie stones or grave markers.
Sensory Cue: The olives should be glossy and dark, providing a stark contrast to the orange and green. - Create the Ghosts (10 minutes): Take the white cheddar or provolone slices and cut them into rough ghost shapes. You can use a knife to cut the eyes and mouth, or just leave them as simple sheet-like shapes. Drape them over the mounds or tuck them into the cheese.
Tip: The cheese will stiffen as it cools, making it easier to handle. - Final Touches (5 minutes): Add any extra decorations like spider webs (made from white chocolate or yarn) or candy eyeballs. Step back and admire your work.
Warning: Do not leave the board out for more than 2 hours. The cream cheese and cheese mounds can get too warm and lose their shape.
Cooking Tips & Techniques
The secret to a successful graveyard board is temperature control. Cream cheese is sensitive to heat. If your kitchen is warm, the mounds will slump. To prevent this, you can chill the platter in the fridge for 15 minutes before you start building. This gives the base a cool surface to set on.
Another common mistake is making the “moss” too wet. If you add too much milk or cream to the cream cheese mixture, it will slide off the mounds. Start with just the herbs and garlic powder. If it’s too dry, add milk one teaspoon at a time. You want a consistency similar to thick frosting.
I once tried to make this board with a goat cheese base, and it was a disaster. Goat cheese is too crumbly and doesn’t bind well with the crackers. Stick to standard block cream cheese for the best structural integrity. Also, when grating the cheddar, make sure it is cold. Warm cheese clumps together. If your cheese is soft, pop it in the freezer for 10 minutes before grating.
Timing is everything. Assemble the board no more than an hour before serving. If you make it too far in advance, the crackers will absorb moisture from the cheese and become soggy. The “tombstones” should be inserted right before you bring the board out. This ensures they stay crisp and upright.
Multitasking is key here. While you are grating cheese, you can be chopping herbs. While the crackers are being buttered, you can be shaping the mounds. Keep a clean workspace to avoid cross-contamination, especially if you are handling raw ingredients (though this recipe is all cooked or ready-to-eat).
Consistency comes with practice. Your first board might not look exactly like the photos, and that’s okay. The charm of this recipe is its rustic, homemade feel. Imperfections add to the spooky vibe. A lopsided tombstone looks more authentic than a perfectly straight one.
Variations & Adaptations
You can tweak this recipe to fit different dietary needs or taste preferences. Here are a few ideas:
- Gluten-Free Option: Substitute the Ritz crackers with gluten-free round crackers or rice cakes. Crush them just the same. The texture might be slightly different, but it will still work.
- Dairy-Free Option: Use a dairy-free cream cheese alternative and dairy-free cheese slices for the ghosts. Note that dairy-free cheese may not grate as finely, so the “dirt” effect might be chunkier.
- Vegan Option: Combine the dairy-free cream cheese with nutritional yeast and herbs for a savory, cheesy flavor. Use vegan cheese slices for the ghosts.
- Spicy Twist: Add a dash of cayenne pepper or chili powder to the cream cheese mixture for a spicy kick. This pairs well with the sharp cheddar.
- Sweet Variation: For a dessert version, use peanut butter or Nutella as the base, crushed Oreos for dirt, and white chocolate chips for tombstones.
I once tried a sweet version for a Halloween party, using peanut butter and Oreos. It was a hit with the kids, but the adults missed the savory elements. I think the savory version is more unique and fits the “graveyard” theme better. However, having both a savory and sweet board is a great way to please everyone.
Serving & Storage Suggestions
Serve this board at room temperature. Cold cheese can be hard and less flavorful. Take the board out of the fridge 15 minutes before serving to let it warm up slightly.
Pair this board with a crisp apple cider or a glass of red wine. The acidity of the wine cuts through the richness of the cheese. If you are serving this as part of a larger meal, it pairs well with our easy no-bake apple cheesecake bars for a sweet finish.
To store leftovers, cover the board tightly with plastic wrap and refrigerate. The cheese mounds will firm up in the fridge. Consume within 2 days. The crackers may soften over time, so it’s best to eat them quickly.
Reheating is not recommended for this dish. The cream cheese will separate, and the crackers will become mushy. If you have extra cheese mixture, you can use it as a dip for raw vegetables the next day.
The flavors develop over time. The garlic and herbs infuse into the cream cheese, making it taste better on the second day. However, the visual appeal will diminish as the colors blend together.
Nutritional Information & Benefits
This board is high in protein and calcium due to the cheese and cream cheese. It is also rich in healthy fats. However, it is calorie-dense, so portion control is key.
Each serving (approximately 1 mound and 2 crackers) contains about 200-250 calories. The black olives add fiber and healthy monounsaturated fats. The cheddar cheese provides vitamin A and B12.
For those with dietary restrictions, this recipe can be modified to be gluten-free or dairy-free. Always check labels for allergens.
From a wellness perspective, this recipe is a fun way to include more vegetables (herbs) in your snack routine. It’s also a great way to encourage mindful eating, as the spooky presentation slows down consumption.
Conclusion
This spooky Halloween graveyard charcuterie board is a fantastic way to add some flair to your holiday celebrations. It is easy to make, delicious to eat, and visually stunning. I hope you enjoy making it as much as I did.
Feel free to customize it with your own creative touches. Add candy spiders, use different cheeses, or change the tombstone shapes. Make it your own.
I love this recipe because it brings people together. It sparks conversation and laughter. It’s not just food; it’s an experience.
Please try this recipe and let me know how it turns out. Share your photos on social media and tag me. I’d love to see your spooky creations.
Happy Halloween!
FAQs
Can I make this board ahead of time?
You can assemble most of it ahead of time, but insert the cracker tombstones and ghost slices right before serving to keep them crisp and fresh.
What can I use instead of black olives?
You can use kalamata olives, sliced black olives, or even dark chocolate-covered raisins for a sweeter alternative.
Is this recipe gluten-free?
Not as written, because of the Ritz crackers. You can substitute with gluten-free crackers or rice cakes to make it gluten-free.
Can I use a different type of cheese?
Yes, you can use gouda, pepper jack, or any sharp cheese. Just ensure it grates well and has a strong flavor.
How long does this board last in the fridge?
It is best consumed within 24 hours. After that, the crackers may become soggy and the cheese may lose its shape.
Pin This Recipe!
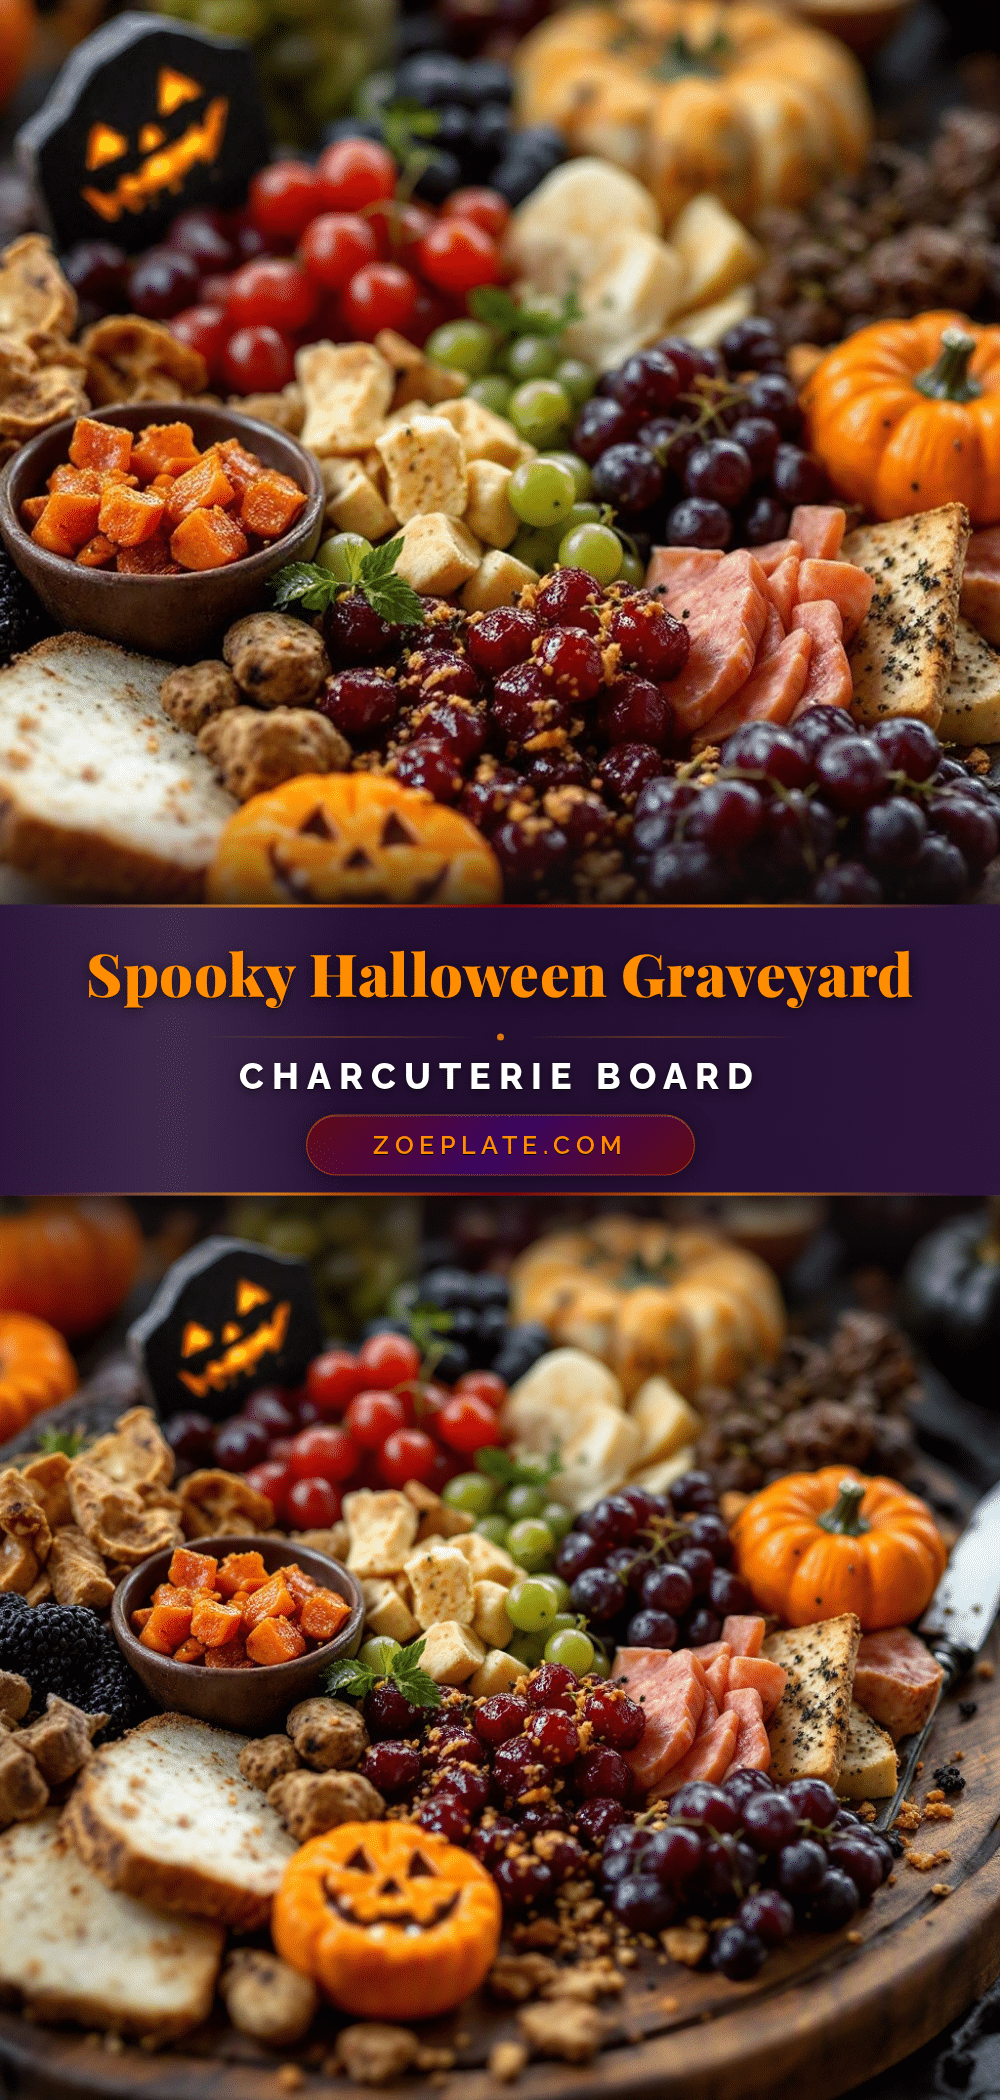
Spooky Halloween Graveyard Charcuterie Board: 5 Easy Party Ideas
A spooky and delicious Halloween party snack featuring mossy cheese mounds, cracker tombstones, and black olive details. This easy-to-assemble board uses simple pantry staples to create a visually stunning and tasty graveyard scene.
- Prep Time: 20 minutes
- Cook Time: 0 minutes
- Total Time: 20 minutes
- Yield: 8 servings 1x
- Category: Appetizer
- Cuisine: American
Ingredients
- 1 block (8 oz) extra-sharp cheddar cheese
- 1 package (8 oz) cream cheese, softened
- 1 sleeve (approx. 40) Ritz crackers
- 1 jar black olives, pitted and halved
- 1 bunch fresh parsley, finely chopped
- 1 bunch fresh chives, finely chopped
- 1 cup white cheddar or provolone cheese, sliced thinly
- 2 tablespoons butter, melted
- 1 teaspoon garlic powder
Instructions
- In a medium bowl, combine softened cream cheese, chopped parsley, chopped chives, and garlic powder. Mix until evenly distributed and vibrant green. Set aside.
- Grate the block of extra-sharp cheddar cheese into fine shreds using a microplane or box grater. Place in a separate bowl.
- Brush one side of the Ritz crackers lightly with melted butter to help them crisp and stay upright.
- Scoop large mounds of the green cream cheese mixture onto a large platter or wooden board. Shape into uneven, natural-looking hills.
- Sprinkle the grated cheddar cheese generously over the green mounds, pressing slightly to adhere.
- Insert the buttered Ritz crackers into the sides of the cheese mounds, standing them upright like tombstones. Tilt slightly for a weathered look.
- Place black olive halves around the base of the mounds and between the tombstones.
- Cut white cheddar or provolone slices into rough ghost shapes and drape them over the mounds or tuck them into the cheese.
- Add final decorations like spider webs or candy eyeballs if desired.
- Serve immediately or store in the fridge for up to 2 hours before serving.
Notes
Ensure cream cheese is fully softened for easy mixing. If the kitchen is warm, chill the platter for 15 minutes before assembling to prevent the cheese mounds from slumping. Insert cracker tombstones right before serving to keep them crisp. Do not leave the board out for more than 2 hours.
Nutrition
- Serving Size: Approximately 1 moun
- Calories: 225
- Sugar: 2
- Sodium: 350
- Fat: 18
- Saturated Fat: 10
- Carbohydrates: 12
- Fiber: 1
- Protein: 6
Keywords: Halloween, charcuterie board, graveyard snack, cheese board, party food, easy appetizer, spooky treats, Ritz crackers, cream cheese dip


